Page 161 of 561
160 Controls in detailInstrument clusterThe temperature sensor is located in the
front bumper area. Due to its location, the
sensor can be affected by road or engine
heat during idling or slow driving. This
means that the accuracy of the displayed
temperature can only be verified by com-
parison to a thermometer placed next to
the sensor, not by comparison to external
displays (e.g. bank signs etc.).
When moving the vehicle into colder ambi-
ent temperatures (e.g. when leaving your
garage), you will notice a delay before the
lower temperature is displayed.
A delay also occurs when ambient temper-
atures rise. This prevents inaccurate tem-
perature indications caused by heat
radiated from the engine during idling or
slow driving.
Page 166 of 561

165 Controls in detail
Control system
Menus, submenus and functions
Menu1
Menu2
Menu3
Menu4
Menu5
Standard display
AUDIO
NAV*
Airmatic/
Compass
Vehicle status message
memory
(�page 168)
(�page 170)
(�page 172)
(�page 172)
(�page 173)
Commands/submenusTrip- and main odometer
Selecting radio station
Show route guidance
instructions, current
direction traveled
Airmatic*
Calling up vehicle malfunction,
warning and system status
messages stored in memory
Checking tire inflation pressure*
Selecting satellite ra-
dio station* (USA only)
Compass
Checking coolant temperature
Operating CD player
Calling up digital speedometer or
outside temperatureCalling up maintenance service
indicatorChecking engine oil leveliThe headings used in the menus table
are designed to facilitate navigation
within the system and are not neces-
sarily identical to those shown in the
control system displays. The first func-
tion displayed in each menu will auto-
matically show you which part of the
system you are in.
Page 169 of 561
168 Controls in detailControl systemStandard display menu
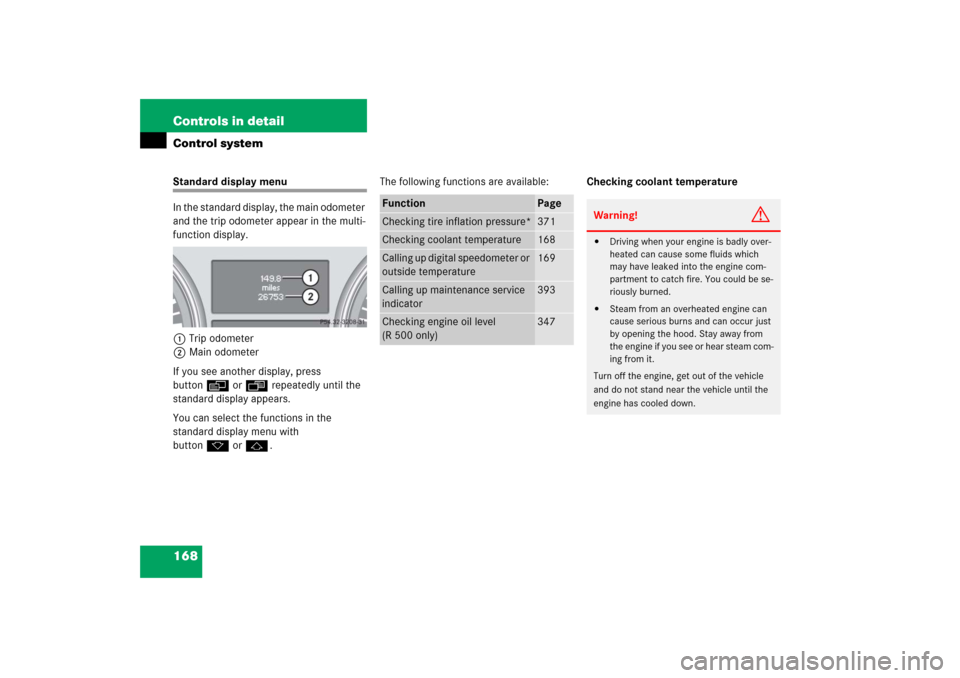
In the standard display, the main odometer
and the trip odometer appear in the multi-
function display.
1Trip odometer
2Main odometer
If you see another display, press
buttonè orÿ repeatedly until the
standard display appears.
You can select the functions in the
standard display menu with
buttonkorj.The following functions are available:Checking coolant temperature
Function
Page
Checking tire inflation pressure*
371
Checking coolant temperature
168
Calling up digital speedometer or
outside temperature
169
Calling up maintenance service
indicator
393
Checking engine oil level
(R 500 only)
347
Warning!
G
�
Driving when your engine is badly over-
heated can cause some fluids which
may have leaked into the engine com-
partment to catch fire. You could be se-
riously burned.
�
Steam from an overheated engine can
cause serious burns and can occur just
by opening the hood. Stay away from
the engine if you see or hear steam com-
ing from it.
Turn off the engine, get out of the vehicle
and do not stand near the vehicle until the
engine has cooled down.
Page 170 of 561
169 Controls in detail
Control system
�
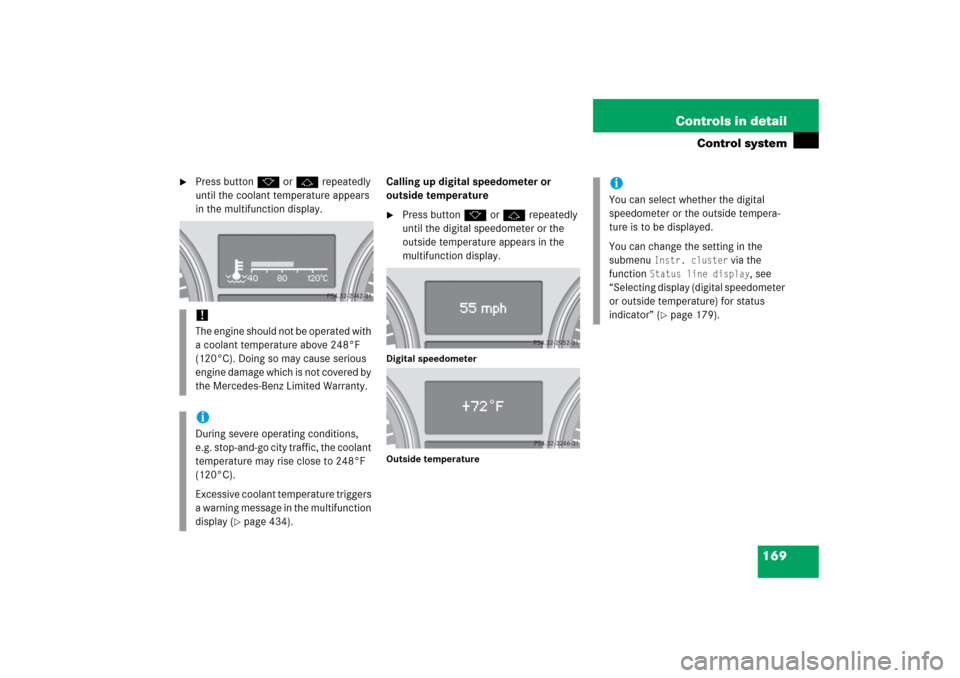
Press buttonk orj repeatedly
until the coolant temperature appears
in the multifunction display.Calling up digital speedometer or
outside temperature
�
Press buttonk orj repeatedly
until the digital speedometer or the
outside temperature appears in the
multifunction display.
Digital speedometer
Outside temperature
!The engine should not be operated with
a coolant temperature above 248°F
(120°C). Doing so may cause serious
engine damage which is not covered by
the Mercedes-Benz Limited Warranty.iDuring severe operating conditions,
e.g. stop-and-go city traffic, the coolant
temperature may rise close to 248°F
(120°C).
Excessive coolant temperature triggers
a warning message in the multifunction
display (
�page 434).
iYou can select whether the digital
speedometer or the outside tempera-
ture is to be displayed.
You can change the setting in the
submenu
Instr. cluster
via the
function
Status line display
, see
“Selecting display (digital speedometer
or outside temperature) for status
indicator” (
�page 179).
Page 175 of 561
174 Controls in detailControl systemShould the vehicle’s system record any
conditions while driving, the number of
messages will reappear in the multifunc-
tion display�
when the SmartKey in the starter
switch is turned to position0 or
removed from the starter switch
or
�
when you turn off the engine by
pressing the KEYLESS-GO* start/stop
button (
�page 66) in the starter
switch once and open the driver’s door
(this puts the starter switch in
position0, same as with the SmartKey
removed from the starter switch)
Settings menu
In the
Settings
menu there are two func-
tions:
�
The function
Reset to factory
settings?
, with which you can reset all
the settings to the original factory
settings.
�
A collection of submenus with which
you can make individual settings for
your vehicle.
�
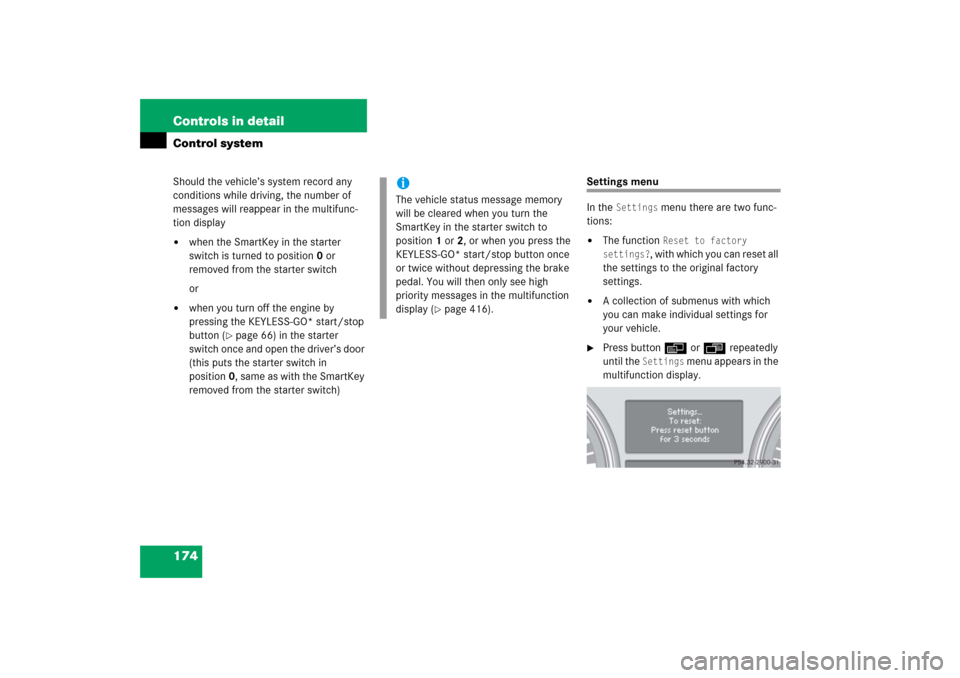
Press buttonè orÿ repeatedly
until the
Settings
menu appears in the
multifunction display.
iThe vehicle status message memory
will be cleared when you turn the
SmartKey in the starter switch to
position1 or2, or when you press the
KEYLESS-GO* start/stop button once
or twice without depressing the brake
pedal. You will then only see high
priority messages in the multifunction
display (
�page 416).
Page 183 of 561
182 Controls in detailControl systemLighting submenu
Access the
Lighting
submenu via the
Settings
menu. Use the
Lighting
submenu to change the lamp and lighting
settings on your vehicle.
The following functions are available:Setting daytime running lamp mode
(USA only)
�
Move the selection marker with
buttonæ orç to the
Lighting
submenu.
�
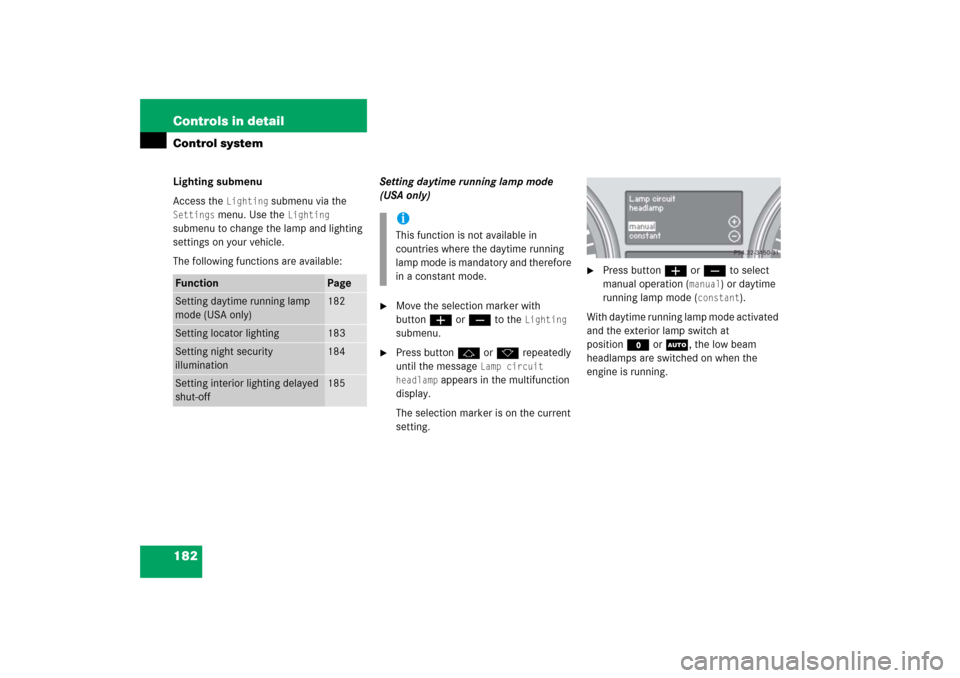
Press buttonj ork repeatedly
until the message
Lamp circuit
headlamp
appears in the multifunction
display.
The selection marker is on the current
setting.
�
Press buttonæ orç to select
manual operation (
manual
) or daytime
running lamp mode (
constant
).
With daytime running lamp mode activated
and the exterior lamp switch at
positionM orU, the low beam
headlamps are switched on when the
engine is running.
Function
Page
Setting daytime running lamp
mode (USA only)
182
Setting locator lighting
183
Setting night security
illumination
184
Setting interior lighting delayed
shut-off
185
iThis function is not available in
countries where the daytime running
lamp mode is mandatory and therefore
in a constant mode.
Page 185 of 561
184 Controls in detailControl systemSetting night security illumination
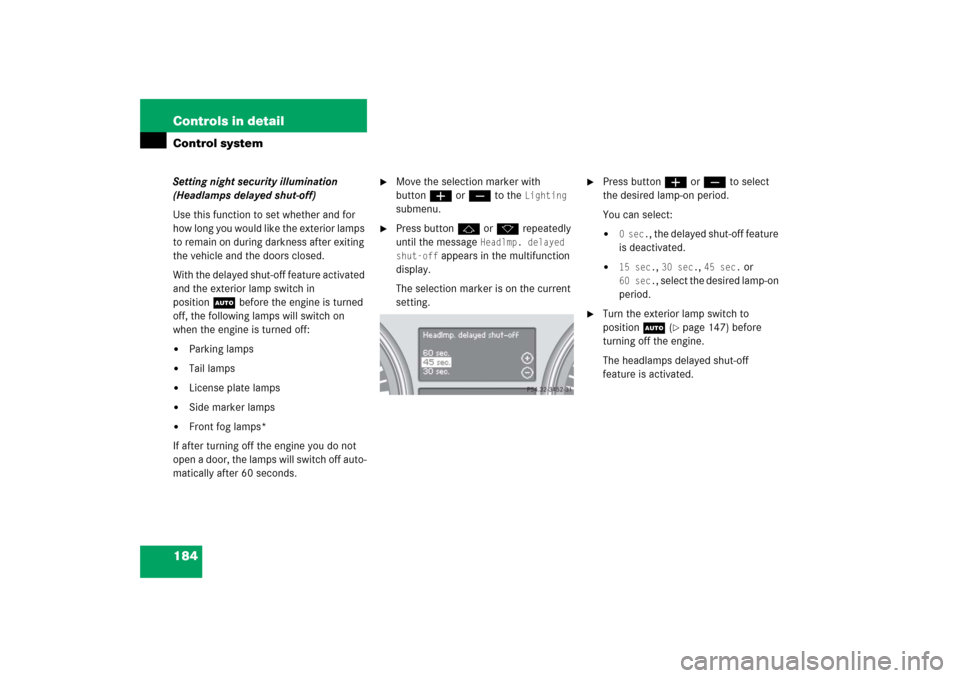
(Headlamps delayed shut-off)
Use this function to set whether and for
how long you would like the exterior lamps
to remain on during darkness after exiting
the vehicle and the doors closed.
With the delayed shut-off feature activated
and the exterior lamp switch in
positionU before the engine is turned
off, the following lamps will switch on
when the engine is turned off:�
Parking lamps
�
Tail lamps
�
License plate lamps
�
Side marker lamps
�
Front fog lamps*
If after turning off the engine you do not
open a door, the lamps will switch off auto-
matically after 60 seconds.
�
Move the selection marker with
buttonæ orç to the
Lighting
submenu.
�
Press buttonj ork repeatedly
until the message
Headlmp. delayed
shut-off
appears in the multifunction
display.
The selection marker is on the current
setting.
�
Press buttonæ orç to select
the desired lamp-on period.
You can select:�
0 sec.
, the delayed shut-off feature
is deactivated.
�
15 sec.
, 30 sec.
, 45 sec.
or
60 sec.
, select the desired lamp-on
period.
�
Turn the exterior lamp switch to
positionU (
�page 147) before
turning off the engine.
The headlamps delayed shut-off
feature is activated.
Page 188 of 561

187 Controls in detail
Control system
�
Press buttonj ork repeatedly
until the message
Compass Adjustment
appears in the multifunction display.
The selection marker is on the current
setting.
�
Press buttonæ orç to set the
respective compass zone.
For information on how to select the prop-
er geographic zone, see “Compass”
(
�page 327).Compass calibration
This function is not available if your vehicle
is equipped with the Modular COMAND
system with navigation module*.
In order to calibrate the compass properly,
mind the following:
�
Calibrate the compass in open terrain.
Nearby buildings, bridges, power lines
and large antenna masts, for example,
could impair compass calibration.
�
Switch off electrical consumers (e.g.
climate control, windshield wipers, or
rear window defroster).
�
Close all doors and the tailgate.
�
Start the engine (
�page 53).
�
Press buttonæ orç to move
the selection marker to the
Vehicle
submenu.
�
Press buttonj ork repeatedly
until the message
Compass Calibra-
tion
appears in the multifunction
display.
The selection marker is on setting
off
.
�
Press buttonæ orç to set the
selection marker to
Start
.
The following message appears in the
multifunction display:
Compass Calibration Active
Please drive in a full circle
��