Page 268 of 539

267 Controls in detail
Loading
�
Turn mounting element2 in the cargo
rail toN.
�
Insert cargo tie-down ring1 into
mounting element2.
�
Turn mounting element2 until it en-
gages in the ‹position.
You should be able to feel the mounting
element engage in the cargo rail.Belt reel
1Belt reel
2Mounting element
3Locking button
�
Insert two mounting elements2 into a
cargo rail.
�
Turn mounting element2 in the cargo
rail toN.
�
Insert belt reel1 into mounting
element2.
�
Turn mounting element2 in the cargo
rail until it engages in the‹ posi-
tion.
Y o u s h o u l d b e a b l e t o f e e l t h e m o u n t i n g
element engage in the cargo rail.
�
Press locking button3 on the belt
reel1 and pull cargo net out in direc-
tion of arrow.
�
Place load between the cargo net and
the side wall of the cargo compart-
ment.
�
Press locking button3 on belt
reel1. With the other hand, slowly
pull net over load until it is taut.
Warning!
G
The cargo tie-down rings should be subject
to equal loads. Make sure to comply with
the information provided in the loading in-
structions (
�page 259).
iThe belt reel can be used to tighten
light-weight loads against the side wall
of the cargo compartment, thus secur-
ing them from slipping.
Page 270 of 539
269 Controls in detail
Loading
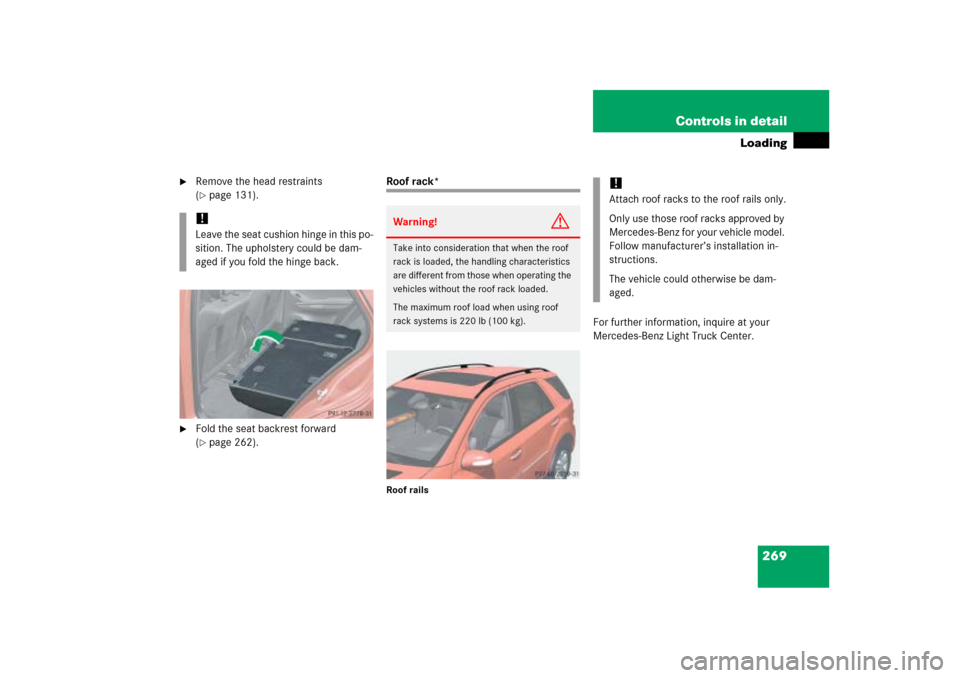
�
Remove the head restraints
(�page 131).
�
Fold the seat backrest forward
(�page 262).
Roof rack*Roof rails
For further information, inquire at your
Mercedes-Benz Light Truck Center.
!Leave the seat cushion hinge in this po-
sition. The upholstery could be dam-
aged if you fold the hinge back.
Warning!
G
Take into consideration that when the roof
rack is loaded, the handling characteristics
are different from those when operating the
vehicles without the roof rack loaded.
The maximum roof load when using roof
rack systems is 220 lb (100 kg).
!Attach roof racks to the roof rails only.
Only use those roof racks approved by
Mercedes-Benz for your vehicle model.
Follow manufacturer’s installation in-
structions.
The vehicle could otherwise be dam-
aged.
Page 271 of 539

270 Controls in detailUseful featuresStorage compartments Parcel net in front passenger footwell
A small convenience parcel net is located
in the front passenger footwell. It is for
small and light items, such as road maps,
mail, etc.Glove box
1Glove box lid release
2Glove box lid
Opening the glove box
�
Grab in recess and pull lid release1.
Glove box lid2 opens downward.
Closing the glove box
�
Push glove box lid2 up to close.
Warning!
G
To help avoid personal injury during a colli-
sion or sudden maneuver, exercise care
when storing objects in the vehicle. Put lug-
gage or cargo in the cargo compartment if
possible. Do not pile luggage or cargo higher
than the seat backs.
Always use partition net when transporting
cargo. Partition net cannot secure hard or
heavy objects.
Parcel nets cannot secure hard or heavy ob-
jects.
Keep compartment lids closed. This will help
to prevent stored objects from being thrown
about and injuring vehicle occupants during
an accident.
Warning!
G
The parcel net is intended for storing
light-weight items only.
Heavy objects, objects with sharp edges or
fragile objects may not be transported in the
parcel net.
The parcel net cannot protect transported
goods in the event of an accident.
Page 274 of 539
273 Controls in detail
Useful features
Storage compartment in the rear arm-
rest�
Fold down the rear armrest.
�
Press the handle upward and fold the
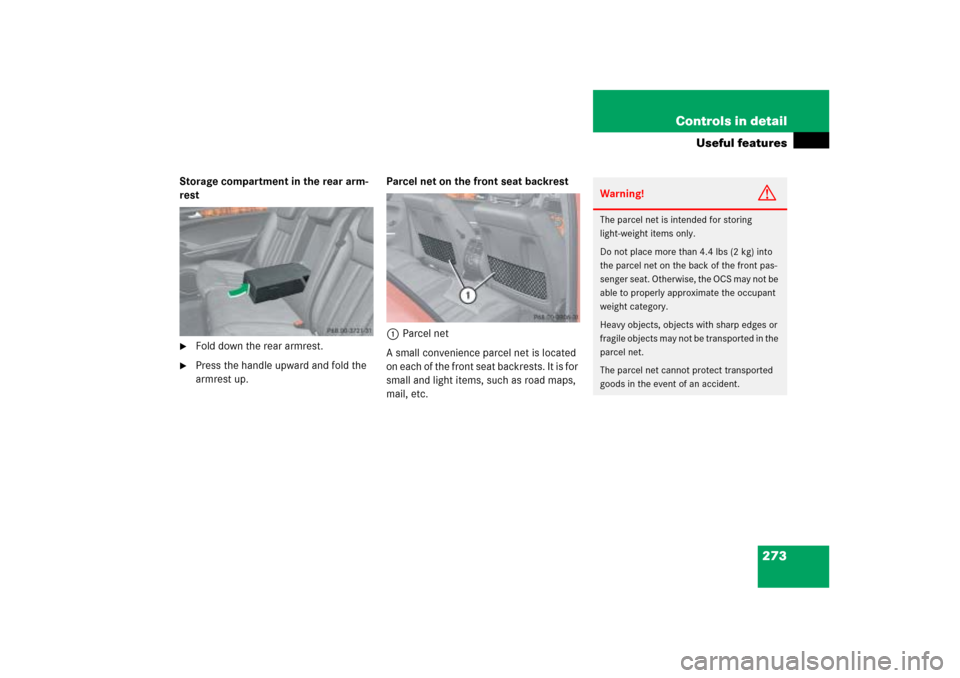
armrest up.Parcel net on the front seat backrest
1Parcel net
A small convenience parcel net is located
on each of the front seat backrests. It is for
small and light items, such as road maps,
mail, etc.
Warning!
G
The parcel net is intended for storing
light-weight items only.
Do not place more than 4.4 lbs (2 kg) into
the parcel net on the back of the front pas-
senger seat. Otherwise, the OCS may not be
able to properly approximate the occupant
weight category.
Heavy objects, objects with sharp edges or
fragile objects may not be transported in the
parcel net.
The parcel net cannot protect transported
goods in the event of an accident.
Page 277 of 539
276 Controls in detailUseful featuresRemoving ashtray insert�
Grip the ashtray insert1 on the sides
and pull it out upwards.
Reinstalling ashtray insert
�
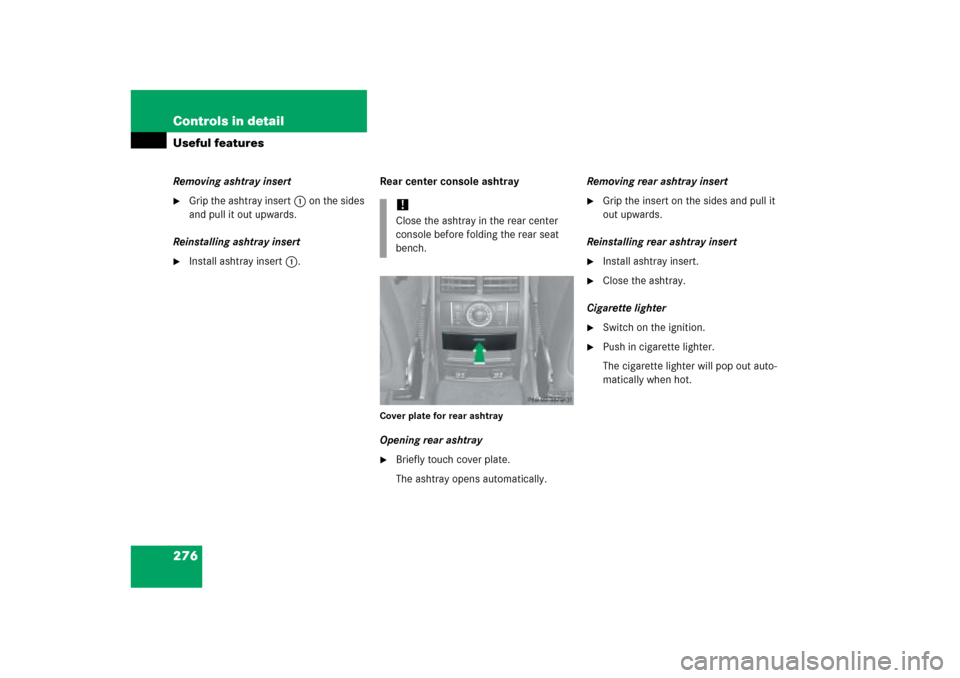
Install ashtray insert1.Rear center console ashtray
Cover plate for rear ashtrayOpening rear ashtray�
Briefly touch cover plate.
The ashtray opens automatically.Removing rear ashtray insert
�
Grip the insert on the sides and pull it
out upwards.
Reinstalling rear ashtray insert
�
Install ashtray insert.
�
Close the ashtray.
Cigarette lighter
�
Switch on the ignition.
�
Push in cigarette lighter.
The cigarette lighter will pop out auto-
matically when hot.
!Close the ashtray in the rear center
console before folding the rear seat
bench.
Page 278 of 539
.
�
Open the ashtray (
�page 275).
�
Push in cigarette lighter1.
The cigarette lighter w")
277 Controls in detail
Useful features
Cigarette lighter*
1Cigarette lighter�
Switch on the ignition (
�page 34).
�
Open the ashtray (
�page 275).
�
Push in cigarette lighter1.
The cigarette lighter will pop out auto-
matically when hot.
12-V sockets
Power outlets are located in the front pas-
senger footwell, the rear passenger foot-
well, and the right-hand side of the cargo
compartment.�
Switch on the ignition (
�page 34).
Warning!
G
Never touch the heating element or sides of
the cigarette lighter; they are extremely hot.
Hold the knob only.
When leaving the vehicle always remove the
SmartKey or SmartKey with KEYLESS-GO*
from the starter switch, take it with you, and
lock the vehicle. Do not leave children unat-
tended in the vehicle, or with access to an
unlocked vehicle. Unsupervised use of vehi-
cle equipment may cause an accident
and/or serious personal injury.iThe cigarette lighter socket can be
used to accommodate electrical acces-
sories up to a maximum of 180 W.
If the engine is off, and the cigarette
lighter is being used extensively, the
vehicle battery may become
discharged.
iThe power outlets can be used to
accommodate electrical consumers
(e.g. air pump, auxiliary lamps) up to a
maximum of 240 W.
If the engine is off, the battery may be-
come discharged if used for long peri-
ods of time.
Page 279 of 539
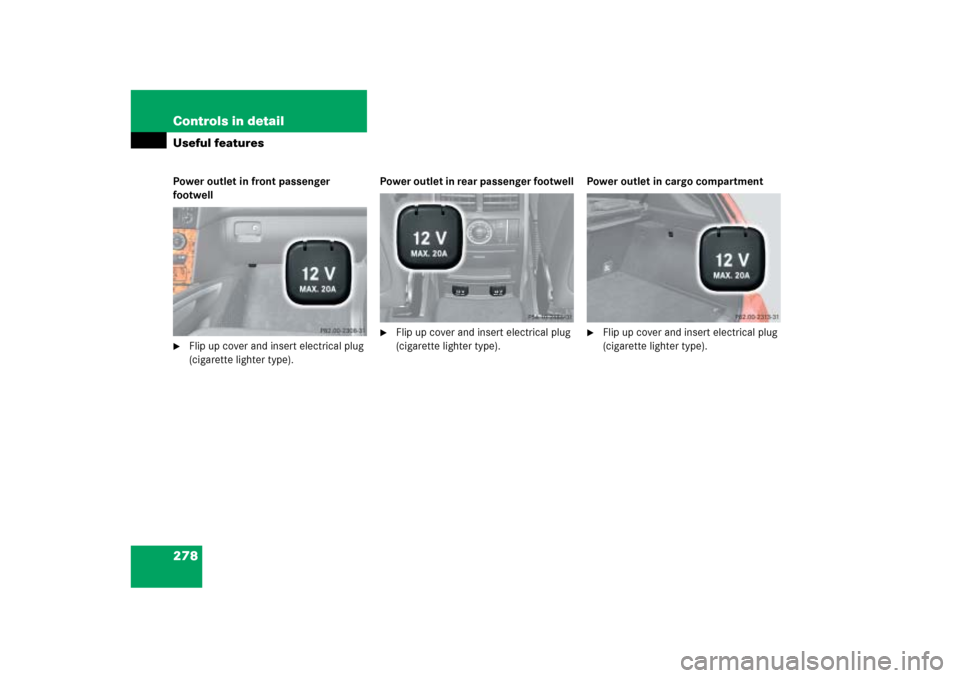
278 Controls in detailUseful featuresPower outlet in front passenger
footwell�
Flip up cover and insert electrical plug
(cigarette lighter type).Power outlet in rear passenger footwell
�
Flip up cover and insert electrical plug
(cigarette lighter type).Power outlet in cargo compartment
�
Flip up cover and insert electrical plug
(cigarette lighter type).
Page 280 of 539

279 Controls in detail
Useful features
Floormats*
1Retainer pin
2Eyelet
Removing
�
Pull floormat off of retainer pins1.
�
Remove the floormat.
Installing
�
Lay down the floormat.
�
Press the floormat eyelets2 onto re-
tainer pins1.
Telephone*
Radio transmitters, such as a portable tele-
phone or a citizens band unit, should only
be used inside the vehicle if they are con-
nected to an antenna that is installed on
the outside of the vehicle.
The external antenna must be approved by
Mercedes-Benz. Please contact an autho-
rized Mercedes-Benz Light Truck Center
for information on the installation of an ap-
proved external antenna. Refer to the radio
transmitter operation instructions regard-
ing use of an external antenna.
Warning!
G
Whenever you are using floormats, make
sure there is enough clearance and that the
floormats are securely fastened.
Floormats should always be securely fas-
tend using eyelets
2
and retainer pins
1
.
Before driving off, check that the floormats
are securely in place and adjust them if nec-
essary. A loose floormat could slip and
hinder proper functioning of the pedals.
Do not place several floormats on top of
each other as this may impair pedal move-
ment.
iTo install or remove the floormat more
easily, move the driver’s seat or front
passenger seat as far to the rear as
possible (
�page 39).
Warning!
G
Never operate radio transmitters equipped
with a built-in or attached antenna (i.e. with-
out being connected to an external antenna)
from inside the vehicle while the engine is
running. Doing so could lead to a malfunc-
tion of the vehicle’s electronic system, pos-
sibly resulting in an accident and/or serious
personal injury.