Page 248 of 419
232
3-5. Other interior features
Garage door opener
The garage door opener (HomeLink Universal Transceiver) is manufactured
under license from HomeLink.
Programming the HomeLink (for U.S.A. owners)
The HomeLink
compatible transceiver in your vehicle has 3 buttons
which can be programmed to operate 3 different devices. Refer to the
programming method below appropriate for the device.
Buttons
Indicator light
■ P
rogramming the HomeLink
Point the remote control for the device 1 to 3 in. (25 to 75 mm)
from the HomeLink
control buttons.
Keep the indicator light on the HomeLink in view while programming.
The garage door opener can be programmed to operate garage doors, gates,
entry doors, door locks, home lighting systems, security systems, and other
devices.
1
2
Page 249 of 419
233
3-5. Other interior features
3
Interior features
Simultaneously press and hold the
transmitter button along with one
of the HomeLink
buttons.
When the indicator light on the
Ho
meLink changes from a slow
to a rapid flash after 20 seconds,
you can release both buttons.
Test the operation of the HomeLink
by pressing the newly pro -
grammed button.
If programming a garage door opener, check to see if the garage door
opens and closes. If the garage door does not operate, see if your
garage transmitter is of the “Rolling Code” type. Press and hold the pro-
grammed HomeLink
button. The garage door has the rolling code
feature if the indicator light (on the HomeLink) flashes rapidly and
then remains lit after 2 seconds. If your transmitter is the “Rolling Code”
type, proceed to the heading “Pro gramming a rolling code system”.
Repeat the steps for each remaining HomeLink button to pro-
gram another device.
Page 251 of 419

235
3-5. Other interior features
3
Interior features
■Programming an entrance gate (for U.S.A. owners)/Programming
all devices in the Canadian market
Point the remote control for the device 1 to 3 in. (25 to 75 mm)
from the HomeLink
control buttons.
Keep the indicator light on the HomeLink in view while programming.
Press and hold the selected HomeLink button.
Repeatedly press and release (c y
cle) the device remote control
button every two seconds until step is complete.
When the indicator light on the HomeLink
compatible trans -
ceiver start to flashing rapidly, release the buttons.
Press the newly programmed HomeLink
button to see if it oper -
ates the device.
Repeat the steps for each remaining HomeLink
button to pro -
gram another device.
■ P
rogramming other devices
To program other devices such as home security s
ystems, home door
locks or lighting, contact your auth orized Lexus dealer for assistance.
■ R
eprogramming a button
The individual HomeLink
buttons cannot be erased but can be repro -
grammed. To reprogram a button, follo
w the “Basic programming”
instructions.
4
Page 252 of 419

236
3-5. Other interior features
Operating the HomeLink
Press the appropriate HomeLink button. The HomeLink indicator
light on the HomeLink
transceiver should turn on.
The HomeLink continues to send a signal for up to 20 seconds as long as
the button is pressed.
Erasing the entire HomeLink memory (all three programs)
Press and hold down the 2 outside buttons for 20 seconds until the
indicator light flashes.
If you sell your vehicle, be sure to erase the programs stored in the
HomeLink memory.
■Before programming
●Install a new battery in the transmitter.
●The battery side of the transmitter must be pointed away from the HomeLink.
■Certification for the garage door opener
This device complies with Part 15 of the F
CC Rules and with RSS-210 of the IC
Rules.
Operation is subject to the following two co
nditions: (1) This device may not cause
harmful interference, and (2) this device must accept any interference that may be
received, including interference that may cause undesired operation. WARNING:
This transmitter has been tested and comp lies with FCC and IC rules. Changes or
modifications not expressly approved by the party responsible for compliance
could void the user’s authority to operate the device.
Page 259 of 419

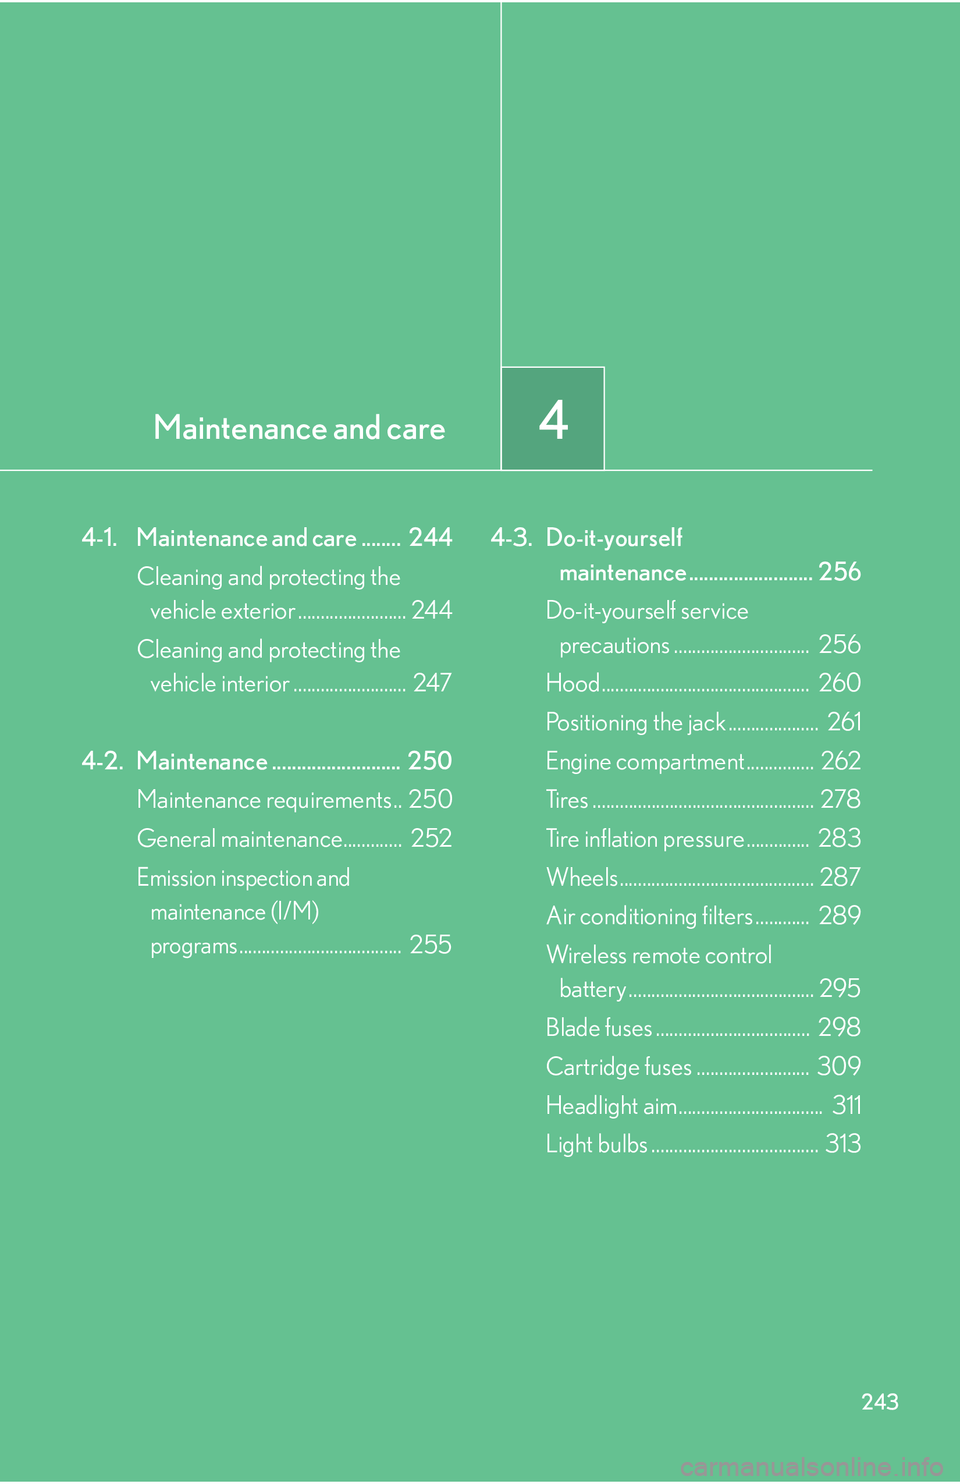
4Maintenance and care
243
4-1. Maintenance and care ........ 244
Cleaning and protecting the vehicle exterior ........................ 244
Cleaning and protecting the vehicle interior ......................... 247
4-2. Maintenance .......................... 250 Maintenance requirements.. 250
General maintenance............. 252
Emission inspection and
maintenance (I/M)
programs.................................... 255 4-3. Do-it-yourself
maintenance ......................... 256
Do-it-yourself service
precautions .............................. 256
Hood.............................................. 260
Positioning the jack .................... 261
Engine compartment ............... 262
Tires ................................................. 278
Tire inflation pressure .............. 283
Wheels ........................................... 287
Air conditioning filters
............ 289
Wireless remote control battery ......................................... 295
Blade fuses .................................. 298
Cartridge fuses ......................... 309
Headlight aim................................ 311
Light bulbs ..................................... 313
Page 262 of 419
246
4-1. Maintenance and care
CAUTION
Exhaust gasses cause the exhaust pipe to become quite hot.
When washing the vehicle, be careful not to touch the pipe until it has cooled suffi-
ciently, as touching a hot exhaust pipe can cause burns.
NOTICE
■To prevent damage to the antenna
Remove the antenna before driving through an automatic car wash.
■To protect your vehicle’s painted surfaces
Do not use organic cleaners su ch
as benzene or gasoline.
■Cleaning the exterior lights
Wash carefully. Do not use organic substances or scrub the exterior light a hard
br
ush. This may damage the surfaces of the lights.
Page 265 of 419

249
4-1. Maintenance and care
4
Maintenance and care
NOTICE
■Cleaning detergents
Do not use organic substances such as benzine, alcohol, gasoline, or alkaline or
ac
id solutions as they may discolor the ve hicle interior or cause streaks or damage
to painted surfaces.
■Preventing damage to leather surfaces
Observe the following precautions to avoid d
amage to and deterioration of leather
surfaces.
• Remove any dust or dirt on leather surfaces immediately.
• Do not expose the vehicle to direct sunlight for extended periods of time. Park th
e vehicle in the shade, especially during summer.
• Do not place items made of vinyl, plastic, or that contain wax on the upholstery, as the
y may stick to the leather surface if the vehicle interior heats up signifi -
cantly.
■Water on the floor
Do not soak the floor carpet with wa ter
or other liquids when cleaning.
Vehicle systems such as electrical cont r
ol systems and the audio system may be
damaged if liquids come into contact with them. In addition, water may cause the
body to rust.
■Cleaning the inside of the rear window
Be careful not to scratch or damage the heater wires or connectors.
Page 269 of 419
253
4-2. Maintenance
4
Maintenance and care
Vehicle interior
ItemsCheck points
Accelerator pedal• Moves smoothly
(without uneven pedal effort or catching)?
Automatic transmission
“Park” mechanism• Can hold the vehicle securely on a incline with the selector lever in “P”?
Brake pedal
• Moves smoothly?
• Does it have appropriate clearance and correct amount of free play?
Brakes
• Not pull to one side when applied?
• Loss of brake effectiveness?
• Spongy feeling brake pedal?
• Pedal almost touches floor?
Head restraints• Move smoothly and lock securely?
Indicators/buzzers• Function properly?
Lights• Do all the lights come on?
• Headlights aimed correctly? ( P.311)
Pa r k i n g b r a ke• Moves smoothly?
• Can hold the vehicle securely on a incline?
Seat belts• Does the seat belt system operate smoothly?
• Are the belts undamaged?
Seats• The seat controls operate properly?
Steering wheel
• Moves smoothly?
• Has correct free play?
•No strange noise?