Page 1774 of 3383
DTC P2135 TP SENSOREC-563
C
DE
F
G H
I
J
K L
M A
EC
Revision: November 2009 2006 QX56
Specification data are reference values and are measured between each terminal and ground.
CAUTION:
Do not use ECM ground terminals when measuring input/output voltage. Doing so may result in dam-
age to the ECM's transistor. Use a ground other than ECM terminals, such as the ground.
Diagnostic ProcedureUBS00HCP
1. CHECK GROUND CONNECTIONS
1. Turn ignition switch OFF.
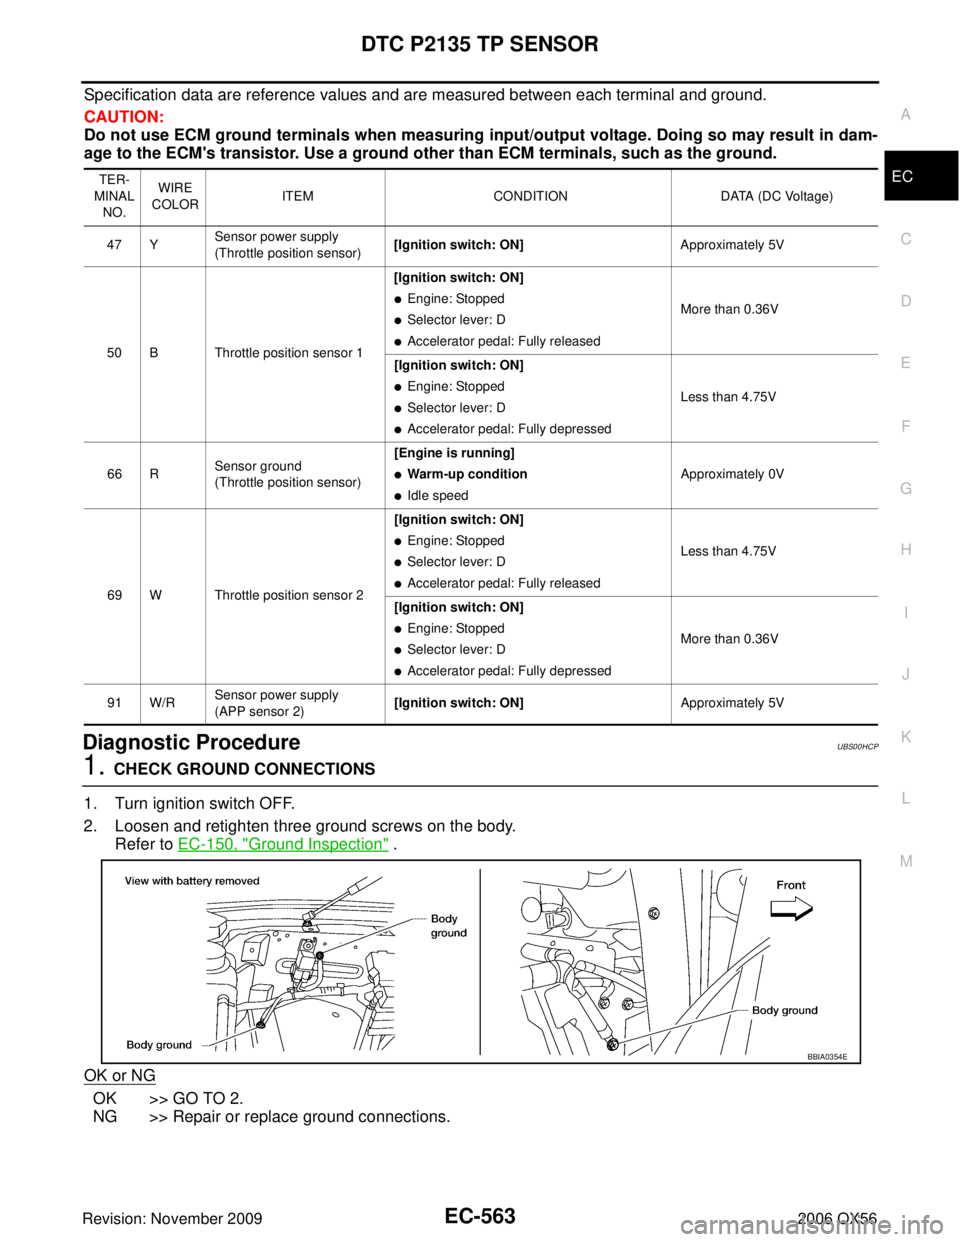
2. Loosen and retighten three ground screws on the body. Refer to EC-150, "
Ground Inspection" .
OK or NG
OK >> GO TO 2.
NG >> Repair or replace ground connections.
TER-
MINAL NO. WIRE
COLOR ITEM
CONDITION DATA (DC Voltage)
47 Y Sensor power supply
(Throttle position sensor) [Ignition switch: ON]
Approximately 5V
50 B Throttle position sensor 1 [Ignition switch: ON]
�Engine: Stopped
�Selector lever: D
�Accelerator pedal: Fully released
More than 0.36V
[Ignition switch: ON]
�Engine: Stopped
�Selector lever: D
�Accelerator pedal: Fully depressed Less than 4.75V
66 R Sensor ground
(Throttle position sensor) [Engine is running]
�Warm-up condition
�Idle speed
Approximately 0V
69 W Throttle position sensor 2 [Ignition switch: ON]
�Engine: Stopped
�Selector lever: D
�Accelerator pedal: Fully released
Less than 4.75V
[Ignition switch: ON]
�Engine: Stopped
�Selector lever: D
�Accelerator pedal: Fully depressed More than 0.36V
91 W/R Sensor power supply
(APP sensor 2) [Ignition switch: ON]
Approximately 5V
BBIA0354E
Page 1781 of 3383
EC-570Revision: November 2009
DTC P2138 APP SENSOR
2006 QX56
Specification data are reference values and are measured between each terminal and ground.
CAUTION:
Do not use ECM ground terminals when measuring input/output voltage. Doing so may result in dam-
age to the ECM's transistor. Use a ground other than ECM terminals, such as the ground.
Diagnostic ProcedureUBS00HCX
1. CHECK GROUND CONNECTIONS
1. Turn ignition switch OFF.
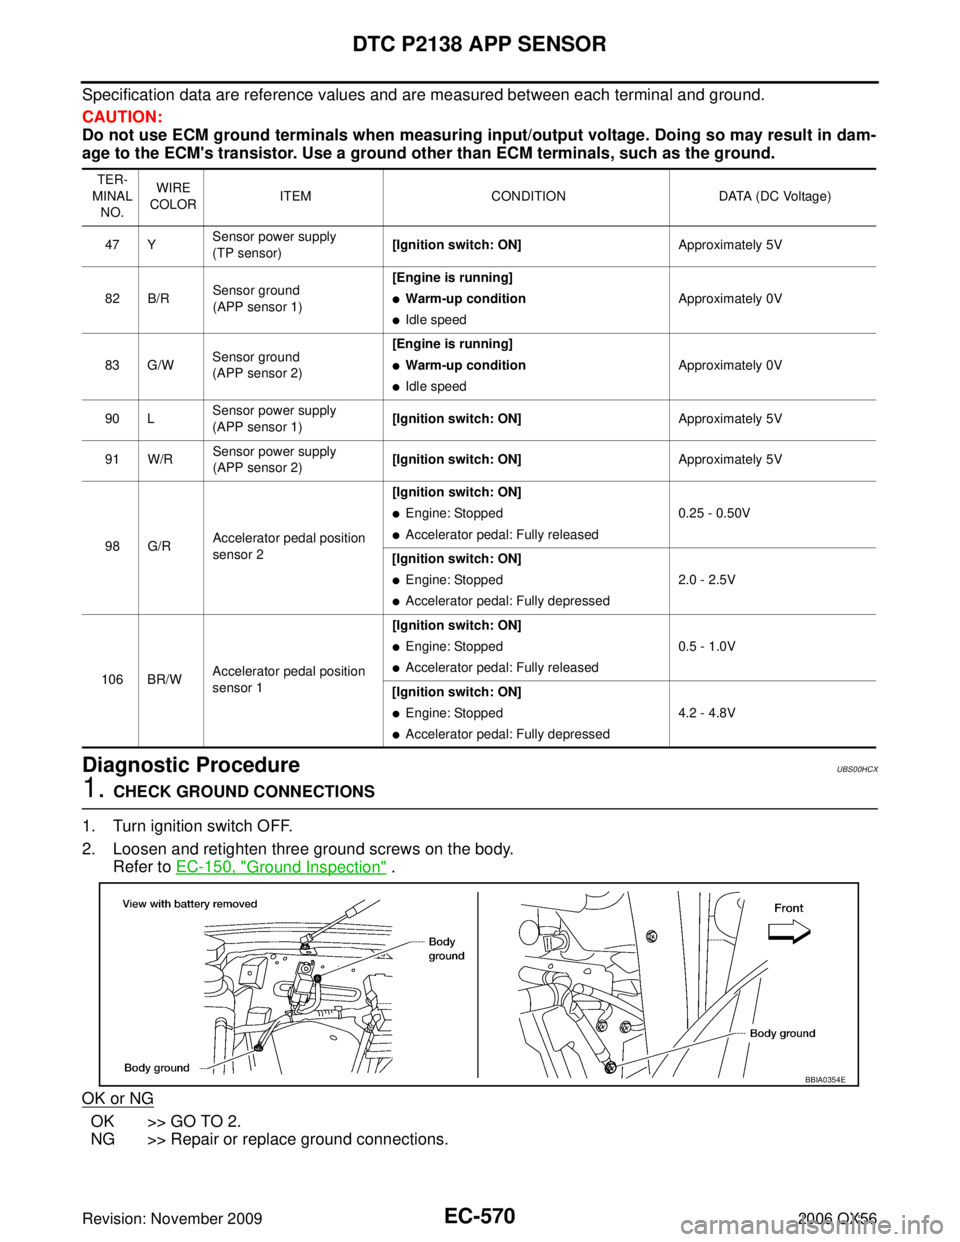
2. Loosen and retighten three ground screws on the body. Refer to EC-150, "
Ground Inspection" .
OK or NG
OK >> GO TO 2.
NG >> Repair or replace ground connections.
TER-
MINAL NO. WIRE
COLOR ITEM
CONDITION DATA (DC Voltage)
47 Y Sensor power supply
(TP sensor) [Ignition switch: ON]
Approximately 5V
82 B/R Sensor ground
(APP sensor 1) [Engine is running]
�Warm-up condition
�Idle speed
Approximately 0V
83 G/W Sensor ground
(APP sensor 2) [Engine is running]
�Warm-up condition
�Idle speed
Approximately 0V
90 L Sensor power supply
(APP sensor 1) [Ignition switch: ON]
Approximately 5V
91 W/R Sensor power supply
(APP sensor 2) [Ignition switch: ON]
Approximately 5V
98 G/R Accelerator pedal position
sensor 2 [Ignition switch: ON]
�Engine: Stopped
�Accelerator pedal: Fully released
0.25 - 0.50V
[Ignition switch: ON]
�Engine: Stopped
�Accelerator pedal: Fully depressed 2.0 - 2.5V
106 BR/W Accelerator pedal position
sensor 1 [Ignition switch: ON]
�Engine: Stopped
�Accelerator pedal: Fully released
0.5 - 1.0V
[Ignition switch: ON]
�Engine: Stopped
�Accelerator pedal: Fully depressed 4.2 - 4.8V
BBIA0354E
Page 1791 of 3383
EC-580Revision: November 2009
DTC P2A00, P2A03 A/F SENSOR 1
2006 QX56
Specification data are reference values and are measured between each terminal and ground.
Pulse signal is measured by CONSULT-II.
CAUTION:
Do not use ECM ground terminals when measuring input/output voltage. Doing so may result in dam-
age to the ECM's transistor. Use a ground other than ECM terminals, such as the ground.
: Average voltage for pulse signal (Actual pulse signal can be confirmed by oscilloscope.)
Diagnostic ProcedureUBS00N7I
1. CHECK GROUND CONNECTIONS
1. Turn ignition switch OFF.
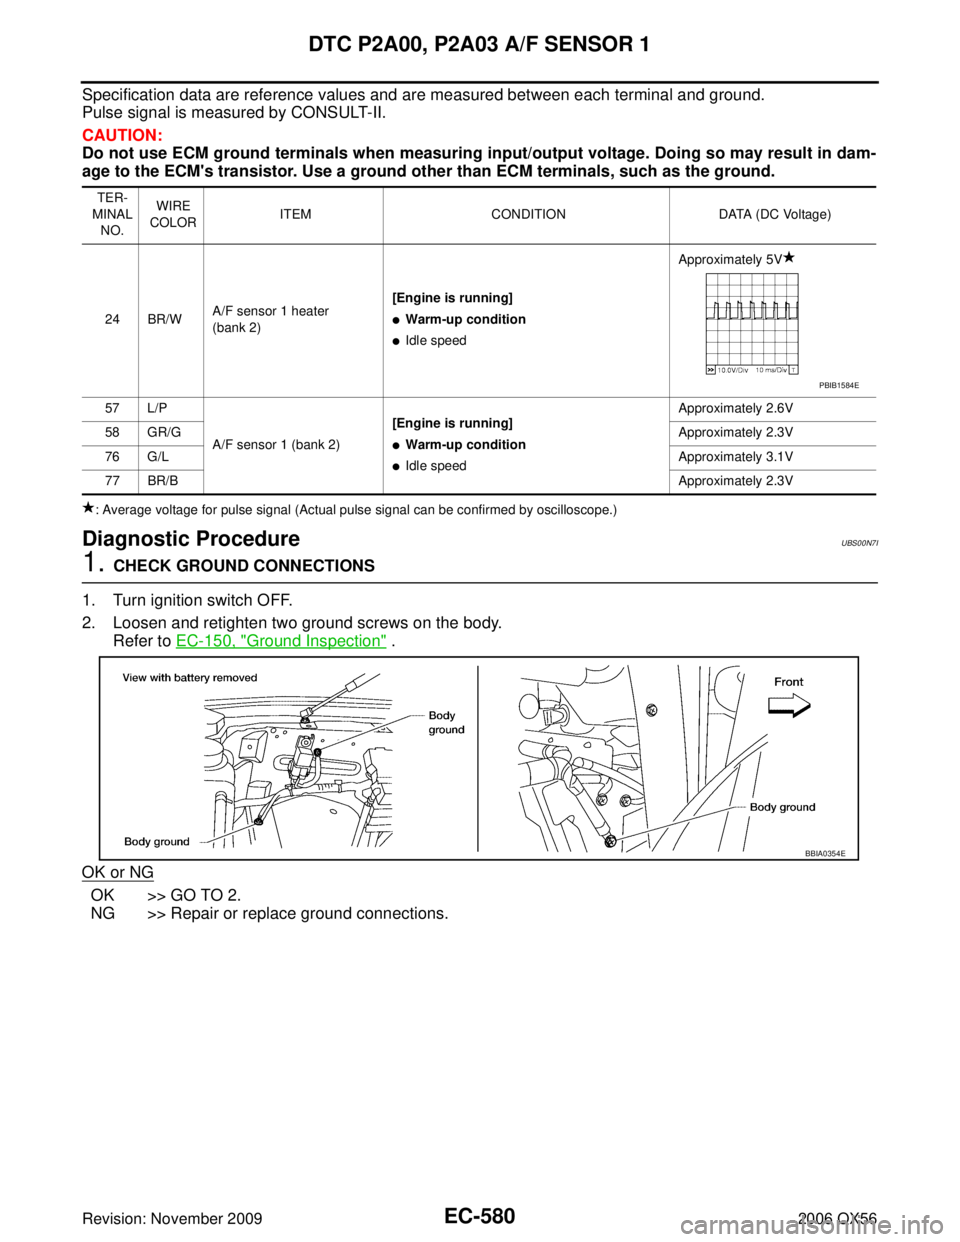
2. Loosen and retighten two ground screws on the body. Refer to EC-150, "
Ground Inspection" .
OK or NG
OK >> GO TO 2.
NG >> Repair or replace ground connections.
TER-
MINAL NO. WIRE
COLOR ITEM
CONDITION DATA (DC Voltage)
24 BR/W A/F sensor 1 heater
(bank 2) [Engine is running]
�Warm-up condition
�Idle speed Approximately 5V
57 L/P A/F sensor 1 (bank 2) [Engine is running]
�Warm-up condition
�Idle speed Approximately 2.6V
58 GR/G Approximately 2.3V
76 G/L Approximately 3.1V
77 BR/B Approximately 2.3V
PBIB1584E
BBIA0354E
Page 1792 of 3383
DTC P2A00, P2A03 A/F SENSOR 1EC-581
C
DE
F
G H
I
J
K L
M A
EC
Revision: November 2009 2006 QX56
2. RETIGHTEN A/F SENSOR 1
1. Loosen and retighten the A/F sensor 1.
>> GO TO 3.
3. CHECK FOR INTAKE AIR LEAK
1. Start engine and run it at idle.
2. Listen for an intake air leak after the mass air flow sensor.
OK or NG
OK >> GO TO 4.
NG >> Repair or replace. Tightening torque: 50 N-m (5.1 kg-m, 37 ft-lb)
BBIA0375E
Page 1807 of 3383
EC-596Revision: November 2009
ELECTRICAL LOAD SIGNAL
2006 QX56
ELECTRICAL LOAD SIGNALPFP:25350
DescriptionUBS00HDL
The electrical load signal (Headlamp switch signal, rear window defogger switch signal, etc.) is transferred
through the CAN communication line from BCM to ECM via IPDM E/R.
CONSULT-II Reference Value in Data Monitor ModeUBS00HDM
Specification data are reference values.
Diagnostic ProcedureUBS00HDN
1. CHECK LOAD SIGNAL CIRCUIT OVERALL FUNCTION-I
1. Turn ignition switch ON.
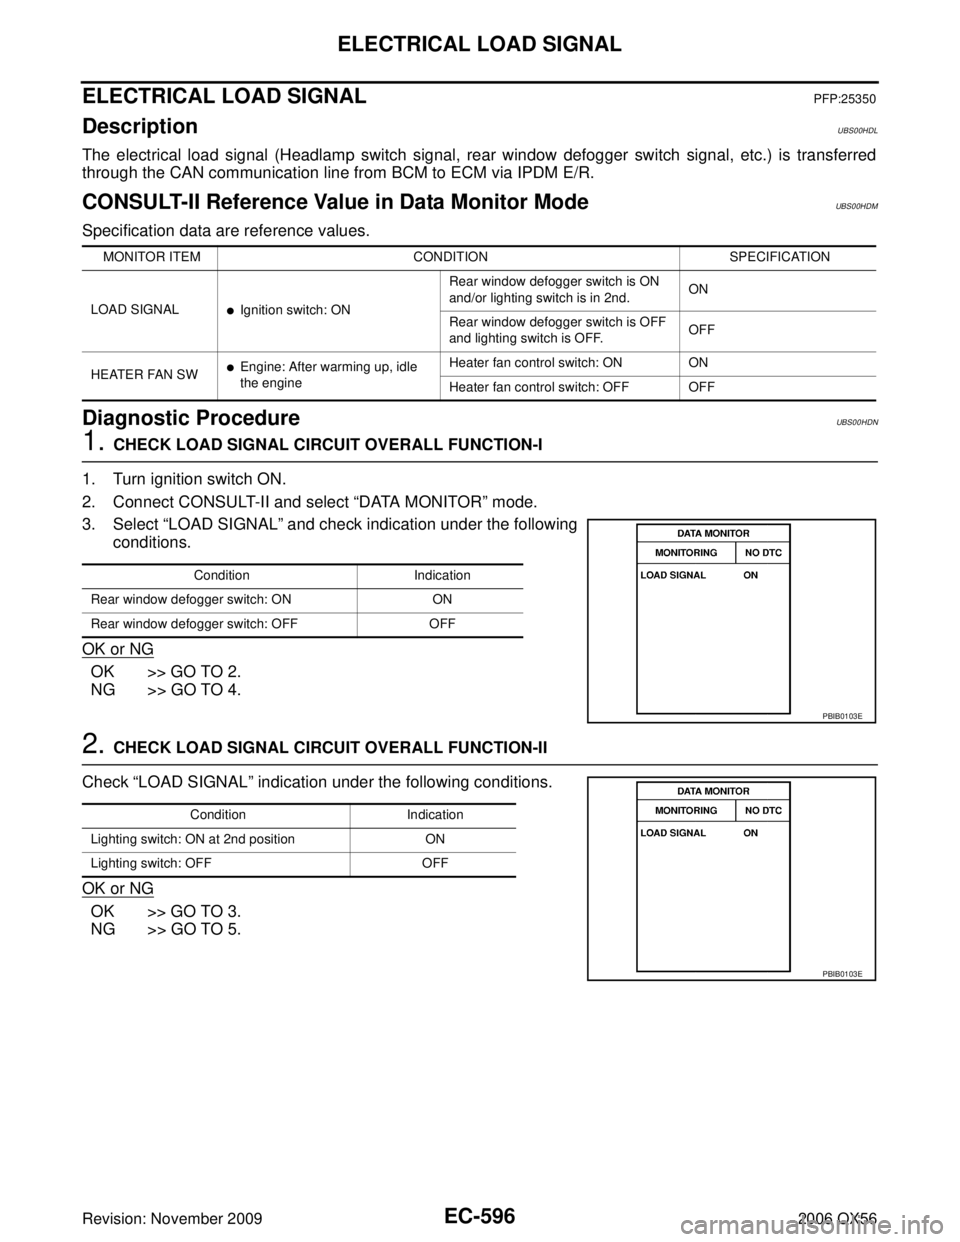
2. Connect CONSULT-II and select “DATA MONITOR ” mode.
3. Select “LOAD SIGNAL ” and check indication under the following
conditions.
OK or NG
OK >> GO TO 2.
NG >> GO TO 4.
2. CHECK LOAD SIGNAL CIRCUIT OVERALL FUNCTION-II
Check “LOAD SIGNAL ” indication under the following conditions.
OK or NG
OK >> GO TO 3.
NG >> GO TO 5.
MONITOR ITEM CONDITION SPECIFICATION
LOAD SIGNAL
�Ignition switch: ON Rear window defogger switch is ON
and/or lighting switch is in 2nd.
ON
Rear window defogger switch is OFF
and lighting switch is OFF. OFF
HEATER FAN SW
�Engine: After warming up, idle
the engine Heater fan control switch: ON
ON
Heater fan control switch: OFF OFF
Condition Indication
Rear window defogger switch: ON ON
Rear window defogger switch: OFF OFF
PBIB0103E
ConditionIndication
Lighting switch: ON at 2nd position ON
Lighting switch: OFF OFF
PBIB0103E
Page 1812 of 3383
FUEL INJECTOREC-601
C
DE
F
G H
I
J
K L
M A
EC
Revision: November 2009 2006 QX56
2. CHECK OVERALL FUNCTION
With CONSULT-II
1. Start engine.
2. Perform “POWER BALANCE ” in “ACTIVE TEST” mode with
CONSULT-II.
3. Make sure that each circuit produces a momentary engine speed drop.
Without CONSULT-II
1. Start engine.
2. Listen to each fuel injector operating sound. Clicking noise should be heard.
OK or NG
OK >> INSPECTION END
NG >> GO TO 3.
PBIB0133E
PBIB1986E
Page 1817 of 3383
EC-606Revision: November 2009
FUEL PUMP
2006 QX56
Specification data are reference values and are measured between each terminal and ground.
CAUTION:
Do not use ECM ground terminals when measuring input/output voltage. Doing so may result in dam-
age to the ECM's transistor. Use a ground other than ECM terminals, such as the ground.
Diagnostic ProcedureUBS00HDE
1. CHECK OVERALL FUNCTION
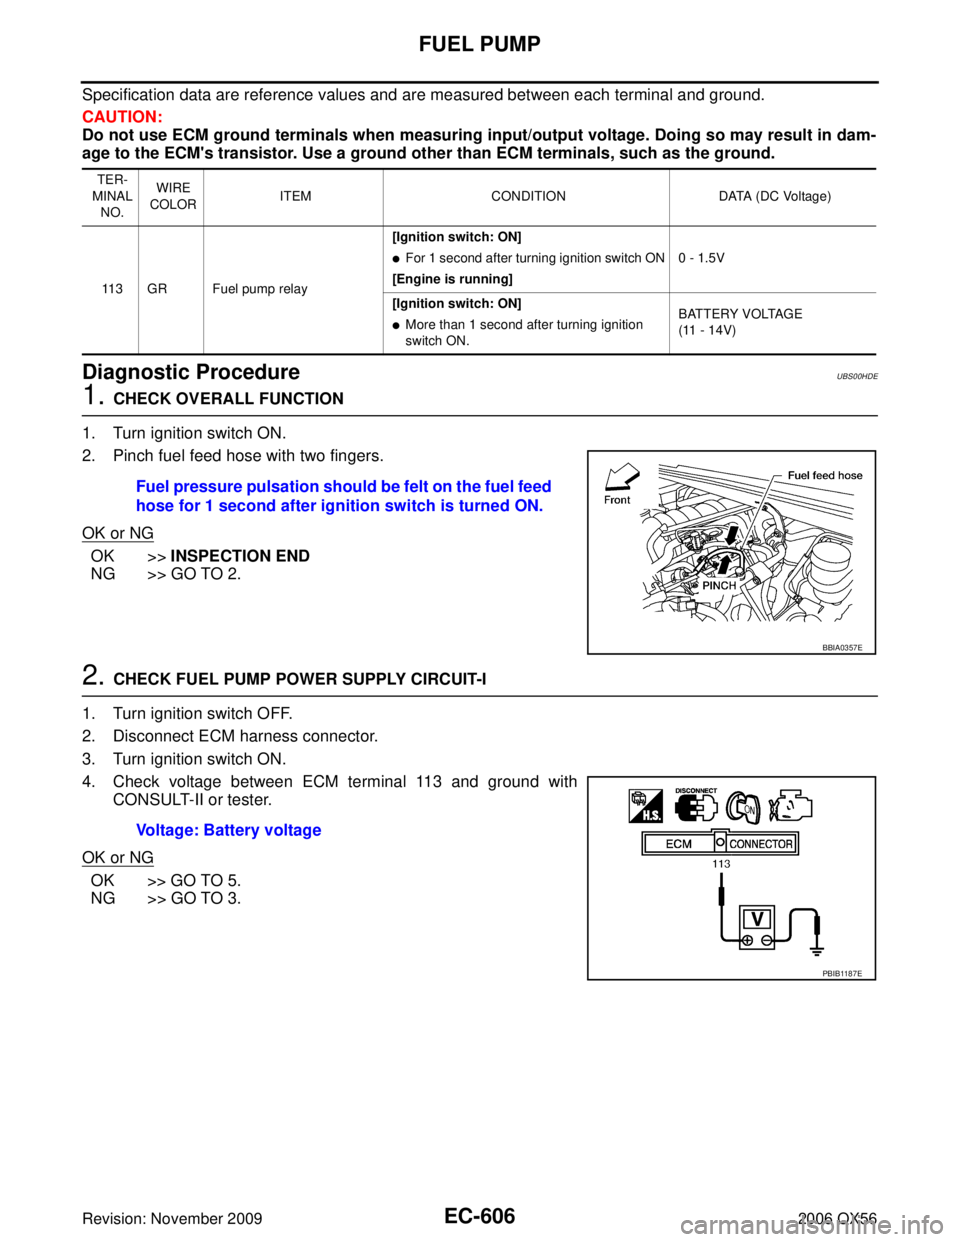
1. Turn ignition switch ON.
2. Pinch fuel feed hose with two fingers.
OK or NG
OK >> INSPECTION END
NG >> GO TO 2.
2. CHECK FUEL PUMP POWER SUPPLY CIRCUIT-I
1. Turn ignition switch OFF.
2. Disconnect ECM harness connector.
3. Turn ignition switch ON.
4. Check voltage between ECM terminal 113 and ground with CONSULT-II or tester.
OK or NG
OK >> GO TO 5.
NG >> GO TO 3.
TER-
MINAL NO. WIRE
COLOR ITEM
CONDITION DATA (DC Voltage)
11 3 G R F u e l p u m p r e l a y [Ignition switch: ON]
�For 1 second after turning ignition switch ON
[Engine is running] 0 - 1.5V
[Ignition switch: ON]
�More than 1 second after turning ignition
switch ON. BATTERY VOLTAGE
(11 - 14V)
Fuel pressure pulsation should be felt on the fuel feed
hose for 1 second after ignition switch is turned ON.
BBIA0357E
Voltage: Battery voltage
PBIB1187E
Page 1835 of 3383
EC-624Revision: November 2009
IGNITION SIGNAL
2006 QX56
Specification data are reference values and are measured between each terminal and ground.
Pulse signal is measured by CONSULT-II.
CAUTION:
Do not use ECM ground terminals when measuring input/output voltage. Doing so may result in dam-
age to the ECM's transistor. Use a ground other than ECM terminals, such as the ground.
: Average voltage for pulse signal (Actual pulse signal can be confirmed by oscilloscope.)
Diagnostic ProcedureUBS00L1C
1. CHECK ENGINE START
Turn ignition switch OFF, and restart engine.
Is engine running?
Ye s o r N o
Yes (With CONSULT-II)>>GO TO 2.
Yes (Without CONSULT-II)>>GO TO 3.
No >> GO TO 4.
2. CHECK OVERALL FUNCTION
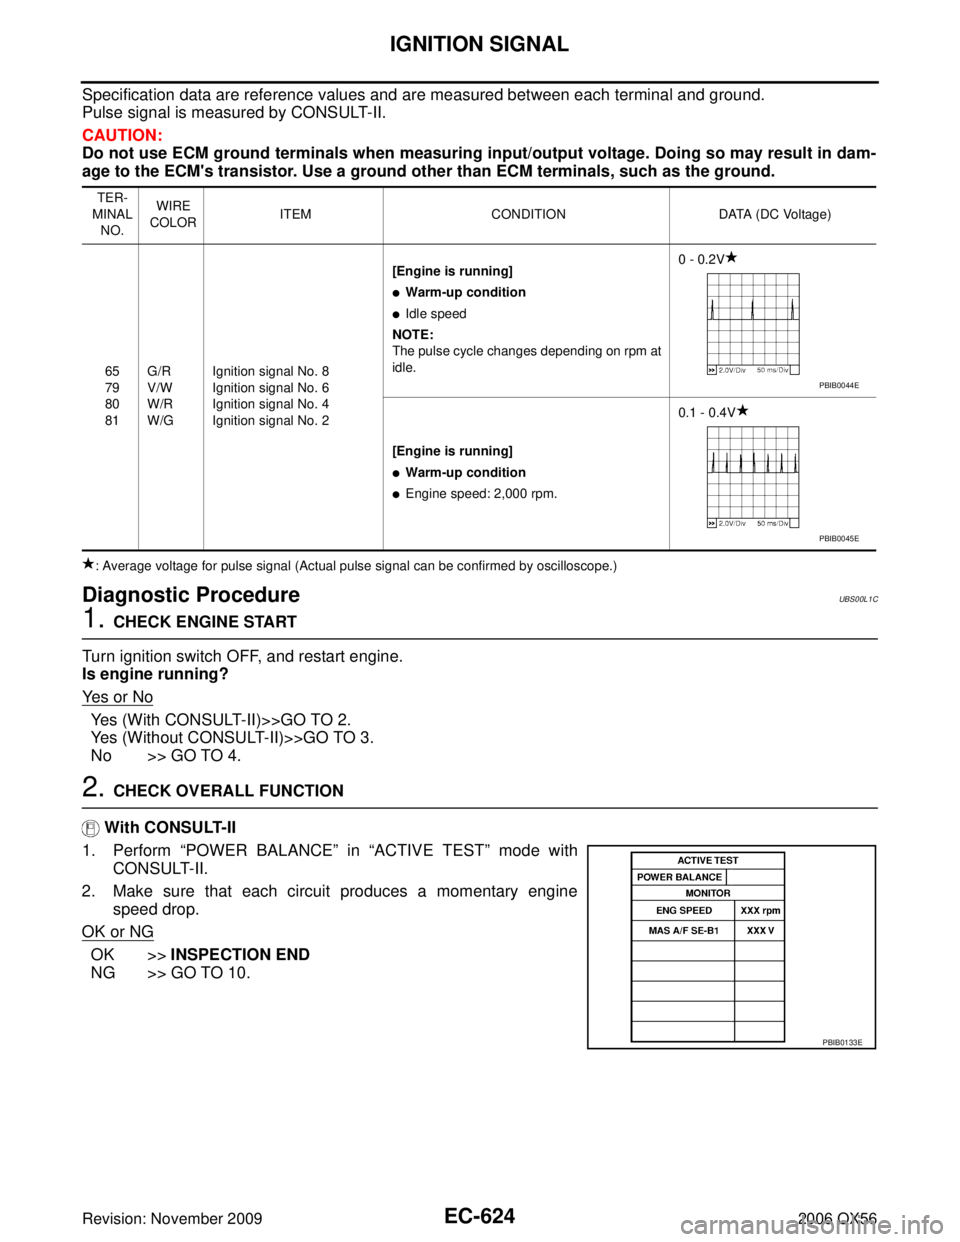
With CONSULT-II
1. Perform “POWER BALANCE ” in “ACTIVE TEST” mode with
CONSULT-II.
2. Make sure that each circuit produces a momentary engine speed drop.
OK or NG
OK >> INSPECTION END
NG >> GO TO 10.
TER-
MINAL NO. WIRE
COLOR ITEM
CONDITION DATA (DC Voltage)
65
79
80
81 G/R
V/W
W/R
W/G Ignition signal No. 8
Ignition signal No. 6
Ignition signal No. 4
Ignition signal No. 2 [Engine is running]
�Warm-up condition
�Idle speed
NOTE:
The pulse cycle changes depending on rpm at
idle. 0 - 0.2V
[Engine is running]
�Warm-up condition
�Engine speed: 2,000 rpm. 0.1 - 0.4V
PBIB0044E
PBIB0045E
PBIB0133E