Page 1328 of 3383
TROUBLE DIAGNOSISEC-117
C
DE
F
G H
I
J
K L
M A
EC
Revision: November 2009 2006 QX56
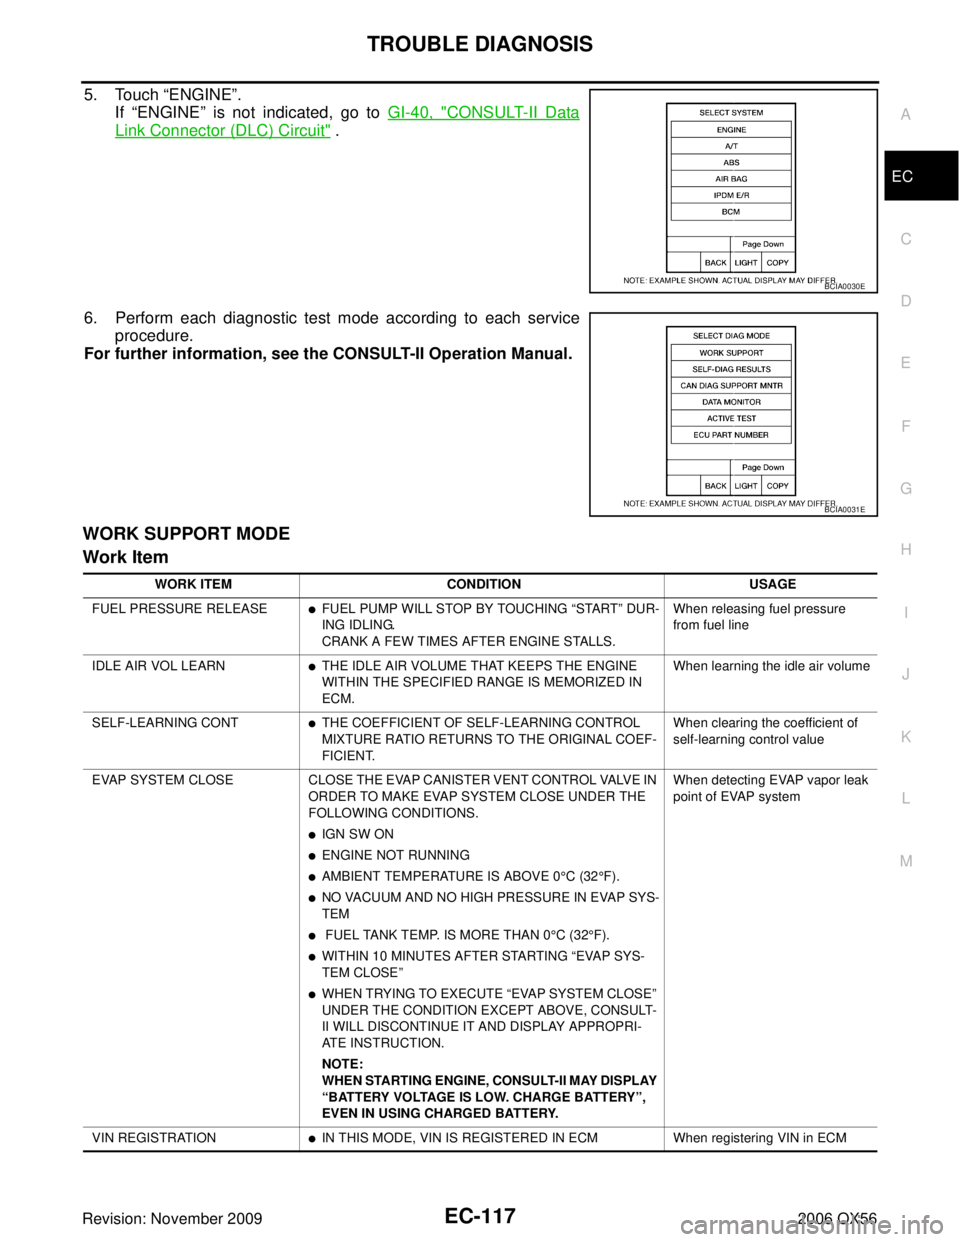
5. Touch “ENGINE”.
If “ENGINE ” is not indicated, go to GI-40, "
CONSULT-II Data
Link Connector (DLC) Circuit" .
6. Perform each diagnostic test mode according to each service procedure.
For further information, see the CONSULT-II Operation Manual.
WORK SUPPORT MODE
Work Item
BCIA0030E
BCIA0031E
WORK ITEM CONDITION USAGE
FUEL PRESSURE RELEASE
�FUEL PUMP WILL STOP BY TOUCHING “START ” DUR-
ING IDLING.
CRANK A FEW TIMES AFTER ENGINE STALLS. When releasing fuel pressure
from fuel line
IDLE AIR VOL LEARN
�THE IDLE AIR VOLUME THAT KEEPS THE ENGINE
WITHIN THE SPECIFIED RANGE IS MEMORIZED IN
ECM. When learning the idle air volume
SELF-LEARNING CONT
�THE COEFFICIENT OF SELF-LEARNING CONTROL
MIXTURE RATIO RETURNS TO THE ORIGINAL COEF-
FICIENT. When clearing the coefficient of
self-learning control value
EVAP SYSTEM CLOSE CLOSE THE EVAP CANISTER VENT CONTROL VALVE IN
ORDER TO MAKE EVAP SYSTEM CLOSE UNDER THE
FOLLOWING CONDITIONS.
�IGN SW ON
�ENGINE NOT RUNNING
�AMBIENT TEMPERATURE IS ABOVE 0 °C (32°F).
�NO VACUUM AND NO HIGH PRESSURE IN EVAP SYS-
TEM
� FUEL TANK TEMP. IS MORE THAN 0 °C (32°F).
�WITHIN 10 MINUTES AFTER STARTING “EVAP SYS-
TEM CLOSE ”
�WHEN TRYING TO EXECUTE “EVAP SYSTEM CLOSE ”
UNDER THE CONDITION EXCEPT ABOVE, CONSULT-
II WILL DISCONTINUE IT AND DISPLAY APPROPRI-
ATE INSTRUCTION.
NOTE:
WHEN STARTING ENGINE, CONSULT-II MAY DISPLAY
“BATTERY VOLTAGE IS LOW. CHARGE BATTERY”,
EVEN IN USING CHARGED BATTERY. When detecting EVAP vapor leak
point of EVAP system
VIN REGISTRATION
�IN THIS MODE, VIN IS REGISTERED IN ECM When registering VIN in ECM
Page 1355 of 3383
EC-144Revision: November 2009
TROUBLE DIAGNOSIS FOR INTERMITTENT INCIDENT
2006 QX56
TROUBLE DIAGNOSIS FOR INTERMITTENT INCIDENTPFP:00006
DescriptionUBS00L0J
Intermittent incidents may occur. In many cases, the malfunction resolves itself (the part or circuit function
returns to normal without intervention). It is important to realize that the symptoms described in the customer's
complaint often do not recur on (1st trip) DTC visits. Realize also that the most frequent cause of intermittent
incidents occurrences is poor electrical connections. Because of this, the conditions under which the incident
occurred may not be clear. Therefore, circuit checks made as part of the standard diagnostic procedure may
not indicate the specific malfunctioning area.
Common Intermittent Incidents Report Situations
Diagnostic ProcedureUBS00L0K
1. INSPECTION START
Erase (1st trip) DTCs. Refer to EC-61, "
HOW TO ERASE EMISSION-RELATED DIAGNOSTIC INFORMA-
TION" .
>> GO TO 2.
2. CHECK GROUND TERMINALS
Check ground terminals for corroding or loose connection.
Refer to EC-150, "
Ground Inspection" .
OK or NG
OK >> GO TO 3.
NG >> Repair or replace.
3. SEARCH FOR ELECTRICAL INCIDENT
Perform GI-28, "
How to Perform Efficient Diagnosis for an Electrical Incident" , “INCIDENT SIMULATION
TESTS”.
OK or NG
OK >> GO TO 4.
NG >> Repair or replace.
4. CHECK CONNECTOR TERMINALS
Refer to GI-25, "
How to Check Terminal" , “HOW TO PROBE CONNECTORS ”, “How to Check Enlarged Con-
tact Spring of Terminal ”.
OK or NG
OK >> INSPECTION END
NG >> Repair or replace connector.
STEP in Work Flow Situation
2 The CONSULT-II is used. The SELF-DIAG RESULTS screen shows time data other than [0] or [1t].
3 or 4 The symptom described by the customer does not recur.
5 (1st trip) DTC does not appear during the DTC Confirmation Procedure.
10 The Diagnostic Procedure for PXXXX does not indicate the malfunctioning area.
Page 1361 of 3383
EC-150Revision: November 2009
POWER SUPPLY AND GROUND CIRCUIT
2006 QX56
Ground Inspection UBS00H0H
Ground connections are very important to the proper operation of electrical and electronic circuits. Ground
connections are often exposed to moisture, dirt and other corrosive elements. The corrosion (rust) can
become an unwanted resistance. This unwanted resistance can change the way a circuit works.
Electronically controlled circuits are very sensitive to proper grounding. A loose or corroded ground can drasti-
cally affect an electronically controlled circuit. A poor or corroded ground can easily affect the circuit. Even
when the ground connection looks clean, there can be a thin film of rust on the surface.
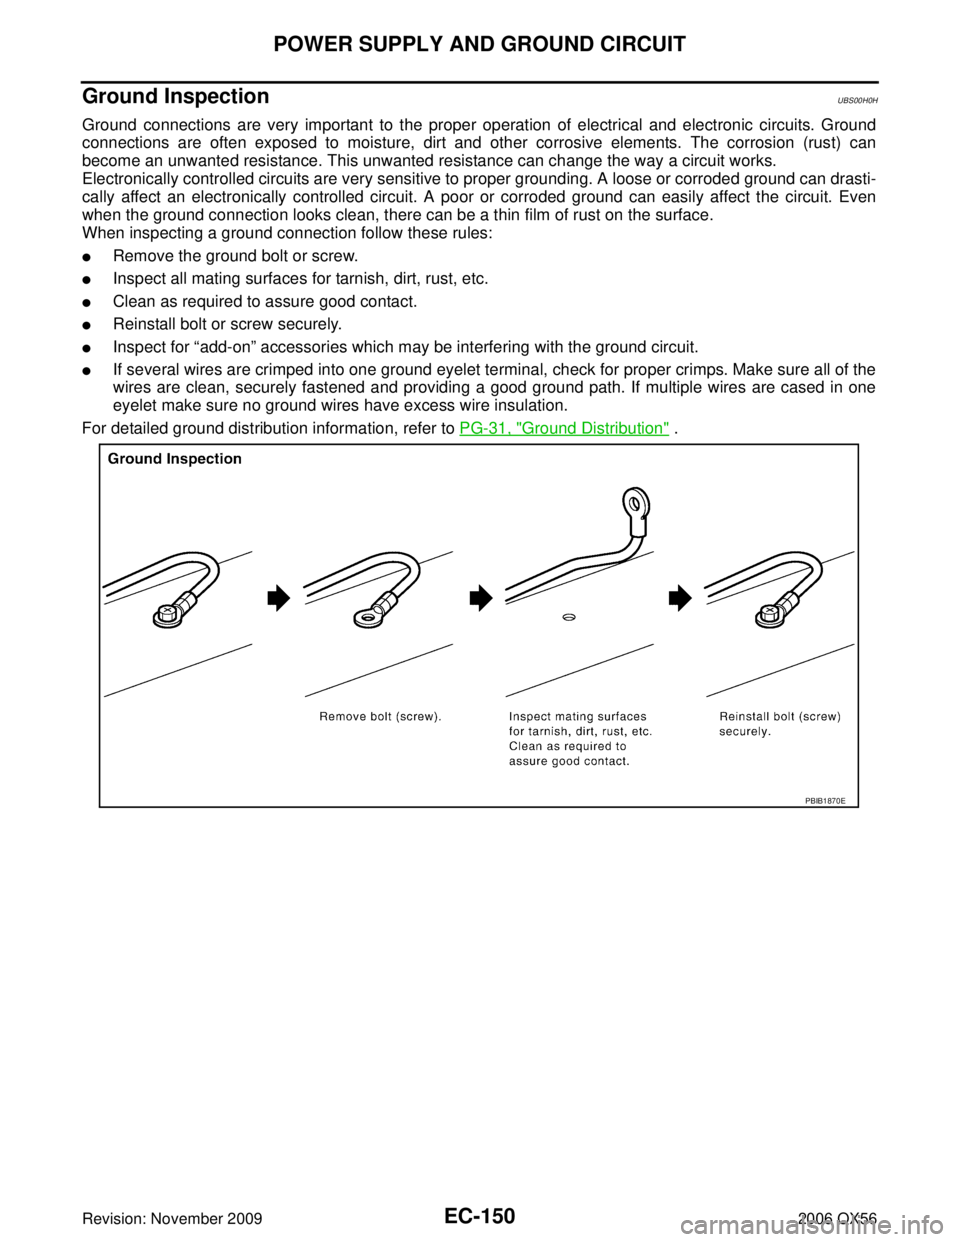
When inspecting a ground connection follow these rules:
�Remove the ground bolt or screw.
�Inspect all mating surfaces for tarnish, dirt, rust, etc.
�Clean as required to assure good contact.
�Reinstall bolt or screw securely.
�Inspect for “add-on” accessories which may be interfering with the ground circuit.
�If several wires are crimped into one ground eyelet terminal, check for proper crimps. Make sure all of the
wires are clean, securely fastened and providing a good ground path. If multiple wires are cased in one
eyelet make sure no ground wires have excess wire insulation.
For detailed ground distribution information, refer to PG-31, "
Ground Distribution" .
PBIB1870E
Page 1384 of 3383
DTC P0101 MAF SENSOREC-173
C
DE
F
G H
I
J
K L
M A
EC
Revision: November 2009 2006 QX56
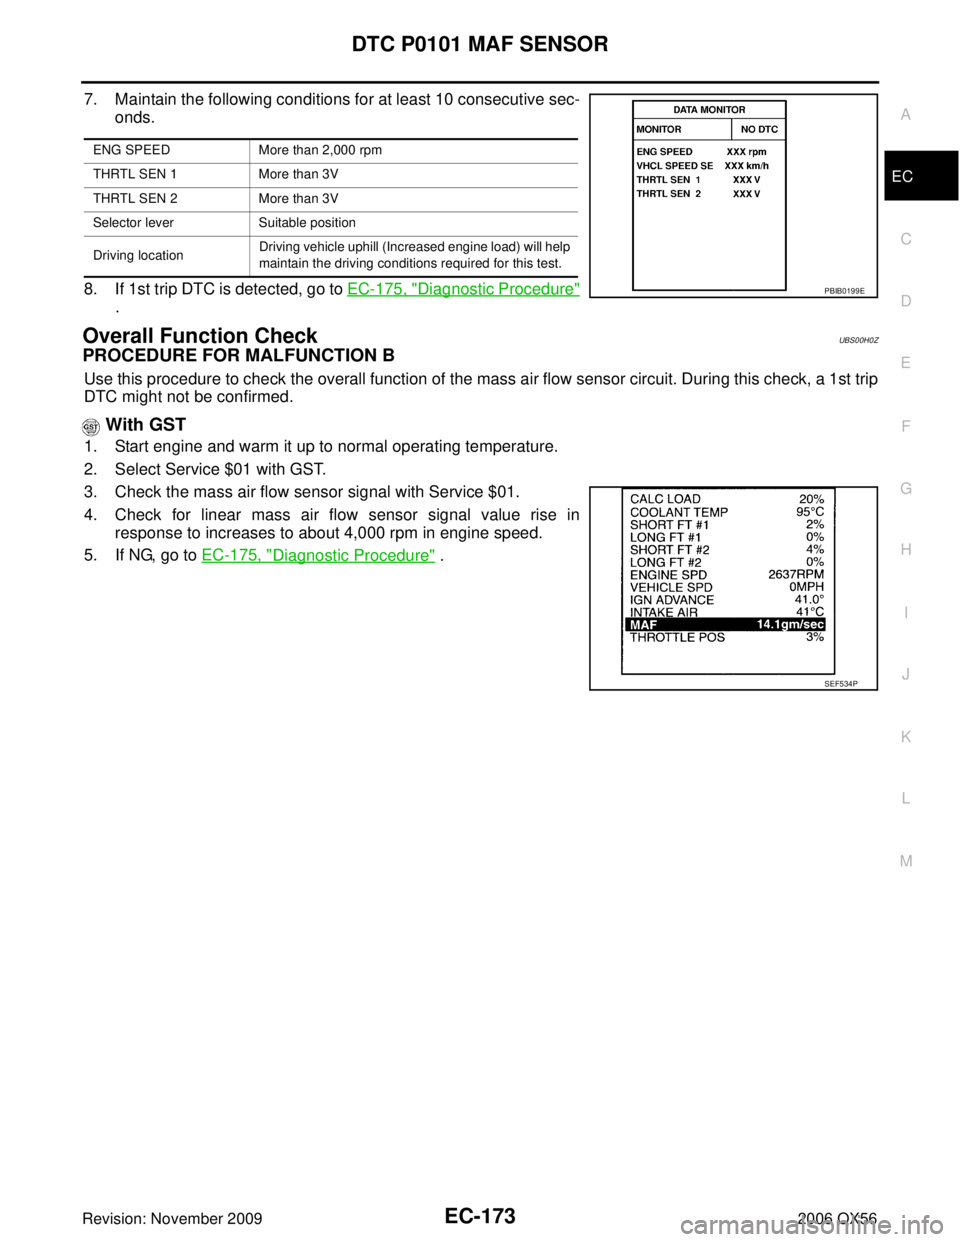
7. Maintain the following conditions for at least 10 consecutive sec-
onds.
8. If 1st trip DTC is detected, go to EC-175, "
Diagnostic Procedure"
.
Overall Function CheckUBS00H0Z
PROCEDURE FOR MALFUNCTION B
Use this procedure to check the overall function of the mass air flow sensor circuit. During this check, a 1st trip
DTC might not be confirmed.
With GST
1. Start engine and warm it up to normal operating temperature.
2. Select Service $01 with GST.
3. Check the mass air flow sensor signal with Service $01.
4. Check for linear mass air flow sensor signal value rise in
response to increases to about 4,000 rpm in engine speed.
5. If NG, go to EC-175, "
Diagnostic Procedure" .
ENG SPEED More than 2,000 rpm
THRTL SEN 1 More than 3V
THRTL SEN 2 More than 3V
Selector lever Suitable position
Driving location Driving vehicle uphill (Increased engine load) will help
maintain the driving conditions required for this test.
PBIB0199E
SEF534P
Page 1420 of 3383
DTC P0127 IAT SENSOREC-209
C
DE
F
G H
I
J
K L
M A
EC
Revision: November 2009 2006 QX56
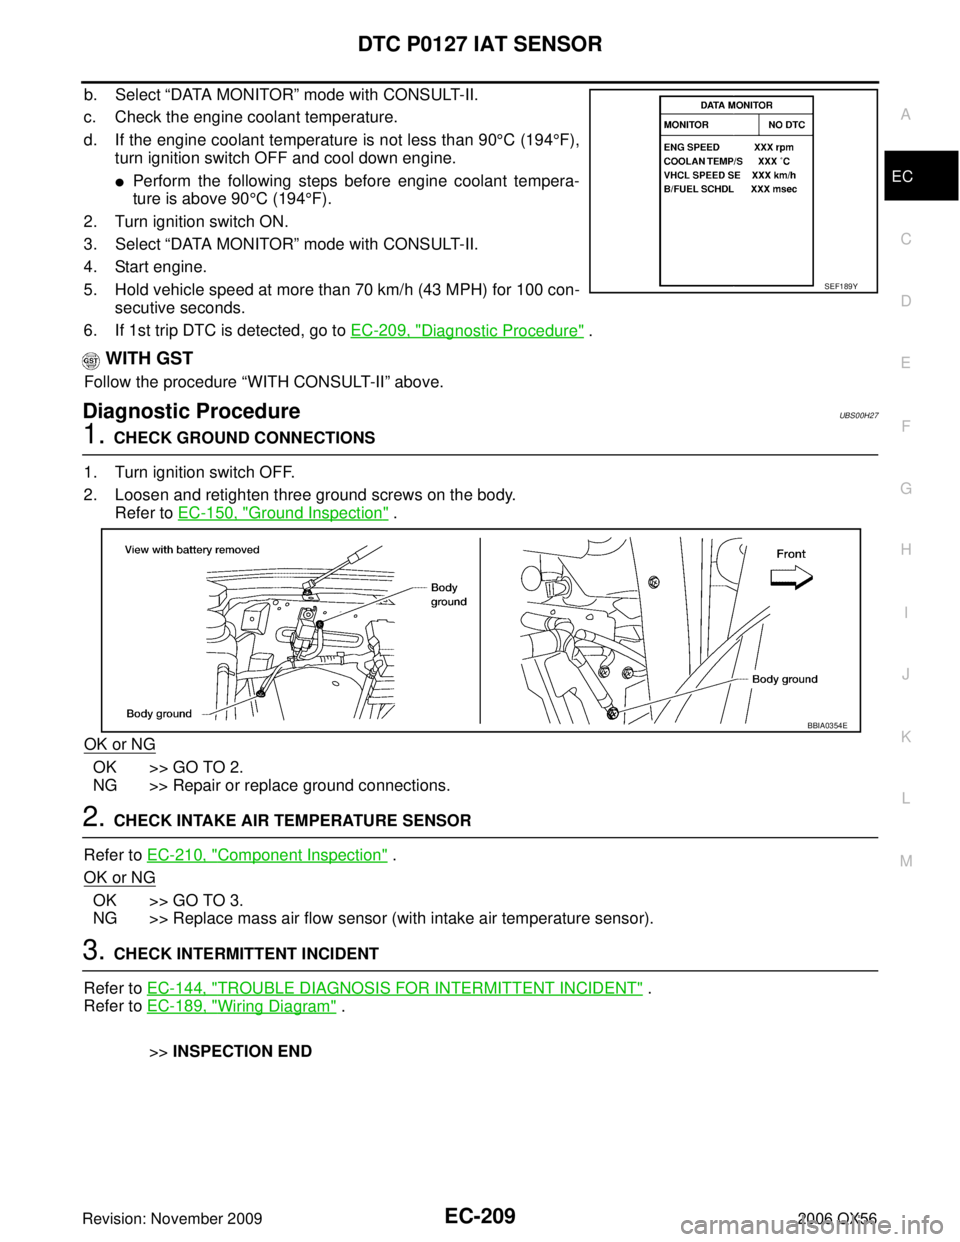
b. Select “DATA MONITOR ” mode with CONSULT-II.
c. Check the engine coolant temperature.
d. If the engine coolant temperature is not less than 90 °C (194 °F),
turn ignition switch OFF and cool down engine.
�Perform the following steps before engine coolant tempera-
ture is above 90 °C (194 °F).
2. Turn ignition switch ON.
3. Select “DATA MONITOR ” mode with CONSULT-II.
4. Start engine.
5. Hold vehicle speed at more than 70 km/h (43 MPH) for 100 con- secutive seconds.
6. If 1st trip DTC is detected, go to EC-209, "
Diagnostic Procedure" .
WITH GST
Follow the procedure “WITH CONSULT-II” above.
Diagnostic ProcedureUBS00H27
1. CHECK GROUND CONNECTIONS
1. Turn ignition switch OFF.
2. Loosen and retighten three ground screws on the body. Refer to EC-150, "
Ground Inspection" .
OK or NG
OK >> GO TO 2.
NG >> Repair or replace ground connections.
2. CHECK INTAKE AIR TEMPERATURE SENSOR
Refer to EC-210, "
Component Inspection" .
OK or NG
OK >> GO TO 3.
NG >> Replace mass air flow sensor (with intake air temperature sensor).
3. CHECK INTERMITTENT INCIDENT
Refer to EC-144, "
TROUBLE DIAGNOSIS FOR INTERMITTENT INCIDENT" .
Refer to EC-189, "
Wiring Diagram" .
>> INSPECTION END
SEF189Y
BBIA0354E
Page 1422 of 3383
DTC P0128 THERMOSTAT FUNCTIONEC-211
C
DE
F
G H
I
J
K L
M A
EC
Revision: November 2009 2006 QX56
DTC P0128 THERMOSTAT FUNCTIONPFP:21200
On Board Diagnosis LogicUBS00H2A
Engine coolant temperature has not risen enough to open the thermostat even though the engine has run long
enough.
This is due to a leak in the seal or the thermostat stuck open.
DTC Confirmation ProcedureUBS00H2B
NOTE:
If DTC Confirmation Procedure has been previously conducted, always turn ignition switch OFF and wait at
least 10 seconds before conducting the next test.
TESTING CONDITION:
�For best results, perform at ambient temperature of –10°C (14 °F) or higher.
�For best results, perform at engine coolant temperature of –10 °C (14 °F) to 60 °C (140 °F).
WITH CONSULT-II
1. Replace thermostat with new one. Refer to CO-21, "THERMOSTAT AND WATER PIPING" . Use only a
genuine NISSAN thermostat as a replacement. If an incorrect thermostat is used, the MIL may come on.
2. Turn ignition switch ON.
3. Select “COOLAN TEMP/S ” in “DATA MONITOR ” mode with CONSULT-II.
4. Check that the “COOLAN TEMP/S” is above 60°C (140 °F).
If it is below 60 °C (140 °F), go to following step.
If it is above 60 °C (140 °F), cool down the engine to less than 60 °C (140 °F), then retry from step 1.
5. Drive vehicle for 10 consecutive minutes under the following conditions.
If 1st trip DTC is detected, go to EC-211, "
Diagnostic Procedure" .
WITH GST
1. Follow the procedure “WITH CONSULT-II” above.
Diagnostic ProcedureUBS00H2C
1. CHECK ENGINE COOLANT TEMPERATURE SENSOR
Refer to EC-212, "
Component Inspection" .
OK or NG
OK >> INSPECTION END
NG >> Replace engine coolant temperature sensor.
DTC No. Trouble diagnosis name DTC detecting condition Possible cause
P0128
0128 Thermostat function The engine coolant temperature does not
reach to specified temperature even though
the engine has run long enough.
�Thermostat
�Leakage from sealing portion of thermostat
�Engine coolant temperature sensor
VHCL SPEED SE
80 - 120 km/h (50 - 75 MPH)
Page 1435 of 3383
EC-224Revision: November 2009
DTC P0131, P0151 A/F SENSOR 1
2006 QX56
3. Check “A/F SEN1 (B1) ” or “A/F SEN1 (B2) ” indication.
If the indication is constantly approx. 0V, go to EC-228, "
Diag-
nostic Procedure" .
If the indication is not constantly approx. 0V, go to next step.
4. Turn ignition switch OFF, wait at least 10 seconds and then restart engine.
5. Drive and accelerate vehicle to more than 40 km/h (25 MPH) within 20 seconds after restarting engine.
6. Maintain the following conditions for about 20 consecutive sec- onds.
NOTE:
�Keep the accelerator pedal as steady as possible during the cruising.
�If this procedure is not completed within 1 minute after restarting engine at step 4, return to step
4.
7. If 1st trip DTC is displayed, go to EC-228, "
Diagnostic Procedure" .
WITH GST
Follow the procedure “WITH CONSULT-II” above.
ENG SPEED 1,000 - 3,200 rpm
VHCL SPEED SE More than 40 km/h (25 MPH)
B/FUEL SCHDL 1.5 - 9.0 msec
Gear position Suitable position
SEF581Z
Page 1444 of 3383
DTC P0132, P0152 A/F SENSOR 1EC-233
C
DE
F
G H
I
J
K L
M A
EC
Revision: November 2009 2006 QX56
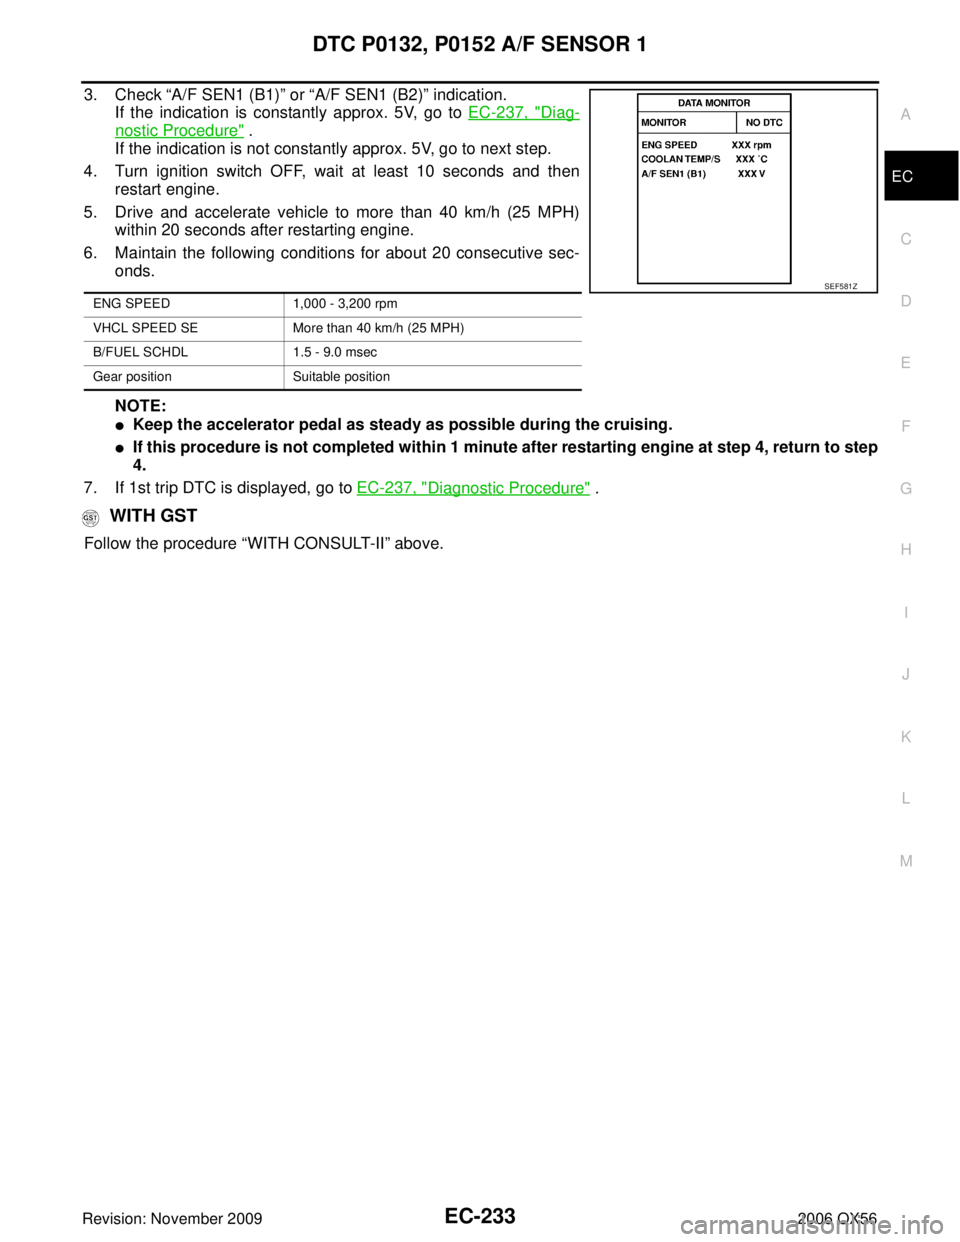
3. Check “A/F SEN1 (B1)” or “A/F SEN1 (B2)” indication.
If the indication is constantly approx. 5V, go to EC-237, "
Diag-
nostic Procedure" .
If the indication is not constantly approx. 5V, go to next step.
4. Turn ignition switch OFF, wait at least 10 seconds and then restart engine.
5. Drive and accelerate vehicle to more than 40 km/h (25 MPH) within 20 seconds after restarting engine.
6. Maintain the following conditions for about 20 consecutive sec- onds.
NOTE:
�Keep the accelerator pedal as steady as possible during the cruising.
�If this procedure is not completed within 1 minute after restarting engine at step 4, return to step
4.
7. If 1st trip DTC is displayed, go to EC-237, "
Diagnostic Procedure" .
WITH GST
Follow the procedure “WITH CONSULT-II” above.
ENG SPEED 1,000 - 3,200 rpm
VHCL SPEED SE More than 40 km/h (25 MPH)
B/FUEL SCHDL 1.5 - 9.0 msec
Gear position Suitable position
SEF581Z