2006 Hyundai Terracan wheel
[x] Cancel search: wheelPage 350 of 539
1CONTROLS AND EQUIPMENT
42
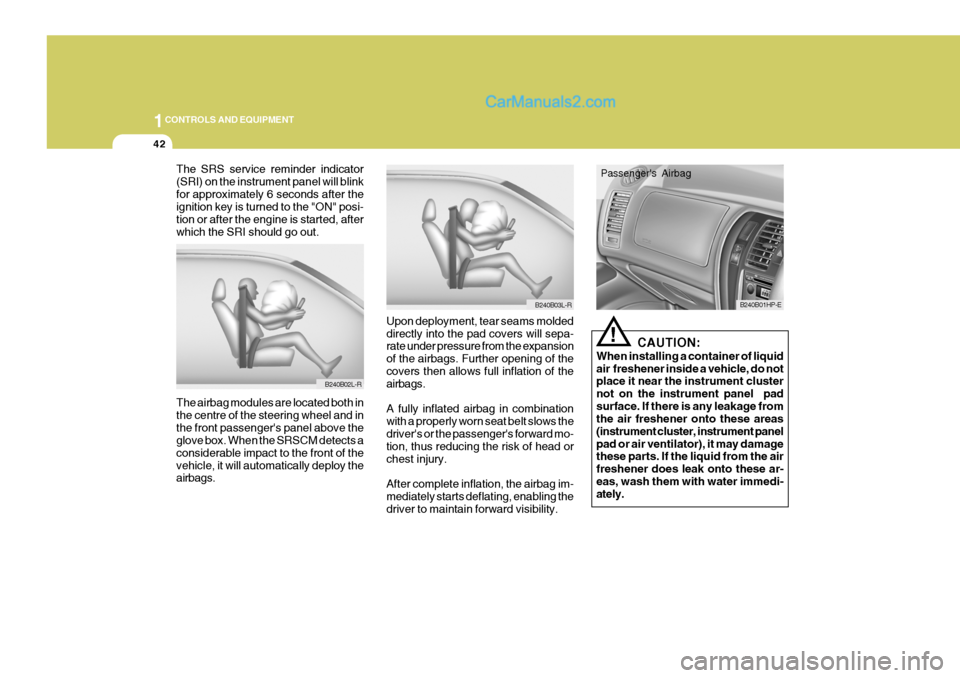
The SRS service reminder indicator (SRI) on the instrument panel will blinkfor approximately 6 seconds after the ignition key is turned to the "ON" posi- tion or after the engine is started, afterwhich the SRI should go out.
Upon deployment, tear seams moldeddirectly into the pad covers will sepa- rate under pressure from the expansion of the airbags. Further opening of the covers then allows full inflation of the airbags. A fully inflated airbag in combination with a properly worn seat belt slows thedriver's or the passenger's forward mo-
tion, thus reducing the risk of head or chest injury. After complete inflation, the airbag im- mediately starts deflating, enabling thedriver to maintain forward visibility.
The airbag modules are located both inthe centre of the steering wheel and inthe front passenger's panel above the glove box. When the SRSCM detects a considerable impact to the front of thevehicle, it will automatically deploy the airbags.
B240B02L-R
B240B03L-R
!
CAUTION:
When installing a container of liquid air freshener inside a vehicle, do not place it near the instrument cluster not on the instrument panel padsurface. If there is any leakage from the air freshener onto these areas (instrument cluster, instrument panelpad or air ventilator), it may damage these parts. If the liquid from the air freshener does leak onto these ar-eas, wash them with water immedi- ately.
B240B01HP-E
Passenger's Airbag
Page 351 of 539
1
CONTROLS AND EQUIPMENT
43
!WARNING:
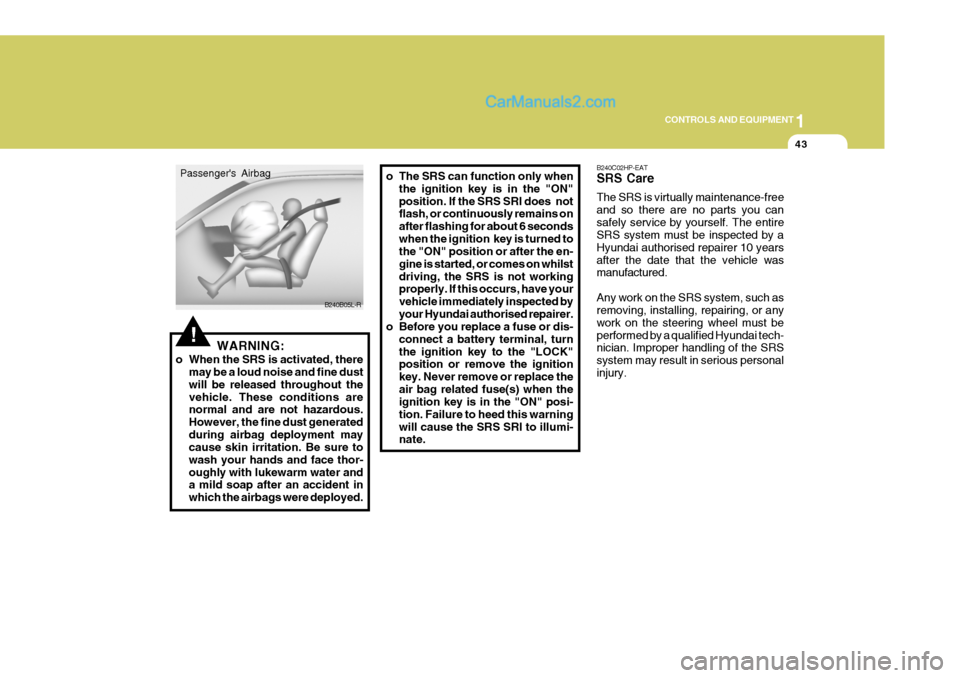
o When the SRS is activated, there may be a loud noise and fine dust will be released throughout thevehicle. These conditions are normal and are not hazardous. However, the fine dust generatedduring airbag deployment may cause skin irritation. Be sure to wash your hands and face thor-oughly with lukewarm water and a mild soap after an accident in which the airbags were deployed. o The SRS can function only when
the ignition key is in the "ON"position. If the SRS SRI does not flash, or continuously remains on after flashing for about 6 secondswhen the ignition key is turned to the "ON" position or after the en- gine is started, or comes on whilstdriving, the SRS is not working properly. If this occurs, have your vehicle immediately inspected byyour Hyundai authorised repairer.
o Before you replace a fuse or dis-
connect a battery terminal, turnthe ignition key to the "LOCK" position or remove the ignition key. Never remove or replace theair bag related fuse(s) when the ignition key is in the "ON" posi- tion. Failure to heed this warningwill cause the SRS SRI to illumi- nate. B240C02HP-EAT SRS Care The SRS is virtually maintenance-free and so there are no parts you cansafely service by yourself. The entire SRS system must be inspected by a Hyundai authorised repairer 10 yearsafter the date that the vehicle was manufactured. Any work on the SRS system, such as removing, installing, repairing, or any work on the steering wheel must beperformed by a qualified Hyundai tech- nician. Improper handling of the SRS system may result in serious personalinjury.
B240B05L-R
Passenger's Airbag
Page 352 of 539
1CONTROLS AND EQUIPMENT
44
!WARNING:
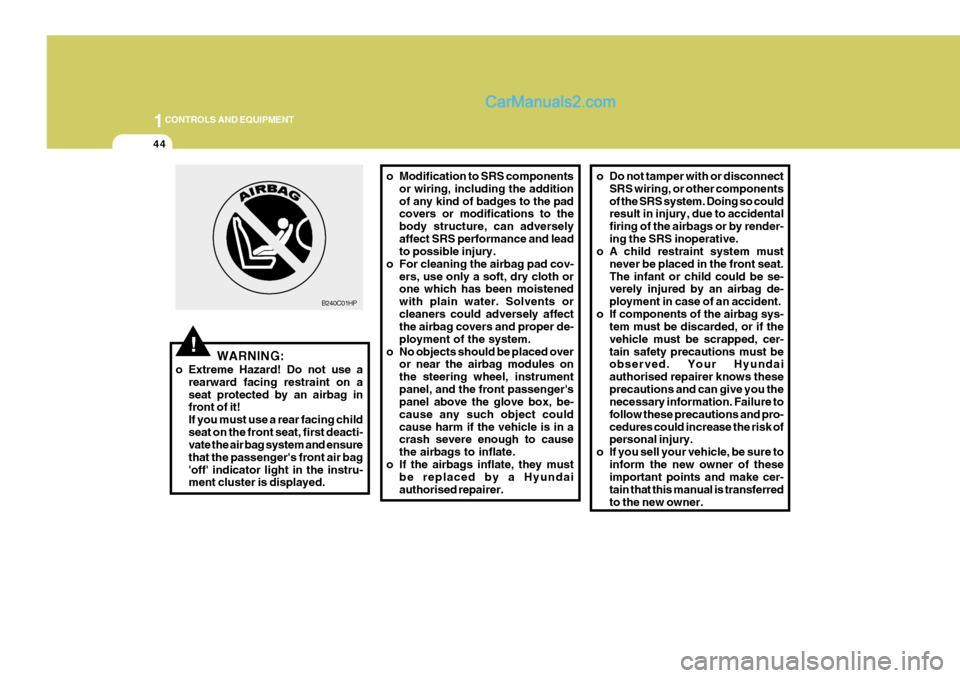
o Extreme Hazard! Do not use a rearward facing restraint on a seat protected by an airbag in front of it! If you must use a rear facing childseat on the front seat, first deacti- vate the air bag system and ensure that the passenger's front air bag'off' indicator light in the instru- ment cluster is displayed. o Modification to SRS components
or wiring, including the addition of any kind of badges to the pad covers or modifications to the body structure, can adverselyaffect SRS performance and lead to possible injury.
o For cleaning the airbag pad cov- ers, use only a soft, dry cloth orone which has been moistened with plain water. Solvents orcleaners could adversely affect the airbag covers and proper de- ployment of the system.
o No objects should be placed over or near the airbag modules onthe steering wheel, instrumentpanel, and the front passenger's panel above the glove box, be- cause any such object couldcause harm if the vehicle is in a crash severe enough to cause the airbags to inflate.
o If the airbags inflate, they must be replaced by a Hyundaiauthorised repairer.
B240C01HP
o Do not tamper with or disconnect
SRS wiring, or other components of the SRS system. Doing so could result in injury, due to accidental firing of the airbags or by render-ing the SRS inoperative.
o A child restraint system must
never be placed in the front seat.The infant or child could be se- verely injured by an airbag de- ployment in case of an accident.
o If components of the airbag sys- tem must be discarded, or if thevehicle must be scrapped, cer-tain safety precautions must be observed. Your Hyundai authorised repairer knows theseprecautions and can give you the necessary information. Failure to follow these precautions and pro-cedures could increase the risk of personal injury.
o If you sell your vehicle, be sure to inform the new owner of theseimportant points and make cer- tain that this manual is transferredto the new owner.
Page 361 of 539
1
CONTROLS AND EQUIPMENT
53
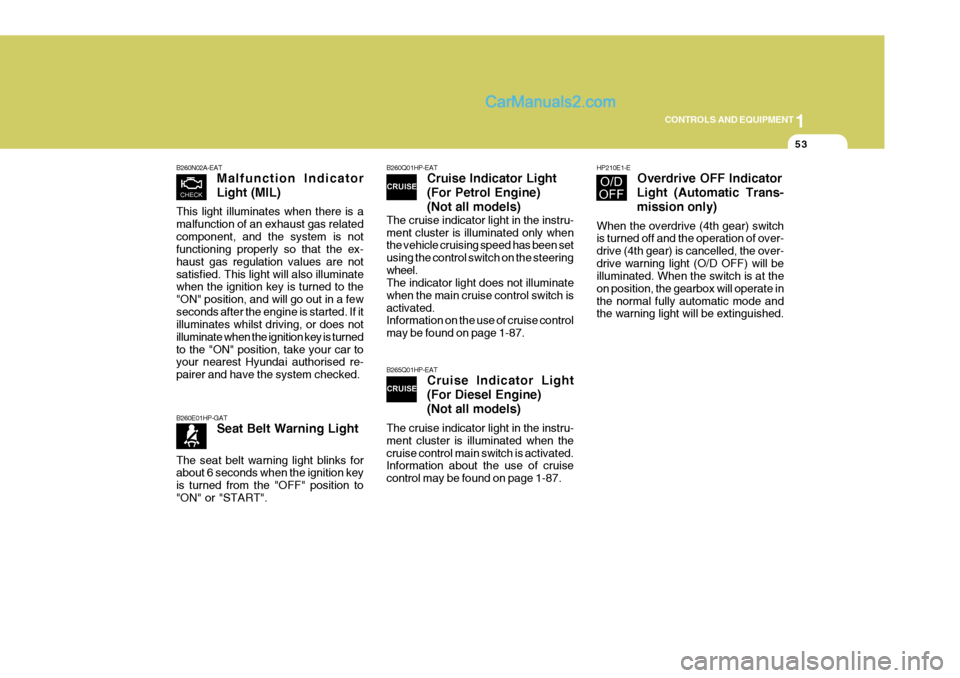
B260N02A-EAT Malfunction Indicator Light (MIL)
This light illuminates when there is a malfunction of an exhaust gas relatedcomponent, and the system is not functioning properly so that the ex- haust gas regulation values are notsatisfied. This light will also illuminate when the ignition key is turned to the "ON" position, and will go out in a fewseconds after the engine is started. If it illuminates whilst driving, or does not illuminate when the ignition key is turnedto the "ON" position, take your car to your nearest Hyundai authorised re- pairer and have the system checked.
B260Q01HP-EAT Cruise Indicator Light (For Petrol Engine)(Not all models)
The cruise indicator light in the instru- ment cluster is illuminated only when the vehicle cruising speed has been set using the control switch on the steeringwheel. The indicator light does not illuminate when the main cruise control switch isactivated. Information on the use of cruise control may be found on page 1-87.
B265Q01HP-EAT Cruise Indicator Light (For Diesel Engine) (Not all models)
The cruise indicator light in the instru- ment cluster is illuminated when thecruise control main switch is activated. Information about the use of cruise control may be found on page 1-87.
B260E01HP-GAT Seat Belt Warning Light
The seat belt warning light blinks for about 6 seconds when the ignition key is turned from the "OFF" position to"ON" or "START".
HP210E1-E Overdrive OFF Indicator
Light (Automatic Trans- mission only)
When the overdrive (4th gear) switch is turned off and the operation of over- drive (4th gear) is cancelled, the over-drive warning light (O/D OFF) will be illuminated. When the switch is at the on position, the gearbox will operate inthe normal fully automatic mode and the warning light will be extinguished.
Page 362 of 539
1CONTROLS AND EQUIPMENT
54
!
B260U01HP-EAT
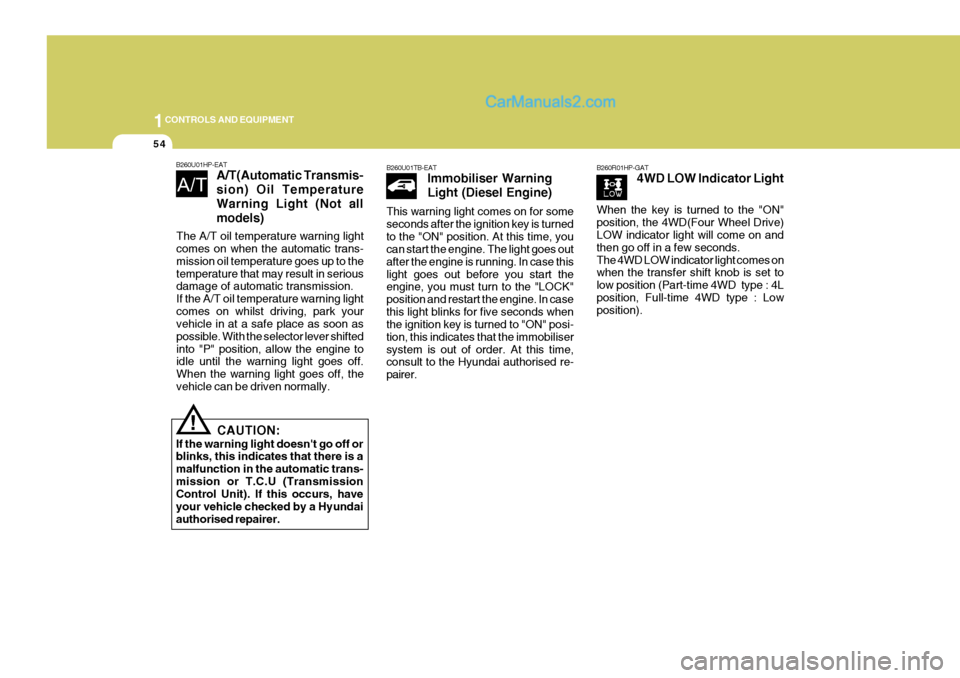
A/T(Automatic Transmis- sion) Oil TemperatureWarning Light (Not allmodels)
CAUTION:
If the warning light doesn't go off or blinks, this indicates that there is a malfunction in the automatic trans-mission or T.C.U (Transmission Control Unit). If this occurs, have your vehicle checked by a Hyundaiauthorised repairer.
B260U01TB-EAT Immobiliser Warning Light (Diesel Engine)
This warning light comes on for some seconds after the ignition key is turnedto the "ON" position. At this time, you can start the engine. The light goes out after the engine is running. In case thislight goes out before you start the engine, you must turn to the "LOCK" position and restart the engine. In casethis light blinks for five seconds when the ignition key is turned to "ON" posi- tion, this indicates that the immobilisersystem is out of order. At this time, consult to the Hyundai authorised re- pairer.B260R01HP-GAT 4WD LOW Indicator Light
The A/T oil temperature warning light comes on when the automatic trans- mission oil temperature goes up to thetemperature that may result in serious damage of automatic transmission. If the A/T oil temperature warning lightcomes on whilst driving, park your vehicle in at a safe place as soon as possible. With the selector lever shiftedinto "P" position, allow the engine to idle until the warning light goes off. When the warning light goes off, thevehicle can be driven normally. When the key is turned to the "ON"position, the 4WD(Four Wheel Drive) LOW indicator light will come on and then go off in a few seconds.The 4WD LOW indicator light comes on when the transfer shift knob is set to low position (Part-time 4WD type : 4Lposition, Full-time 4WD type : Low position).
Page 363 of 539
1
CONTROLS AND EQUIPMENT
55
!
B265T01HP-EAT
4WD System Warning
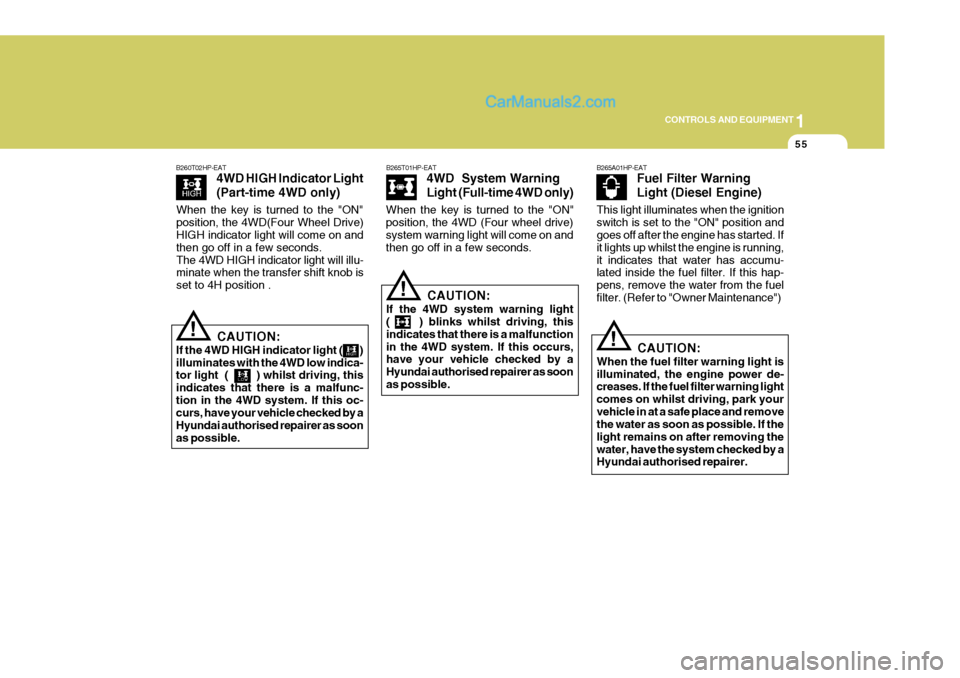
Light (Full-time 4WD only)
CAUTION:
If the 4WD system warning light ( ) blinks whilst driving, this indicates that there is a malfunctionin the 4WD system. If this occurs, have your vehicle checked by a Hyundai authorised repairer as soonas possible.
!
B260T02HP-EAT
4WD HIGH Indicator Light (Part-time 4WD only)
CAUTION:
If the 4WD HIGH indicator light ( ) illuminates with the 4WD low indica- tor light ( ) whilst driving, this indicates that there is a malfunc-tion in the 4WD system. If this oc- curs, have your vehicle checked by a Hyundai authorised repairer as soonas possible.
B265A01HP-EAT Fuel Filter Warning Light (Diesel Engine)
!CAUTION:
When the fuel filter warning light is illuminated, the engine power de- creases. If the fuel filter warning light comes on whilst driving, park yourvehicle in at a safe place and remove the water as soon as possible. If the light remains on after removing thewater, have the system checked by a Hyundai authorised repairer.
When the key is turned to the "ON" position, the 4WD(Four Wheel Drive) HIGH indicator light will come on and then go off in a few seconds.The 4WD HIGH indicator light will illu- minate when the transfer shift knob is set to 4H position .
When the key is turned to the "ON"position, the 4WD (Four wheel drive) system warning light will come on and then go off in a few seconds.
This light illuminates when the ignitionswitch is set to the "ON" position and goes off after the engine has started. If it lights up whilst the engine is running,it indicates that water has accumu- lated inside the fuel filter. If this hap- pens, remove the water from the fuelfilter. (Refer to "Owner Maintenance")
Page 368 of 539
1CONTROLS AND EQUIPMENT
60
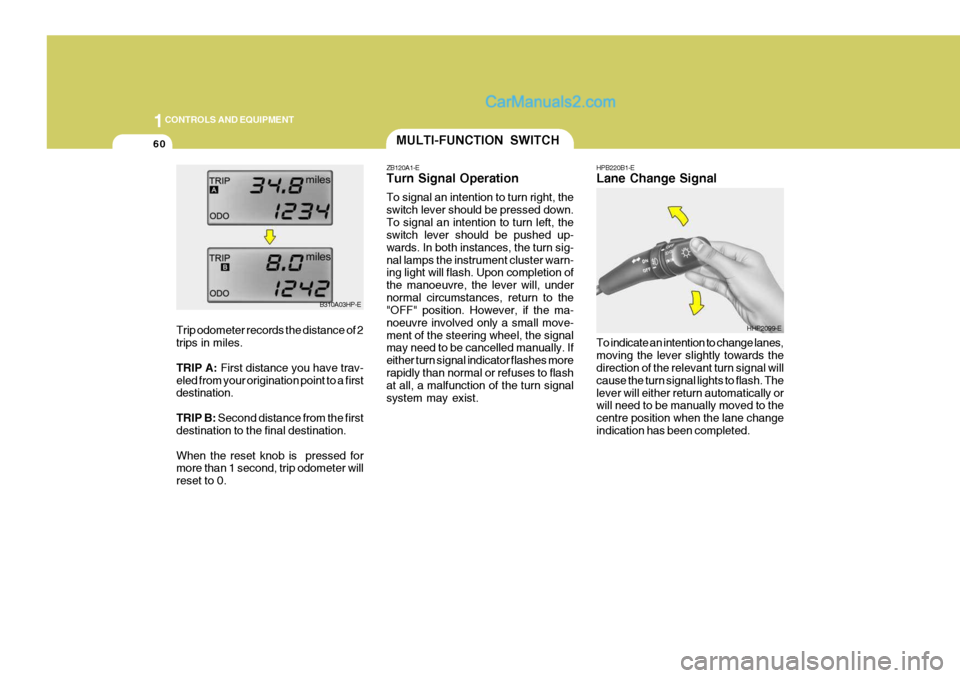
HPB220B1-E Lane Change Signal To indicate an intention to change lanes, moving the lever slightly towards the direction of the relevant turn signal will cause the turn signal lights to flash. Thelever will either return automatically or will need to be manually moved to the centre position when the lane changeindication has been completed.MULTI-FUNCTION SWITCH
ZB120A1-E Turn Signal Operation To signal an intention to turn right, the switch lever should be pressed down.To signal an intention to turn left, the switch lever should be pushed up- wards. In both instances, the turn sig-nal lamps the instrument cluster warn- ing light will flash. Upon completion of the manoeuvre, the lever will, undernormal circumstances, return to the "OFF" position. However, if the ma- noeuvre involved only a small move-ment of the steering wheel, the signal may need to be cancelled manually. If either turn signal indicator flashes morerapidly than normal or refuses to flash at all, a malfunction of the turn signal system may exist.
HHP2099-E
B310A03HP-E
Trip odometer records the distance of 2 trips in miles. TRIP A: First distance you have trav-
eled from your origination point to a first destination. TRIP B: Second distance from the first
destination to the final destination.When the reset knob is pressed for more than 1 second, trip odometer will reset to 0.
Page 370 of 539
1CONTROLS AND EQUIPMENT
62FOG LIGHT SWITCH
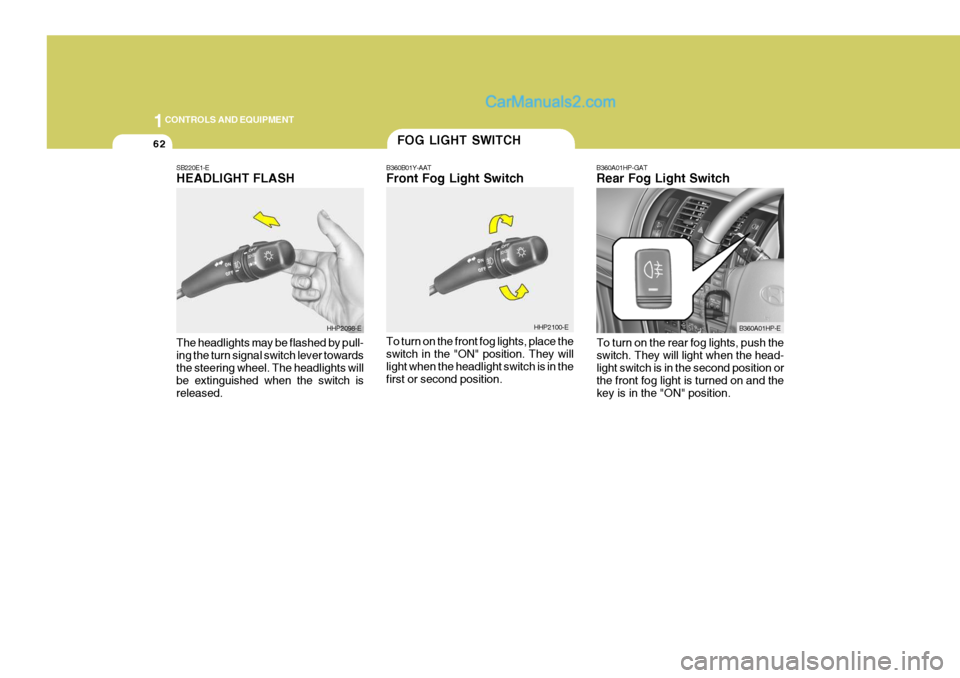
B360B01Y-AAT Front Fog Light Switch To turn on the front fog lights, place the switch in the "ON" position. They will light when the headlight switch is in thefirst or second position. B360A01HP-GAT Rear Fog Light Switch
HHP2100-E B360A01HP-E
SB220E1-EHEADLIGHT FLASH The headlights may be flashed by pull- ing the turn signal switch lever towards the steering wheel. The headlights will be extinguished when the switch isreleased.
HHP2098-E
To turn on the rear fog lights, push the switch. They will light when the head- light switch is in the second position or the front fog light is turned on and thekey is in the "ON" position.