2006 FORD EXPLORER lights
[x] Cancel search: lightsPage 203 of 328
²Class III/IV receiver: 500 lb. (227 kg) (weight carrying); 740 lb. (336 kg)
(weight distributing)
Safety chains
Always connect the trailer's safety chains to the frame or hook retainers
of the vehicle hitch. To connect the trailer's safety chains, cross the
chains under the trailer tongue and allow slack for turning corners.
If you use a rental trailer, follow the instructions that the rental agency
gives to you.
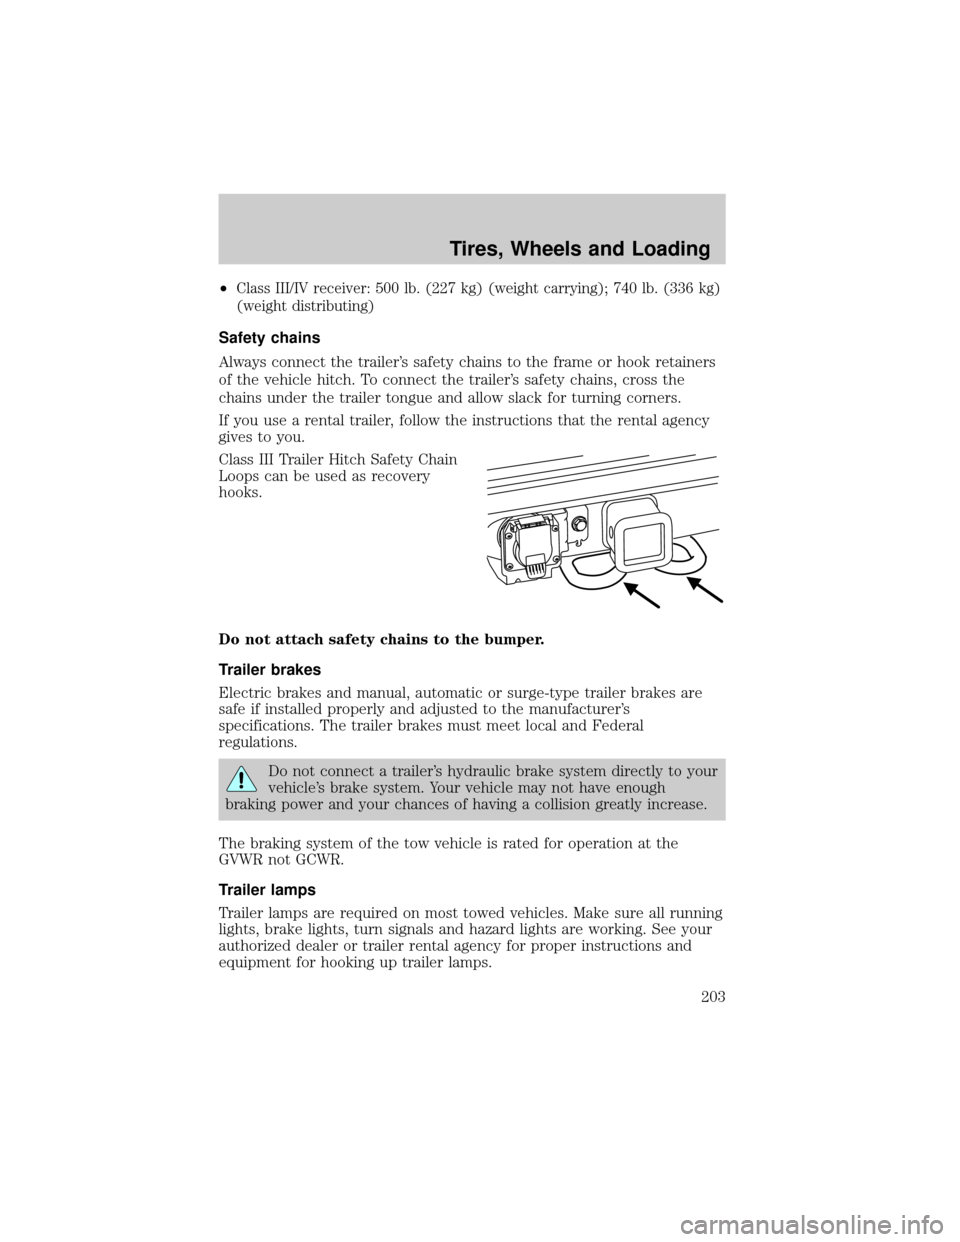
Class III Trailer Hitch Safety Chain
Loops can be used as recovery
hooks.
Do not attach safety chains to the bumper.
Trailer brakes
Electric brakes and manual, automatic or surge-type trailer brakes are
safe if installed properly and adjusted to the manufacturer's
specifications. The trailer brakes must meet local and Federal
regulations.
Do not connect a trailer's hydraulic brake system directly to your
vehicle's brake system. Your vehicle may not have enough
braking power and your chances of having a collision greatly increase.
The braking system of the tow vehicle is rated for operation at the
GVWR not GCWR.
Trailer lamps
Trailer lamps are required on most towed vehicles. Make sure all running
lights, brake lights, turn signals and hazard lights are working. See your
authorized dealer or trailer rental agency for proper instructions and
equipment for hooking up trailer lamps.
Tires, Wheels and Loading
203
Page 207 of 328
STARTING
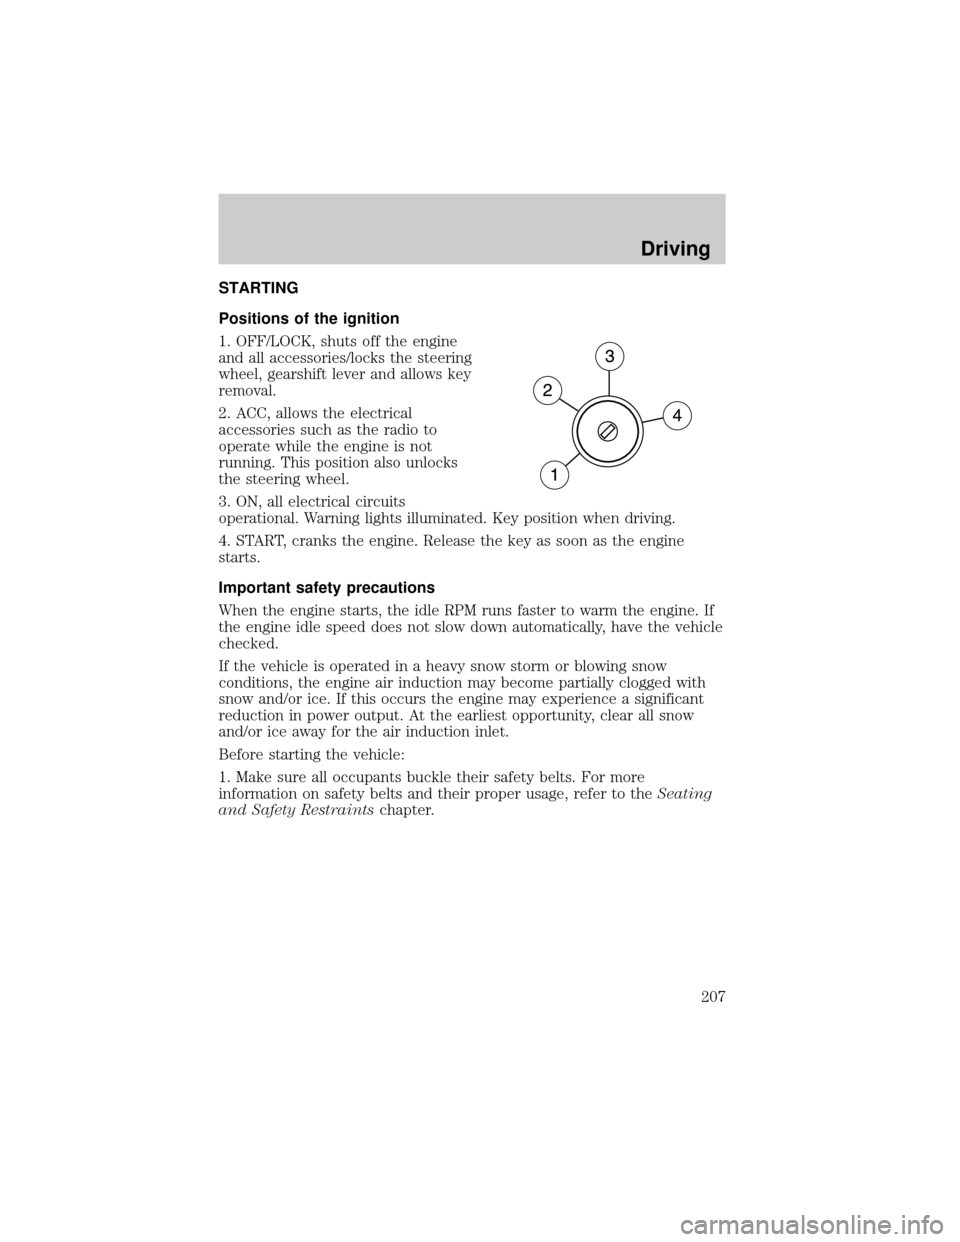
Positions of the ignition
1. OFF/LOCK, shuts off the engine
and all accessories/locks the steering
wheel, gearshift lever and allows key
removal.
2. ACC, allows the electrical
accessories such as the radio to
operate while the engine is not
running. This position also unlocks
the steering wheel.
3. ON, all electrical circuits
operational. Warning lights illuminated. Key position when driving.
4. START, cranks the engine. Release the key as soon as the engine
starts.
Important safety precautions
When the engine starts, the idle RPM runs faster to warm the engine. If
the engine idle speed does not slow down automatically, have the vehicle
checked.
If the vehicle is operated in a heavy snow storm or blowing snow
conditions, the engine air induction may become partially clogged with
snow and/or ice. If this occurs the engine may experience a significant
reduction in power output. At the earliest opportunity, clear all snow
and/or ice away for the air induction inlet.
Before starting the vehicle:
1. Make sure all occupants buckle their safety belts. For more
information on safety belts and their proper usage, refer to theSeating
and Safety Restraintschapter.
Driving
207
Page 208 of 328
2. Make sure the headlamps and electrical accessories are off.
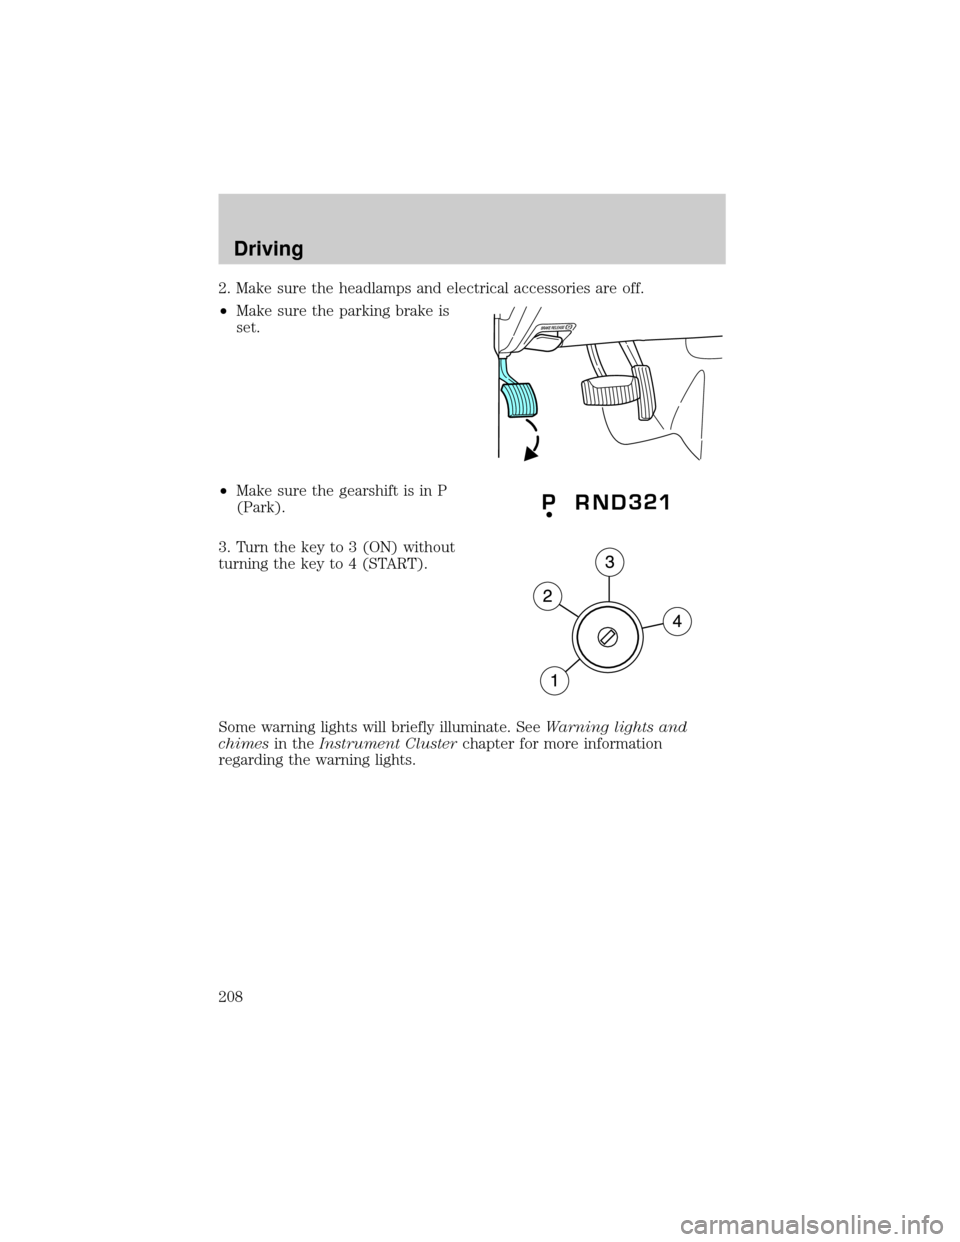
²Make sure the parking brake is
set.
²Make sure the gearshift is in P
(Park).
3. Turn the key to 3 (ON) without
turning the key to 4 (START).
Some warning lights will briefly illuminate. SeeWarning lights and
chimesin theInstrument Clusterchapter for more information
regarding the warning lights.
Driving
208
Page 214 of 328
Driving conditions that may activate AdvanceTractwith RSC include:
²Emergency lane-change
²Taking a turn too fast
²Quick maneuvering to avoid an accident, pedestrian or obstacle
AdvanceTractwith RSC button and icon functionality
The AdvanceTractwith RSC system automatically turns on each time
the engine is started. AdvanceTractwith RSC system status is indicated
by a warning indicator light with a ªsliding carº icon in the instrument
cluster that will flash when the system is active. In R (Reverse), ABS and
the Traction Control feature will continue to function, however ESC and
RSC are disabled.
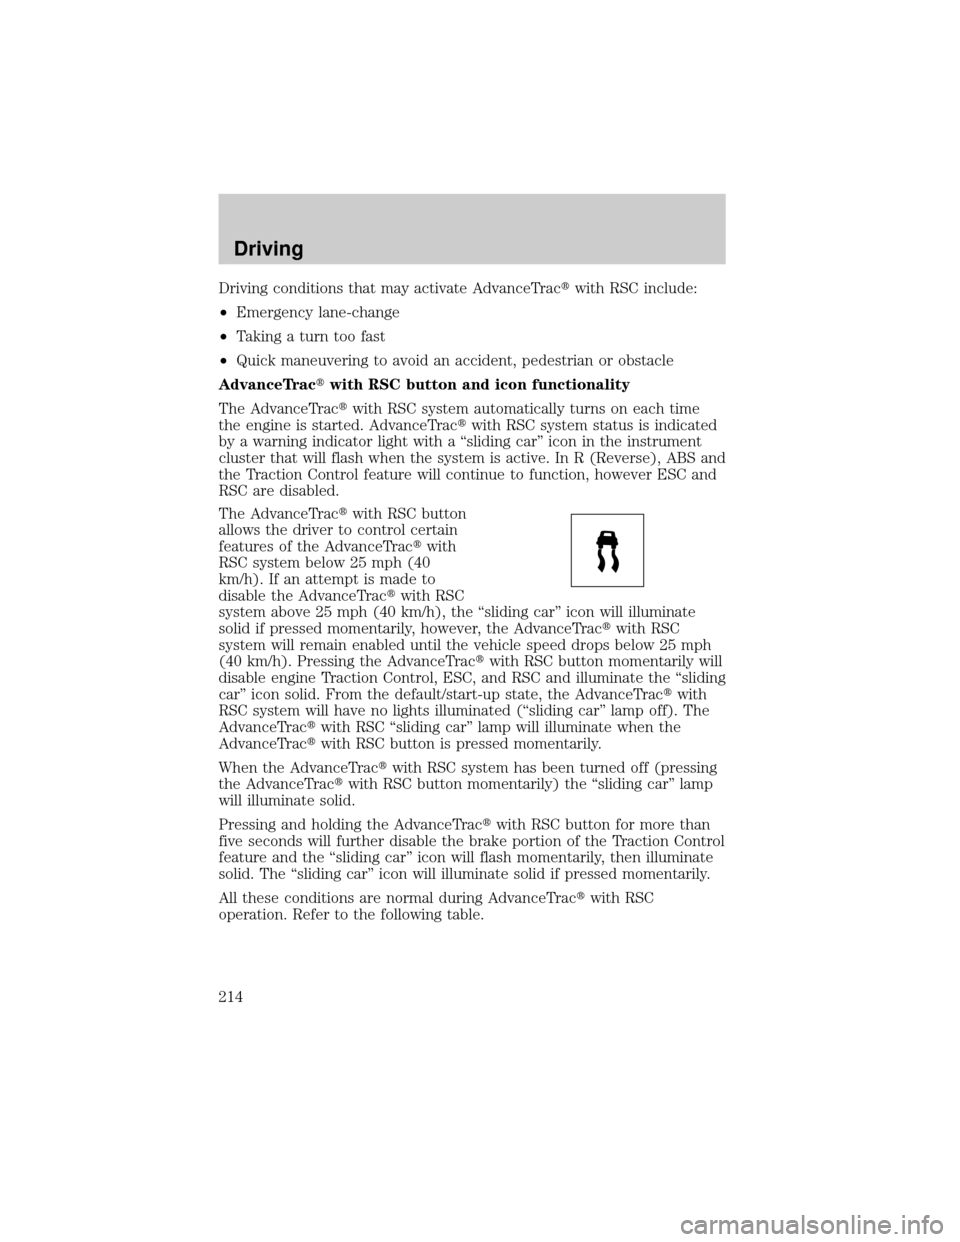
The AdvanceTractwith RSC button
allows the driver to control certain
features of the AdvanceTractwith
RSC system below 25 mph (40
km/h). If an attempt is made to
disable the AdvanceTractwith RSC
system above 25 mph (40 km/h), the ªsliding carº icon will illuminate
solid if pressed momentarily, however, the AdvanceTractwith RSC
system will remain enabled until the vehicle speed drops below 25 mph
(40 km/h). Pressing the AdvanceTractwith RSC button momentarily will
disable engine Traction Control, ESC, and RSC and illuminate the ªsliding
carº icon solid. From the default/start-up state, the AdvanceTractwith
RSC system will have no lights illuminated (ªsliding carº lamp off). The
AdvanceTractwith RSC ªsliding carº lamp will illuminate when the
AdvanceTractwith RSC button is pressed momentarily.
When the AdvanceTractwith RSC system has been turned off (pressing
the AdvanceTractwith RSC button momentarily) the ªsliding carº lamp
will illuminate solid.
Pressing and holding the AdvanceTractwith RSC button for more than
five seconds will further disable the brake portion of the Traction Control
feature and the ªsliding carº icon will flash momentarily, then illuminate
solid. The ªsliding carº icon will illuminate solid if pressed momentarily.
All these conditions are normal during AdvanceTractwith RSC
operation. Refer to the following table.
Driving
214
Page 226 of 328
FOUR-WHEEL DRIVE (4WD) OPERATION (IF EQUIPPED)
For important information regarding safe operation of this type
of vehicle, seePreparing to drive your vehiclein this chapter.
Four±wheel drive (4WD) supplies power to all four wheels. 4WD should
not be operated on dry pavement; driveline damage may occur.
If equipped with the Electronic Shift 4WD System, and 4WD Low is
selected while the vehicle is moving above 3 mph (5 km/h), the 4WD
system will not engage. This is normal and should be no reason for
concern.Refer toShifting to/from 4WD Lowfor proper operation.
System indicator lights
²4X4 HIGH- momentarily
illuminates when the vehicle is
started. Illuminates when 4H is
selected.
²4X4 LOW± momentarily
illuminates when the vehicle is
started. Illuminates when 4L is
selected.
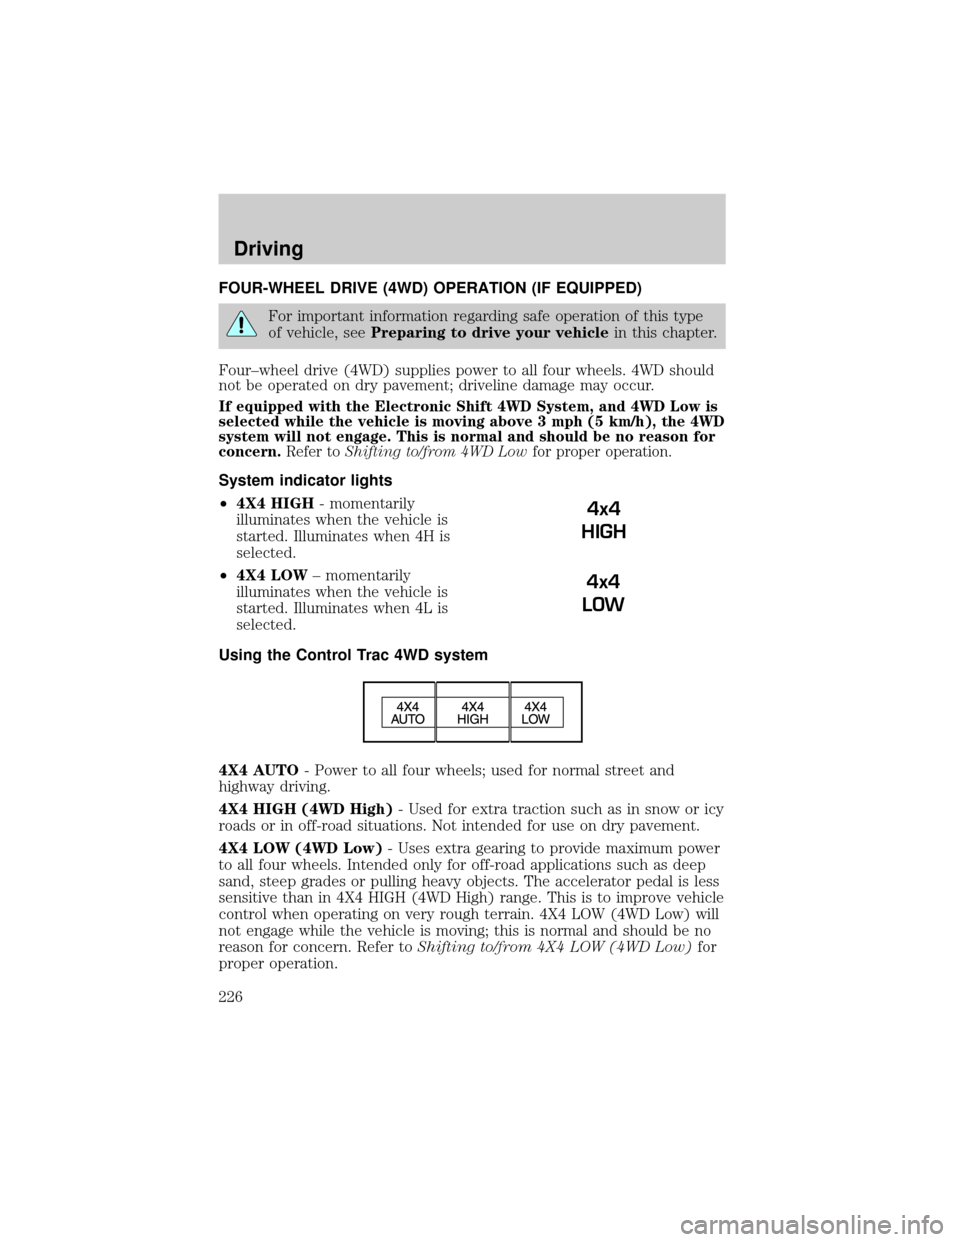
Using the Control Trac 4WD system
4X4 AUTO- Power to all four wheels; used for normal street and
highway driving.
4X4 HIGH (4WD High)- Used for extra traction such as in snow or icy
roads or in off-road situations. Not intended for use on dry pavement.
4X4 LOW (4WD Low)- Uses extra gearing to provide maximum power
to all four wheels. Intended only for off-road applications such as deep
sand, steep grades or pulling heavy objects. The accelerator pedal is less
sensitive than in 4X4 HIGH (4WD High) range. This is to improve vehicle
control when operating on very rough terrain. 4X4 LOW (4WD Low) will
not engage while the vehicle is moving; this is normal and should be no
reason for concern. Refer toShifting to/from 4X4 LOW (4WD Low)for
proper operation.
4x4
HIGH
4x4
LOW
Driving
226
Page 293 of 328

Vehicles driven year-round in non-extreme climates should use a 50/50
mixture of engine coolant and distilled water for optimum cooling system
and engine protection.
What you should know about fail-safe cooling (4.6L V8 engine only)
If the engine coolant supply is depleted, this feature allows the vehicle to
be driven temporarily before incremental component damage is incurred.
The ªfail-safeº distance depends on ambient temperatures, vehicle load
and terrain.
Fail-safe cooling and engine oil temperature sensor (4.6L V8 only)
If the engine coolant and/or engine oil overheat, the vehicle limits engine
power before engine damage can occur. The instrument cluster can
provide up to four indicators to warn of coolant and/or oil overheat.
Warning lights/indicators Fail Safe cooling Oil Overheat Only*
(Engine oil pressure)OnOffÐwith normal
oil pressure
(Service engine soon)On Off
(Engine coolant temperature)On On
Engine coolant temperature gage Hot (H) area Hot (H) area
*Oil overheat warnings can be triggered in severe driving conditions, such as
towing heavy loads over mountainous terrain in extreme hot temperatures.
If the engine fluids reach even hotter temperatures, fail-safe cooling
protects the engine by limiting engine power further and may disable the
air conditioning system. The engine will automatically switch to
alternating cylinder operation. Each disabled cylinder acts as an air
pump and cools the engine. During this mode, the engine will run rough.
If continued operation increases the engine temperature to a critical
range, the engine will shut down. Steering and braking effort will
increase. Once engine temperature cools, the engine can be restarted.
When fail-safe mode is activated
You have limited engine power when in the fail-safe mode, so drive the vehicle
with caution. The vehicle will not be able to maintain high speed operation and
the engine will run rough. Remember that the engine is capable of completely
shutting down automatically to prevent engine damage, therefore:
1. Pull off the road as soon as safely possible and turn off the engine.
2. Arrange for the vehicle to be taken to an authorized dealer.
Maintenance and Specifications
293
Page 299 of 328

²Theindicator may come on. For more information on the ªCheck
Engineº or the ªService engine soonº indicator, refer toWarning
lights and chimesin theInstrument Clusterchapter.
ESSENTIALS OF GOOD FUEL ECONOMY
Measuring techniques
Your best source of information about actual fuel economy is you, the
driver. You must gather information as accurately and consistently as
possible. Fuel expense, frequency of fill-ups or fuel gauge readings are
NOT accurate as a measure of fuel economy. We do not recommend taking
fuel economy measurements during the first 1,000 miles (1,600 km) of
driving (engine break-in period). You will get a more accurate
measurement after 2,000 miles-3,000 miles (3,000 km±5,000 km).
Filling the tank
The advertised fuel capacity of the fuel tank on your vehicle is equal to
the rated refill capacity of the fuel tank as listed in theRefill capacities
section of this chapter.
The advertised capacity is the amount of the indicated capacity and the
empty reserve combined. Indicated capacity is the difference in the
amount of fuel in a full tank and a tank when the fuel gauge indicates
empty. Empty reserve is the small amount of fuel remaining in the fuel
tank after the fuel gauge indicates empty.
The amount of usable fuel in the empty reserve varies and should
not be relied upon to increase driving range. When refueling your
vehicle after the fuel gauge indicates empty, you might not be
able to refuel the full amount of the advertised capacity of the
fuel tank due to the empty reserve still present in the tank.
For consistent results when filling the fuel tank:
²Turn the engine/ignition switch to the off position prior to refueling,
an error in the reading will result if the engine is left running.
²Use the same filling rate setting (low Ð medium Ð high) each time
the tank is filled.
²Allow no more than two automatic click-offs when filling.
²Always use fuel with the recommended octane rating.
²Use a known quality gasoline, preferably a national brand.
²Use the same side of the same pump and have the vehicle facing the
same direction each time you fill up.
Maintenance and Specifications
299
Page 304 of 328
Readiness for Inspection/Maintenance (I/M) testing
In some localities, it may be a legal requirement to pass an I/M test of
the on-board diagnostics system. If your
indicator is on, refer to
the description in theWarning lights and chimessection of the
Instrument Clusterchapter. Your vehicle may not pass the I/M test with
the
indicator on.
If the vehicle's powertrain system or its battery has just been serviced,
the on-board diagnostics system is reset to a ªnot ready for I/M testº
condition. To ready the on-board diagnostics system for I/M testing, a
minimum of 30 minutes of city and highway driving is necessary as
described below:
²First, at least 10 minutes of driving on an expressway or highway.
²Next, at least 20 minutes driving in stop-and-go, city-type traffic with
at least four idle periods.
Allow the vehicle to sit for at least eight hours without starting the
engine. Then, start the engine and complete the above driving cycle. The
engine must warm up to its normal operating temperature. Once started,
do not turn off the engine until the above driving cycle is complete.
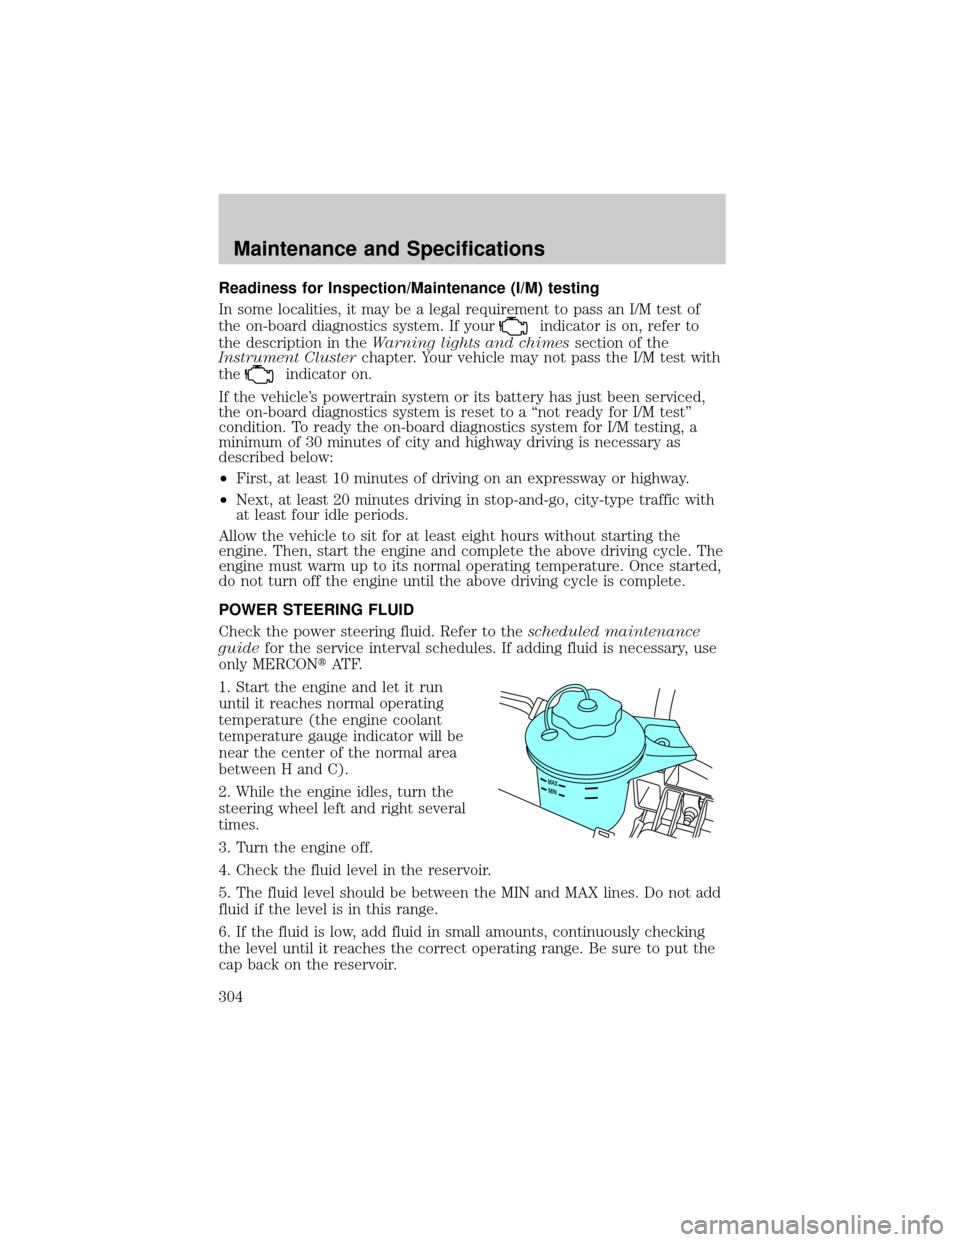
POWER STEERING FLUID
Check the power steering fluid. Refer to thescheduled maintenance
guidefor the service interval schedules. If adding fluid is necessary, use
only MERCONtAT F.
1. Start the engine and let it run
until it reaches normal operating
temperature (the engine coolant
temperature gauge indicator will be
near the center of the normal area
between H and C).
2. While the engine idles, turn the
steering wheel left and right several
times.
3. Turn the engine off.
4. Check the fluid level in the reservoir.
5. The fluid level should be between the MIN and MAX lines. Do not add
fluid if the level is in this range.
6. If the fluid is low, add fluid in small amounts, continuously checking
the level until it reaches the correct operating range. Be sure to put the
cap back on the reservoir.
Maintenance and Specifications
304