2006 FORD EXPLORER lights
[x] Cancel search: lightsPage 73 of 328

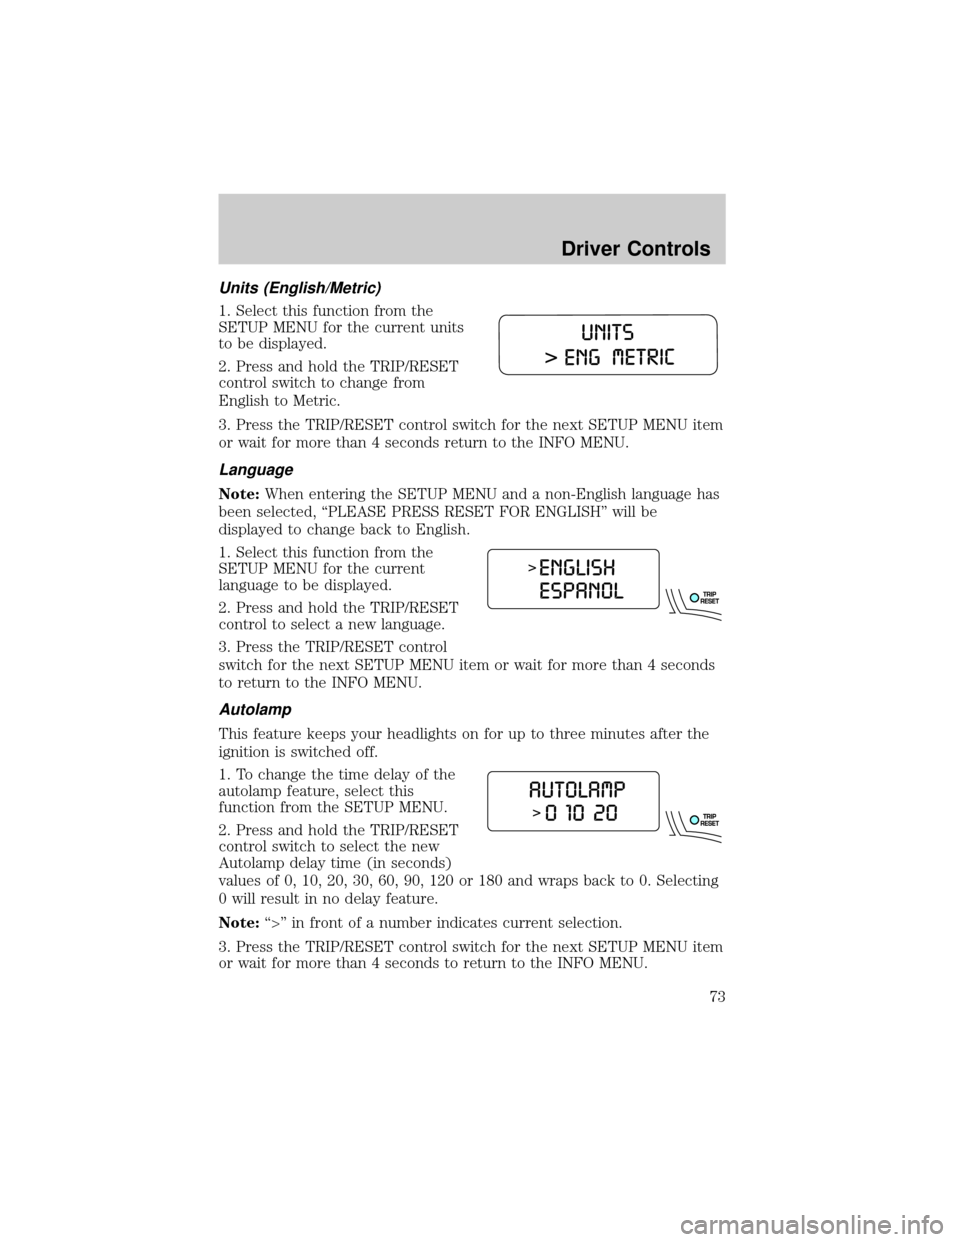
Units (English/Metric)
1. Select this function from the
SETUP MENU for the current units
to be displayed.
2. Press and hold the TRIP/RESET
control switch to change from
English to Metric.
3. Press the TRIP/RESET control switch for the next SETUP MENU item
or wait for more than 4 seconds return to the INFO MENU.
Language
Note:When entering the SETUP MENU and a non-English language has
been selected, ªPLEASE PRESS RESET FOR ENGLISHº will be
displayed to change back to English.
1. Select this function from the
SETUP MENU for the current
language to be displayed.
2. Press and hold the TRIP/RESET
control to select a new language.
3. Press the TRIP/RESET control
switch for the next SETUP MENU item or wait for more than 4 seconds
to return to the INFO MENU.
Autolamp
This feature keeps your headlights on for up to three minutes after the
ignition is switched off.
1. To change the time delay of the
autolamp feature, select this
function from the SETUP MENU.
2. Press and hold the TRIP/RESET
control switch to select the new
Autolamp delay time (in seconds)
values of 0, 10, 20, 30, 60, 90, 120 or 180 and wraps back to 0. Selecting
0 will result in no delay feature.
Note:ª>º in front of a number indicates current selection.
3. Press the TRIP/RESET control switch for the next SETUP MENU item
or wait for more than 4 seconds to return to the INFO MENU.
Driver Controls
73
Page 79 of 328

PARK BRAKE ENGAGED.Displayed when the manual park brake is
set, the engine is running and the vehicle is driven more than 3 mph
(5 km). If the warning stays on after the park brake is released, contact
your authorized dealer as soon as possible.
CHECK BRAKE SYSTEM.Displayed when the braking system is not
operating properly. If the warning stays on or continues to come on,
contact your authorized dealer as soon as possible.
CHECK PARK AID.Displayed when the transmission is in R (Reverse)
and the Reverse Sensing System (Park Aid) is disabled. Refer toReverse
Sensing System (Park Aid)in this section to enable.
LOW TIRE PRESSURE.Displayed when one or more tires on your
vehicle have low tire pressure. Refer toInspecting and Inflating Your
Tiresin theTires, Wheels and Loadingchapter.
TIRE MONITOR FAULT.Displayed when the Tire Pressure Monitoring
System is malfunctioning. If the warning stays on or continues to come
on, have the system inspected by your authorized dealer.
TIRE SENSOR FAULT.Displayed when a tire pressure sensor is
malfunctioning, or your spare tire is in use. For more information on how
the system operates under these conditions, refer toUnderstanding
Your Tire Pressure Monitoring Systemin theTires, Wheels and
Loadingchapter. If the warning stays on or continues to come on, have
the system inspected by your authorized dealer.
BRAKE FLUID LEVEL LOW.Indicates the brake fluid level is low and
the brake system should be inspected immediately. Refer toBrake fluid
reservoirin theMaintenance and Specificationschapter.
CHECK HEADLAMP.Displayed when the headlamps are activated and
at least one bulb is burned out. Check the lamps as soon as possible and
have the burned out lamp replaced. Refer toReplacing headlamp bulbs
in theLightschapter.
CHECK HIGHBEAM LAMP.Displayed when the highbeam lamps are
activated and at least one bulb is burned out. Check the lamps as soon
as possible and have the burned out lamp replaced. Refer toReplacing
headlamp bulbsin theLightschapter.
CHECK TURN LAMP.Displayed when the turn lamps are activated and
at least one bulb is burned out. Check the lamps as soon as possible and
have the burned out lamp replaced. Refer toReplacing headlamp bulbs
in theLightschapter.
Driver Controls
79
Page 86 of 328

Language
Note:When entering the SETUP MENU and a non-English language has
been selected, ªPLEASE PRESS RESET FOR ENGLISHº will be
displayed to change back to English.
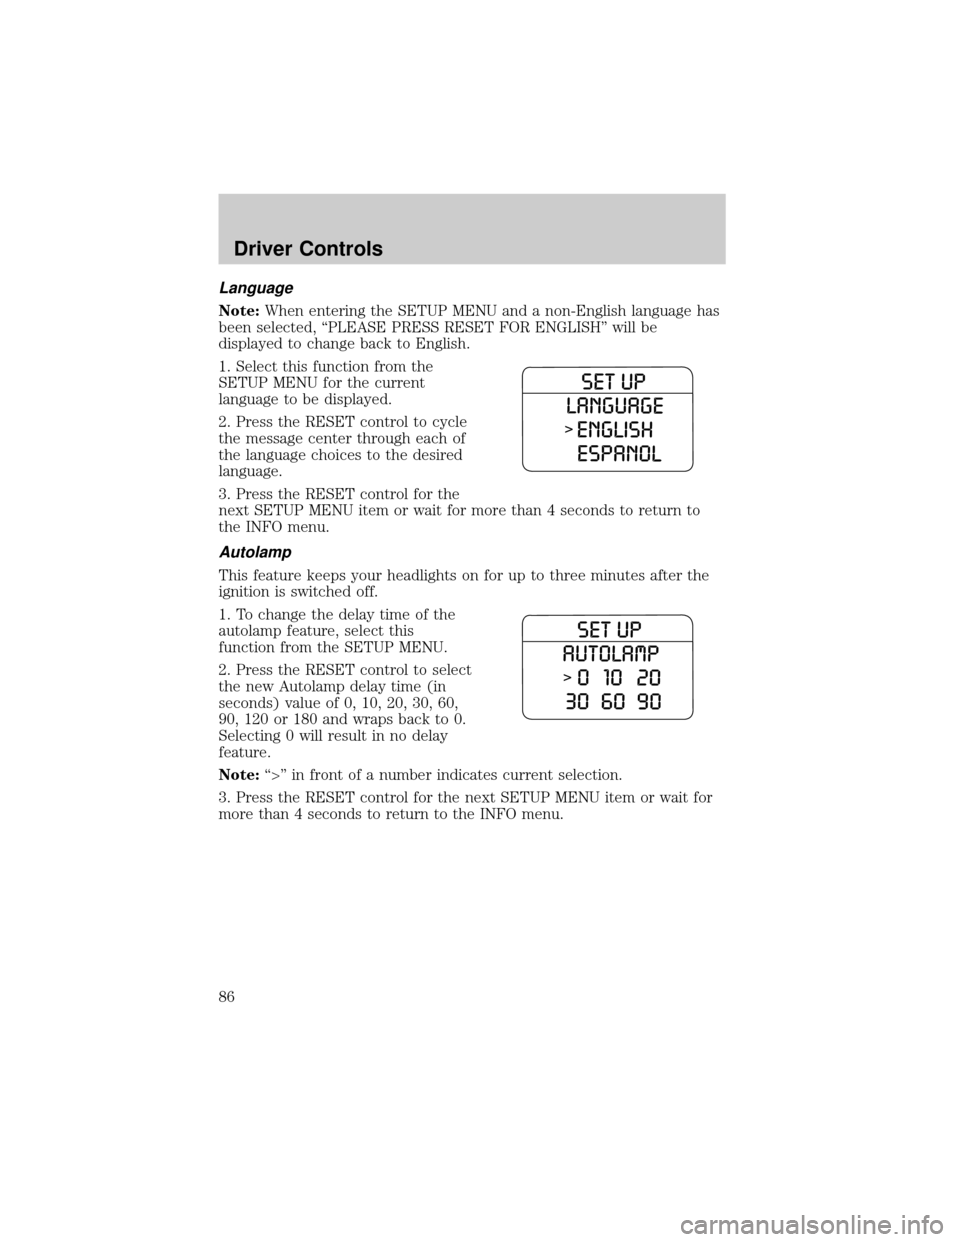
1. Select this function from the
SETUP MENU for the current
language to be displayed.
2. Press the RESET control to cycle
the message center through each of
the language choices to the desired
language.
3. Press the RESET control for the
next SETUP MENU item or wait for more than 4 seconds to return to
the INFO menu.
Autolamp
This feature keeps your headlights on for up to three minutes after the
ignition is switched off.
1. To change the delay time of the
autolamp feature, select this
function from the SETUP MENU.
2. Press the RESET control to select
the new Autolamp delay time (in
seconds) value of 0, 10, 20, 30, 60,
90, 120 or 180 and wraps back to 0.
Selecting 0 will result in no delay
feature.
Note:ª>º in front of a number indicates current selection.
3. Press the RESET control for the next SETUP MENU item or wait for
more than 4 seconds to return to the INFO menu.
Driver Controls
86
Page 93 of 328

LOW TIRE PRESSURE.Displayed when one or more tires on your
vehicle have low tire pressure. Refer toInspecting and Inflating Your
Tiresin theTires, Wheels and Loadingchapter.
TIRE MONITOR FAULT.Displayed when the Tire Pressure Monitoring
System is malfunctioning. If the warning stays on or continues to come
on, have the system inspected by your authorized dealer.
TIRE SENSOR FAULT.Displayed when a tire pressure sensor is
malfunctioning, or your spare tire is in use. For more information on how
the system operates under these conditions, refer toUnderstanding
Your Tire Pressure Monitoring Systemin theTires, Wheels and
Loadingchapter. If the warning stays on or continues to come on, have
the system inspected by your authorized dealer.
BRAKE FLUID LEVEL LOW.Indicates the brake fluid level is low and
the brake system should be inspected immediately. Refer toBrake fluid
reservoirin theMaintenance and Specificationschapter.
CHECK BRAKE LAMP.Displayed when the brake lamps are activated
and at least one bulb is burned out. Check the lamps as soon as possible
and have the burned out lamp replaced. Refer toReplacing headlamp
bulbsin theLightschapter.
CHECK HEADLAMP.Displayed when the headlamps are activated and
at least one bulb is burned out. Check the lamps as soon as possible and
have the burned out lamp replaced. Refer toReplacing headlamp bulbs
in theLightschapter.
CHECK HIGHBEAM LAMP.Displayed when the highbeam lamps are
activated and at least one bulb is burned out. Check the lamps as soon
as possible and have the burned out lamp replaced. Refer toReplacing
headlamp bulbsin theLightschapter.
CHECK TURN LAMP.Displayed when the turn lamps are activated and
at least one bulb is burned out. Check the lamps as soon as possible and
have the burned out lamp replaced. Refer toReplacing headlamp bulbs
in theLightschapter.
WASHER FLUID LEVEL LOW.Indicates the washer fluid reservoir is less
than one quarter full. Check the washer fluid level. Refer toWindshield
washer fluidin theMaintenance and Specificationschapter.
OIL CHANGE REQUIRED.Displayed when the engine oil life
remaining is 0%.
An oil change is required whenever indicated by the message center and
according to the recommended maintenance schedule. USE ONLY
RECOMMENDED ENGINE OILS.
Driver Controls
93
Page 105 of 328

To reprogram the remote entry
transmitters:
1. Ensure the vehicle is electronically unlocked.
2. Put the key in the ignition.
3. Turn the key from the 1 (OFF/LOCK) position to 3 (ON).
4. Cycle eight times rapidly (within 10 seconds) between the 1
(OFF/LOCK) position and 3 (ON).Note:The eighth turn must end in
the 3 (ON) position.
5. The doors will lock, then unlock, to confirm that the programming
mode has been activated.
6. Within 20 seconds press any button on the remote entry transmitter.
Note:If more than 20 seconds have passed you will need to start the
procedure over again.
7. The doors will lock, then unlock, to confirm that this remote entry
transmitter has been programmed.
8. Repeat Step 6 to program each additional remote entry transmitter.
9. Turn the ignition to the 1 (OFF/LOCK) position after you have
finished programming all of the remote entry transmitters.
10. The doors will lock, then unlock, to confirm that the programming
mode has been exited.
Illuminated entry
The interior lamps illuminate when the remote entry system is used to
unlock the door(s) or sound the personal alarm.
The illuminated entry system will turn off the interior lights if:
²the ignition is turned to the 2 (ACC) or 3 (ON) position, or
²the remote transmitter lock control is pressed, or
²after 25 seconds of illumination.
The dome lamp control (if equipped) mustnotbe set to theoffposition
for the illuminated entry system to operate.
4
3
2
1
Locks and Security
105
Page 106 of 328

The inside lights will not turn off if:
²they have been turned on with the dimmer control, or
²any door is open.
The battery saver will shut off the interior lamps 10 minutes after the
ignition has been turned to the 1 (OFF/LOCK) position.
KEYLESS ENTRY SYSTEM (IF EQUIPPED)
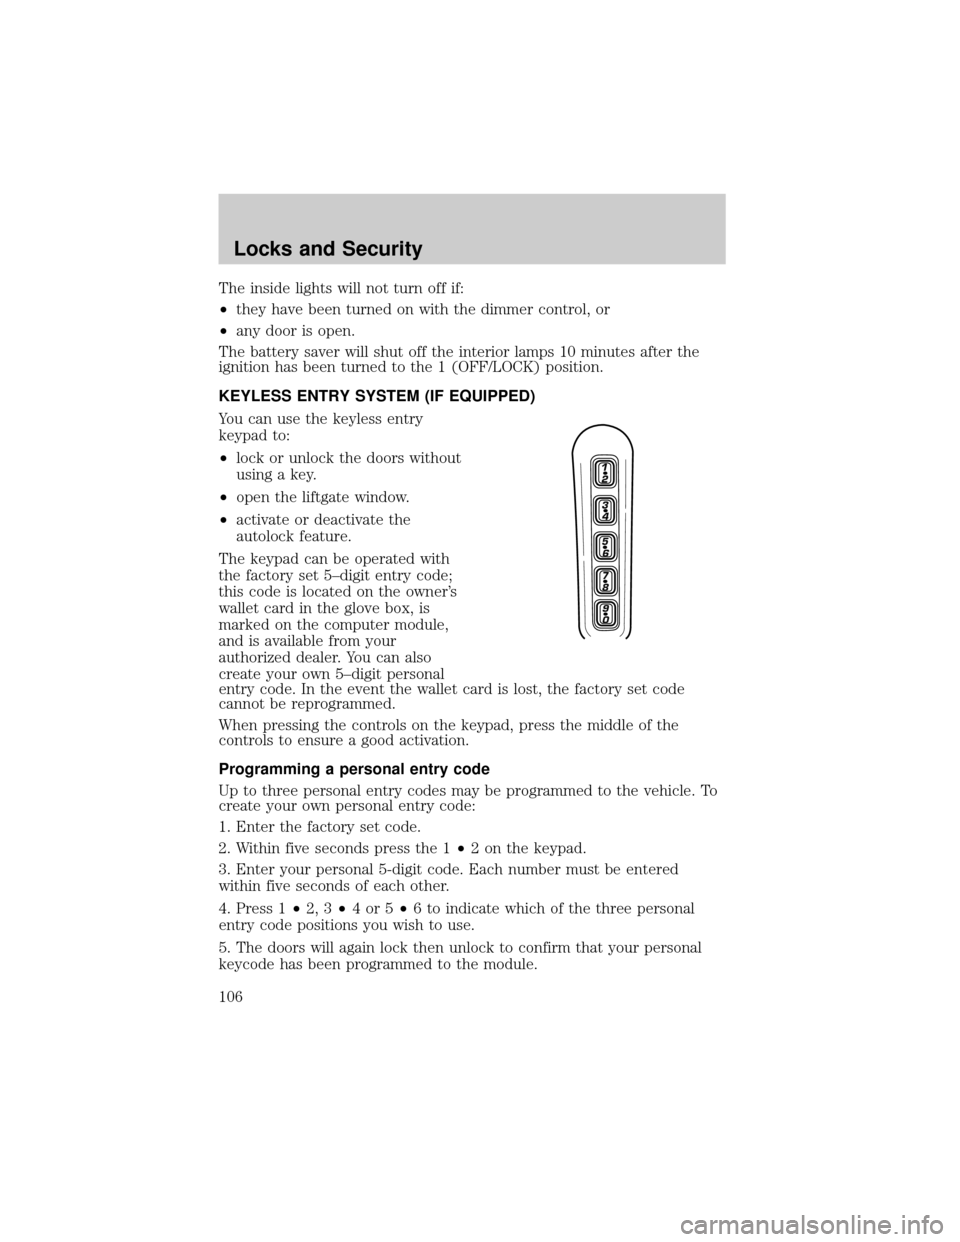
You can use the keyless entry
keypad to:
²lock or unlock the doors without
using a key.
²open the liftgate window.
²activate or deactivate the
autolock feature.
The keypad can be operated with
the factory set 5±digit entry code;
this code is located on the owner's
wallet card in the glove box, is
marked on the computer module,
and is available from your
authorized dealer. You can also
create your own 5±digit personal
entry code. In the event the wallet card is lost, the factory set code
cannot be reprogrammed.
When pressing the controls on the keypad, press the middle of the
controls to ensure a good activation.
Programming a personal entry code
Up to three personal entry codes may be programmed to the vehicle. To
create your own personal entry code:
1. Enter the factory set code.
2. Within five seconds press the 1²2 on the keypad.
3. Enter your personal 5-digit code. Each number must be entered
within five seconds of each other.
4. Press 1²2, 3²4or5²6 to indicate which of the three personal
entry code positions you wish to use.
5. The doors will again lock then unlock to confirm that your personal
keycode has been programmed to the module.
Locks and Security
106
Page 126 of 328

Before returning the seatback to its original position, make sure
that cargo or any objects are not trapped behind the seatback.
After returning the seatback to its original position, pull on the
seatback to ensure that it has fully latched. An unlatched seat may
become dangerous in the event of a sudden stop or collision.
SAFETY RESTRAINTS
Personal Safety SystemY
The Personal Safety Systemyprovides an improved overall level of
frontal crash protection to front seat occupants and is designed to help
further reduce the risk of airbag-related injuries. The system is able to
analyze different occupant conditions and crash severity before activating
the appropriate safety devices to help better protect a range of
occupants in a variety of frontal crash situations.
Your vehicle's Personal Safety Systemyconsists of:
²Driver and passenger dual-stage airbag supplemental restraints.
²Front safety belts with pretensioners, energy management retractors,
and safety belt usage sensors.
²Driver's seat position sensor.
²Front passenger sensing system
²ªPassenger airbag offº or ªpass airbag offº indicator lamp
²Front crash severity sensor.
²Restraints Control Module (RCM).
²Restraint system warning light and back-up tone.
²The electrical wiring for the airbags, crash sensor(s), safety belt
pretensioners, front safety belt usage sensors, driver seat position
sensor, front passenger sensing system, and indicator lights.
How does the Personal Safety SystemYwork?
The Personal Safety Systemycan adapt the deployment strategy of your
vehicle's safety devices according to crash severity and occupant
conditions. A collection of crash and occupant sensors provides
information to the Restraints Control Module (RCM). During a crash, the
RCM activates the safety belt pretensioners and/or either one or both
stages of the dual-stage airbag supplemental restraints based on crash
severity and occupant conditions.
Seating and Safety Restraints
126
Page 129 of 328

Determining if the Personal Safety SystemYis operational
The Personal Safety Systemyuses a warning light in the instrument
cluster or a back-up tone to indicate the condition of the system. Refer
to theWarning lights and chimessection in theInstrument Cluster
chapter. Routine maintenance of the Personal Safety Systemyis not
required.
The Restraints Control Module (RCM) monitors its own internal circuits
and the circuits for the airbag supplemental restraints, crash sensor(s),
safety belt pretensioners, front safety belt buckle sensors, and the driver
seat position sensor. In addition, the RCM also monitors the restraints
warning light in the instrument cluster. A difficulty with the system is
indicated by one or more of the following:
²The warning light will either flash or stay lit.
²The warning light will not illuminate immediately after the ignition is
turned on.
²A series of five beeps will be heard. The tone pattern will repeat
periodically until the problem and warning light are repaired.
If any of these things happen, even intermittently, have the Personal
Safety Systemyserviced at an authorized dealer immediately. Unless
serviced, the system may not function properly in the event of a
collision.
Safety restraints precautions
Always drive and ride with your seatback upright and the lap
belt snug and low across the hips.
To reduce the risk of injury, make sure children sit in the back
seat where they can be properly restrained.
Never let a passenger hold a child on his or her lap while the
vehicle is moving. The passenger cannot protect the child from
injury in a collision.
All occupants of the vehicle, including the driver, should always
properly wear their safety belts, even when an airbag
supplemental restraint system (SRS) is provided.
Seating and Safety Restraints
129