2006 CHEVROLET EPICA Radio
[x] Cancel search: RadioPage 73 of 368
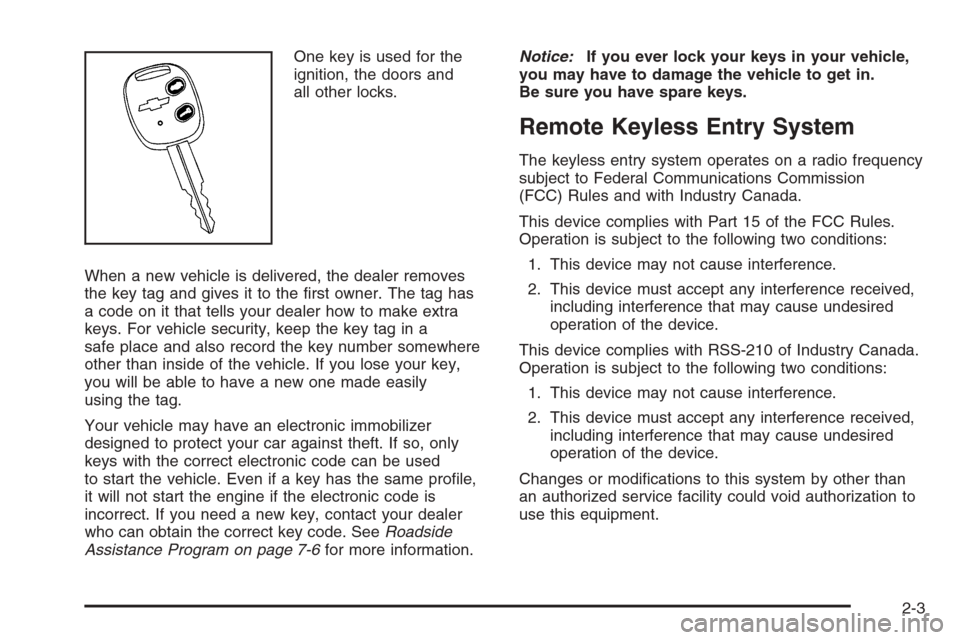
One key is used for the
ignition, the doors and
all other locks.
When a new vehicle is delivered, the dealer removes
the key tag and gives it to the first owner. The tag has
a code on it that tells your dealer how to make extra
keys. For vehicle security, keep the key tag in a
safe place and also record the key number somewhere
other than inside of the vehicle. If you lose your key,
you will be able to have a new one made easily
using the tag.
Your vehicle may have an electronic immobilizer
designed to protect your car against theft. If so, only
keys with the correct electronic code can be used
to start the vehicle. Even if a key has the same profile,
it will not start the engine if the electronic code is
incorrect. If you need a new key, contact your dealer
who can obtain the correct key code. SeeRoadside
Assistance Program on page 7-6for more information.Notice:If you ever lock your keys in your vehicle,
you may have to damage the vehicle to get in.
Be sure you have spare keys.
Remote Keyless Entry System
The keyless entry system operates on a radio frequency
subject to Federal Communications Commission
(FCC) Rules and with Industry Canada.
This device complies with Part 15 of the FCC Rules.
Operation is subject to the following two conditions:
1. This device may not cause interference.
2. This device must accept any interference received,
including interference that may cause undesired
operation of the device.
This device complies with RSS-210 of Industry Canada.
Operation is subject to the following two conditions:
1. This device may not cause interference.
2. This device must accept any interference received,
including interference that may cause undesired
operation of the device.
Changes or modifications to this system by other than
an authorized service facility could void authorization to
use this equipment.
2-3
Page 88 of 368
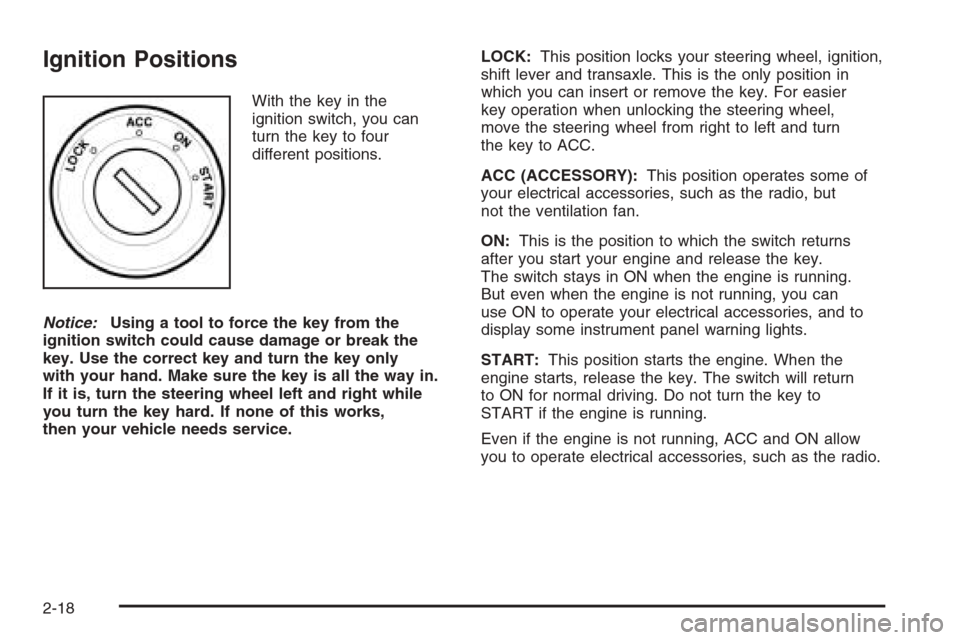
Ignition Positions
With the key in the
ignition switch, you can
turn the key to four
different positions.
Notice:Using a tool to force the key from the
ignition switch could cause damage or break the
key. Use the correct key and turn the key only
with your hand. Make sure the key is all the way in.
If it is, turn the steering wheel left and right while
you turn the key hard. If none of this works,
then your vehicle needs service.LOCK:This position locks your steering wheel, ignition,
shift lever and transaxle. This is the only position in
which you can insert or remove the key. For easier
key operation when unlocking the steering wheel,
move the steering wheel from right to left and turn
the key to ACC.
ACC (ACCESSORY):This position operates some of
your electrical accessories, such as the radio, but
not the ventilation fan.
ON:This is the position to which the switch returns
after you start your engine and release the key.
The switch stays in ON when the engine is running.
But even when the engine is not running, you can
use ON to operate your electrical accessories, and to
display some instrument panel warning lights.
START:This position starts the engine. When the
engine starts, release the key. The switch will return
to ON for normal driving. Do not turn the key to
START if the engine is running.
Even if the engine is not running, ACC and ON allow
you to operate electrical accessories, such as the radio.
2-18
Page 108 of 368
Traction Control System
Active Light..............................................3-38
Traction Off Light..........................................3-39
Hold Mode Light...........................................3-39
Engine Coolant Temperature Gage..................3-40
Malfunction Indicator Lamp.............................3-40
Oil Pressure Light.........................................3-43
Cruise Control Light......................................3-43
Highbeam On Light.......................................3-44
Daytime Running Lamps (DRL)
Indicator Light...........................................3-44
Door Ajar Light.............................................3-44
Trunk Ajar Light............................................3-44
Fuel Gage...................................................3-45
Low Fuel Warning Light.................................3-46Audio System(s).............................................3-46
Radio with CD
(Single Display, Base Level).......................3-48
Radio with CD
(Single Display, MP3).................................3-52
Radio with CD
(Double Display, MP3/WMA).......................3-59
Radio with Six-Disc CD
(Double Display, MP3/WMA).......................3-67
Trunk-Mounted CD Changer...........................3-75
Audio Steering Wheel Controls.......................3-78
Radio Reception...........................................3-79
Care of Your CDs.........................................3-80
Care of the CD Player...................................3-80
Backglass Antenna (Sedan Models).................3-80
Integrated Windshield Antenna
(Hatchback and Wagon Models)..................3-81
Section 3 Instrument Panel
3-2
Page 122 of 368
Entry Lighting
When you open either a front or a rear door, the door
step lamps inside your vehicle will turn on. The door step
lamps are located on the driver’s and front passenger’s
door trims. The lamps will turn off after you close all
of the doors.
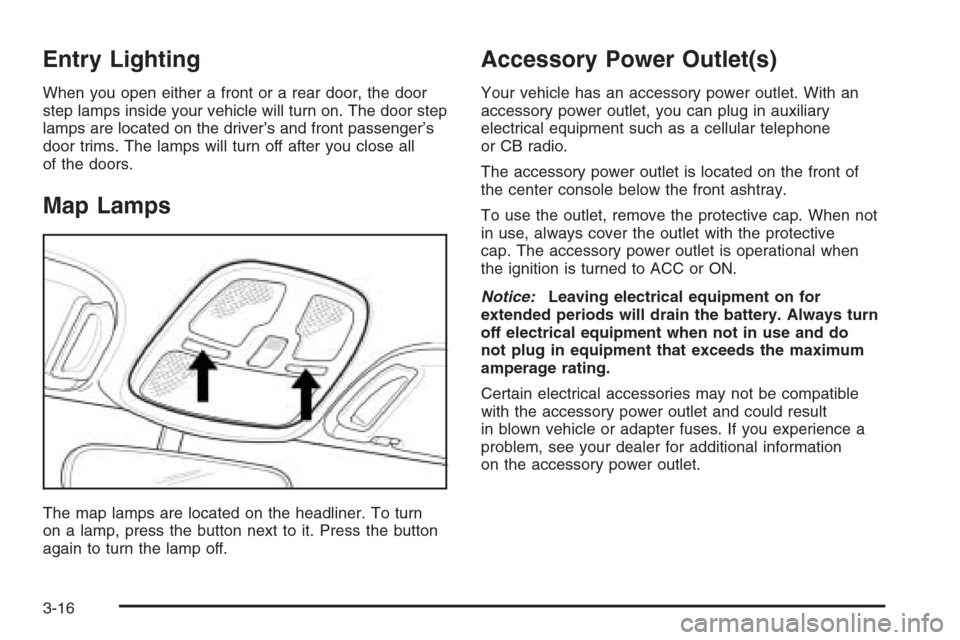
Map Lamps
The map lamps are located on the headliner. To turn
on a lamp, press the button next to it. Press the button
again to turn the lamp off.
Accessory Power Outlet(s)
Your vehicle has an accessory power outlet. With an
accessory power outlet, you can plug in auxiliary
electrical equipment such as a cellular telephone
or CB radio.
The accessory power outlet is located on the front of
the center console below the front ashtray.
To use the outlet, remove the protective cap. When not
in use, always cover the outlet with the protective
cap. The accessory power outlet is operational when
the ignition is turned to ACC or ON.
Notice:Leaving electrical equipment on for
extended periods will drain the battery. Always turn
off electrical equipment when not in use and do
not plug in equipment that exceeds the maximum
amperage rating.
Certain electrical accessories may not be compatible
with the accessory power outlet and could result
in blown vehicle or adapter fuses. If you experience a
problem, see your dealer for additional information
on the accessory power outlet.
3-16
Page 141 of 368
{CAUTION:
If the airbag readiness light in the instrument
panel cluster ever comes on and stays on,
it means that something may be wrong with
the airbag system. If this ever happens,
have the vehicle serviced promptly, because
an adult-size person sitting in the right
front passenger’s seat may not have the
protection of the frontal airbag and side
airbag (if equipped). SeeAirbag Readiness
Light on page 3-32for more on this,
including important safety information.
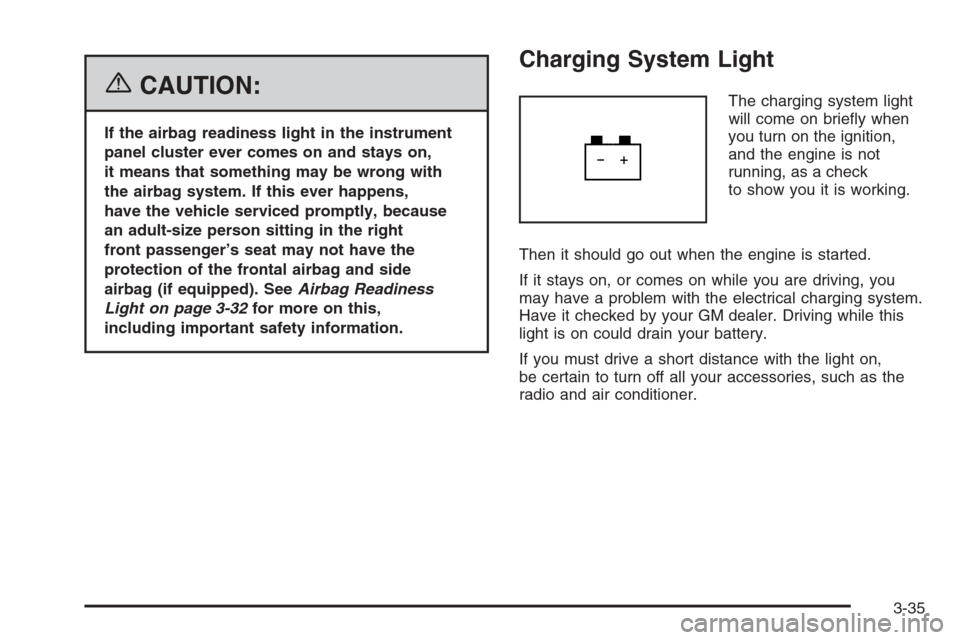
Charging System Light
The charging system light
will come on briefly when
you turn on the ignition,
and the engine is not
running, as a check
to show you it is working.
Then it should go out when the engine is started.
If it stays on, or comes on while you are driving, you
may have a problem with the electrical charging system.
Have it checked by your GM dealer. Driving while this
light is on could drain your battery.
If you must drive a short distance with the light on,
be certain to turn off all your accessories, such as the
radio and air conditioner.
3-35
Page 152 of 368
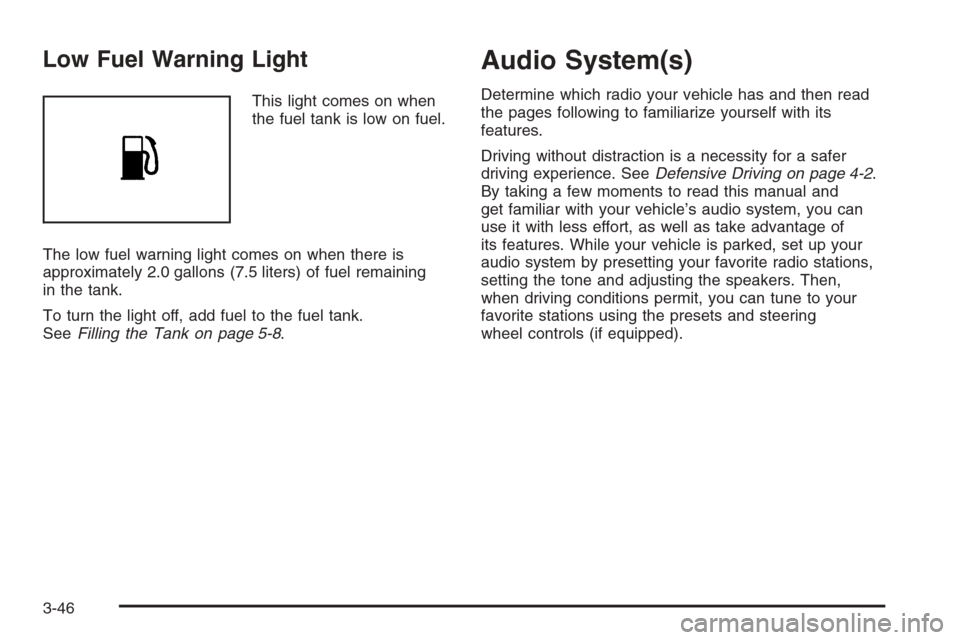
Low Fuel Warning Light
This light comes on when
the fuel tank is low on fuel.
The low fuel warning light comes on when there is
approximately 2.0 gallons (7.5 liters) of fuel remaining
in the tank.
To turn the light off, add fuel to the fuel tank.
SeeFilling the Tank on page 5-8.
Audio System(s)
Determine which radio your vehicle has and then read
the pages following to familiarize yourself with its
features.
Driving without distraction is a necessity for a safer
driving experience. SeeDefensive Driving on page 4-2.
By taking a few moments to read this manual and
get familiar with your vehicle’s audio system, you can
use it with less effort, as well as take advantage of
its features. While your vehicle is parked, set up your
audio system by presetting your favorite radio stations,
setting the tone and adjusting the speakers. Then,
when driving conditions permit, you can tune to your
favorite stations using the presets and steering
wheel controls (if equipped).
3-46
Page 153 of 368
{CAUTION:
This system provides you with a far greater
access to audio stations and song listings.
Giving extended attention to entertainment
tasks while driving can cause a crash and you
or others can be injured or killed. Always keep
your eyes on the road and your mind on the
drive — avoid engaging in extended searching
while driving.
Keeping your mind on the drive is important for safe
driving. For more information, seeDefensive Driving
on page 4-2.
Here are some ways in which you can help avoid
distraction while driving.While your vehicle is parked:
•Familiarize yourself with all of its controls.
•Familiarize yourself with its operation.
•Set up your audio system by presetting your
favorite radio stations, setting the tone, and
adjusting the speakers. Then, when driving
conditions permit, you can tune to your favorite
radio stations using the presets and steering
wheel controls (if equipped).
Notice:Before adding any sound equipment to
your vehicle, such as an audio system, CD player,
CB radio, mobile telephone, or two-way radio, make
sure that it can be added by checking with your
dealer. Also, check federal rules covering mobile
radio and telephone units. If sound equipment can
be added, it is very important to do it properly.
Added sound equipment may interfere with
the operation of your vehicle’s engine, radio, or
other systems, and even damage them. Your
vehicle’s systems may interfere with the operation
of sound equipment that has been added.
3-47
Page 154 of 368
Radio with CD
(Single Display, Base Level)
Playing the Radio
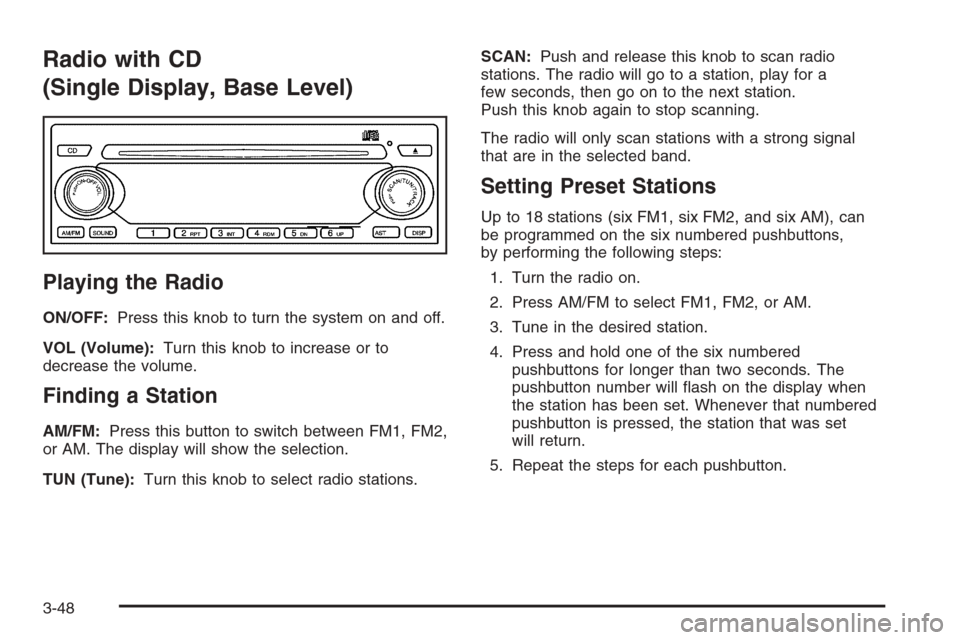
ON/OFF:Press this knob to turn the system on and off.
VOL (Volume):Turn this knob to increase or to
decrease the volume.
Finding a Station
AM/FM:Press this button to switch between FM1, FM2,
or AM. The display will show the selection.
TUN (Tune):Turn this knob to select radio stations.SCAN:Push and release this knob to scan radio
stations. The radio will go to a station, play for a
few seconds, then go on to the next station.
Push this knob again to stop scanning.
The radio will only scan stations with a strong signal
that are in the selected band.
Setting Preset Stations
Up to 18 stations (six FM1, six FM2, and six AM), can
be programmed on the six numbered pushbuttons,
by performing the following steps:
1. Turn the radio on.
2. Press AM/FM to select FM1, FM2, or AM.
3. Tune in the desired station.
4. Press and hold one of the six numbered
pushbuttons for longer than two seconds. The
pushbutton number will flash on the display when
the station has been set. Whenever that numbered
pushbutton is pressed, the station that was set
will return.
5. Repeat the steps for each pushbutton.
3-48