2006 CHEVROLET EPICA ECO mode
[x] Cancel search: ECO modePage 84 of 368
Theft-Deterrent Systems
Vehicle theft is big business, especially in some cities.
Although your vehicle has a number of theft-deterrent
features, we know that nothing we put on it can make it
impossible to steal.
Theft-Deterrent System
Your vehicle has a theft-deterrent system.
The theft-deterrent system will not arm when you lock
the doors using the key or the manual door lock.
It activates only when you use the remote keyless
entry transmitter.
Arming the System
To arm the system, do the following:
1. Turn the ignition to LOCK and remove the key
from the ignition.
If the key is inserted in the ignition, the transmitter
will not operate the theft-deterrent system.
2. Close the doors, the windows, the hood, and
the trunk.
Ensure that the windows are closed, as the system
can be activated even if the windows are open.3. Lock the door using the remote keyless entry
transmitter. The transmitter must be used to activate
the theft-deterrent system.
•The LED light on the transmitter will flash.
•All of the doors will lock.
•The hazard warning lamps will flash once and
the horn will chirp.
•The theft-deterrent mode will arm.
•The security light will flash once every second to
indicate that the theft-deterrent system is armed.
The security light is located on the top center
of the instrument panel, near the windshield.
To avoid activating the alarm by accident, do one of
the following:
•Unlock the driver’s or passenger’s front door
using the key.
•Press the lock/unlock button on the remote keyless
entry transmitter.
Unlocking a door any other way will activate the alarm
when a door or the trunk is opened.
If you do not want to arm the theft-deterrent system,
lock the vehicle using the key or the manual door locks.
2-14
Page 85 of 368

Disarming the System
To disarm the system, do one of the following:
•Unlock the driver’s or passenger’s front door
using the key.
•Press the lock/unlock button on the transmitter.
- The LED light on the transmitter will flash.
- All of the doors will unlock.
- The hazard warning lamps will flash twice.
- The theft-deterrent mode will disarm.
If the door is not opened or if the engine is not started
within 30 seconds after disarming the system with
the transmitter, all of the doors will automatically lock
and the theft-deterrent mode will re-arm.
How the System Alarm is Activated
If a door or the trunk is opened without using the key
or the remote keyless entry transmitter, the horn
will sound and the lamps will flash for up to 30 seconds.
How to Turn Off the System Alarm
If the system alarm is active, it can be deactivated using
one of the following methods:
•Press the lock/unlock button on the remote keyless
entry transmitter.
•Unlock the driver’s or passenger’s front door using
the key.
Otherwise, the alarm will automatically stop after
30 seconds. The system will then lock the doors and
reactivate the theft-deterrent system.
How to Detect a Tamper Condition
If the hazard lamps flash once when the lock/unlock
button on the remote keyless entry transmitter is
pressed, the theft-deterrent system alarm was activated
while you were away.
2-15
Page 93 of 368
SECOND (2):This position gives you more power but
lower fuel economy. You can use SECOND (2) on
hills. It can help control your speed as you go down
steep mountain roads, but then you would also want
to use your brakes off and on.
Notice:Do not drive in SECOND (2) at speeds
over 65 mph (105 km/h), or you can damage
the transaxle. Use THIRD (3) or AUTOMATIC
OVERDRIVE (D) as much as possible. Do not shift
into SECOND (2) unless you are going slower
than 65 mph (105 km/h) or you can damage your
engine.
FIRST (1):This position gives you even more power
but lower fuel economy than SECOND (2). You can use
it on very steep hills, or in deep snow or mud. If the
shift lever is put in FIRST (1), the transaxle will not shift
into first gear until the vehicle is going slowly enough.
Notice:Spinning the tires or holding the vehicle
in one place on a hill using only the accelerator
pedal may damage the transaxle. If you are stuck,
do not spin the tires. When stopping on a hill,
use the brakes, or parking brake to hold the
vehicle in place.Adaptive Shift Logic
Your automatic transaxle will automatically select from
three adaptive shift patterns based upon driver behavior:
•Economy mode provides a softer shift feel and
optimizes fuel economy.
•Normal mode provides a solid shift feel and is used
for normal driving conditions.
•Sport mode provides a firm shift feel and optimizes
performance.
The driver cannot manually select the shift pattern. The
adaptive shift logic tries to operate in economy mode
as much as possible. Normal and sport modes are used
as little as possible in order to maximize fuel economy.
The first few shifts of every drive cycle may be
somewhat rough until the adaptive shift logic has
learned the driver’s behavior. This is normal.
The transaxle also has the ability to adapt to changing
road grade conditions. It will shift between three
different load settings:
•Load 1 is designed for driving on moderate road
grades.
•Load 2 is designed for driving on steep road grades.
•Load 3 is designed for driving downhill and allows
for better engine braking.
2-23
Page 94 of 368
If there is a malfunction with the automatic transaxle,
the Check Engine Light or the HOLD light will turn on
or flash. See Check Engine Light underMalfunction
Indicator Lamp on page 3-40orHold Mode Light
on page 3-39.
Have your vehicle fixed as soon as possible.
Hold Mode
Your vehicle’s transaxle has a hold mode.
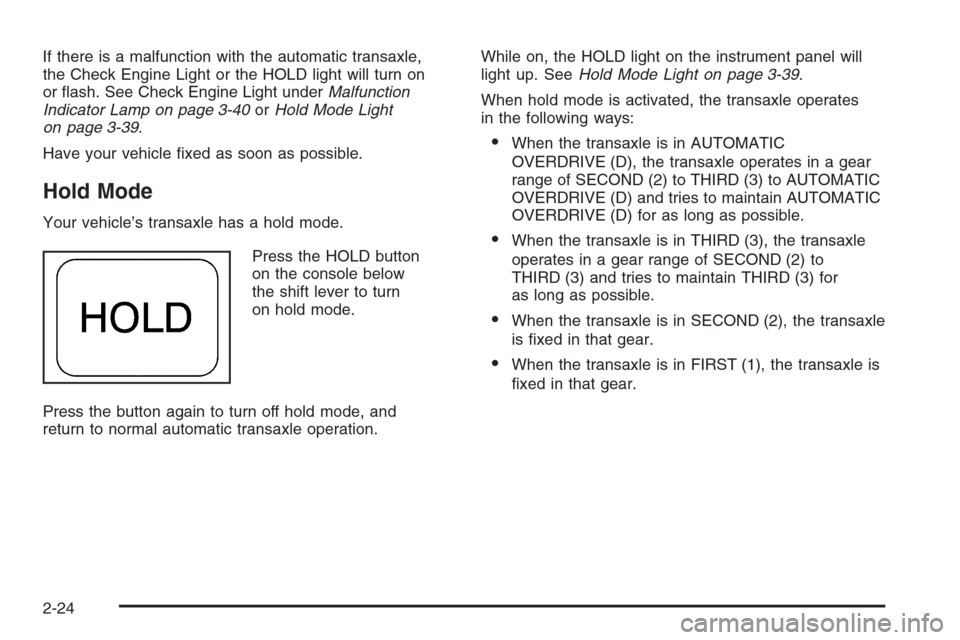
Press the HOLD button
on the console below
the shift lever to turn
on hold mode.
Press the button again to turn off hold mode, and
return to normal automatic transaxle operation.While on, the HOLD light on the instrument panel will
light up. SeeHold Mode Light on page 3-39.
When hold mode is activated, the transaxle operates
in the following ways:
•When the transaxle is in AUTOMATIC
OVERDRIVE (D), the transaxle operates in a gear
range of SECOND (2) to THIRD (3) to AUTOMATIC
OVERDRIVE (D) and tries to maintain AUTOMATIC
OVERDRIVE (D) for as long as possible.
•When the transaxle is in THIRD (3), the transaxle
operates in a gear range of SECOND (2) to
THIRD (3) and tries to maintain THIRD (3) for
as long as possible.
•When the transaxle is in SECOND (2), the transaxle
is fixed in that gear.
•When the transaxle is in FIRST (1), the transaxle is
fixed in that gear.
2-24
Page 95 of 368
Hold Mode Functions
Winter Function
Select hold mode while in AUTOMATIC
OVERDRIVE (D), THIRD (3) or SECOND (2) to help
the vehicle maintain traction on slippery road surfaces,
such as snow, mud, or ice.
Avoid Excessive Shifting
Select hold mode while in THIRD (3) to avoid excessive
shifting when the adaptive shift logic is not enough to
prevent excessive shifting when driving in hilly areas.
Manually Controlling Shift
Select hold mode to use your automatic transaxle
like a four-speed manual transaxle.
Parking Brake
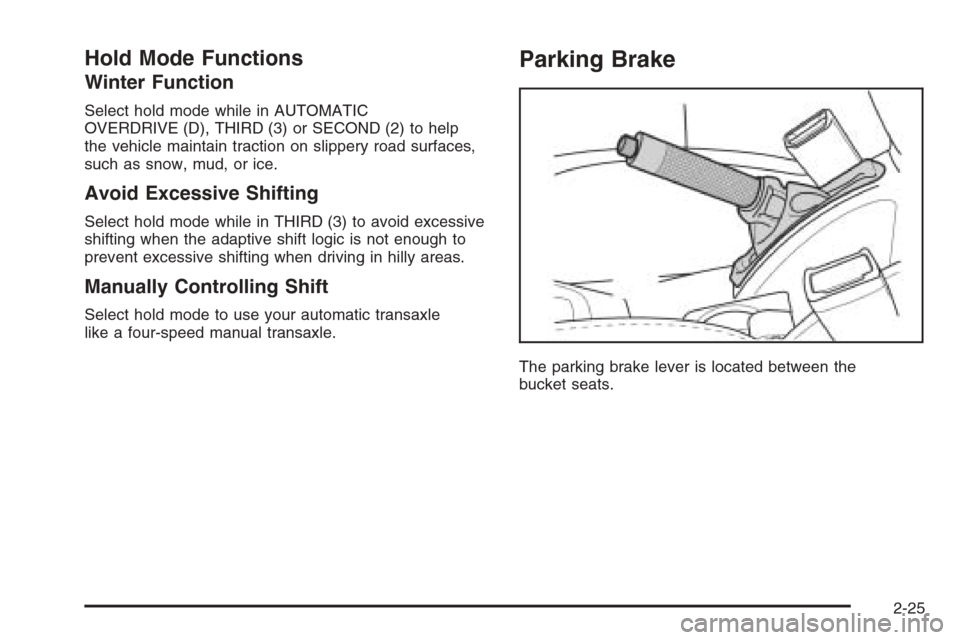
The parking brake lever is located between the
bucket seats.
2-25
Page 126 of 368
?(Recirculation):This mode keeps outside air
from coming in the vehicle. It can be used to prevent
outside air and odors from entering your vehicle or
to help heat or cool the air inside your vehicle more
quickly. Press this button to turn the recirculation mode
on or off. When the button is pressed, an indicator
light in the button will come on. Using the recirculation
mode for extended periods may cause your windows
to fog. If this happens, select the defrost mode.
A/C (Air Conditioning):Press this button to turn the
air conditioning compressor on and off. When A/C
is pressed, an indicator light in the button will come on
to let you know that air conditioning is activated.
On hot days, open the windows to let hot inside air
escape; then close them. This helps to reduce the time
it takes for your vehicle to cool down. It also helps
the system to operate more efficiently.
For quick cool down on hot days, do the following:
1. Select the vent mode.
2. Select the highest fan speed.
3. Press the A/C button.
4. Select the recirculation mode.
5. Select the coolest temperature.Using these settings together for long periods of time
may cause the air inside of your vehicle to become too
dry. To prevent this from happening, after the air in
your vehicle has cooled, turn the recirculation mode off.
The air conditioning system removes moisture from
the air, so you may sometimes notice a small amount of
water dripping underneath your vehicle while idling or
after turning off the engine. This is normal.
Defogging and Defrosting
Fog on the inside of windows is a result of high humidity
or moisture condensing on the cool window glass.
This can be minimized if the climate control system is
used properly. There are two modes to clear fog or frost
from your windshield. Use the defog mode to clear
the windows of fog or moisture and warm the
passengers. Use the defrost mode to remove fog or
frost from the windshield more quickly.
Select one of these available modes from the right knob.
É(Defog):This mode directs most of the air to the
windshield and the floor outlets. A small amount of air
is also directed to the outboard outlets for the side
windows and to the instrument panel side outlets.
When you select this mode, the system runs the
air-conditioning compressor. To defog the windows
faster, turn the temperature control knob clockwise
to the warmest setting.
3-20
Page 129 of 368
Do not cover the solar sensor located in the center of
the instrument panel, near the windshield. For more
information on the solar sensor, see “Sensors” later
in this section.
Manual Operation
w9x
(Fan):Press the up arrow to increase the fan
speed and the down arrow to decrease the fan speed.
AUTO mode is cancelled when this button is pressed.
MODE:Press this button repeatedly to cycle through
and choose the mode of air delivery into the vehicle. The
system will stay in the selected mode until MODE is
pressed again or until the AUTO button is pressed.
Whenever MODE is pressed, the display will show
the current system settings for five seconds before
returning the display to the exterior temperature.
E(Vent):This mode directs air to the instrument
panel outlets.
((Bi-level):This mode directs about half of the air
to the instrument panel outlets, and then directs
the remaining air to the floor outlets.
5(Floor):This mode directs most of the air to the
floor outlets. If your vehicle has rear outlets, some of the
air will also be directed to them. Be sure to keep the
area under the front seats clear to allow the flow of air
to the rear compartment.The mode button can also be used to select the defog
mode. Information on defogging and defrosting can
be found later in this section.
?(Recirculation):Press this button to keep outside
air from coming in the vehicle. It can be used to
prevent outside air and odors from entering your vehicle
or to help heat or cool the air inside your vehicle
more quickly. Press this button to turn the recirculation
mode on or off.
Using the recirculation mode for extended periods may
cause your windows to fog. If this happens, select
the defrost mode.
A/C (Air Conditioning):Press this button to override
the automatic system and turn the air conditioning
system on or off. When A/C is pressed, the indicator
light on the display panel will come on to let you know
that it is activated.
Press this button again to turn the air conditioning
system off, or press the OFF button to turn the entire
system off.
On hot days, open the windows to let hot inside air
escape; then close them. This helps to reduce the
time it takes for your vehicle to cool down. It also
helps the system to operate more efficiently.
3-23
Page 130 of 368
For quick cool down on hot days, press the AUTO
button and the system will automatically enter
recirculation mode and the temperature will be at
the full cold position for maximum cooling.
Using these settings together for long periods of time
may cause the air inside of your vehicle to become too
dry. To prevent this from happening, after the air in
your vehicle has cooled, turn the recirculation mode off.
The air conditioning system removes moisture from
the air, so you may sometimes notice a small amount
of water dripping underneath your vehicle while idling
or after turning off the engine. This is normal.
Outside Temperature:To display the outside
temperature, press the temperature control knob.
Pressing this knob again will cancel the outside
temperature display, otherwise the display will return
to the temperature inside of the vehicle after about
five seconds.
The outside temperature sensor is located near the
front bumper, so the displayed temperature may
be affected by road or engine heat while the vehicle is
idling or traveling at slow speeds. For this reason,
the displayed temperature will be most accurate at
speeds over 25 mph (40 km/h).Sensors
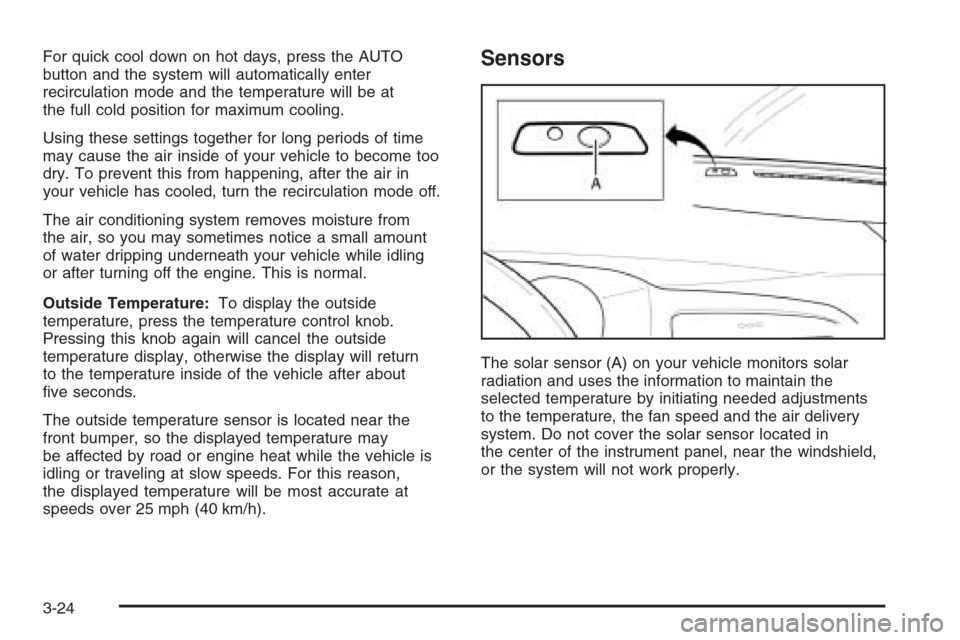
The solar sensor (A) on your vehicle monitors solar
radiation and uses the information to maintain the
selected temperature by initiating needed adjustments
to the temperature, the fan speed and the air delivery
system. Do not cover the solar sensor located in
the center of the instrument panel, near the windshield,
or the system will not work properly.
3-24