Page 46 of 163
The minute increments by
one each time you press the
button.
Press and hold down the
INFO button until the read-
ing changes.
The reading stops flashing.
The time is now set.Tyre pressure control
RDC
OE
Viewing tyre-pressure
readingsSwitch on the ignition.Repeatedly press INFO but-
ton
1until the tyre pres-
sures appear in the display.
The tyre-pressure readings
alternate with the clock. The
front tyre pressure is on the
left; the reading on the right is the rear tyre pressure. If your
motorcycle is fitted with an
on-board computer, the tyre
pressures are displayed as an
additional set of readings by
the on-board computer.
On-board computer
OE
Selecting readingsSwitch on the ignition.
Press INFO button
1once
at each step.
444zOperation
Page 49 of 163
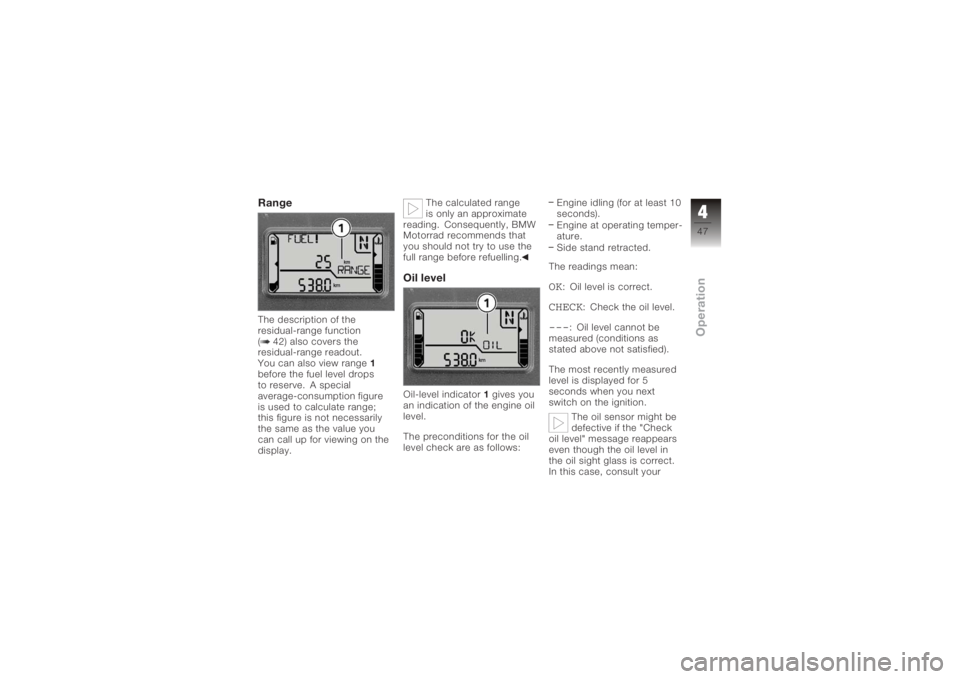
RangeThe description of the
residual-range function
( 42) also covers the
residual-range readout.
You can also view range1
before the fuel level drops
to reserve. A special
average-consumption figure
is used to calculate range;
this figure is not necessarily
the same as the value you
can call up for viewing on the
display. The calculated range
is only an approximate
reading. Consequently, BMW
Motorrad recommends that
you should not try to use the
full range before refuelling.
Oil levelOil-level indicator 1gives you
an indication of the engine oil
level.
The preconditions for the oil
level check are as follows: Engine idling (for at least 10
seconds).
Engine at operating temper-
ature.
Side stand retracted.
The readings mean:
OK
: Oil level is correct.
CHECK
: Check the oil level.
---
: Oil level cannot be
measured (conditions as
stated above not satisfied).
The most recently measured
level is displayed for 5
seconds when you next
switch on the ignition.
The oil sensor might be
defective if the "Check
oil level" message reappears
even though the oil level in
the oil sight glass is correct.
In this case, consult your
447zOperation
Page 52 of 163
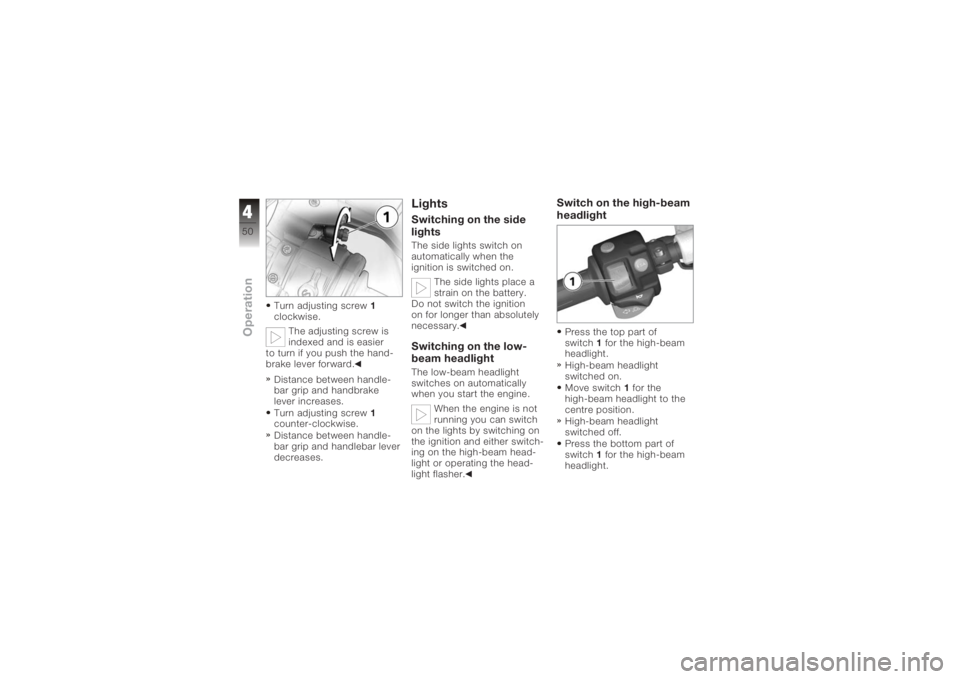
Turn adjusting screw1
clockwise.
The adjusting screw is
indexed and is easier
to turn if you push the hand-
brake lever forward.
Distance between handle-
bar grip and handbrake
lever increases.
Turn adjusting screw 1
counter-clockwise.
Distance between handle-
bar grip and handlebar lever
decreases.
LightsSwitching on the side
lightsThe side lights switch on
automatically when the
ignition is switched on.
The side lights place a
strain on the battery.
Do not switch the ignition
on for longer than absolutely
necessary.Switching on the low-
beam headlightThe low-beam headlight
switches on automatically
when you start the engine.
When the engine is not
running you can switch
on the lights by switching on
the ignition and either switch-
ing on the high-beam head-
light or operating the head-
light flasher.
Switch on the high-beam
headlightPress the top part of
switch 1for the high-beam
headlight.
High-beam headlight
switched on.
Move switch 1for the
high-beam headlight to the
centre position.
High-beam headlight
switched off.
Press the bottom part of
switch 1for the high-beam
headlight.
450zOperation
Page 53 of 163
The high-beam headlight
is switched on until you re-
lease the button (headlight
flasher).Switching on parking
lightsSwitch off the ignition.You can switch on the
parking lights only imme-
diately after switching off the
ignition.
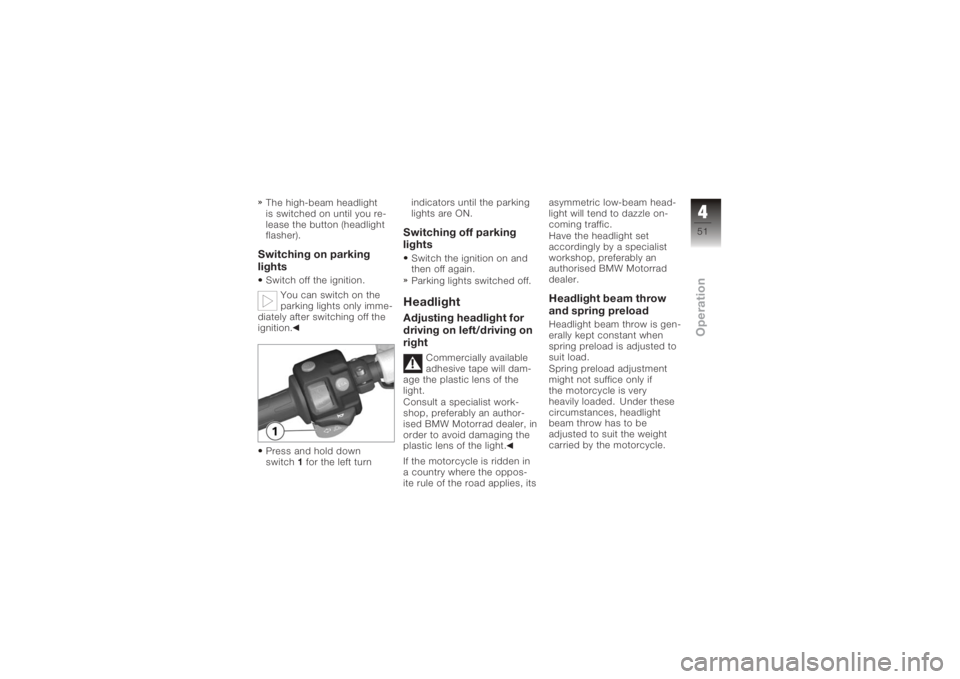
Press and hold down
switch 1for the left turn indicators until the parking
lights are ON.
Switching off parking
lightsSwitch the ignition on and
then off again.
Parking lights switched off.HeadlightAdjusting headlight for
driving on left/driving on
right
Commercially available
adhesive tape will dam-
age the plastic lens of the
light.
Consult a specialist work-
shop, preferably an author-
ised BMW Motorrad dealer, in
order to avoid damaging the
plastic lens of the light.
If the motorcycle is ridden in
a country where the oppos-
ite rule of the road applies, its asymmetric low-beam head-
light will tend to dazzle on-
coming traffic.
Have the headlight set
accordingly by a specialist
workshop, preferably an
authorised BMW Motorrad
dealer.
Headlight beam throw
and spring preloadHeadlight beam throw is gen-
erally kept constant when
spring preload is adjusted to
suit load.
Spring preload adjustment
might not suffice only if
the motorcycle is very
heavily loaded. Under these
circumstances, headlight
beam throw has to be
adjusted to suit the weight
carried by the motorcycle.
451zOperation
Page 54 of 163
Consult a specialist
workshop, preferably an
authorised BMW Motorrad
dealer, if you are unsure
whether the headlight basic
setting is correct.
Headlight beam-throw
adjustment1 Headlight beam-throw
adjustment
Spring preload adjustment
might not suffice if the motor-
cycle is very heavily loaded.
Moving the pivot lever adjusts headlight beam throw so as
not to dazzle oncoming traffic.
A
Neutral position
B Position for heavy load
Turn indicatorsSwitching on left flashing
turn indicatorsSwitch on the ignition. Press left-hand turn indicat-
or button
1.
The turn indicators are
cancelled automatically
after you have ridden for ap-
proximately 10 seconds, or
covered a distance of about
200 m.
Left-hand turn indicators
switched on.
Telltale light for left-hand
turn indicators flashes.
Switch on the right
flashing turn indicatorsSwitch on the ignition.
452zOperation
Page 61 of 163
Electronic Suspension
Adjustment ESA
OE
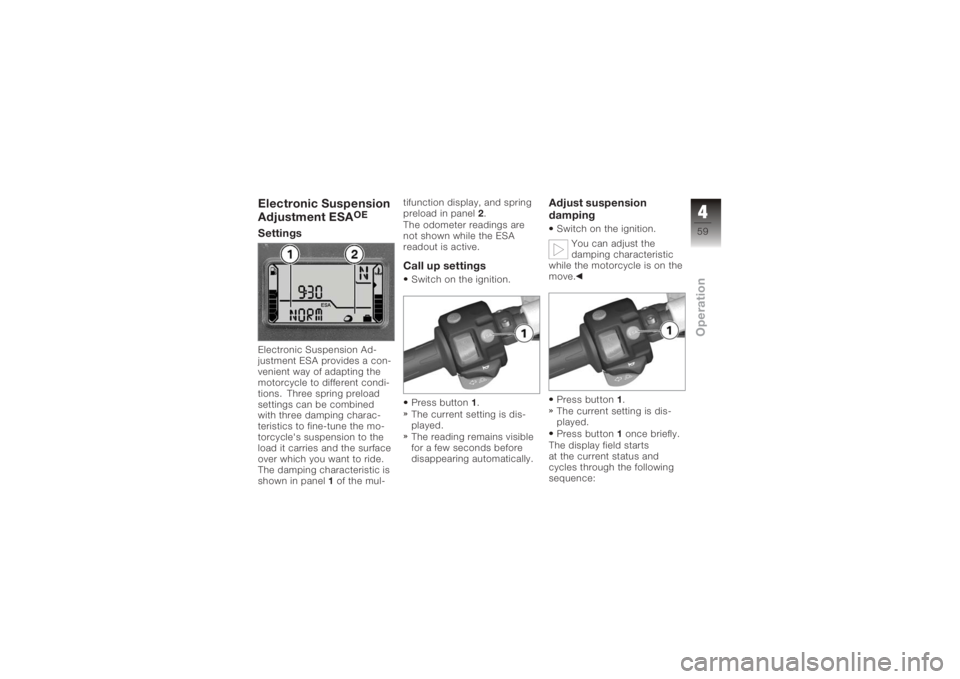
SettingsElectronic Suspension Ad-
justment ESA provides a con-
venient way of adapting the
motorcycle to different condi-
tions. Three spring preload
settings can be combined
with three damping charac-
teristics to fine-tune the mo-
torcycle's suspension to the
load it carries and the surface
over which you want to ride.
The damping characteristic is
shown in panel1of the mul- tifunction display, and spring
preload in panel
2.
The odometer readings are
not shown while the ESA
readout is active.
Call up settingsSwitch on the ignition.
Press button 1.
The current setting is dis-
played.
The reading remains visible
for a few seconds before
disappearing automatically.
Adjust suspension
dampingSwitch on the ignition.
You can adjust the
damping characteristic
while the motorcycle is on the
move.
Press button 1.
The current setting is dis-
played.
Press button 1once briefly.
The display field starts
at the current status and
cycles through the following
sequence:
459zOperation
Page 67 of 163
High voltage
Touching live parts of
the ignition system with
the engine running can cause
electric shock.
Do not touch parts of the igni-
tion system when the engine
is running.
Catalytic converterIf misfiring causes unburned
fuel to enter the catalytic con-
verter, there is a danger of
overheating and damage.
For this reason, observe the
following points:
Do not run the fuel tank dry.
Do not attempt to start or
run the engine with a spark-
plug cap disconnected.
Stop the engine immediately
if it misfires.
Use only unleaded fuel.
Comply with all specified
maintenance intervals. Unburned fuel will des-
troy the catalytic con-
verter.
Note the points listed for
protection of the catalytic
converter.
Risk of fireTemperatures at the exhaust
are high.
Flammable materials
(e.g. hay, leaves, grass,
clothing and luggage, etc.)
could ignite if allowed to
come into contact with the
hot exhaust pipe.
Do not permit flammable ma-
terials to come into contact
with the hot exhaust system.
Cooling would be
inadequate if the engine
were allowed to idle for
a lengthy period with the
motorcycle at a standstill:
overheating would result. In extreme cases, the
motorcycle could catch fire.
Do not allow the engine to
idle unnecessarily. Ride away
immediately after starting the
engine.
Tampering with the
control unit of the
electronic engine-
management system
Tampering with the con-
trol unit of the electronic
engine-management system
can damage the motorcycle
and cause accidents.
Do not tamper with the
control unit of the electronic
engine-management
system.
Tampering with the con-
trol unit of the electronic
engine-management system
can result in mechanical loads
that the motorcycle's com-
565zRiding
Page 68 of 163
ponents are not designed to
withstand. Damage caused in
this way is not covered by the
warranty.
Do not tamper with the
control unit of the electronic
engine-management
system.ChecklistUse the following checklist
to check important functions,
settings and wear limits be-
fore you ride off.Brakes
Brake-fluid levels, front and
rear
Clutch
Clutch fluid level
Shock absorber setting and
spring preload
Tyre-tread depth and tyre
pressures Cases correctly installed
and luggage secured
At regular intervals: Engine oil level (every refuel-
ling stop)
Brake-pad wear (every third
refuelling stop)
StartingSide standYou cannot start the motor-
cycle with the side stand ex-
tended and a gear engaged.
The engine will switch itself off
if you start it with the gearbox
in neutral and then engage a
gear before retracting the side
stand.GearboxYou can start the engine
when the gearbox is in neutral
or if you pull the clutch with
a gear engaged. Do not pull
the clutch until after you have switched on the ignition, as
otherwise the engine will
refuse to start. When the
gearbox is in neutral, the
green neutral telltale light is
on and the gear indicator
in the multifunction display
shows N.
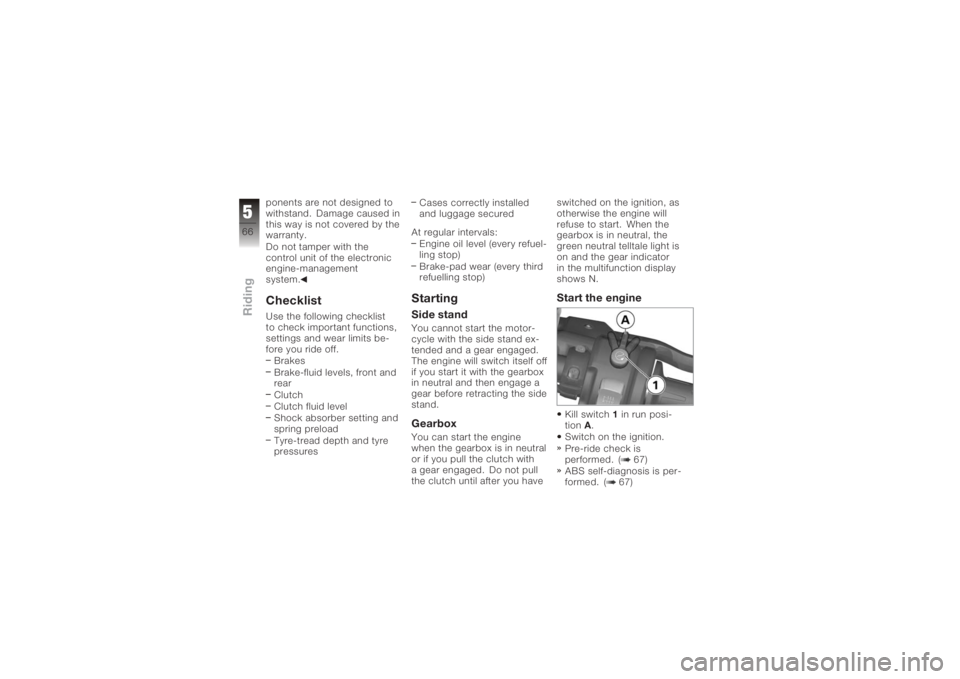
Start the engineKill switch
1in run posi-
tion A.
Switch on the ignition.
Pre-ride check is
performed. ( 67)
ABS self-diagnosis is per-
formed. ( 67)
566zRiding