Page 5 of 160

Parking your
motorcycle . . . ........... 69
Refuelling . . . . . .......... 71
Tyre pressure control
RDC
OE
.................. 72
Brake system, general . . . 73
Brake system with BMW
Motorrad Integral
ABS
OE
.................. 74
6 Accessories .......... 79
General instructions . . . . . 80
Power socket . .......... 80
Luggage . . . . . . .......... 81
CaseOA
................. 81
7 Maintenance . . . . . . . . . 85
General instructions . . . . . 86
Toolkit . ................. 86
Engine oil . . . . . .......... 87
Brake system, general . . . 89
Brake pads . . . . .......... 90
Brake fluid . . . . .......... 91
Clutch . ................. 94
Tyres . . ................. 95
Rims . . . ................. 95
Wheels . ................. 95 Front-wheel stand .
..... 104
Rear-wheel stand . . ..... 105
Bulbs . . ................ 107
Jump start . . . . ......... 114
Battery . ................ 115
8 Care . ................ 121
Care products . ......... 122
Washing motorcycle . . . . 122
Cleaning easily damaged
components . . . ......... 123
Paint care . . . . . ......... 124
Protective wax
coating ................ 124
Laying up the
motorcycle . . . . ......... 124
Restoring motorcycle to
use .................... 125
9 Technical data . . ..... 127
Troubleshooting
chart . . . ................ 128
Threaded fasteners ..... 129
Engine . ................ 130
Riding specifications . . . . 133
Clutch . ................ 133
Transmission . . ......... 133 Final drive . . . . .
......... 135
Running gear . . ......... 135
Brakes . ................ 136
Wheels and tyres . . ..... 136
Electrics . . . . . . ......... 137
Frame . . ................ 139
Dimensions . . . ......... 139
Weights ................ 140
10 Service . . . . ......... 141
BMW Motorrad
service . ................ 142
BMW Motorrad service
quality . ................ 142
BMW Motorrad Service
Card - On-the-spot
breakdown
assistance . . . . ......... 143
BMW Motorrad service
network ................ 143
Maintenance work . ..... 143
Maintenance
schedules . . . . . ......... 144
Confirmation of
maintenance work . ..... 145
Page 15 of 160
General view, right
side1Indicator for engine oil
level ( 87)
2 Filler neck, fuel ( 71)
3 Battery compartment
( 118)
4 Brake-fluid reservoir,
front ( 91)
5 Type plate
6 Vehicle identification
number
7 Brake-fluid reservoir, rear
( 93)
213zGeneral views
Page 53 of 160

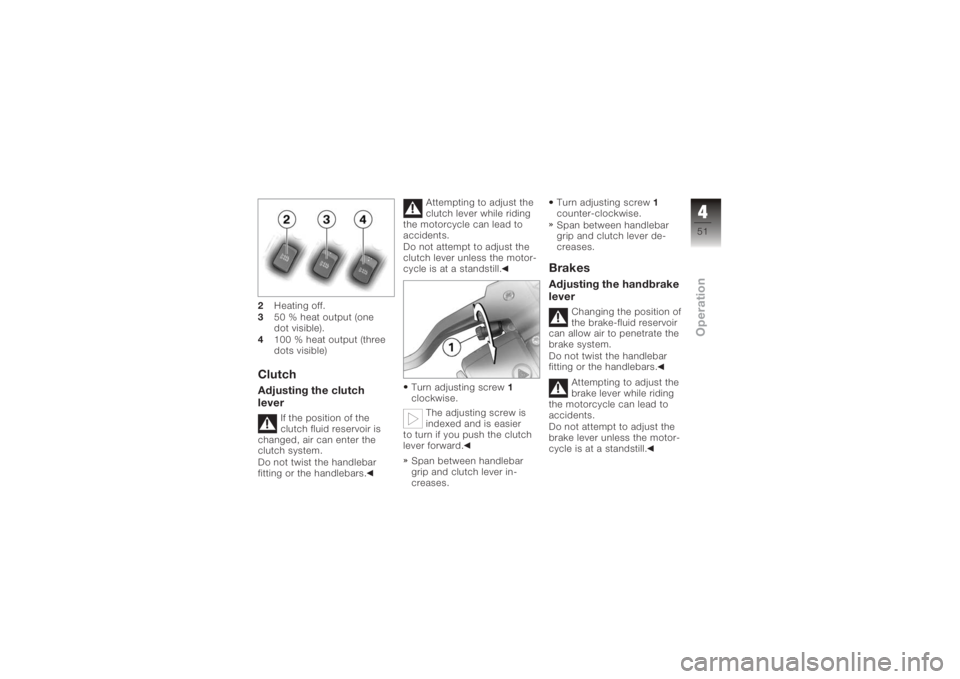
2Heating off.
3 50 % heat output (one
dot visible).
4 100 % heat output (three
dots visible)ClutchAdjusting the clutch
lever
If the position of the
clutch fluid reservoir is
changed, air can enter the
clutch system.
Do not twist the handlebar
fitting or the handlebars. Attempting to adjust the
clutch lever while riding
the motorcycle can lead to
accidents.
Do not attempt to adjust the
clutch lever unless the motor-
cycle is at a standstill.
Turn adjusting screw 1
clockwise.
The adjusting screw is
indexed and is easier
to turn if you push the clutch
lever forward.
Span between handlebar
grip and clutch lever in-
creases. Turn adjusting screw
1
counter-clockwise.
Span between handlebar
grip and clutch lever de-
creases.
BrakesAdjusting the handbrake
lever
Changing the position of
the brake-fluid reservoir
can allow air to penetrate the
brake system.
Do not twist the handlebar
fitting or the handlebars.
Attempting to adjust the
brake lever while riding
the motorcycle can lead to
accidents.
Do not attempt to adjust the
brake lever unless the motor-
cycle is at a standstill.
451zOperation
Page 68 of 160

ponents are not designed to
withstand. Damage caused in
this way is not covered by the
warranty.
Do not tamper with the
control unit of the electronic
engine-management
system.ChecklistUse the following checklist
to check important functions,
settings and wear limits be-
fore you ride off.Brakes
Brake-fluid levels, front and
rear
Clutch
Clutch fluid level
Shock absorber setting and
spring preload
Tyre-tread depth and tyre
pressures Cases correctly installed
and luggage secured
At regular intervals: Engine oil level (every refuel-
ling stop)
Brake-pad wear (every third
refuelling stop)
StartingSide standYou cannot start the motor-
cycle with the side stand ex-
tended and a gear engaged.
The engine will switch itself off
if you start it with the gearbox
in neutral and then engage a
gear before retracting the side
stand.GearboxYou can start the engine
when the gearbox is in neutral
or if you pull the clutch with
a gear engaged. Do not pull
the clutch until after you have switched on the ignition, as
otherwise the engine will
refuse to start. When the
gearbox is in neutral, the
green neutral telltale light is
on and the gear indicator
in the multifunction display
shows N.
Start the engineKill switch
1in run posi-
tion A.
Switch on the ignition.
Pre-ride check is
performed. ( 67)
566zRiding
Page 87 of 160
Maintenance
General instructions . . . . . . . . . . . 86
Toolkit . . . . . . . . . . . . . . . . . . . . . . . . 86
Engine oil . . . . . . . . . . . . . . . . . . . . . 87
Brake system, general . . . . . . . . . 89
Brake pads . . . . . . . . . . . . . . . . . . . . 90
Brake fluid . . . . . . . . . . . . . . . . . . . . 91
Clutch . . . . . . . . . . . . . . . . . . . . . . . . 94
Tyres . . . . . . . . . . . . . . . . . . . . . . . . . 95
Rims . . . . . . . . . . . . . . . . . . . . . . . . . . 95
Wheels . . . . . . . . . . . . . . . . . . . . . . . 95
Front-wheel stand . . . . . . . . . . . . 104
Rear-wheel stand . . . . . . . . . . . . 105
Bulbs . . . . . . . . . . . . . . . . . . . . . . . . 107
Jump start . . . . . . . . . . . . . . . . . . . 114
Battery . . . . . . . . . . . . . . . . . . . . . . . 115
785zMaintenance
Page 93 of 160

Checking brake pad
thickness, rear brakes
Brake pads worn past
the minimum permissible
thickness can cause a reduc-
tion in braking efficiency and
under certain circumstances
they can cause damage to
the brake system.
In order to ensure the de-
pendability of the brake sys-
tem, do not permit the brake
pads to wear past the minim-
um permissible thickness.
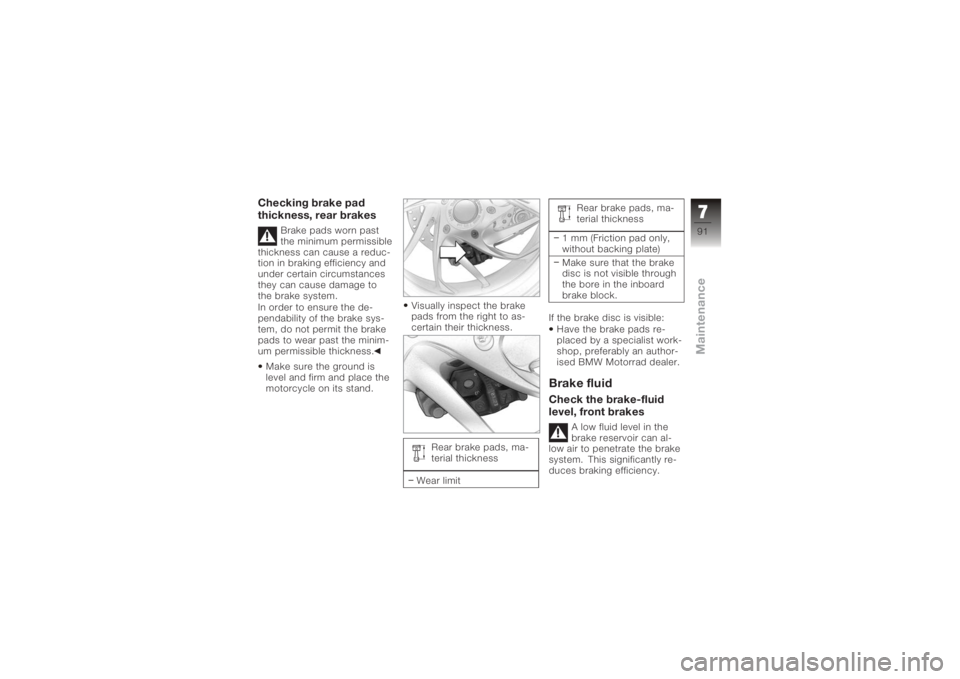
Make sure the ground is
level and firm and place the
motorcycle on its stand. Visually inspect the brake
pads from the right to as-
certain their thickness.
Rear brake pads, ma-
terial thickness
Wear limit Rear brake pads, ma-
terial thickness
1 mm (Friction pad only,
without backing plate)
Make sure that the brake
disc is not visible through
the bore in the inboard
brake block.
If the brake disc is visible: Have the brake pads re-
placed by a specialist work-
shop, preferably an author-
ised BMW Motorrad dealer.
Brake fluidCheck the brake-fluid
level, front brakes
A low fluid level in the
brake reservoir can al-
low air to penetrate the brake
system. This significantly re-
duces braking efficiency.
791zMaintenance
Page 94 of 160
Check the brake-fluid level at
regular intervals.Make sure the ground is
level and firm and hold the
motorcycle upright.
Move the handlebars to the
straight-ahead position.
with OA Centre stand:
Make sure the ground is
level and firm and place
the motorcycle on its centre
stand.
Move the handlebars to the
straight-ahead position. Check the brake fluid level
in front reservoir
1.
The brake fluid level in
the brake fluid reser-
voir drops as the brake pads
wear. Brake fluid level, front
DOT4 brake fluid
Do not permit the brake
fluid level to drop below
the MIN mark. (Brake-
fluid reservoir horizontal)
If the brake fluid level drops
below the permitted level: Have the defect rectified
as quickly as possible by a
specialist workshop, prefer-
ably an authorised BMW
Motorrad dealer.
792zMaintenance
Page 95 of 160
Check the brake-fluid
level, rear brakes
A low fluid level in the
brake reservoir can al-
low air to penetrate the brake
system. This significantly re-
duces braking efficiency.
Check the brake-fluid level at
regular intervals.
Make sure the ground is
level and firm and hold the
motorcycle upright.
with OA Centre stand:
Make sure the ground is
level and firm and place
the motorcycle on its centre
stand. Check the brake fluid level
in brake fluid reservoir
1.
The brake fluid level in
the brake fluid reser-
voir drops as the brake pads
wear. Brake fluid level, rear
DOT4 brake fluid
Do not permit the brake
fluid level to drop below
the MIN mark. (Brake-
fluid reservoir horizontal)
If the brake fluid level drops
below the permitted level: Have the defect rectified
as quickly as possible by a
specialist workshop, prefer-
ably an authorised BMW
Motorrad dealer.
793zMaintenance