Page 54 of 160

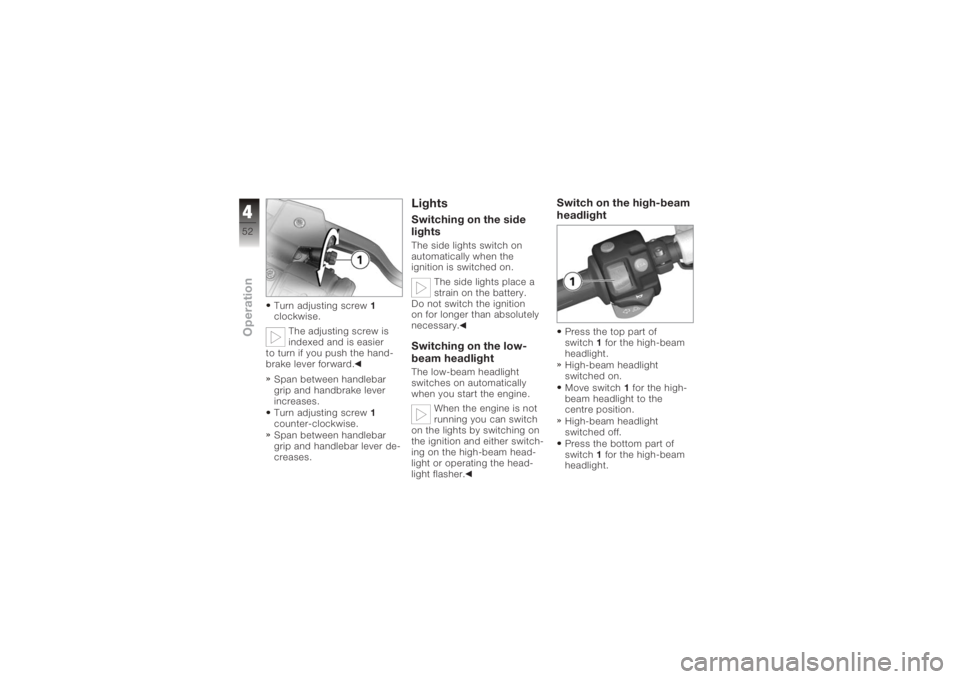
Turn adjusting screw1
clockwise.
The adjusting screw is
indexed and is easier
to turn if you push the hand-
brake lever forward.
Span between handlebar
grip and handbrake lever
increases.
Turn adjusting screw 1
counter-clockwise.
Span between handlebar
grip and handlebar lever de-
creases.
LightsSwitching on the side
lightsThe side lights switch on
automatically when the
ignition is switched on.
The side lights place a
strain on the battery.
Do not switch the ignition
on for longer than absolutely
necessary.Switching on the low-
beam headlightThe low-beam headlight
switches on automatically
when you start the engine.
When the engine is not
running you can switch
on the lights by switching on
the ignition and either switch-
ing on the high-beam head-
light or operating the head-
light flasher.
Switch on the high-beam
headlightPress the top part of
switch 1for the high-beam
headlight.
High-beam headlight
switched on.
Move switch 1for the high-
beam headlight to the
centre position.
High-beam headlight
switched off.
Press the bottom part of
switch 1for the high-beam
headlight.
452zOperation
Page 57 of 160
Turn the key counter-clock-
wise in the seat lock.
Press the seat down at the
same time.Lift the rear of the seat.
The seat can be dam-
aged at the edges if it is
placed on a rough surface.
Lay the seat upholstered side
down on a smooth, clean sur-
face, such as the fuel tank.
Release the key and pull the
seat back out of its holder.
Installing the seat
If too much pressure is
applied in the forward
direction, there is a danger
that the motorcycle will be
pushed off its stand.
Always make sure that the
motorcycle is stable and
firmly supported.
Push the seat forward into
holders 1.
455zOperation
Page 73 of 160

Excessive movements
could cause the centre
stand to retract, and the mo-
torcycle would topple in con-
sequence.
Do not lean or sit on the mo-
torcycle with the centre stand
extended.
Check that the motorcycle
is standing firmly.
Lock the steering lock.
Remove the motorcycle
from centre stand
OA
Unlock the steering lock.
Place your left hand on the
left handlebar grip.
With your right hand, grip
the rear grab handle or the
rear frame.
Push the motorcycle for-
ward off the centre stand.
Check that the centre stand
has fully retracted.
Refuelling
Fuel is highly flammable.
A naked flame close to
the fuel tank can cause a fire
or explosion.
Do not smoke. Never bring
a naked flame near the fuel
tank.
Fuel expands when hot.
Fuel escaping from an
overfilled tank could make its
way onto the rear tyre. This
could cause a fall.
Do not fill the tank past the
bottom edge of the filler
neck.
Fuel attacks plastics,
which become dull or
unsightly.
Wipe off plastic parts immedi-
ately if they come into contact
with fuel. Leaded fuel will destroy
the catalytic converter.
Use only unleaded fuel.
Make sure the ground is
level and firm and place the
motorcycle on its stand.
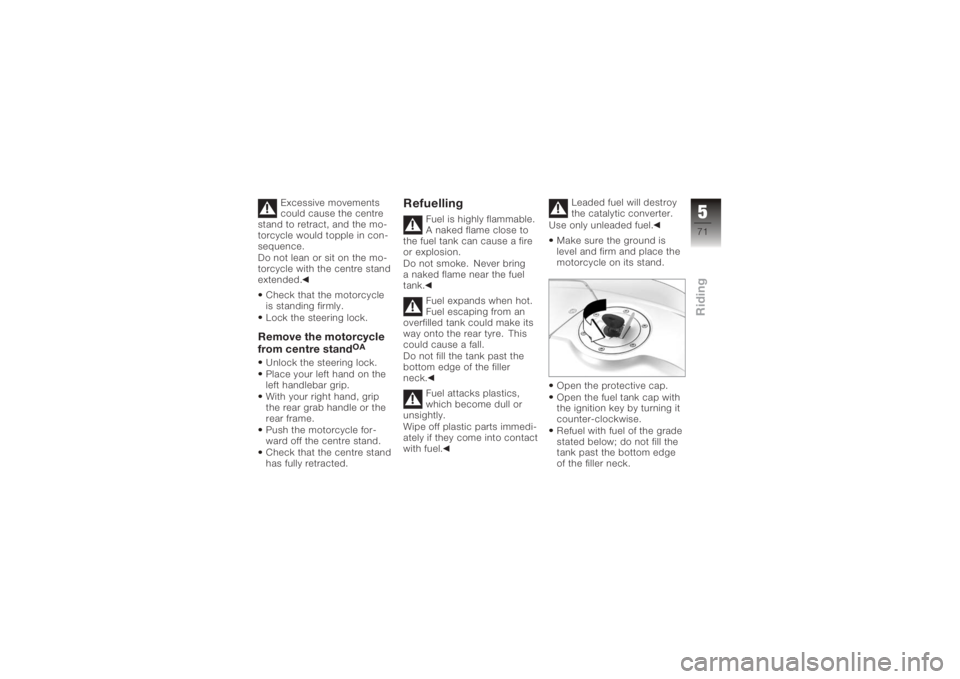
Open the protective cap.
Open the fuel tank cap with
the ignition key by turning it
counter-clockwise.
Refuel with fuel of the grade
stated below; do not fill the
tank past the bottom edge
of the filler neck.
571zRiding
Page 91 of 160

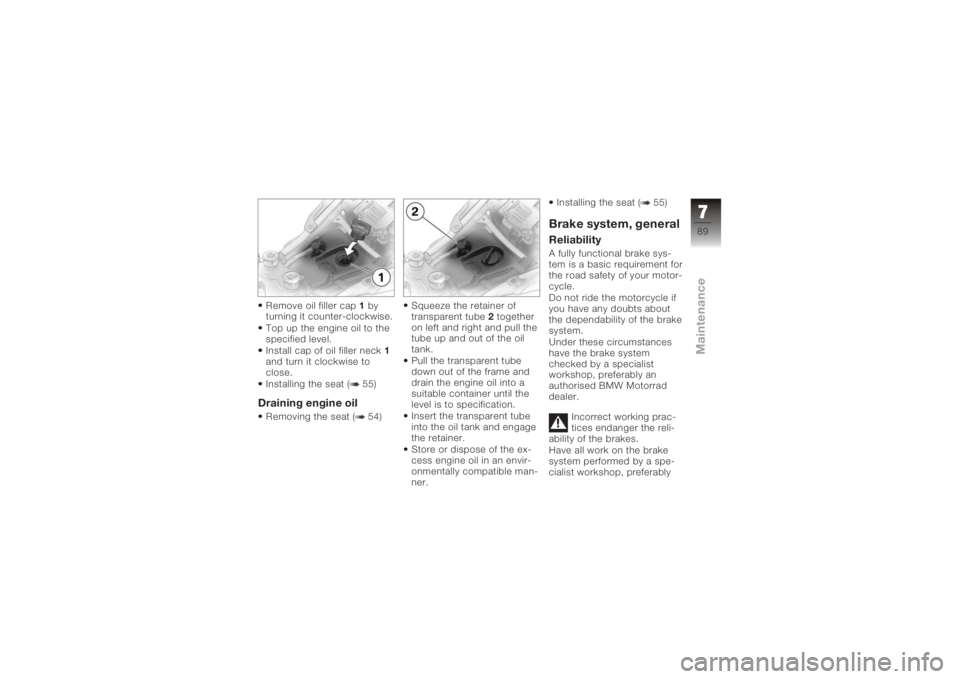
Remove oil filler cap1by
turning it counter-clockwise.
Top up the engine oil to the
specified level.
Install cap of oil filler neck 1
and turn it clockwise to
close.
Installing the seat ( 55)Draining engine oilRemoving the seat ( 54) Squeeze the retainer of
transparent tube
2together
on left and right and pull the
tube up and out of the oil
tank.
Pull the transparent tube
down out of the frame and
drain the engine oil into a
suitable container until the
level is to specification.
Insert the transparent tube
into the oil tank and engage
the retainer.
Store or dispose of the ex-
cess engine oil in an envir-
onmentally compatible man-
ner. Installing the seat ( 55)
Brake system, generalReliabilityA fully functional brake sys-
tem is a basic requirement for
the road safety of your motor-
cycle.
Do not ride the motorcycle if
you have any doubts about
the dependability of the brake
system.
Under these circumstances
have the brake system
checked by a specialist
workshop, preferably an
authorised BMW Motorrad
dealer.
Incorrect working prac-
tices endanger the reli-
ability of the brakes.
Have all work on the brake
system performed by a spe-
cialist workshop, preferably
789zMaintenance
Page 110 of 160
Make sure the ground is
level and firm and place the
motorcycle on its stand.
Switch off the ignition.
Remove cover1(high-beam
headlight) or cover 2(low-
beam headlight) by turning
cover counter-clockwise. Disconnect plug
3.
Disengage spring clip 4
from the latches and swing
it up. The spring clip might
face in a direction oth-
er than that shown here, de-
pending on the light.
Remove bulb 5.
Replace the defective bulb.
High-beam headlight
bulb
H7/12V/55W Low-beam headlight
bulb
H7/12V/55W
7108zMaintenance
Page 111 of 160
Install bulb5. When
installing, make sure that
tab 6is pointing up.
Engage spring retainer 4in
the catches. Connect plug
3.
Install cover 1(high-beam
headlight) or cover 2(low-
beam headlight) by turning
cover clockwise.
Replacing parking-light
bulb
If it is not standing firmly,
the motorcycle could
topple in the course of the
operations described below.
Always make sure that the
motorcycle is stable and
firmly supported.
Make sure the ground is
level and firm and place the
motorcycle on its stand.
Switch off the ignition.
7109zMaintenance
Page 112 of 160
Remove securing screws1
from both sides of the bulb
housing.
Pull the bulb housing for-
ward to remove it and tilt it
slightly down. Remove bulb holder
2from
the headlight housing by
turning it counter-clockwise.
Remove bulb 3from the
bulb holder.
Replace the defective bulb.
Parking-light bulb
W5W/12V/5W Insert bulb
3into the bulb
socket.
Turn the bulb socket clock-
wise to install it in the head-
light housing.
7110zMaintenance
Page 114 of 160
Turn bulb holder3counter-
clockwise to remove it from
the bulb housing.
Press bulb 4into socket 5
and remove by turning it
counter-clockwise. Replace the defective bulb.
Bulb of tail light/brake
light
P21W / 12 V / 21 W
Press bulb 4into socket 5
and turn it clockwise to in-
stall. Turn bulb socket
3clock-
wise to install it in the bulb
housing.
Seat the bulb housing in
holders 2.
7112zMaintenance