Page 4 of 160

Table of ContentsYou can also consult the in-
dex at the end of this Rider's
Manual if you want to find a
particular topic or item of in-
formation.
1 General instructions . . . 5
Overview . ................ 6
Abbreviations and
symbols . . . ............... 6
Equipment ............... 7
Technical data ........... 7
Currency . . ............... 7
2 General views . . . . . .... 9
General view, left side . . . 11
General view, right
side ..................... 13
Underneath the seat . . . . . 15
Handlebar fitting, left . . . . . 16
Handlebar fitting, right . . . 17
Instrument cluster . . . . . . . 18
Headlight . .............. 19 3 Status indicators . . . . . 21
Multifunction display . . . . . 22
Warning and telltale
lights . . . . .
.............. 22
ABS warning light
OE
..... 22
Function indicators . . . . . . 22
Warnings, general . . . . . . . 23
Warnings issued by the
tyre pressure monitoring
system (RDC)
OE
......... 31
ABS warnings
OE
......... 35
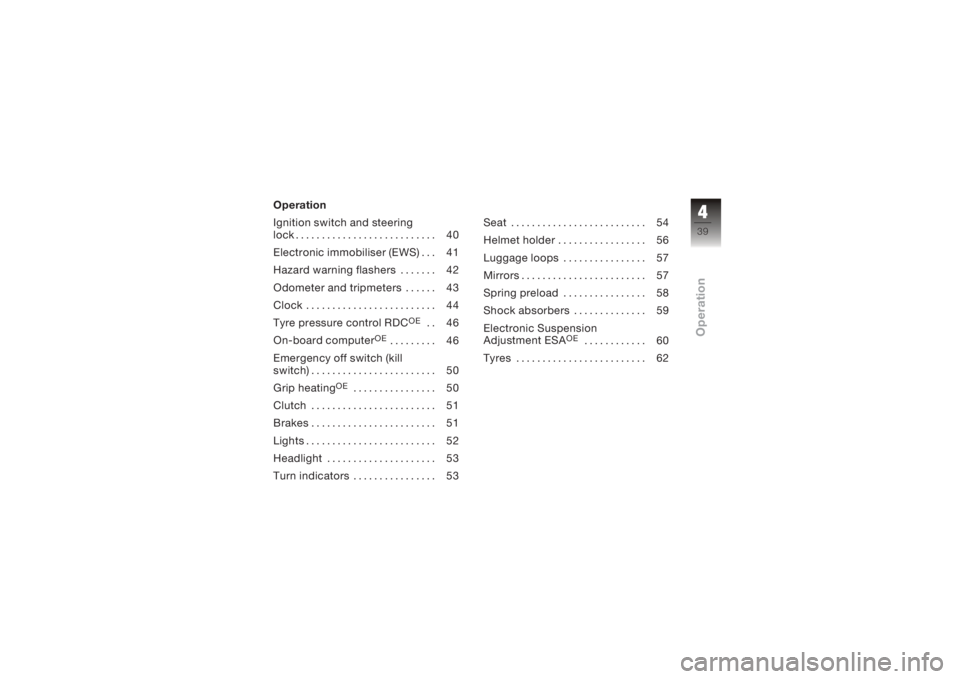
4 Operation . . . .......... 39
Ignition switch and
steering lock . . .......... 40
Electronic immobiliser
(EWS) . . . . . .............. 41
Hazard warning
flashers . . . .............. 42
Odometer and
tripmeters . .............. 43
Clock . . . . . .............. 44
Tyre pressure control
RDC
OE
.................. 46 On-board computer
OE
... 46
Emergency off switch (kill
switch) . . . . .............. 50
Grip heating
OE
........... 50
Clutch . . . . .............. 51
Brakes . . . . .............. 51
Lights . . . . . .............. 52
Headlight . .............. 53
Turn indicators .......... 53
Seat . . . . . . .............. 54
Helmet holder . .......... 56
Luggage loops .......... 57
Mirrors . . . . .............. 57
Spring preload .......... 58
Shock absorbers . . . . . . . . 59
Electronic Suspension
Adjustment ESAOE
....... 60
Tyres . . . . . .............. 62
5 Riding . . .............. 63
Safety instructions . . . . . . . 64
Checklist . . .............. 66
Starting . . . .............. 66
Running in .............. 68
Page 24 of 160

Multifunction display1Clock ( 44), Panel for
RDC status indicators
OE
( 46), Panel for oil-level
information
OE
( 49)
2 Panel for warnings
( 23)
3 Panel for the on-board
computer's status indic-
ators
OE
( 46)
4 Gear indicator ( 22)
5 Coolant temperature
readout ( 23)
6 Panel for ESA status in-
dicatorsOE
( 60) 7
Odometer reading
( 43)
8 Fuel gauge ( 22)
Warning and telltale
lights1Telltale light, left turn in-
dicator
2 Telltale light, high-beam
headlight
3 Warning light, general
4 Telltale light, neutral
5 Warning light, ABS (OE)
6 Telltale light, right turn
indicator
ABS warning light
OE
The way in which the ABS
warning light indicates status
can differ in some countries.
Possible national variant.
Function indicatorsFuel capacity
The horizontal bars be-
low the fuel-pump sym-
bol indicate the remaining
quantity of fuel.
Gear
Shows which gear is en-
gaged.
If no gear is engaged, the
gear indicator shows N and
the 'neutral' telltale light also
lights up.
322zStatus indicators
Page 33 of 160
Warnings issued by
the tyre pressure
monitoring system
(RDC)
OE
Display mode for RDC
warnings
The tyre pressure for the front
wheel 1and the tyre pres-
sure for the rear wheel 2ap-
pear in the panel for the clock
or the on-board computer,
accompanied by the letters
RDC
. The critical tyre pres-
sure flashes. If the critical value is close to
the limit of the permissible tol-
erance range, the reading is
accompanied by the 'Gen-
eral' warning light showing
yellow. If the tyre pressure re-
gistered by the sensor is out-
side the permissible tolerance
range, the 'General' warning
light flashes red.
331zStatus indicators
Page 41 of 160

Operation
Ignition switch and steering
lock . . . . . . . . . . . . . . . . . . . . . . . . . . . 40
Electronic immobiliser (EWS) . . . 41
Hazard warning flashers . . . . . . . 42
Odometer and tripmeters . . . . . . 43
Clock . . . . . . . . . . . . . . . . . . . . . . . . . 44
Tyre pressure control RDC
OE
.. 46
On-board computer
OE
......... 46
Emergency off switch (kill
switch) . . . . . . . . . . . . . . . . . . . . . . . . 50
Grip heating
OE
................ 50
Clutch . . . . . . . . . . . . . . . . . . . . . . . . 51
Brakes . . . . . . . . . . . . . . . . . . . . . . . . 51
Lights . . . . . . . . . . . . . . . . . . . . . . . . . 52
Headlight . . . . . . . . . . . . . . . . . . . . . 53
Turn indicators . . . . . . . . . . . . . . . . 53 Seat . . . . . . . . . . . . . . . . . . . . . . . . . . 54
Helmet holder . . . . . . . . . . . . . . . . . 56
Luggage loops . . . . . . . . . . . . . . . . 57
Mirrors . . . . . . . . . . . . . . . . . . . . . . . . 57
Spring preload . . . . . . . . . . . . . . . . 58
Shock absorbers . . . . . . . . . . . . . . 59
Electronic Suspension
Adjustment ESA
OE
............ 60
Tyres . . . . . . . . . . . . . . . . . . . . . . . . . 62
439zOperation
Page 46 of 160

and cycles through the follow-
ing sequence:Total distance covered
Tripmeter 1 (Trip I)
Tripmeter 2 (Trip II)Resetting tripmeterSwitch on the ignition.
Select the desired tripmeter.
Press and hold down
button 1until the reading
changes.
The tripmeter is reset to
zero.
Residual rangeThe residual-range readout 1
indicates how far you can ride
with the fuel remaining in the
tank. On a motorcycle not
equipped with an on-board
computer, this reading is not
displayed until fuel level has
dropped to reserve. This dis-
tance is calculated on the
basis of fuel level and average
consumption.
When you refuel, the increase
in fuel level is not registered
unless several litres are ad- ded to the fuel already in the
tank.
The residual range is
only an approximate
reading. Consequently, BMW
Motorrad recommends that
you should not try to use the
full residual range before
refuelling.
ClockSet the clock
Attempting to set the
clock while riding the
motorcycle can lead to ac-
cidents.
Set the clock only when the
motorcycle is stationary.
Switch on the ignition.
444zOperation
Page 47 of 160
Repeatedly press INFO but-
ton1until the total distance
covered reading appears on
the display. with OE On-board computer:
Repeatedly press INFO but-
ton 1until the clock appears
on the display. Press and hold down the
INFO button until the read-
ing changes.
Hours reading
2starts to
flash.
Press the INFO button.
The hour increments by one
each time you press the
button.
Press and hold down the
INFO button until the read-
ing changes.
Minutes reading 3starts to
flash.
Press the INFO button.
445zOperation
Page 48 of 160
The minute increments by
one each time you press the
button.
Press and hold down the
INFO button until the read-
ing changes.
The reading stops flashing.
The time is now set.Tyre pressure control
RDC
OE
Viewing tyre-pressure
readingsSwitch on the ignition.Repeatedly press INFO but-
ton
1until the tyre pres-
sures appear in the display.
The tyre-pressure readings
alternate with the clock. The
front tyre pressure is on the
left; the reading on the right is the rear tyre pressure. If your
motorcycle is fitted with an
on-board computer, the tyre
pressures are displayed as an
additional set of readings by
the on-board computer.
On-board computer
OE
Selecting readingsSwitch on the ignition.
Press INFO button
1once
at each step.
446zOperation
Page 53 of 160

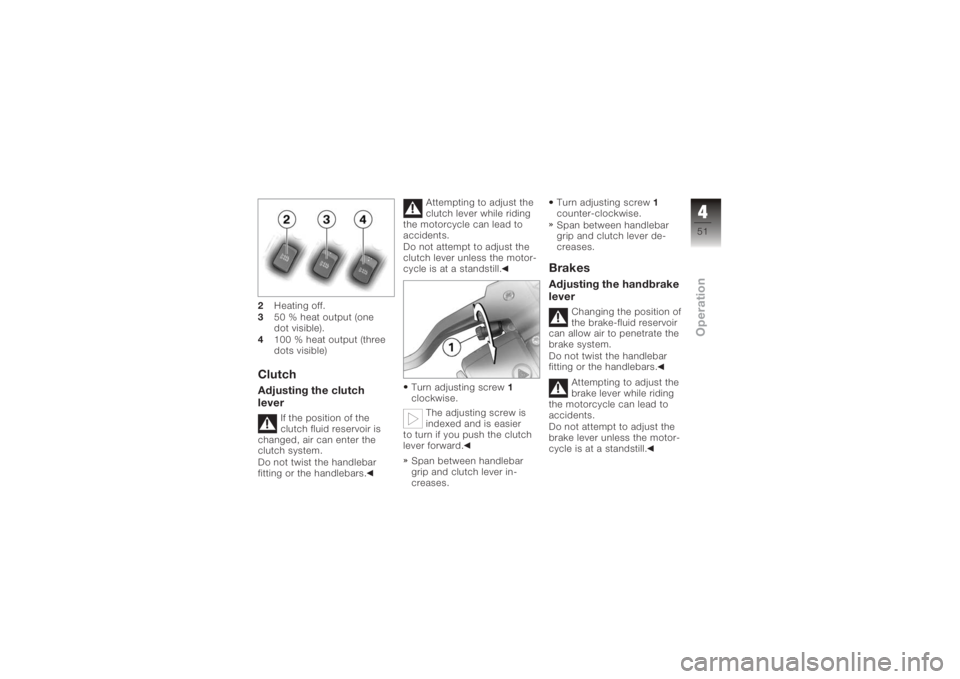
2Heating off.
3 50 % heat output (one
dot visible).
4 100 % heat output (three
dots visible)ClutchAdjusting the clutch
lever
If the position of the
clutch fluid reservoir is
changed, air can enter the
clutch system.
Do not twist the handlebar
fitting or the handlebars. Attempting to adjust the
clutch lever while riding
the motorcycle can lead to
accidents.
Do not attempt to adjust the
clutch lever unless the motor-
cycle is at a standstill.
Turn adjusting screw 1
clockwise.
The adjusting screw is
indexed and is easier
to turn if you push the clutch
lever forward.
Span between handlebar
grip and clutch lever in-
creases. Turn adjusting screw
1
counter-clockwise.
Span between handlebar
grip and clutch lever de-
creases.
BrakesAdjusting the handbrake
lever
Changing the position of
the brake-fluid reservoir
can allow air to penetrate the
brake system.
Do not twist the handlebar
fitting or the handlebars.
Attempting to adjust the
brake lever while riding
the motorcycle can lead to
accidents.
Do not attempt to adjust the
brake lever unless the motor-
cycle is at a standstill.
451zOperation