Page 82 of 172

Check that the 'General'
warning light comes on, and
that it lights up yellow and
then red.Have the fault rectified as
quickly as possible by a
specialist workshop, prefer-
ably an authorised BMW
Motorrad dealer.ABS self-diagnosisBMW Motorrad Integral ABS
performs self-diagnosis to
ensure its operability. Self-
diagnosis is performed auto-
matically when you switch
on the ignition. The motor-
cycle has to move forward at
a speed above 5 km/h for the
wheel sensors to be tested.
Phase 1Test of the diagnosis-
compatible system
components with the
motorcycle at a standstill. ABS warning light
flashes.
Possible national variant
of the ABS warning light.
Phase 2 Test of the wheel sensors
as the motorcycle pulls
away from rest. ABS warning light
flashes.
Possible national variant
of the ABS warning light.
ABS self-diagnosis
completed The ABS warning light goes
out.
If an indicator showing an
ABS fault appears when ABS
self-diagnosis completes:
You can continue to ride.
Bear in mind that neither
the ABS function nor the integral braking function is
available.
Have the fault rectified as
quickly as possible by a
specialist workshop, prefer-
ably an authorised BMW
Motorrad dealer.
ASC self-diagnosis
OE
BMW Motorrad ASC performs
self-diagnosis to ensure its
operability. Self-diagnosis
is performed automatically
when you switch on the igni-
tion. The engine must be run-
ning and the motorcycle must
reach a speed of at least 5
km/h in order for ASC self-
diagnosis to complete.
Phase 1
Test of the diagnosis-
compatible system
components with the
motorcycle at a standstill.
580zRiding
Page 83 of 172

ASC warning light slow-
flashes.
Phase 2 Test of the diagnosis-
compatible system
components while the
motorcycle is on the move. ASC warning light slow-
flashes.
ASC self-diagnosis
completed The ASC warning light goes
out.
If an indicator showing an
ASC fault appears when ASC
self-diagnosis completes:
You can continue to ride.
Bear in mind that the ASC
function is not available.
Have the fault rectified as
quickly as possible by a
specialist workshop, prefer- ably an authorised BMW
Motorrad dealer.
Running inThe first 1000 kmWhile running in the mo-
torcycle, vary the throttle
opening and engine-speed
range frequently.
Try to do most of your rid-
ing during this initial period
on twisting, fairly hilly roads,
avoiding high-speed main
roads and highways if pos-
sible.
Exceeding the specified
engine speeds while run-
ning in will lead to increased
engine wear.
Keep to the specified engine
speeds for running in.
Do not exceed the rpm lim-
its recommended for run-
ning in. Running-in speed
<7000 min
-1
No full-load acceleration.
Avoid low engine speeds at
full load.
Do not omit the first inspec-
tion after 500 - 1200 km.Brake padsNew brake pads must "bed
down" and therefore do not
achieve their optimum friction
levels during the first 500 km.
You can compensate for this
initial reduction in braking ef-
ficiency by exerting greater
pressure on the levers. New brake pads can ex-
tend stopping distance
by a significant margin.
Apply the brakes in good
time.
581zRiding
Page 166 of 172
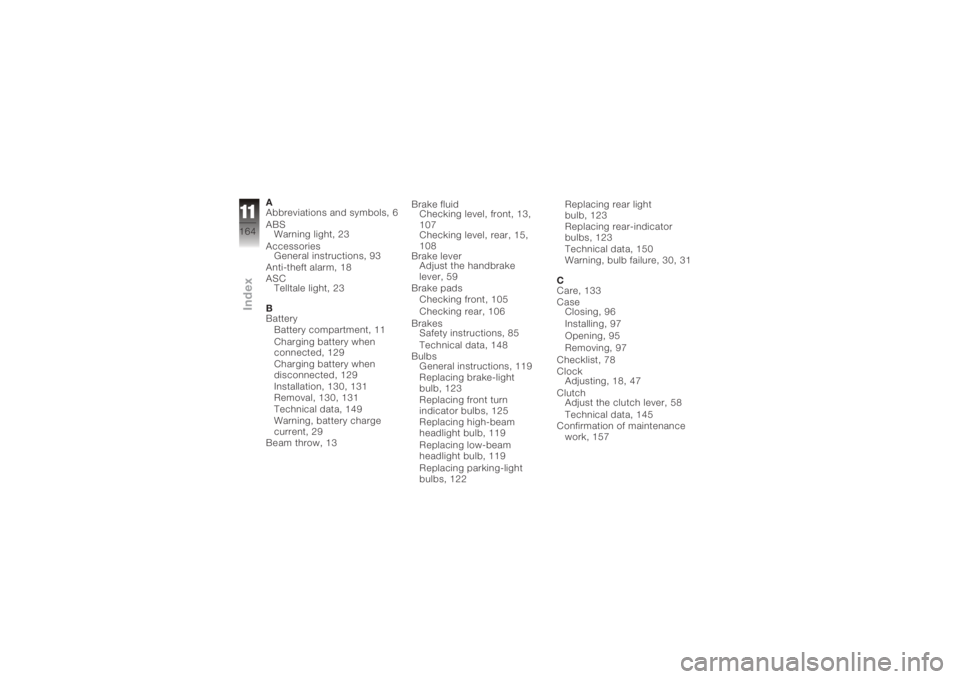
A
Abbreviations and symbols, 6
ABSWarning light, 23
Accessories General instructions, 93
Anti-theft alarm, 18
ASC Telltale light, 23
B
Battery Battery compartment, 11
Charging battery when
connected, 129
Charging battery when
disconnected, 129
Installation, 130, 131
Removal, 130, 131
Technical data, 149
Warning, battery charge
current, 29
Beam throw, 13 Brake fluid
Checking level, front, 13,
107
Checking level, rear, 15,
108
Brake lever Adjust the handbrake
lever, 59
Brake pads Checking front, 105
Checking rear, 106
Brakes Safety instructions, 85
Technical data, 148
Bulbs General instructions, 119
Replacing brake-light
bulb, 123
Replacing front turn
indicator bulbs, 125
Replacing high-beam
headlight bulb, 119
Replacing low-beam
headlight bulb, 119
Replacing parking-light
bulbs, 122 Replacing rear light
bulb, 123
Replacing rear-indicator
bulbs, 123
Technical data, 150
Warning, bulb failure, 30, 31
C
Care, 133
Case Closing, 96
Installing, 97
Opening, 95
Removing, 97
Checklist, 78
Clock Adjusting, 18, 47
Clutch Adjust the clutch lever, 58
Technical data, 145
Confirmation of maintenance work, 157
11164zIndex
Page 167 of 172

Cruise-control system, 16Deactivating, 54
Resuming cruising
speed, 55
Set road speed, 53
Step-by-step accelera-
tion, 53
Step-by-step decelera-
tion, 54
Stepless acceleration, 54
Stepless deceleration, 54
Switching off, 55
Switching on, 53
Telltale light, 23
D
Dimensions Technical data, 151
E
Electrics Technical data, 149
Emergency off switch (kill switch), 17, 55 Engine
Starting, 78
Technical data, 142
Temperature gauge, 23
Warning, engine electron-
ics, 28
Engine oil Checking level, 103
Filler neck, 15
Oil dipstick, 15
Technical data, 144
Topping up, 105
Warning, engine oil level, 29
Warning, engine oil pres-
sure, 28
ESA, 16, 71 Adjust spring preload, 72
Adjust suspension damp-
ing, 71
Call up settings, 71
EWS Warning, 27 F
Final drive
Technical data, 147
Frame Technical data, 151
Front seat Adjusting, 15, 66
Heating, 17, 57
Installation, 66
Removal, 65
Front-wheel stand Installing, 118
Fuel Quantity reading, 23
Refuelling, 83
Technical data, 143
Warning, fuel down to
reserve, 27
Fuses, 149
G
Gear indicator, 23
Grip heating, 17, 56
11165zIndex
Page 168 of 172
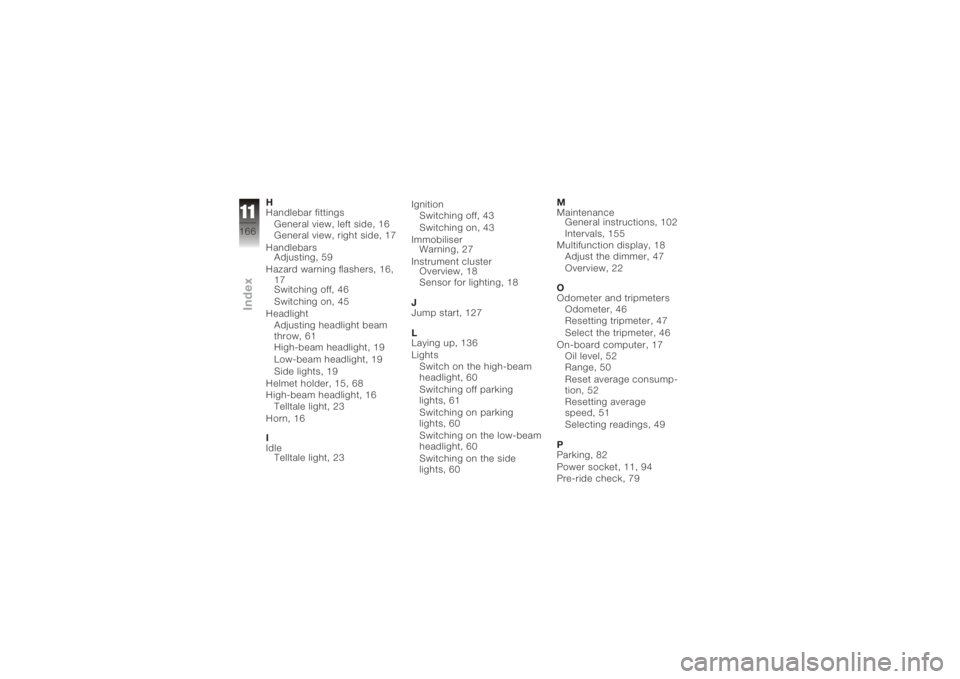
H
Handlebar fittingsGeneral view, left side, 16
General view, right side, 17
Handlebars Adjusting, 59
Hazard warning flashers, 16, 17
Switching off, 46
Switching on, 45
Headlight Adjusting headlight beam
throw, 61
High-beam headlight, 19
Low-beam headlight, 19
Side lights, 19
Helmet holder, 15, 68
High-beam headlight, 16 Telltale light, 23
Horn, 16
I
Idle Telltale light, 23 Ignition
Switching off, 43
Switching on, 43
Immobiliser Warning, 27
Instrument cluster Overview, 18
Sensor for lighting, 18
J
Jump start, 127
L
Laying up, 136
Lights Switch on the high-beam
headlight, 60
Switching off parking
lights, 61
Switching on parking
lights, 60
Switching on the low-beam
headlight, 60
Switching on the side
lights, 60 M
Maintenance
General instructions, 102
Intervals, 155
Multifunction display, 18 Adjust the dimmer, 47
Overview, 22
O
Odometer and tripmeters Odometer, 46
Resetting tripmeter, 47
Select the tripmeter, 46
On-board computer, 17 Oil level, 52
Range, 50
Reset average consump-
tion, 52
Resetting average
speed, 51
Selecting readings, 49
P
Parking, 82
Power socket, 11, 94
Pre-ride check, 79
11166zIndex
Page 169 of 172
R
Range, 50
Rear seatHeating, 57
Installation, 67
Removal, 65
Refuelling, 83 Filler neck, 13
Reserve Warning, 27
Residual range, 49
Restoring to use, 137
Rev. counter, 18
Rider's Manual, 15
Rims Test, 110
Running gear Technical data, 147
Running in, 81 S
Safety instructions, 75
Brakes, 85
Seat, 15
Seat lock, 11
Service, 154
Service Card, 155
Side stand Starting the engine, 78
Spark plugs, 150
Speedometer, 18
Spring preload, rear Adjusting, 11, 69
Starter, 17
Starting, 78
Steering lock, 44
Stowage compartment, 13 Closing, 63
Opening, 63
Suspension damping, rear Adjusting, 11, 70 T
Technical data
Battery, 149
Brakes, 148
Bulbs, 150
Clutch, 145
Dimensions, 151
Electrics, 149
Engine, 142
Engine oil, 144
Final drive, 147
Frame, 151
Fuel, 143
Running gear, 147
Spark plugs, 150
Transmission, 145
Weights, 152
Wheels and tyres, 148
Telltale lights, 18 Overview, 23
Toolkit, 15 Service kit, 102
Standard kit, 102
11167zIndex
Page 170 of 172
TopcaseClosing, 98
Installing, 99
Opening, 98
Removing, 99
Torques, 139
Transmission Starting the engine, 78
Technical data, 145
Troubleshooting chart, 140
Turn indicators Left, 16, 62
Right, 17, 62
Switching off, 17, 63
Telltale lights, 23
Tyre pressure control (ReifenDruck-Control)
Label on wheel rim, 110
Operation, 48
Tyres Approved, 110
Checking tread depth, 109
Checking tyre pressures, 73
Technical data, 148 V
Vehicle
Cleaning, 133
General view, left side, 11
General view, right side, 13
Laying up, 136
Parking, 82
Restoring to use, 137
Vehicle identification num- ber, 13
W
Warning lights, 18 Overview, 23
Warning light, general, 23
Warnings Mode of presentation, 24
Warnings, overview, 25, 33, 37, 39
Weights
Technical data, 152 Wheels
Installing front wheel, 112
Installing rear wheel, 115
Remove the front
wheel, 111
Removing rear wheel, 114
Technical data, 148
Windscreen, 11 Adjusting, 16, 69
11168zIndex

