Page 49 of 172
Tripmeter 1 (Trip I)
Tripmeter 2 (Trip II)
Tyre pressures (OE) for mo-
torcycles without on-board
computerResetting tripmeterSwitch on the ignition.
Select the desired tripmeter.
Press and hold down
tripmeter button1until the
reading changes.
The tripmeter is reset to
zero.
Multifunction displayAdjust the dimmer
Attempting to adjust the
dimmer while riding the
motorcycle can lead to acci-
dents.
Do not attempt to adjust the
dimmer unless the motorcycle
is at a standstill.
Press button 1.
The level of dimming ap-
pears in display field 2.
Press button 1again.
The brightness of the dis-
play increases one level each time you press the
button. Each time you press
the button after maxim-
um brightness is reached,
brightness is reduced by
one level.
ClockSet the clock
Attempting to set the
clock while riding the
motorcycle can lead to ac-
cidents.
Set the clock only when the
motorcycle is stationary.
Switch on the ignition.
447zOperation
Page 50 of 172
Press and hold down
button1until the reading
changes.
Hours reading 2starts to
flash.
Press button 1.
The hour increments by one
each time you press the
button.
Press and hold down
button 1until the reading
changes.
Minutes reading 3starts to
flash.
Press button 1. The minute increments by
one each time you press the
button.
Press and hold down
button
1until the reading
changes.
The reading stops flashing.
The time is now set.
Tyre pressure control
RDC
OE
Viewing tyre-pressure
readingsSwitch on the ignition. Repeatedly press BC but-
ton
1until the tyre pres-
sures appear in the display.
The tyre pressures are
displayed as an additional set
of readings by the on-board
computer. The front tyre
448zOperation
Page 53 of 172
Calculating average
speedAverage speed1is calculated
on basis of the time elapsed
since the last RESET. Times
during which the engine was
stopped are excluded from
the calculation.
Resetting average speedRepeatedly press BC
button 1until the average
speed appears in the
display.
Press and hold down the
BC button until the reading
changes ("RESET").
The display shows
"--- km/h".
Calculating average
consumptionAverage consumption 1is
calculated by dividing the dis-
tance covered since the last
RESET by the corresponding
amount of fuel used.
451zOperation
Page 54 of 172

Reset average
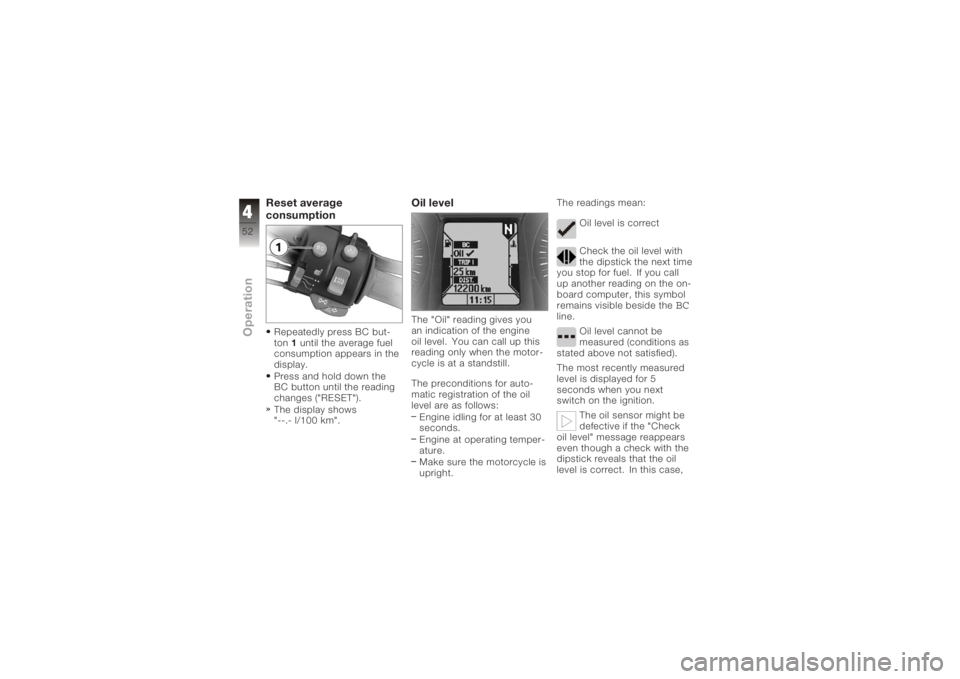
consumptionRepeatedly press BC but-
ton1until the average fuel
consumption appears in the
display.
Press and hold down the
BC button until the reading
changes ("RESET").
The display shows
"--.- l/100 km".
Oil levelThe "Oil" reading gives you
an indication of the engine
oil level. You can call up this
reading only when the motor-
cycle is at a standstill.
The preconditions for auto-
matic registration of the oil
level are as follows:
Engine idling for at least 30
seconds.
Engine at operating temper-
ature.
Make sure the motorcycle is
upright. The readings mean:
Oil level is correct
Check the oil level with
the dipstick the next time
you stop for fuel. If you call
up another reading on the on-
board computer, this symbol
remains visible beside the
BC
line.
Oil level cannot be
measured (conditions as
stated above not satisfied).
The most recently measured
level is displayed for 5
seconds when you next
switch on the ignition.
The oil sensor might be
defective if the "Check
oil level" message reappears
even though a check with the
dipstick reveals that the oil
level is correct. In this case,
452zOperation
Page 74 of 172
Press button1.
You can adjust the
damping characteristic
while the motorcycle is on the
move.
The current setting is dis-
played.
Press button 1once briefly.
The display field starts
at the current status and
cycles through the following
sequence:COMFORT
Comfortable
damping characteristic
NORMAL
Normal damping
characteristic
SPORT
Sporty damping
characteristic
The setting shown on the
display is automatically
accepted as the damping
characteristic if you allow
a certain length of time
to pass without pressing
button 1. During the setting
procedure, the display
flashes.
Adjust spring preloadStart the engine.
You cannot adjust spring
preload while the motor-
cycle is on the move. Press button
1.
The current setting is dis-
played.
Press and hold down
button 1until the reading
changes.
The display field starts
at the current status and
cycles through the following
sequence:
One-up
One-up with luggage
472zOperation
Page 111 of 172

The brake fluid level in
the brake fluid reser-
voir drops as the brake pads
wear.
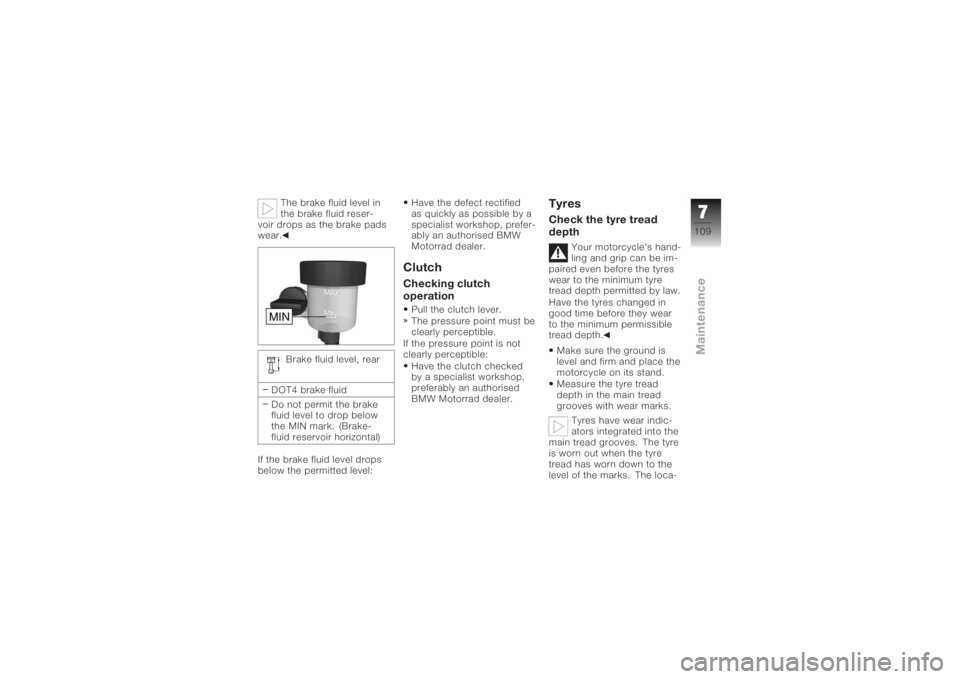
Brake fluid level, rear
DOT4 brake fluid
Do not permit the brake
fluid level to drop below
the MIN mark. (Brake-
fluid reservoir horizontal)
If the brake fluid level drops
below the permitted level: Have the defect rectified
as quickly as possible by a
specialist workshop, prefer-
ably an authorised BMW
Motorrad dealer.
ClutchChecking clutch
operationPull the clutch lever.
The pressure point must be
clearly perceptible.
If the pressure point is not
clearly perceptible:
Have the clutch checked
by a specialist workshop,
preferably an authorised
BMW Motorrad dealer.
TyresCheck the tyre tread
depth
Your motorcycle's hand-
ling and grip can be im-
paired even before the tyres
wear to the minimum tyre
tread depth permitted by law.
Have the tyres changed in
good time before they wear
to the minimum permissible
tread depth.
Make sure the ground is
level and firm and place the
motorcycle on its stand.
Measure the tyre tread
depth in the main tread
grooves with wear marks. Tyres have wear indic-
ators integrated into the
main tread grooves. The tyre
is worn out when the tyre
tread has worn down to the
level of the marks. The loca-
7109zMaintenance
Page 138 of 172

Paint careWashing the motorcycle
regularly will help counteract
the long-term effects of
substances that damage
the paint, especially if your
motorcycle is ridden in areas
with high air pollution or
natural sources of dirt, for
example tree resin or pollen.
Remove particularly
aggressive substances
immediately, however, as
otherwise the paint can
be affected or become
discoloured. Substances
of this nature include spilt
fuel, oil, grease, brake fluid
and bird droppings. We
recommend BMW vehicle
polish or BMW paint cleaner
for this purpose.
Marks on the paintwork are
particularly easy to see after
the motorcycle has been
washed. Remove stains ofthis kind immediately, using
cleaning-grade benzene or
petroleum spirit on a clean
cloth or ball of cotton wool.
We recommend that specks
of tar be removed with BMW
tar remover. Remember to
wax the parts treated in this
way.
Protective wax
coatingFor the protective wax coating
of paint, we recommend that
you use only BMW vehicle
wax or agents that contain
carnauba wax or synthetic
waxes.
It is time to rewax the paint-
work when water "puddles"
on the surface, instead of
forming beads.
Laying up the
motorcycleClean the motorcycle.
Remove the battery.
Spray the brake and clutch
lever pivots and the main
and side stand pivots with a
suitable lubricant.
Coat bright metal and
chrome-plated parts with
an acid-free grease (e.g.
Vaseline).
Stand the motorcycle in a
dry room in such a way that
there is no load on either
wheel.
Before laying the vehicle
up out of use, have the
engine oil and the oil filter ele-
ment changed by a special-
ist workshop, preferably an
authorised BMW Motorrad
dealer. Combine work for lay-
ing up/restoring to use with a
BMW service or inspection.
8136zCare