2005 VOLVO S40 start stop button
[x] Cancel search: start stop buttonPage 27 of 127

The front fog lights will only function with the ignition key in at least position II. These lights can only be used in
combination with the low beam headlights or the parking lights. These lights will be automatically switched off the
next time the car is started.
An LED in the switch indicates when the front fog lights are on.
4. Unlocking the fuel filler door
With the ignition switched off, press this button to unlock the fuel filler door. Please note that the fuel filler door will
remain unlocked until the car begins to move
pg. 46 Lighting panel
forward. An audible click will be heard when the fuel filler door re-locks.
Manually releasing the fuel filler door
If it should be necessary, the fuel filler door can be opened manually from the inside the trunk.
To do so:
1. Move the cover panel to one side.
2. This exposes a handle, located near the fuel filler door locking mechanism.
Pull the handle rearward to release the fuel filler door.
5. Rear fog light
The single rear fog light is located in the driver's side tail light cluster. The ignition key must be in at least position II
for the rear fog light to function. This light is considerably brighter than the normal tail lights and should be used only
when conditions such as fog, rain, snow, smoke or dust reduce visibility for other vehicles to less than 500 ft. (150
meters). An LED in the switch indicates when the rear fog light is on. The rear fog light will only function in
combination with the high/ low beam headlights or the optional front fog lights.
pg. 47 Left-side steering wheel lever
Turn signals, high/low beams, headlight flasher, exterior courtesy lights
Lane change position (1)
When changing lanes, the driver can flash the turn signals by moving the turn signal lever to the first stop and
releasing it. This will cause the turn signal to flash three times.
Position for normal turns (2)
NOTE: If the turn signal indicator flashes faster than normal, check for a burned-out turn signal bulb.
With the headlights on: high/low beams (3)
ProCarManuals.com
Page 57 of 127

The alarm is automatically armed whenever the car is locked with the remote control.
When armed, the alarm continuously monitors a number of points on the car. The following conditions will trigger the
alarm:
The hood is forced open.
The trunk is forced open.
A door is forced open.
The ignition switch is tampered with
An attempt is made to start the car with a non-approved key (a key not coded to the car's ignition).
If there is movement in the passenger compartment (if the car is equipped with the optional movement sensor).
The car is lifted or towed (if the car is equipped with the optional inclination sensor)
The battery is disconnected (while the alarm is armed).
The siren is disconnected when the alarm is disarmed.
The alarm indicator light
The status of the alarm system is indicated by the indicator light on at the top of the dashboard (see illustration):
Indicator light off - the alarm is not armed
The indicator light flashes every two seconds - the alarm is armed
The indicator light flashes rapidly before the ignition is switched on - the alarm has been triggered. The message
"ALARM TRIGGERED, CHECK CAR" will also be displayed.
Fault in the alarm system: If a fault has been detected in the alarm system, a message will be shown in the
information display. Contact your Volvo retailer to have the alarm system inspected and repaired if necessary.
Arming the alarm
Press the LOCK button on the remote control, or press the central lock button on one of the front doors with the door
open. One long flash of the turn signals will confirm that the alarm is armed.
Disarming the alarm
Press the UNLOCK button on the remote control or unlock the doors with the key control. Two short flashes from the
car's direction indicators confirm that the alarm has been deactivated and that all doors are unlocked.
Turning off (stopping) the alarm
If the alarm is sounding, it can be stopped by pressing the UNLOCK button on the remote control or by inserting the
key in the ignition switch.
Audible/visual alarm signal
An audible alarm signal is given by a battery powered siren. The alarm cycle lasts for 30 seconds.
pg. 95 Alarm
ProCarManuals.com
Page 104 of 127

The stored stations can be found using the buttons 0-9.
When the radio is in auto-store mode, AUTO is shown in the display. AUTO disappears when you return to the
normal radio mode. Return to the normal radio mode by pressing the AM/FM button, EXIT, or by briefly pressing the
AUTO button (for less than approx. 0.5 seconds).
To return to the Auto-store mode, press the AUTO button briefly and select a stored station by pressing one of the
number keys (0-9)
Scanning - SCAN
This function automatically searches for the next strong AM or FM station signal. When the radio finds a station,
scanning is interrupted for approximately 8 seconds, after which it will continue scanning.
pg. 175 Radio functions
1. Select radio mode using the AM/FM button.
2. Press SCAN (SCAN is shown in the display).
3. Press the SCAN or EXIT button to stop the scan function and listen to the selected station.
To start a new station scanning, repeat steps 1-3.
Radio Broadcast Data System - RBDS
This feature, which may not be available in your area, functions only with FM broadcasts. The radio in your car is
equipped with an advanced system allowing information from broadcasters to be transmitted visually, as text, together
with the audio signal. This information is then decoded by the radio and made available for several new and unique
features.
The RBDS or Radio Broadcast Data System operates in the FM band only, and the information transmitted is
supplied exclusively by participating broadcasters. Volvo has no control over the accuracy of the data or
information.
Coverage by local broadcasters may be limited at this time, but as the technology and benefits grow, you will find the
radio in your car is equipped to take advantage of this system.
PI (Program Information) seek
When an FM station has been stored as a preset, the radio also stores RBDS program information if it is available.
When the preset is selected at a later time, the radio tries to access updated program information. In weak signal areas,
there may be a delay before the station becomes audible. During this delay, there will be no sound.
PI seek can be interrupted by pressing EXIT.
Radio text
Certain RBDS stations broadcast program information, which can be shown in the display.
To start this function:
1. Select FM1 or FM2 and press the MENU button.
2. Press ENTER.
3. Select RADIOTEXT in the menu and press ENTER.
To deactivate this function, select RADIOTEXT again and press ENTER.
Alarm
Alarms bulletins are transmitted automatically by certain RBDS stations. The function cannot be deactivated.
"Alarm!" is shown in the radio display when an alarm message is sent. The function is used to warn motorists of
serious accidents, etc.
Program type/station format - PTY
The PTY function allows you to find stations whose programs suit your taste. Use the PTY function to select among
the different station formats shown in the list.
To show the format of the current station:
1. Select FM1 or FM2 and press the MENU button.
ProCarManuals.com
Page 106 of 127

3. Select ADVANCED RADIO SETTINGS in the menu and press ENTER.
4. Select AF and press ENTER.
To deactivate this function, select AF and press ENTER.
Resetting RBDS functions
This function restores all radio settings to the original factory settings.
1. Select FM1 or FM2 and press the MENU button.
2. Press ENTER.
3. Select ADVANCED RADIO SETTINGS in the menu and press ENTER.
4. Select RESET ALL in the menu and press ENTER.
5. Press ENTER again to confirm your selection.
pg. 177 CD player
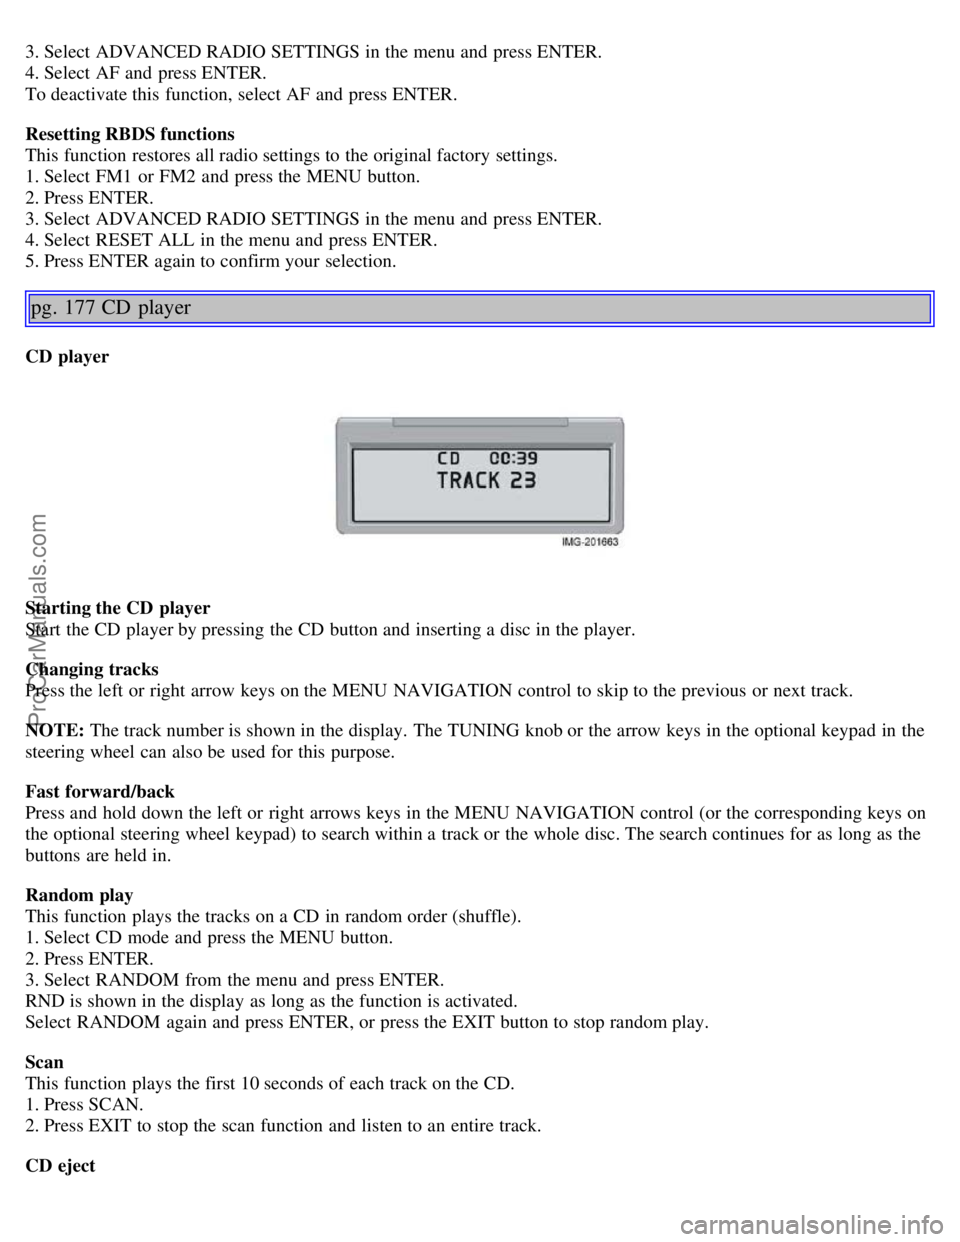
CD player
Starting the CD player
Start the CD player by pressing the CD button and inserting a disc in the player.
Changing tracks
Press the left or right arrow keys on the MENU NAVIGATION control to skip to the previous or next track.
NOTE: The track number is shown in the display. The TUNING knob or the arrow keys in the optional keypad in the
steering wheel can also be used for this purpose.
Fast forward/back
Press and hold down the left or right arrows keys in the MENU NAVIGATION control (or the corresponding keys on
the optional steering wheel keypad) to search within a track or the whole disc. The search continues for as long as the
buttons are held in.
Random play
This function plays the tracks on a CD in random order (shuffle).
1. Select CD mode and press the MENU button.
2. Press ENTER.
3. Select RANDOM from the menu and press ENTER.
RND is shown in the display as long as the function is activated.
Select RANDOM again and press ENTER, or press the EXIT button to stop random play.
Scan
This function plays the first 10 seconds of each track on the CD.
1. Press SCAN.
2. Press EXIT to stop the scan function and listen to an entire track.
CD eject
ProCarManuals.com
Page 108 of 127

NOTE: The TUNING knob (turn clockwise to go to the next track, or counterclockwise to go to the previous track) or
the optional keypad in the steering wheel can also be used for this purpose.
Fast forward/back
Press and hold down the left or right arrows keys in the MENU NAVIGATION control (or the corresponding keys on
the optional steering wheel keypad) to search within a track or the whole disc. The search continues for as long as the
buttons are held in.
Random play
This function makes it possible to play the tracks on a single disc or on all of the discs in the CD changer in random
order (shuffle).
1. Select CD mode and press the MENU button.
2. Press ENTER.
3. Select RANDOM from the menu and press ENTER.
4. Select SINGLE DISC or ALL DISCS for the player to randomly choose from one or all discs in the CD changer.
RND or RND ALL is shown in the display while the function is active. Press EXIT to deactivate this function. Press
the right arrow key on the MENU NAVIGATION control to select the next random track.
NOTE: You can only select the next random track on the current disc.
Scan
This function plays the first ten seconds of each track on the CD.
1. Press SCAN.
2. Press EXIT to stop the scan function and listen to an entire track.
Scan only works on the selected disc.
Disc text
Certain CDs contain information about the disc, such as the titles of the tracks, etc. This information can be shown in
the display by activating the DISCTEXT function.
1. Press MENU. Select the menu for relevant sound source and press ENTER.
2. Select DISCTEXT in the menu and press ENTER.
3. If information is stored on the disc, it will now appear in the display.
pg. 180 CD changer (certain audio systems only)
To deactivate this function, select DISCTEXT in the menu and press ENTER.
CD eject
This function makes it possible to eject a single disc, or to eject all of the discs in the changer.
Press the button (no. 16 in the illustration on page 169) briefly to eject the disc that is currently playing.
A longer press (more than two seconds) starts the process of ejecting all of the discs in the changer.
NOTE:
The EJECT ALL function can only be used while the vehicle is at a standstill and will be cancelled if the vehicle
begins to move.
For reasons of traffic safety, you have 12 seconds in which to remove the ejected disc. After that, the disc
automatically reinserts into the player.
Compact disc care
Before using a new CD for the first time, remove any burrs in the center/outer edge by running the stem of a pen or
similar object around the hole/edge of the disc.
ProCarManuals.com