2005 RENAULT MEGANE display
[x] Cancel search: displayPage 51 of 250
Downloaded from www.Manualslib.com manuals search engine
2
3
1
NU761_2_G1-FRA.qxd 10/11/05 15:53 Page 1.41
1.41
DANGER
Since front passenger airbag
triggering and the position
of a rear-facing child seat
are incompatible, it is not
permitted to install such a seat in
this position unless the vehicle is
fitted with an airbag deactivation
device. The child may suffer very
serious injuries if the airbag is
deployed.
The label (on the dashboard) and
the markings (on the sun visor)
remind you of these instructions.
CHILD SAFETY (continued)
Deactivating the front passenger
airbags
(if fitted )
To fit a rear-facing child seat on the
front passenger seat, it is essentialto
deactivate the front passenger seat
additional restraint systems (frontal
and side airbags and lap
pretensioner) and the anti-
submarining airbag (for the three-
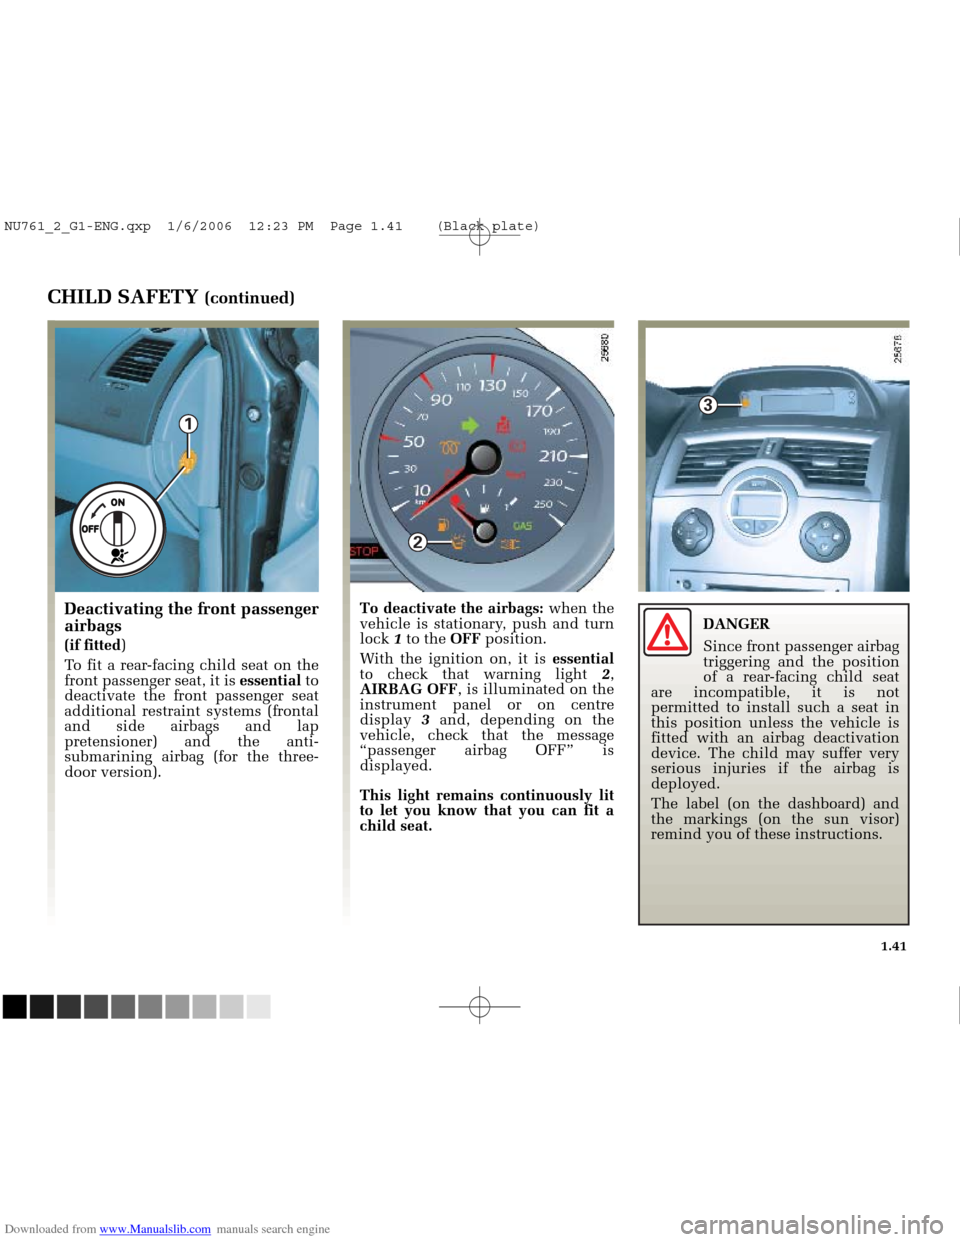
door version). To deactivate the airbags:
when the
vehicle is stationary, push and turn
lock 1to the OFF position.
With the ignition on, it is essential
to check that warning light 2,
AIRBAG OFF , is illuminated on the
instrument panel or on centre
display 3 and, depending on the
vehicle, check that the message
“passenger airbag OFF” is
displayed.
This light remains continuously lit
to let you know that you can fit a
child seat.
NU761_2_G1-ENG.qxp 1/6/2006 12:23 PM Page 1.41 (Black plate)
Page 55 of 250
Downloaded from www.Manualslib.com manuals search engine
NU761_2_G1-FRA.qxd 10/11/05 15:54 Page 1.45
1.45
DRIVER’S POSITION, LEFT-HAND DRIVE (continued)
The equipment fitted, described below, depends on the version, option an\
d country.
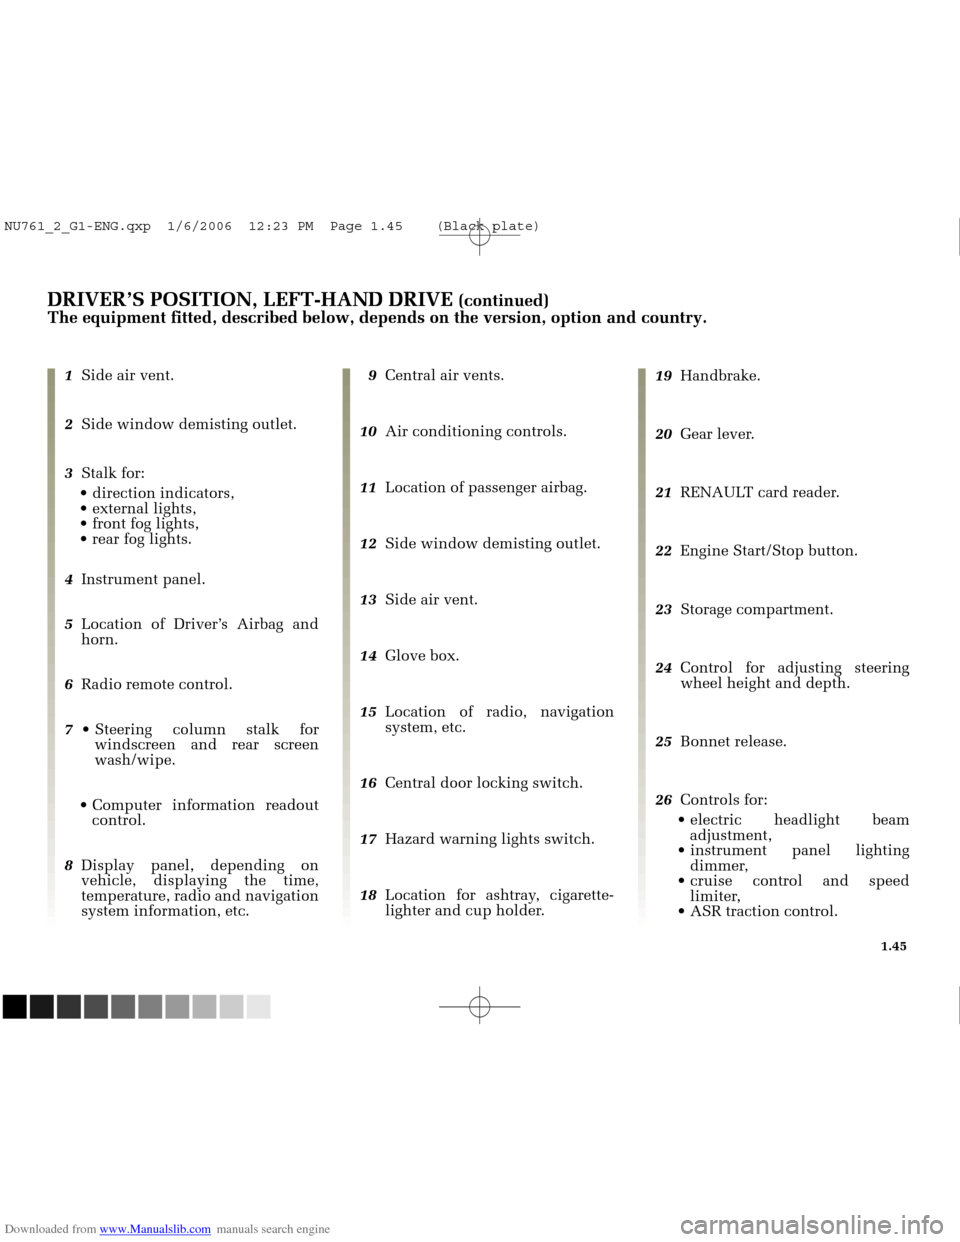
1 Side air vent.
2 Side window demisting outlet.
3 Stalk for:
direction indicators,
external lights,
front fog lights,
rear fog lights.
4 Instrument panel.
5 Location of Driver’s Airbag and
horn.
6 Radio remote control.
7 Steering column stalk for
windscreen and rear screen
wash/wipe.
Computer information readout control.
8 Display panel, depending on
vehicle, displaying the time,
temperature, radio and navigation
system information, etc. 9
Central air vents.
10 Air conditioning controls.
11 Location of passenger airbag.
12 Side window demisting outlet.
13 Side air vent.
14 Glove box.
15 Location of radio, navigation
system, etc.
16 Central door locking switch.
17 Hazard warning lights switch.
18 Location for ashtray, cigarette-
lighter and cup holder. 19
Handbrake.
20 Gear lever.
21 RENAULT card reader.
22 Engine Start/Stop button.
23 Storage compartment.
24 Control for adjusting steering
wheel height and depth.
25 Bonnet release.
26 Controls for:
electric headlight beam adjustment,
instrument panel lighting dimmer,
cruise control and speed limiter,
ASR traction control.
NU761_2_G1-ENG.qxp 1/6/2006 12:23 PM Page 1.45 (Black plate)
Page 57 of 250
Downloaded from www.Manualslib.com manuals search engine
NU761_2_G1-FRA.qxd 10/11/05 15:54 Page 1.47
1.47
DRIVER’S POSITION, RIGHT-HAND DRIVE (continued)
The equipment fitted, described below, depends on the version, option an\
d country.
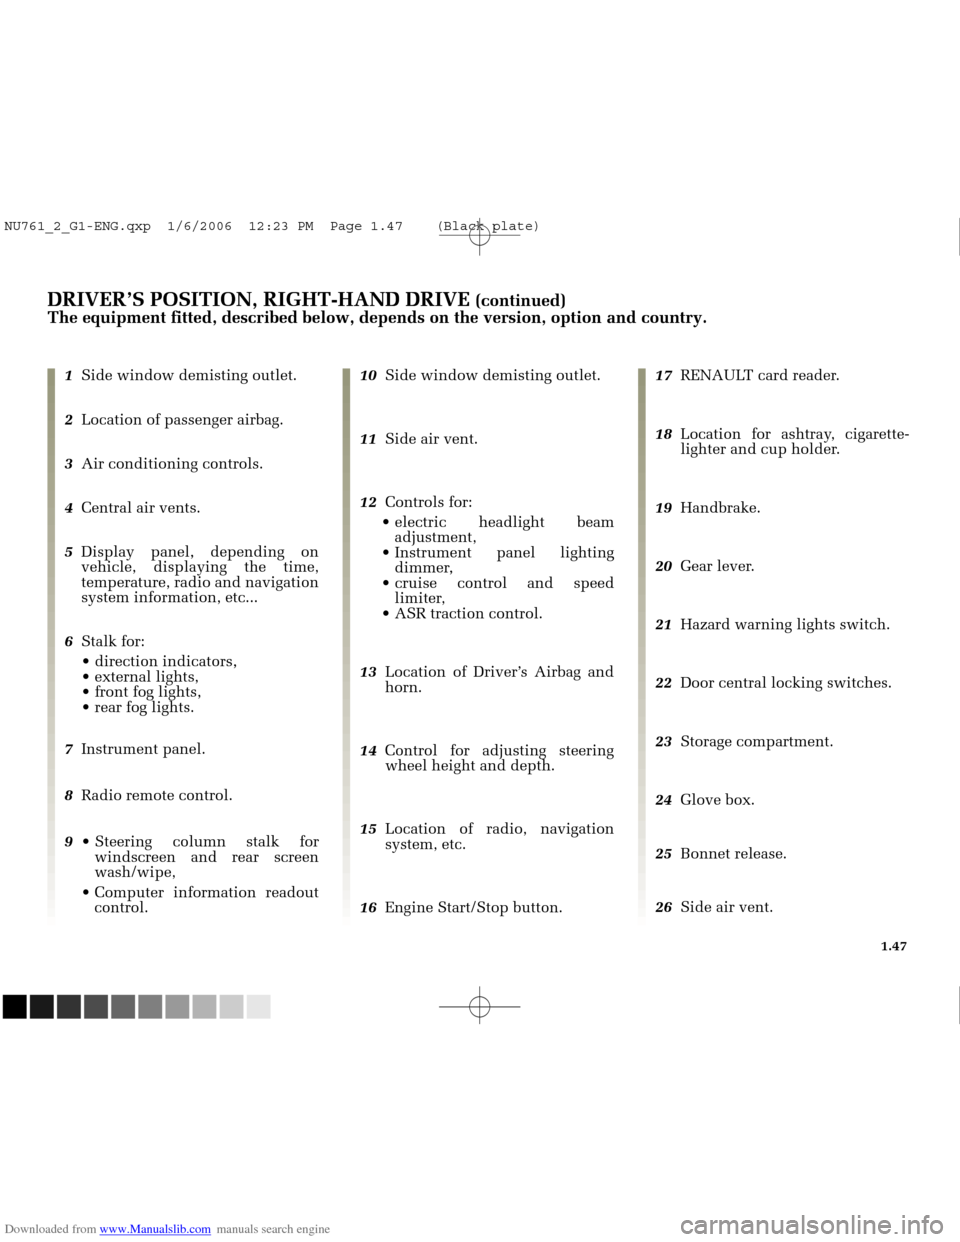
1 Side window demisting outlet.
2 Location of passenger airbag.
3 Air conditioning controls.
4 Central air vents.
5 Display panel, depending on
vehicle, displaying the time,
temperature, radio and navigation
system information, etc...
6 Stalk for:
direction indicators,
external lights,
front fog lights,
rear fog lights.
7 Instrument panel.
8 Radio remote control.
9 Steering column stalk for
windscreen and rear screen
wash/wipe,
Computer information readout control. 10
Side window demisting outlet.
11 Side air vent.
12 Controls for:
electric headlight beam adjustment,
Instrument panel lighting dimmer,
cruise control and speed limiter,
ASR traction control.
13 Location of Driver’s Airbag and
horn.
14 Control for adjusting steering
wheel height and depth.
15 Location of radio, navigation
system, etc.
16 Engine Start/Stop button. 17
RENAULT card reader.
18 Location for ashtray, cigarette-
lighter and cup holder.
19 Handbrake.
20 Gear lever.
21 Hazard warning lights switch.
22 Door central locking switches.
23 Storage compartment.
24 Glove box.
25 Bonnet release.
26 Side air vent.
NU761_2_G1-ENG.qxp 1/6/2006 12:23 PM Page 1.47 (Black plate)
Page 63 of 250
Downloaded from www.Manualslib.com manuals search engine
NU761_2_G1-FRA.qxd 10/11/05 15:54 Page 1.53
1.53
INSTRUMENT PANEL (continued)
The presence and operation of the indicator lights described below depen\
d on the vehicle equipment and country.
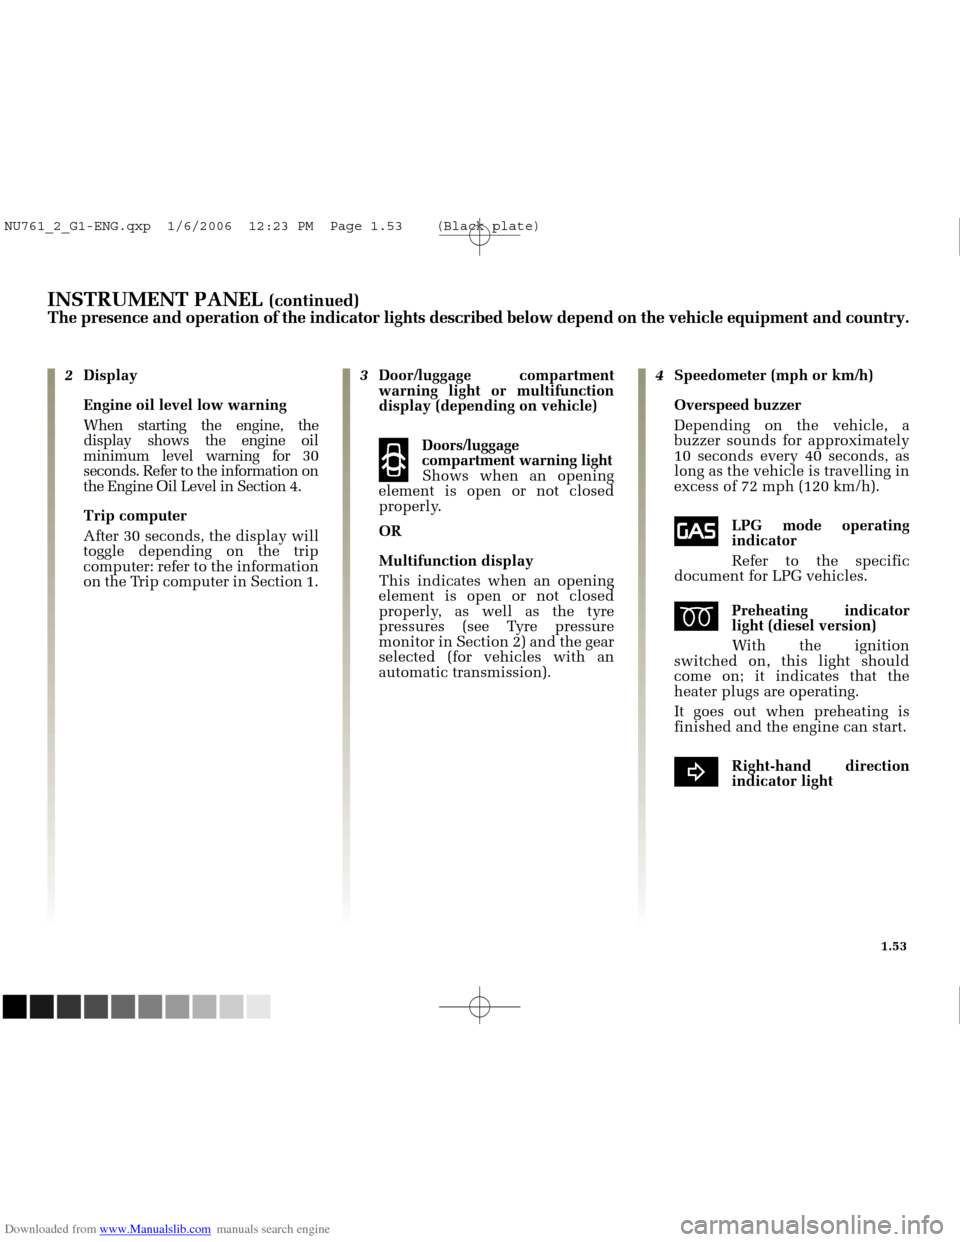
2 Display
Engine oil level low warning
When starting the engine, the
display shows the engine oil
minimum level warning for 30
seconds. Refer to the information on
the Engine Oil Level in Section 4.
Trip computer
After 30 seconds, the display will
toggle depending on the trip
computer: refer to the information
on the Trip computer in Section 1. 3
Door/luggage compartment
warning light or multifunction
display (depending on vehicle)
q
Doors/luggage
compartment warning light Shows when an opening
element is open or not closed
properly.
OR
Multifunction display
This indicates when an opening
element is open or not closed
properly, as well as the tyre
pressures (see Tyre pressure
monitor in Section 2) and the gear
selected (for vehicles with an
automatic transmission). 4
Speedometer (mph or km/h)
Overspeed buzzer
Depending on the vehicle, a
buzzer sounds for approximately
10 seconds every 40 seconds, as
long as the vehicle is travelling in
excess of 72 mph (120 km/h).
îLPG mode operating
indicator
Refer to the specific
document for LPG vehicles.
éPreheating indicator
light (diesel version)
With the ignition
switched on, this light should
come on; it indicates that the
heater plugs are operating.
It goes out when preheating is
finished and the engine can start.
bRight-hand direction
indicator light
NU761_2_G1-ENG.qxp 1/6/2006 12:23 PM Page 1.53 (Black plate)
Page 71 of 250
Downloaded from www.Manualslib.com manuals search engine
NU761_2_G1-FRA.qxd 10/11/05 15:54 Page 1.61
1.61
INSTRUMENT PANEL (continued)
The presence and operation of the indicator lights described below depen\
d on the vehicle equipment and country.
2 Information display
Engine oil level low warning
When starting the engine, the
display shows the engine oil
minimum level warning for 30
seconds. Refer to the information
on the Engine Oil Level in
Section 4.
Trip computer
After 30 seconds, the display will
switch to display the trip
computer: see Trip computer
information in Section 1. Other information displayed is:
- multimedia information, status
of the opening elements and the
tyre pressures (see Tyre Pressure
Monitor in Section 2) in area D4;
- the temperature in area D2;
- the time in area D3.
3 Automatic transmission display ;
this indicates the gear engaged
(depending on vehicle).
Speedometer (mph or km/h)
Overspeed buzzer
Depending on the vehicle, a
buzzer sounds for approximately
10 seconds every 40 seconds, as
long as the vehicle is travelling in
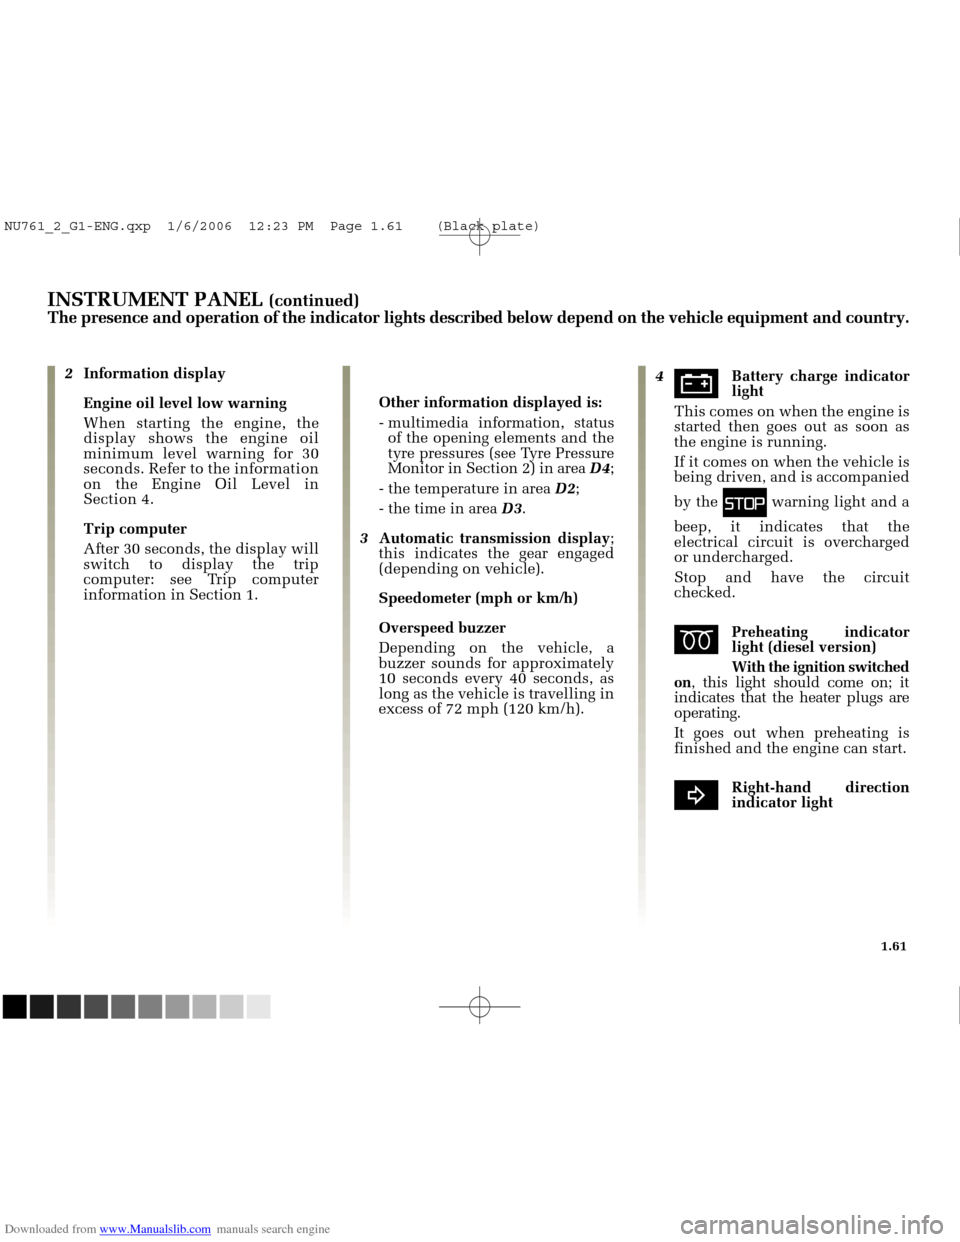
excess of 72 mph (120 km/h). 4úBattery charge indicator
light
This comes on when the engine is
started then goes out as soon as
the engine is running.
If it comes on when the vehicle is
being driven, and is accompanied
by the
ûwarning light and a
beep, it indicates that the
electrical circuit is overcharged
or undercharged.
Stop and have the circuit
checked.
éPreheating indicator
light (diesel version)
With the ignition switched
on , this light should come on; it
indicates that the heater plugs are
operating.
It goes out when preheating is
finished and the engine can start.
bRight-hand direction
indicator light
NU761_2_G1-ENG.qxp 1/6/2006 12:23 PM Page 1.61 (Black plate)
Page 76 of 250
Downloaded from www.Manualslib.com manuals search engine
1
2
1
NU761_2_G1-FRA.qxd 10/11/05 15:54 Page 1.66
1.66
TRIP COMPUTER AND WARNING SYSTEM
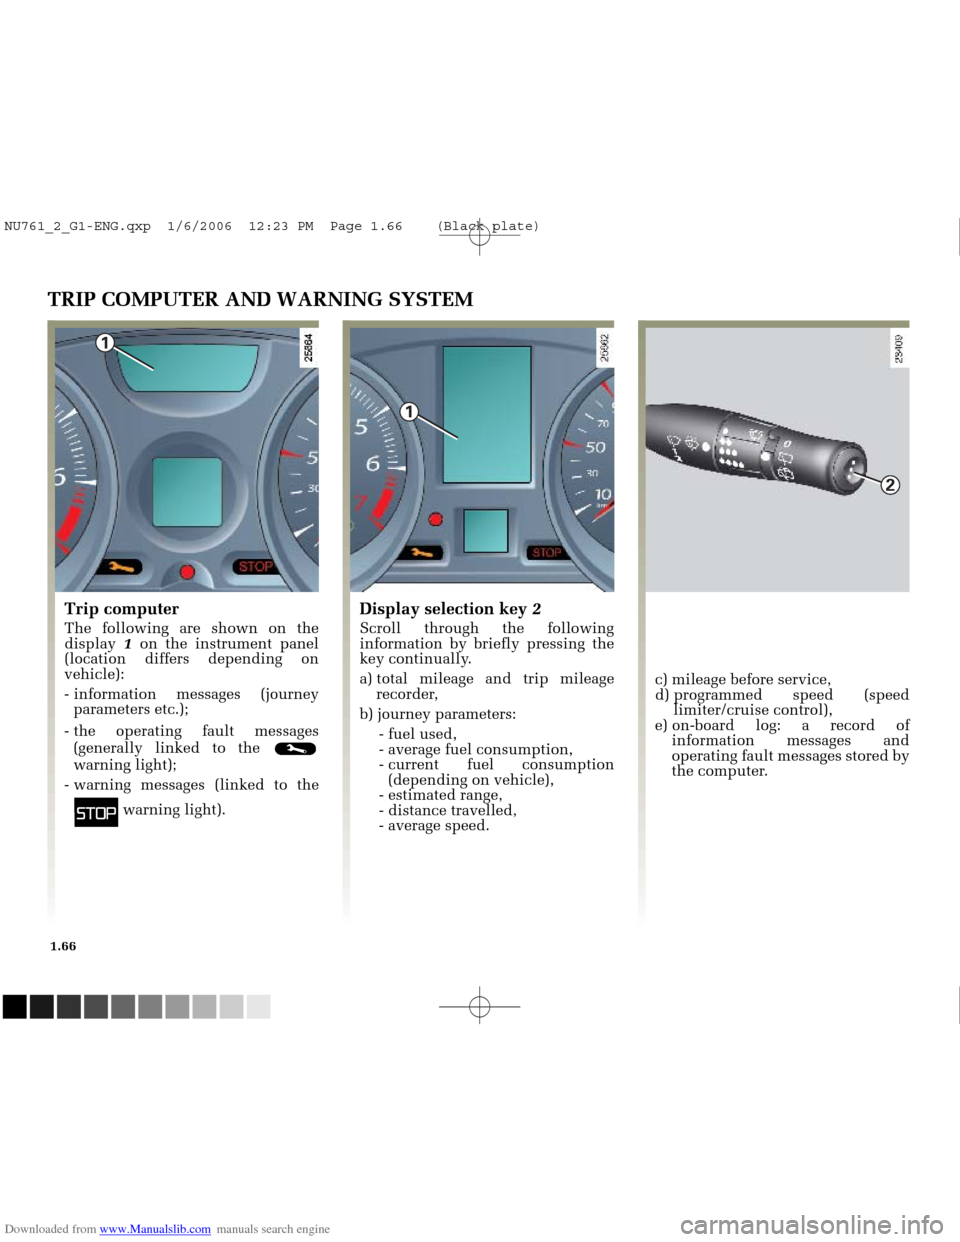
Trip computer
The following are shown on the
display 1on the instrument panel
(location differs depending on
vehicle):
- information messages (journey parameters etc.);
- the operating fault messages (generally linked to the
warning light);
- warning messages (linked to the
ûwarning light).
c) mileage before service,
d) programmed speed (speed limiter/cruise control),
e) on-board log: a record of information messages and
operating fault messages stored by
the computer.
Display selection key 2
Scroll through the following
information by briefly pressing the
key continually.
a) total mileage and trip mileage
recorder,
b) journey parameters: - fuel used,
- average fuel consumption,
- current fuel consumption(depending on vehicle),
- estimated range,
- distance travelled,
- average speed.
NU761_2_G1-ENG.qxp 1/6/2006 12:23 PM Page 1.66 (Black plate)
Page 77 of 250
Downloaded from www.Manualslib.com manuals search engine
2
NU761_2_G1-FRA.qxd 10/11/05 15:54 Page 1.67
1.67
TRIP COMPUTER AND WARNING SYSTEM (continued)
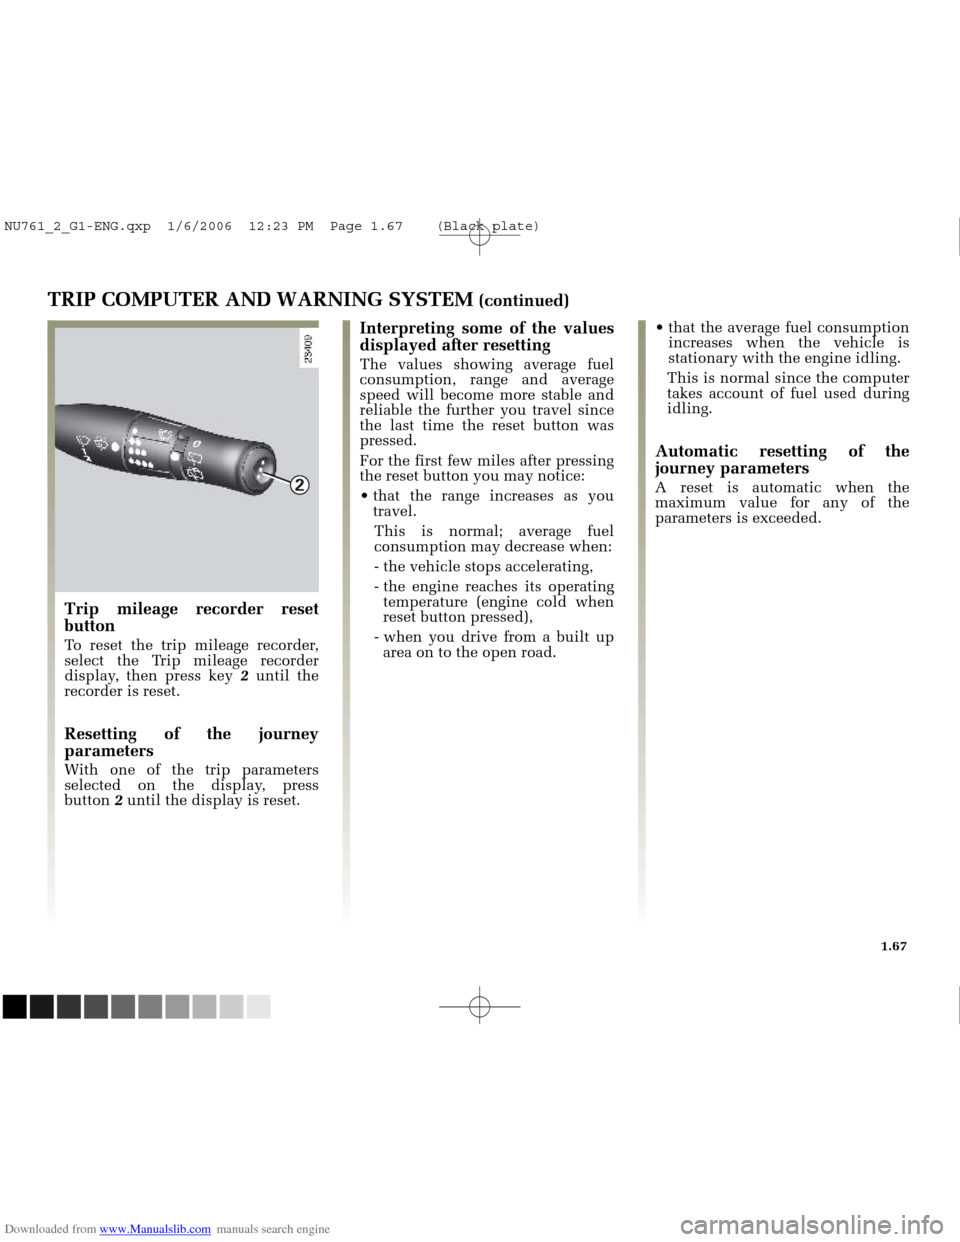
Trip mileage recorder reset
button
To reset the trip mileage recorder,
select the Trip mileage recorder
display, then press key 2until the
recorder is reset.
Resetting of the journey
parameters
With one of the trip parameters
selected on the display, press
button 2 until the display is reset.
Interpreting some of the values
displayed after resetting
The values showing average fuel
consumption, range and average
speed will become more stable and
reliable the further you travel since
the last time the reset button was
pressed.
For the first few miles after pressing
the reset button you may notice:
that the range increases as you
travel.
This is normal; average fuel
consumption may decrease when:
- the vehicle stops accelerating,
- the engine reaches its operating temperature (engine cold when
reset button pressed),
- when you drive from a built up area on to the open road. that the average fuel consumption
increases when the vehicle is
stationary with the engine idling.
This is normal since the computer
takes account of fuel used during
idling.
Automatic resetting of the
journey parameters
A reset is automatic when the
maximum value for any of the
parameters is exceeded.
NU761_2_G1-ENG.qxp 1/6/2006 12:23 PM Page 1.67 (Black plate)
Page 78 of 250
Downloaded from www.Manualslib.com manuals search engine
23397
23398
23825
NU761_2_G1-FRA.qxd 10/11/05 15:54 Page 1.68
1.68
TRIP COMPUTER AND WARNING SYSTEM (continued)
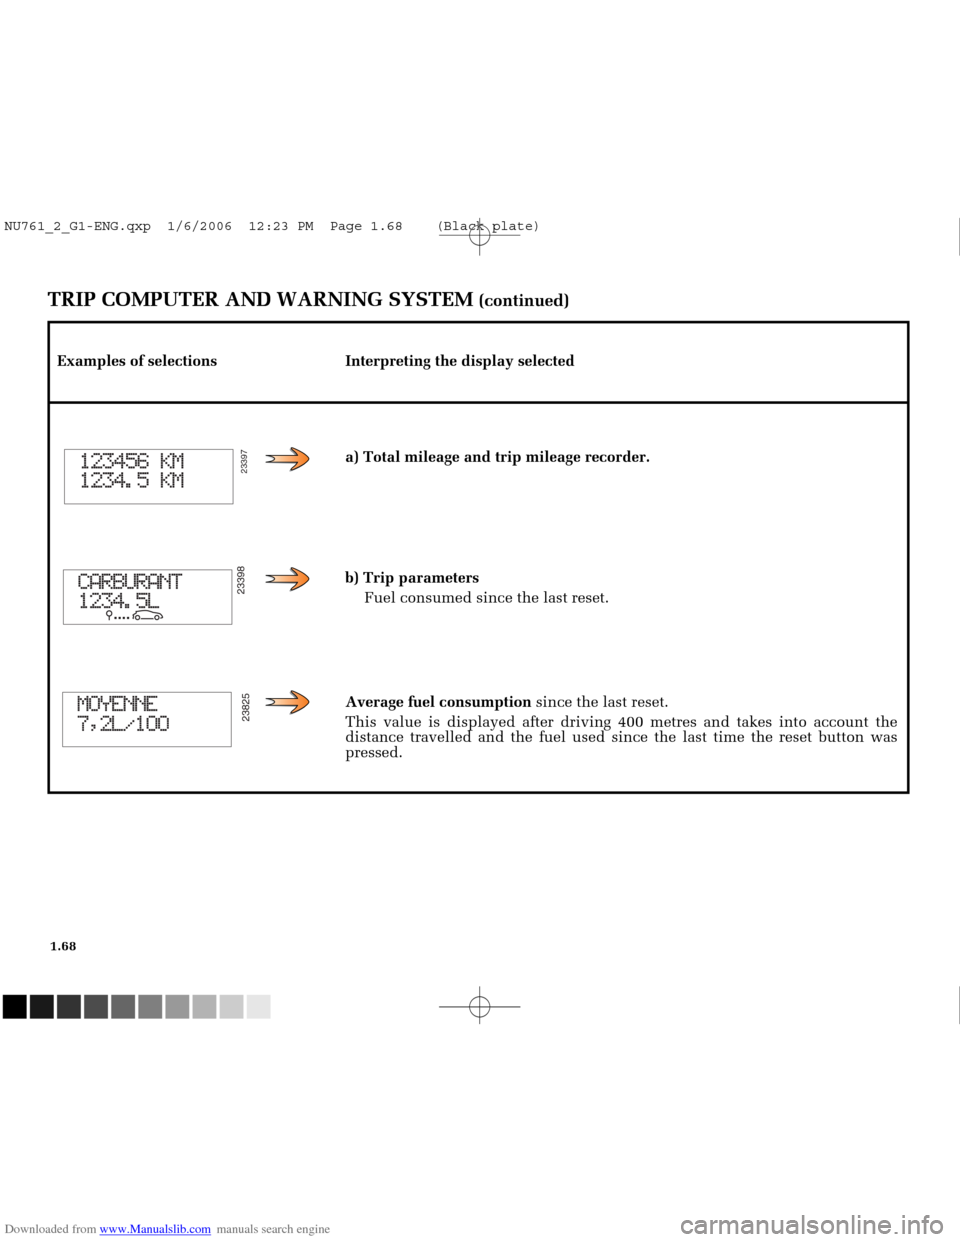
Examples of selections Interpreting the display selecteda) Total mileage and trip mileage recorder.
b) Trip parametersFuel consumed since the last reset.
Average fuel consumption since the last reset.
This value is displayed after driving 400 metres and takes into account \
the
distance travelled and the fuel used since the last time the reset butto\
n was
pressed.
NU761_2_G1-ENG.qxp 1/6/2006 12:23 PM Page 1.68 (Black plate)