Page 86 of 250
Downloaded from www.Manualslib.com manuals search engine
23501
23500
NU761_2_G1-FRA.qxd 10/11/05 15:54 Page 1.76
1.76
TRIP COMPUTER AND WARNING SYSTEM (continued)
Warning messages
These require you to stop immediately or as soon as the traffic conditio\
ns allow
Message Display
Instrument panel variant 1 Message Display
Instrument panel variant 2 Interpretation of messages
"Injection fault" or "Faulty injection"
Indicates that the vehicle has a serious engine fault.
"Stop! Tyre puncture"
Indicates a puncture on the wheel shown in zone A of the display.
"Engine overheating"
Indicates that the engine is overheating.
NU761_2_G1-ENG.qxp 1/6/2006 12:23 PM Page 1.76 (Black plate)
Page 87 of 250
Downloaded from www.Manualslib.com manuals search engine
23502
NU761_2_G1-FRA.qxd 10/11/05 15:54 Page 1.77
1.77
TRIP COMPUTER AND WARNING SYSTEM (continued)
Warning messages
These require you to stop immediately or as soon as the traffic conditio\
ns allow
Message Display
Instrument panel variant 1 Message Display
Instrument panel variant 2 Interpretation of messages
"Steering fault" or "Faulty steering"
Indicates a fault in the vehicle’s power assisted steering.
"Electronic fault"
Indicates a problem with the vehicle electronic management system.
NU761_2_G1-ENG.qxp 1/6/2006 12:23 PM Page 1.77 (Black plate)
Page 92 of 250
Downloaded from www.Manualslib.com manuals search engine
1
4
1
3
2
NU761_2_G1-FRA.qxd 10/11/05 15:55 Page 1.82
1.82
EXTERIOR LIGHTING AND SIGNALS
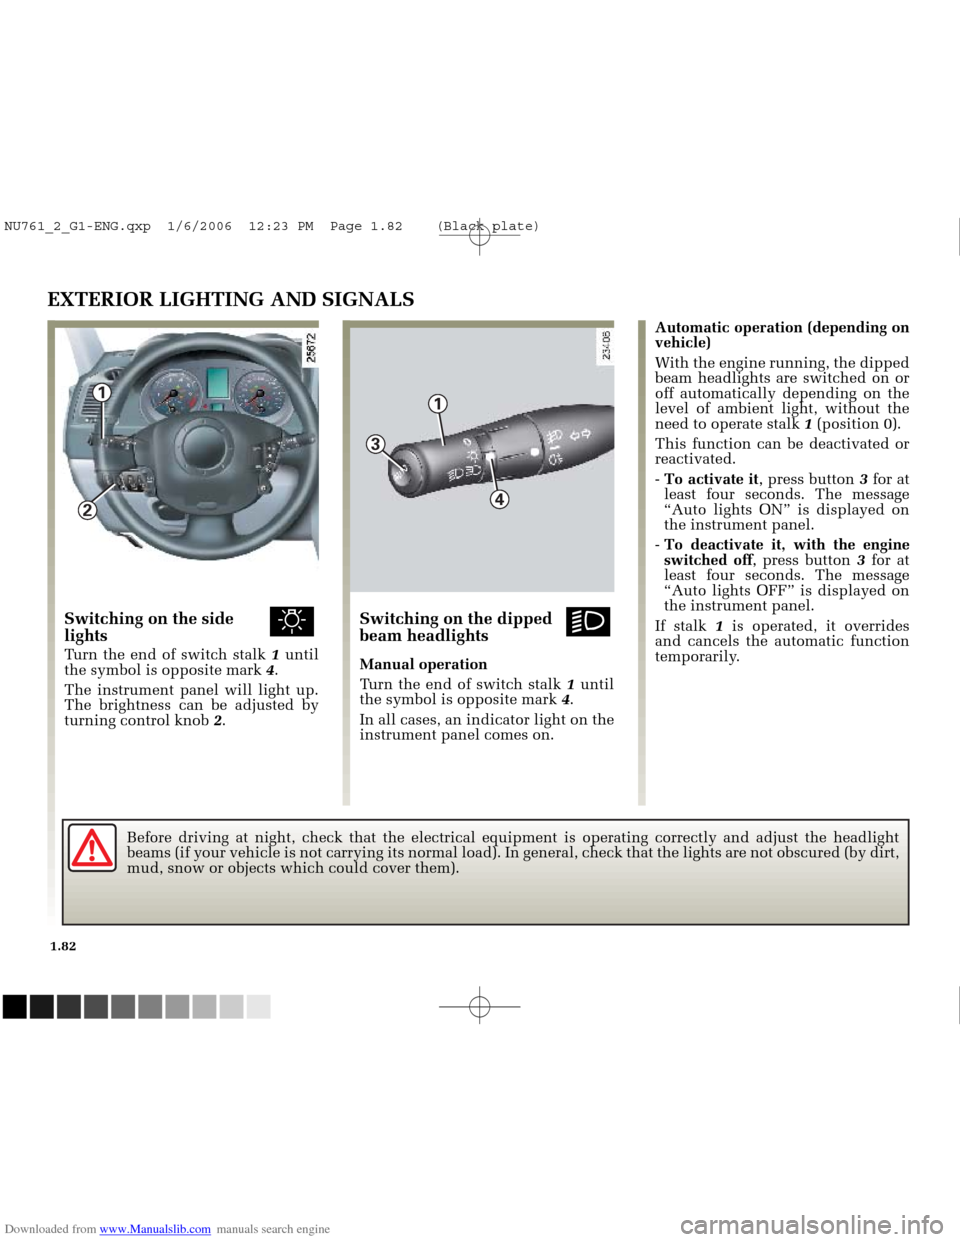
Switching on the side ulights
Turn the end of switch stalk 1until
the symbol is opposite mark 4.
The instrument panel will light up.
The brightness can be adjusted by
turning control knob 2.
Switching on the dipped kbeam headlights
Manual operation
Turn the end of switch stalk 1until
the symbol is opposite mark 4.
In all cases, an indicator light on the
instrument panel comes on. Automatic operation (depending on
vehicle)
With the engine running, the dipped
beam headlights are switched on or
off automatically depending on the
level of ambient light, without the
need to operate stalk
1(position 0).
This function can be deactivated or
reactivated.
- To activate it , press button 3for at
least four seconds. The message
“Auto lights ON” is displayed on
the instrument panel.
- To deactivate it, with the engine
switched off , press button 3for at
least four seconds. The message
“Auto lights OFF” is displayed on
the instrument panel.
If stalk 1is operated, it overrides
and cancels the automatic function
temporarily.
Before driving at night, check that the electrical equipment is operatin\
g correctly and adjust the headlight
beams (if your vehicle is not carrying its normal load). In general, c\
heck that the lights are not obscured (by dirt,
mud, snow or objects which could cover them).
NU761_2_G1-ENG.qxp 1/6/2006 12:23 PM Page 1.82 (Black plate)
Page 93 of 250
Downloaded from www.Manualslib.com manuals search engine
1
NU761_2_G1-FRA.qxd 10/11/05 15:55 Page 1.83
1.83
EXTERIOR LIGHTING AND SIGNALS (continued)Switching off the lights
Manual operation
There are two possibilities:
- return stalk 1to its original
position;
- the lights go out when the engine is stopped, when the driver’s door is
opened or when the vehicle is
locked. In this case, the next time
the engine is started the lights will
be switched back on according to
the position of the stalk 1.
Automatic operation (depending on
vehicle)
The lights go out when the engine is
stopped, when the driver’s door is
opened or when the vehicle is
locked.
Lights on warning buzzer
If the lights are on after the engine is
switched off, a warning beep sounds
when the driver’s door is opened to
warn you that the lights are still on.
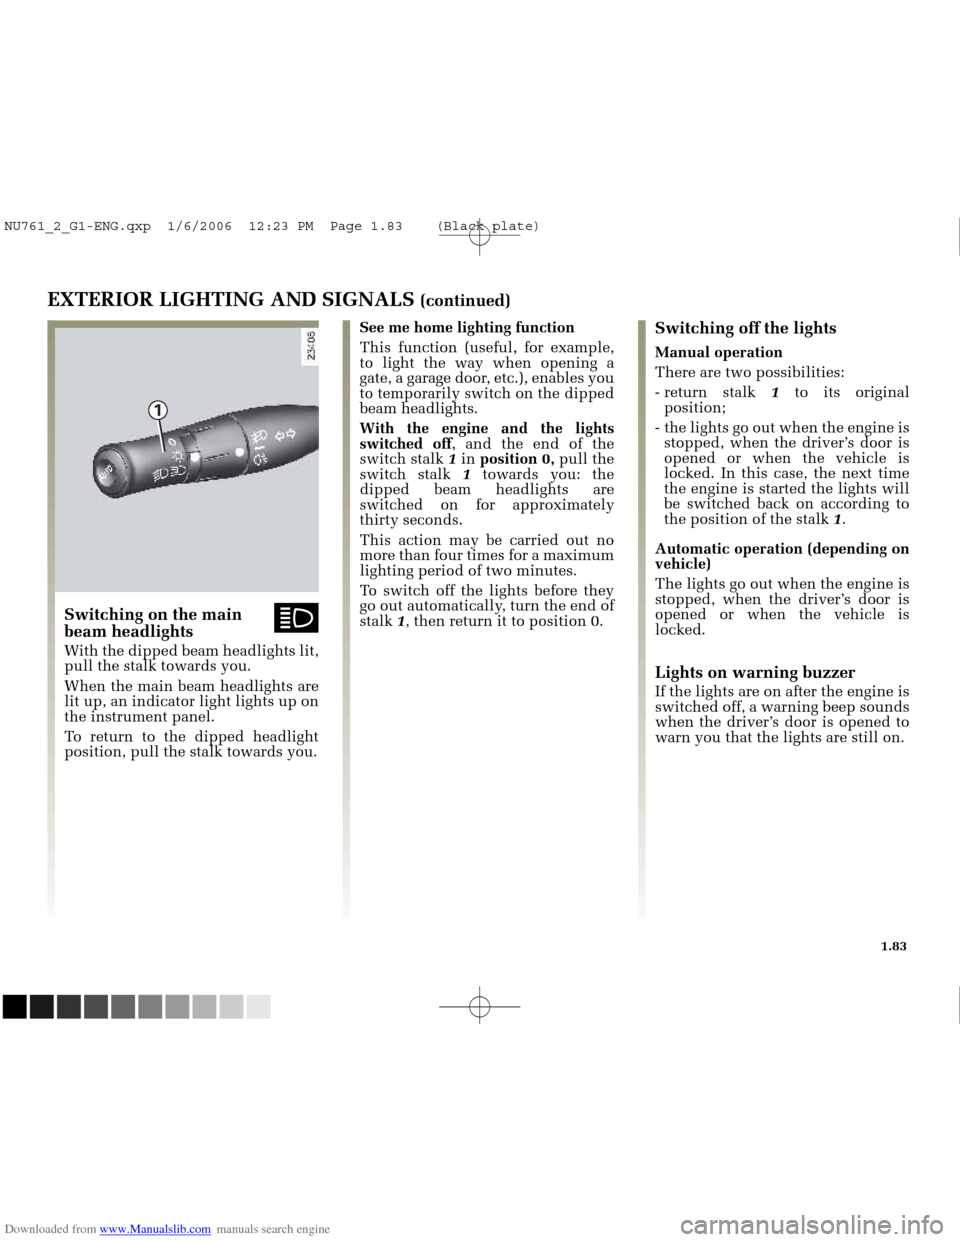
See me home lighting function
This function (useful, for example,
to light the way when opening a
gate, a garage door, etc.), enables you
to temporarily switch on the dipped
beam headlights.
With the engine and the lights
switched off
, and the end of the
switch stalk 1 in position 0, pull the
switch stalk 1towards you: the
dipped beam headlights are
switched on for approximately
thirty seconds.
This action may be carried out no
more than four times for a maximum
lighting period of two minutes.
To switch off the lights before they
go out automatically, turn the end of
stalk 1, then return it to position 0.
Switching on the main ábeam headlights
With the dipped beam headlights lit,
pull the stalk towards you.
When the main beam headlights are
lit up, an indicator light lights up on
the instrument panel.
To return to the dipped headlight
position, pull the stalk towards you.
NU761_2_G1-ENG.qxp 1/6/2006 12:23 PM Page 1.83 (Black plate)
Page 94 of 250
Downloaded from www.Manualslib.com manuals search engine
5
6
NU761_2_G1-FRA.qxd 10/11/05 15:55 Page 1.84
1.84
EXTERIOR LIGHTING AND SIGNALS (continued)
Switching off the lights
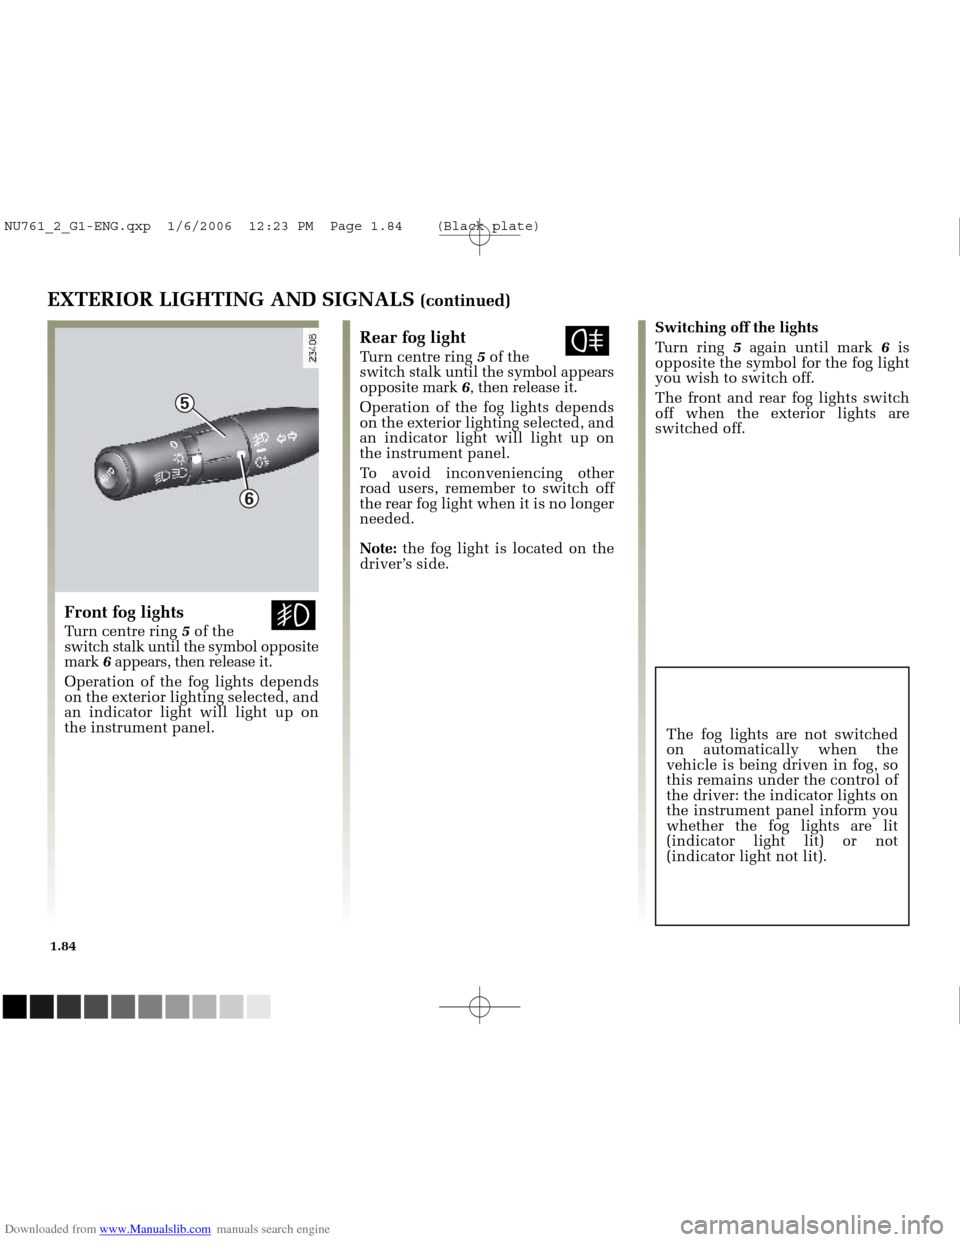
Turn ring 5again until mark 6is
opposite the symbol for the fog light
you wish to switch off.
The front and rear fog lights switch
off when the exterior lights are
switched off.Rear fog light fTurn centre ring 5 of the
switch stalk until the symbol appears
opposite mark 6, then release it.
Operation of the fog lights depends
on the exterior lighting selected, and
an indicator light will light up on
the instrument panel.
To avoid inconveniencing other
road users, remember to switch off
the rear fog light when it is no longer
needed.
Note: the fog light is located on the
driver’s side.
Front fog lights gTurn centre ring 5 of the
switch stalk until the symbol opposite
mark 6appears, then release it.
Operation of the fog lights depends
on the exterior lighting selected, and
an indicator light will light up on
the instrument panel. The fog lights are not switched
on automatically when the
vehicle is being driven in fog, so
this remains under the control of
the driver: the indicator lights on
the instrument panel inform you
whether the fog lights are lit
(indicator light lit) or not
(indicator light not lit).
NU761_2_G1-ENG.qxp 1/6/2006 12:23 PM Page 1.84 (Black plate)
Page 103 of 250
Downloaded from www.Manualslib.com manuals search engine
1
2
3
4
NU761_2_G2-FRA.qxd 4/11/05 10:48 Page 2.03
STARTING THE ENGINE
Special features of vehicles with an
automatic transmission
Depress the brake pedal with the
lever in the Nor Pposition.
Note:
- if any one of the starting conditions is not applied, the message “brake
+ start” is displayed on the
instrument panel.
- in some cases it will be necessary to move the steering wheel while
pressing Start button 3to assist in
unlocking the steering column; a
message on the instrument panel
“Steering not unlocked” warns of
this.
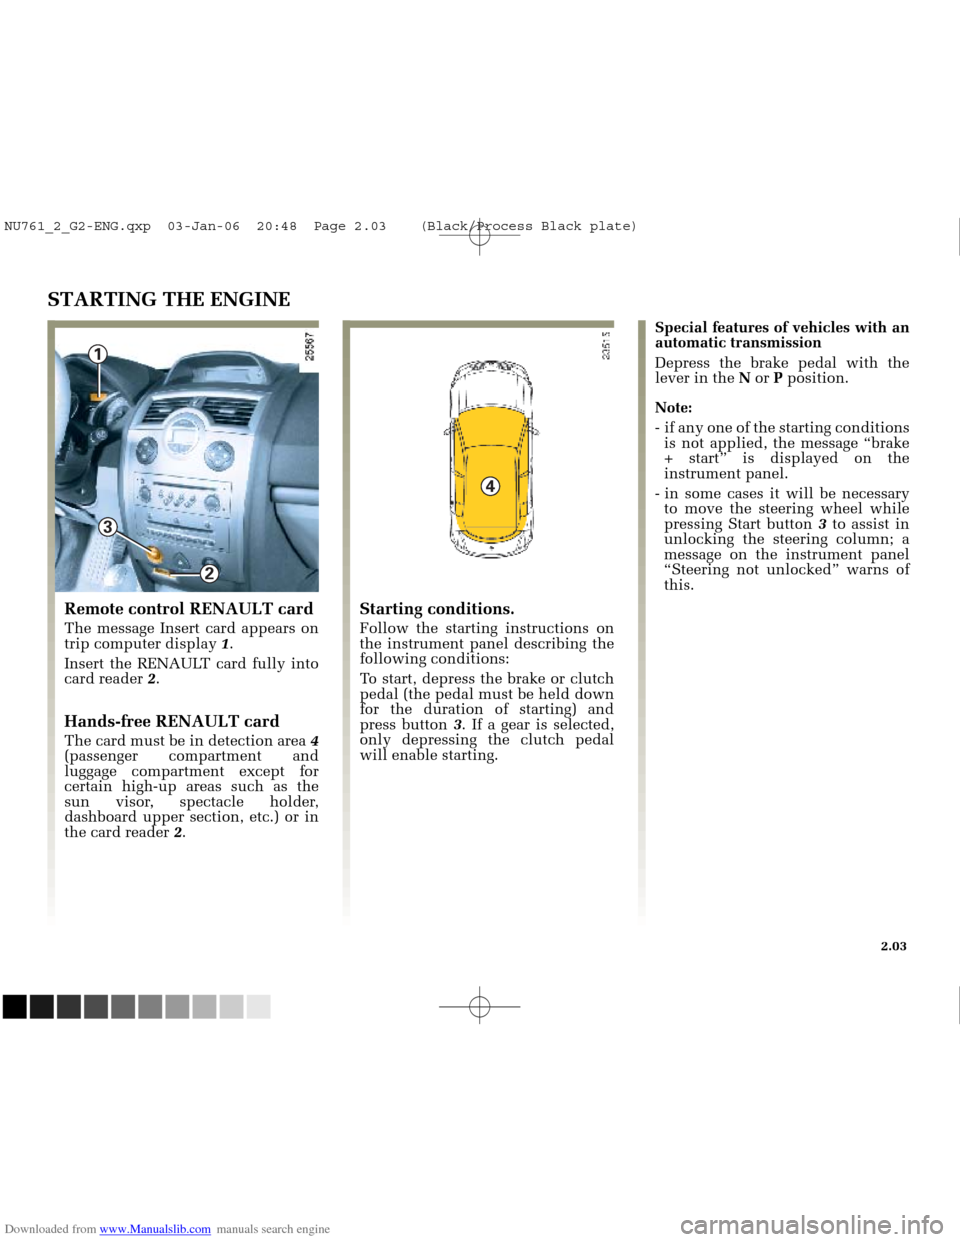
Remote control RENAULT card
The message Insert card appears on
trip computer display 1.
Insert the RENAULT card fully into
card reader 2.
Hands-free RENAULT card
The card must be in detection area 4
(passenger compartment and
luggage compartment except for
certain high-up areas such as the
sun visor, spectacle holder,
dashboard upper section, etc.) or in
the card reader 2.
Starting conditions.
Follow the starting instructions on
the instrument panel describing the
following conditions:
To start, depress the brake or clutch
pedal (the pedal must be held down
for the duration of starting) and
press button 3. If a gear is selected,
only depressing the clutch pedal
will enable starting.
2.03
NU761_2_G2-ENG.qxp 03-Jan-06 20:48 Page 2.03 (Black/Process Black\
plate)
Page 105 of 250
Downloaded from www.Manualslib.com manuals search engine
2
3
NU761_2_G2-FRA.qxd 4/11/05 10:48 Page 2.05
STOPPING THE ENGINE
If the card is no longer in the card
detection zone, after pressing once,
the messages “confirm engine stop”
and “press STOP twice” appear on
the instrument panel.
To confirm that you want the engine
to switch off, press button 3twice
more.
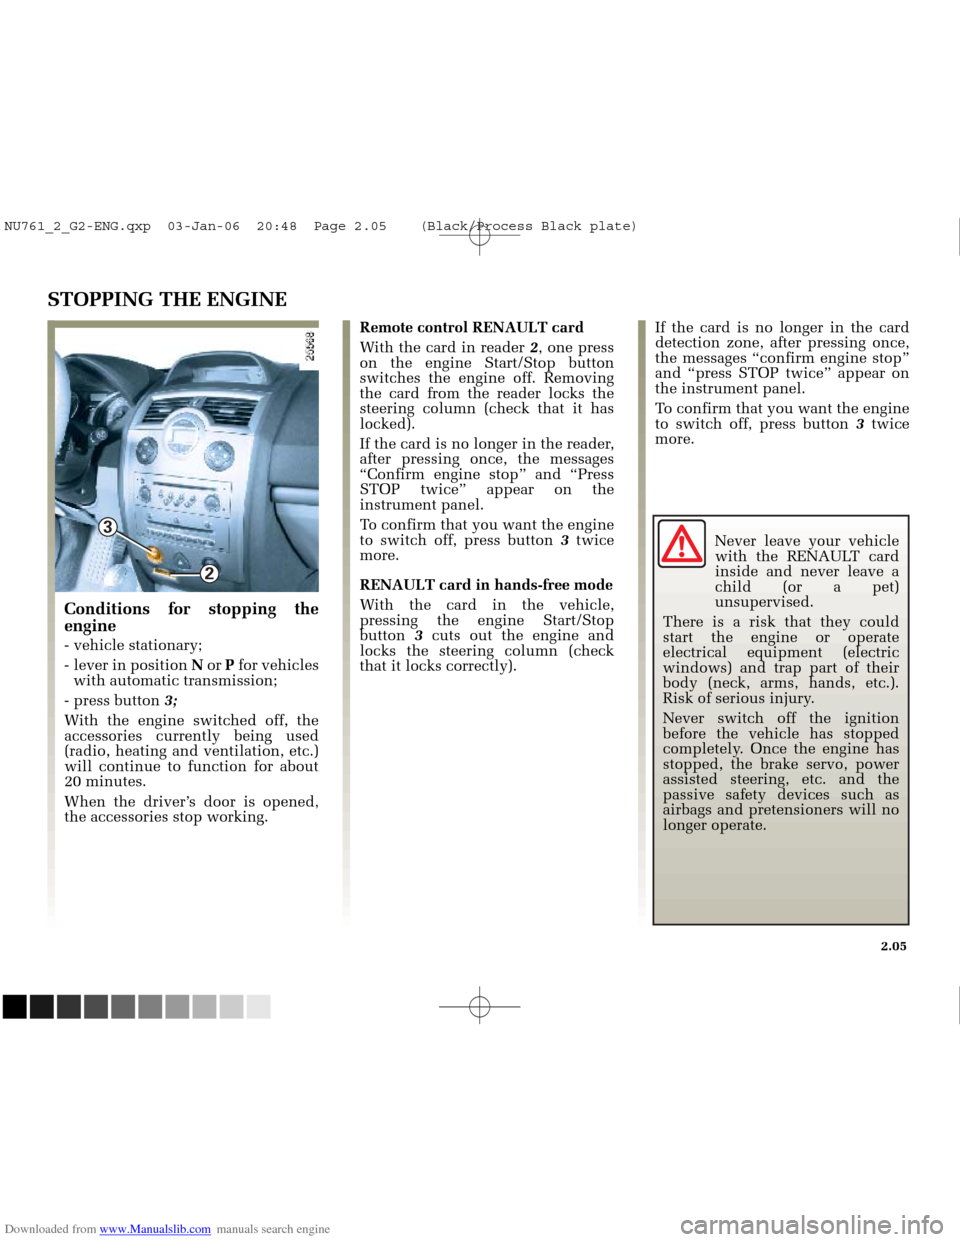
Conditions for stopping the
engine
- vehicle stationary;
- lever in position Nor Pfor vehicles
with automatic transmission;
- press button 3;
With the engine switched off, the
accessories currently being used
(radio, heating and ventilation, etc.)
will continue to function for about
20 minutes.
When the driver’s door is opened,
the accessories stop working. Remote control RENAULT card
With the card in reader
2, one press
on the engine Start/Stop button
switches the engine off. Removing
the card from the reader locks the
steering column (check that it has
locked).
If the card is no longer in the reader,
after pressing once, the messages
“Confirm engine stop” and “Press
STOP twice” appear on the
instrument panel.
To confirm that you want the engine
to switch off, press button 3twice
more.
RENAULT card in hands-free mode
With the card in the vehicle,
pressing the engine Start/Stop
button 3cuts out the engine and
locks the steering column (check
that it locks correctly).
2.05
Never leave your vehicle with the RENAULT card
inside and never leave a
child (or a pet)
unsupervised.
There is a risk that they could
start the engine or operate
electrical equipment (electric
windows) and trap part of their
body (neck, arms, hands, etc.).
Risk of serious injury.
Never switch off the ignition
before the vehicle has stopped
completely. Once the engine has
stopped, the brake servo, power
assisted steering, etc. and the
passive safety devices such as
airbags and pretensioners will no
longer operate.
NU761_2_G2-ENG.qxp 03-Jan-06 20:48 Page 2.05 (Black/Process Black\
plate)
Page 112 of 250
Downloaded from www.Manualslib.com manuals search engine
NU761_2_G2-FRA.qxd 4/11/05 10:48 Page 2.12
2.12
ADVICE ON EMISSION CONTROL, FUEL ECONOMY AND DRIVING (continued)
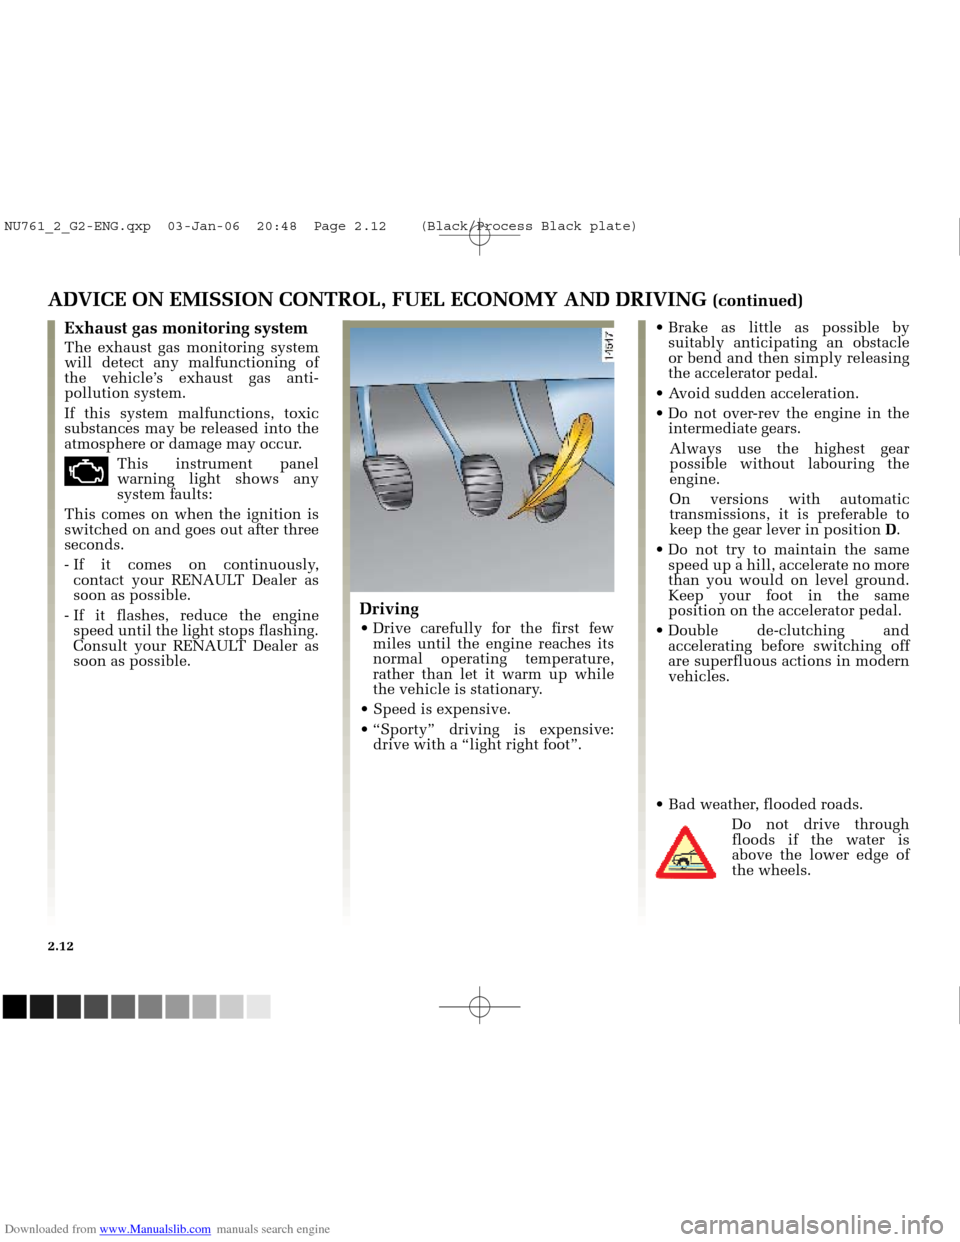
Driving
miles until the engine reaches its
normal operating temperature,
rather than let it warm up while
the vehicle is stationary.
drive with a “light right foot”.
Exhaust gas monitoring system
The exhaust gas monitoring system
will detect any malfunctioning of
the vehicle’s exhaust gas anti-
pollution system.
If this system malfunctions, toxic
substances may be released into the
atmosphere or damage may occur.
äThis instrument panel
warning light shows any
system faults:
This comes on when the ignition is
switched on and goes out after three
seconds.
- If it comes on continuously, contact your RENAULT Dealer as
soon as possible.
- If it flashes, reduce the engine speed until the light stops flashing.
Consult your RENAULT Dealer as
soon as possible.
suitably anticipating an obstacle
or bend and then simply releasing
the accelerator pedal.
intermediate gears.
Always use the highest gear
possible without labouring the
engine.
On versions with automatic
transmissions, it is preferable to
keep the gear lever in position D.
speed up a hill, accelerate no more
than you would on level ground.
Keep your foot in the same
position on the accelerator pedal.
accelerating before switching off
are superfluous actions in modern
vehicles.
Do not drive through
floods if the water is
above the lower edge of
the wheels.
NU761_2_G2-ENG.qxp 03-Jan-06 20:48 Page 2.12 (Black/Process Black\
plate)