Page 184 of 474

183
Controls in detail
Automatic climate control*
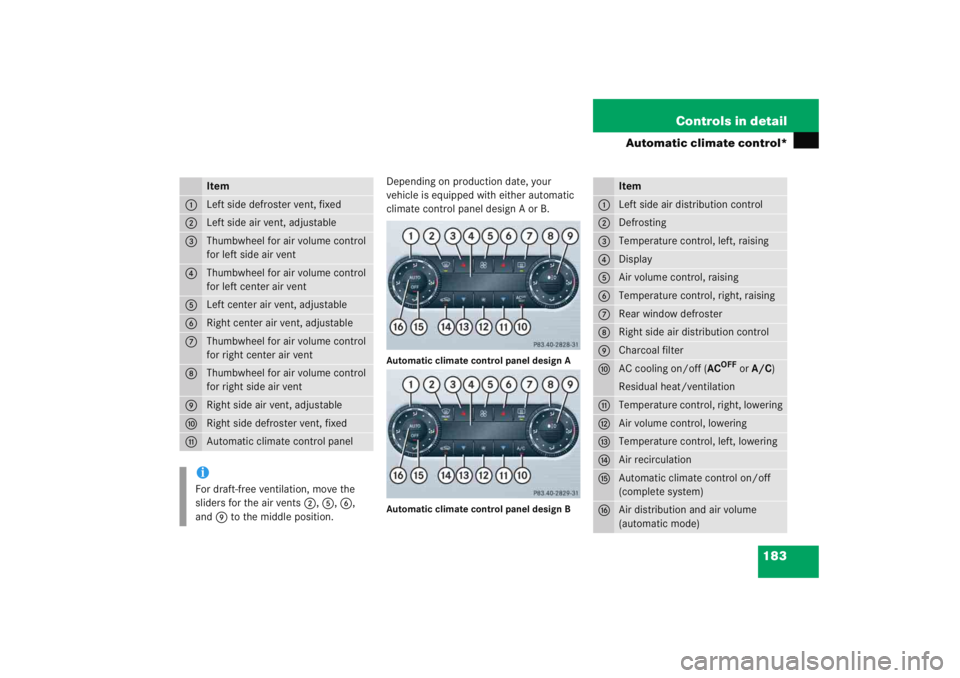
Depending on production date, your
vehicle is equipped with either automatic
climate control panel design A or B.Automatic climate control panel design A
Automatic climate control panel design B
Item
1
Left side defroster vent, fixed
2
Left side air vent, adjustable
3
Thumbwheel for air volume control
for left side air vent
4
Thumbwheel for air volume control
for left center air vent
5
Left center air
vent, adjustable
6
Right center air vent, adjustable
7
Thumbwheel for air volume control
for right center air vent
8
Thumbwheel for air volume control
for right side air vent
9
Right side air vent, adjustable
a
Right side defroster vent, fixed
b
Automatic climate control paneliFor draft-free ventilation, move the
sliders for the air vents 2,5 ,6 ,
and 9 to the middle position.
Item
1
Left side air distribution control
2
Defrosting
3
Temperature control, left, raising
4
Display
5
Air volume control, raising
6
Temperature control, right, raising
7
Rear window defroster
8
Right side air distribution control
9
Charcoal filter
a
AC cooling on/off ( AC
OFF
or A/C )
Residual heat/ventilation
b
Temperature control, right, lowering
c
Air volume control, lowering
d
Temperature control, left, lowering
e
Air recirculation
f
Automatic climate control on/off
(complete system)
g
Air distribution and air volume
(automatic mode)
Page 187 of 474

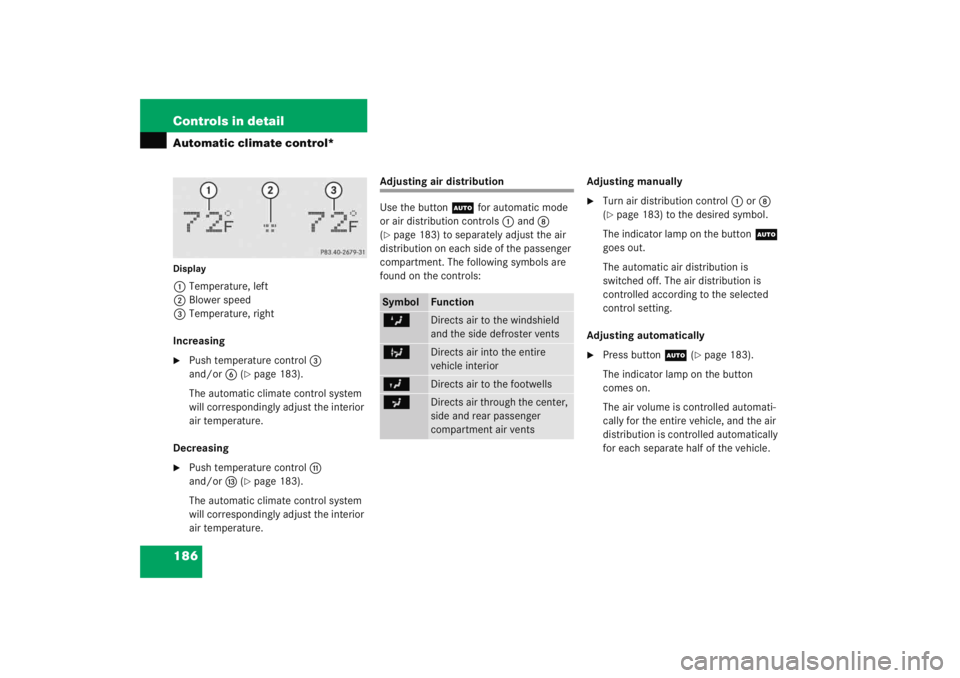
186 Controls in detailAutomatic climate control*Display1Temperature, left
2 Blower speed
3 Temperature, right
Increasing�
Push temperature control 3
and/or 6 (
�page 183).
The automatic climate control system
will correspondingly adjust the interior
air temperature.
Decreasing
�
Push temperature control b
and/or d (
�page 183).
The automatic climate control system
will correspondingly adjust the interior
air temperature.
Adjusting air distribution
Use the button U for automatic mode
or air distribution controls 1 and 8
(�page 183) to separately adjust the air
distribution on each side of the passenger
compartment. The following symbols are
found on the controls: Adjusting manually
�
Turn air distribution control
1 or 8
(�page 183) to the desired symbol.
The indicator lamp on the button U
goes out.
The automatic air distribution is
switched off. The air distribution is
controlled according to the selected
control setting.
Adjusting automatically
�
Press button U (
�page 183).
The indicator lamp on the button
comes on.
The air volume is controlled automati-
cally for the entire vehicle, and the air
distribution is controlled automatically
for each separate half of the vehicle.
Symbol
Function
Z
Directs air to the windshield
and the side defroster vents
b
Directs air into the entire
vehicle interior
Y
Directs air to the footwells
a
Directs air through the center,
side and rear passenger
compartment air vents
Page 189 of 474
188 Controls in detailAutomatic climate control*Defrosting
Activating�
Press buttonP or0
(�page 183).
The indicator lamp on the button
comes on.
The air conditioning switches
automatically to the following functions:
�
maximum blowing and heating
power
�
air flows onto the windshield and
the front side windows
�
the air recirculation mode is
switched off Deactivating
�
Press button
P or0
(�page 183).
The indicator lamp on the button goes
out. Defrosting is turned off.
The previous settings are once again in
effect.
Maximum cooling MAXCOOL
If the left and right air distribution controls
as well as the airflow volume control are
set to U (
�page 183) and there is a
high need for cooling, the display
“MAXCOOL” appears.
This provides the fastest possible cooling
of the vehicle interior (when side windows
and panorama roof with power tilt/sliding
panel* are closed).
iThese settings should only be selected
for a short time.
Page 197 of 474
196 Controls in detailAudio systemOperating and display elements
Page 198 of 474
197
Controls in detail
Audio system
Item
Page
1
CD changer mode selector
AUX mode selector
213
203
2
Single CD mode selector
215
3
Radio mode selector
4
Mute function (radio)
207
Pause (CD)
219
5
Volume distribution
201
6
Sound settings
199
7
Display
8
Alphanumeric keypad
Item
Page
9
Speed dialing memory
(telephone) in descending
order
a
Accepting a call
(telephone)
225
b
Telephone mode selector
220
c
Speed dialing memory
(telephone) in ascending
order
222
d
Terminating a call
(telephone)
226
e
CD slot
f
CD ejection
215
Item
Page
g
Soft keys
198
h
Volume
199
j
Switching on/off
198
k
Manual tuning / seek
tuning (radio)
205
Track search, reverse (CD)
218
l
Manual tuning / seek
tuning (radio)
205
Track search,
fast forward (CD)
218
Page 199 of 474
198 Controls in detailAudio systemButton and soft key operation
In these instructions, the alphanumeric
keypad (right side of radio panel) and the
function buttons (left side of radio panel)
are referred to as “buttons”. The four keys
below the display panel are referred to as
“soft keys”.
Operation
Switching the unit on/off
Switching on�
Turn the SmartKey in the starter switch
to position 1 or 2.
�
If the audio system was on as you re-
moved the SmartKey from the starter
switch, the audio system will automati-
cally come back on as you turn the
SmartKey to position 1 or 2.
or
�
Press M button.
!Do not press directly in the display
face. Otherwise, the display will be
damaged.
iIf the radio is switched on without the
key in the starter switch, it will auto-
matically switch off again after
approximately 30 minutes.
If your vehicle is equipped with a tele-
phone, the display may prompt you to
enter your PIN (GSM network) or code
(TDMA or CDMA network).
Page 200 of 474

199
Controls in detail
Audio system
Switching off�
Remove SmartKey from starter switch.
or
�
Press M button.
Adjusting the volume
�
Turn rotary control of N button.
The volume will increase or decrease
depending on the direction turned. Adjusting sound functions
The bass and treble functions are called up
by pressing the
O button.
Settings for bass and treble are stored sep-
arately for the AM and FM wavebands,
weather band, CD mode and telephone
mode.
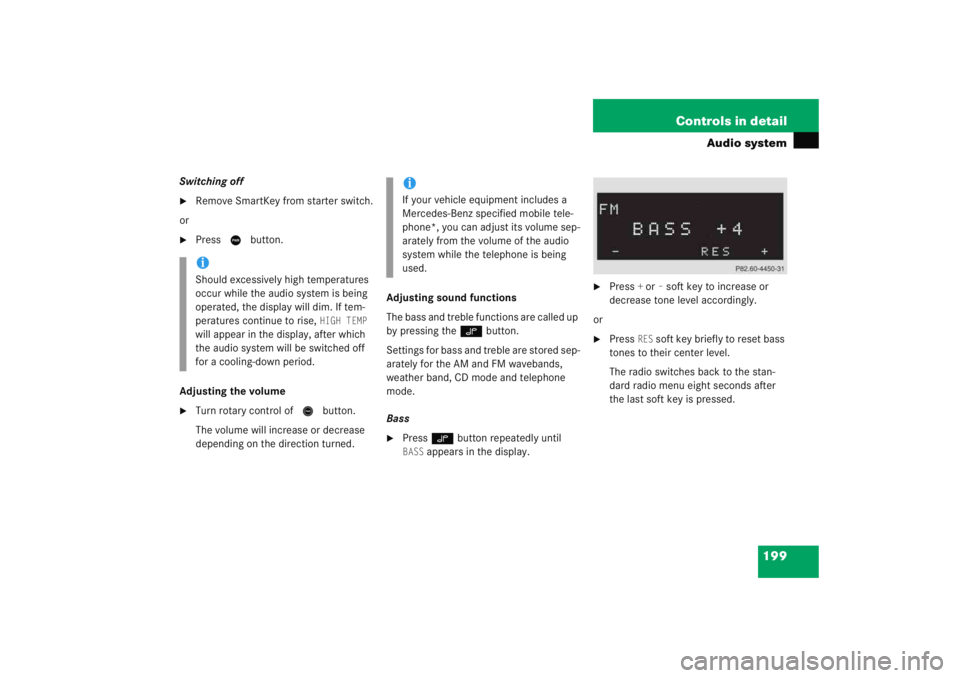
Bass
�
Press O button repeatedly until BASS
appears in the display.
�
Press
+ or
– soft key to increase or
decrease tone level accordingly.
or
�
Press
RES
soft key briefly to reset bass
tones to their center level.
The radio switches back to the stan-
dard radio menu eight seconds after
the last soft key is pressed.
iShould excessively high temperatures
occur while the audio system is being
operated, the display will dim. If tem-
peratures continue to rise,
HIGH TEMP
will appear in the display, after which
the audio system will be switched off
for a cooling-down period.
iIf your vehicle equipment includes a
Mercedes-Benz specified mobile tele-
phone*, you can adjust its volume sep-
arately from the volume of the audio
system while the telephone is being
used.
Page 201 of 474

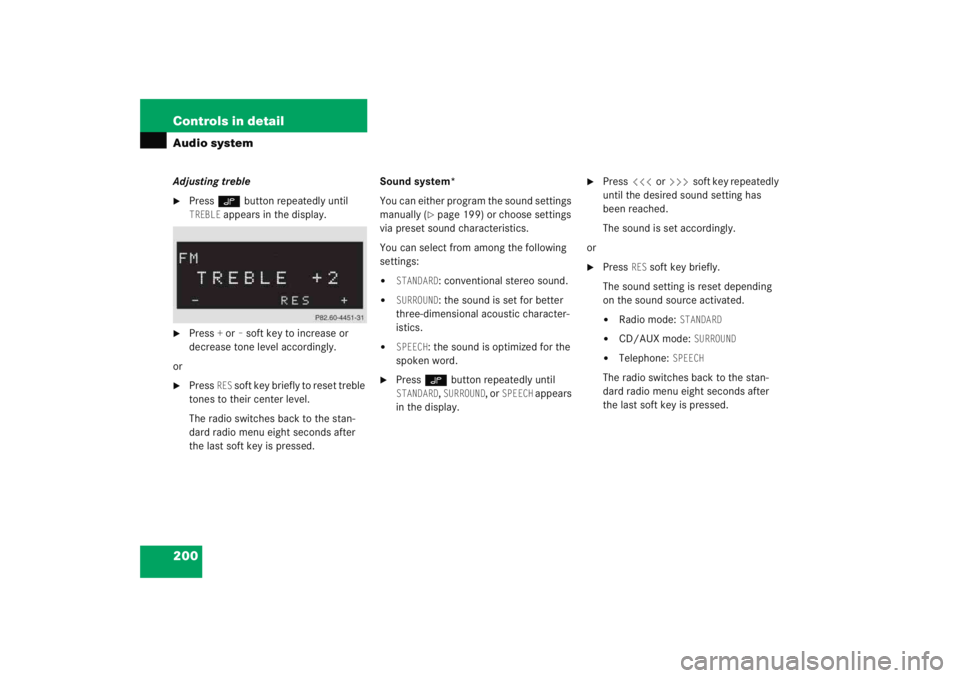
200 Controls in detailAudio systemAdjusting treble�
Press O button repeatedly until TREBLE
appears in the display.
�
Press
+ or
– soft key to increase or
decrease tone level accordingly.
or
�
Press
RES
soft key briefly to reset treble
tones to their center level.
The radio switches back to the stan-
dard radio menu eight seconds after
the last soft key is pressed. Sound system*
You can either program the sound settings
manually (
�page 199) or choose settings
via preset sound characteristics.
You can select from among the following
settings:
�
STANDARD
: conventional stereo sound.
�
SURROUND
: the sound is set for better
three-dimensional acoustic character-
istics.
�
SPEECH
: the sound is optimized for the
spoken word.
�
Press O button repeatedly until STANDARD
, SURROUND
, or
SPEECH
appears
in the display.
�
Press X or Y soft key repeatedly
until the desired sound setting has
been reached.
The sound is set accordingly.
or
�
Press
RES
soft key briefly.
The sound setting is reset depending
on the sound source activated.
�
Radio mode:
STANDARD
�
CD/AUX mode:
SURROUND
�
Telephone:
SPEECH
The radio switches back to the stan-
dard radio menu eight seconds after
the last soft key is pressed.