Page 306 of 668
AUDIO
285
The display can show up to 12 letters at once. If the CD title
or music title is longer than 12 letters, hold down the button for
longer
than 1 second. The letters after the 12th one are shown.
However, 24 letters at maximum can be shown on the display.
When you push this button for longer than 1 second or play no
operation for about 6 seconds with the letters after the 13th one
on the display, the display returns and shows the first 12 letters.
Even if the CD title or music title is longer than 24 letters, the
display can show up to 24 letters.
(i) If the player malfunctions
If the player or another unit equipped with the player
malfunctions, your audio system will display one of the four
following error messages.
If ªWAITº appears on the display: It indicates that the inside
of the player unit may be too hot due to the very high ambient
temperature. Remove the CD from the player and allow the
player to cool down.
If ªERROR 1º appears on the display: It indicates that the CD
is dirty, damaged, or it was inserted up±side down. Clean the
CD or insert it correctly.
If ªERROR 3º or ªERROR 4º appears on the display: It
indicates there is a trouble inside the system. Eject the CD.
If the malfunction is not rectified: Take your vehicle to your
Lexus dealer.
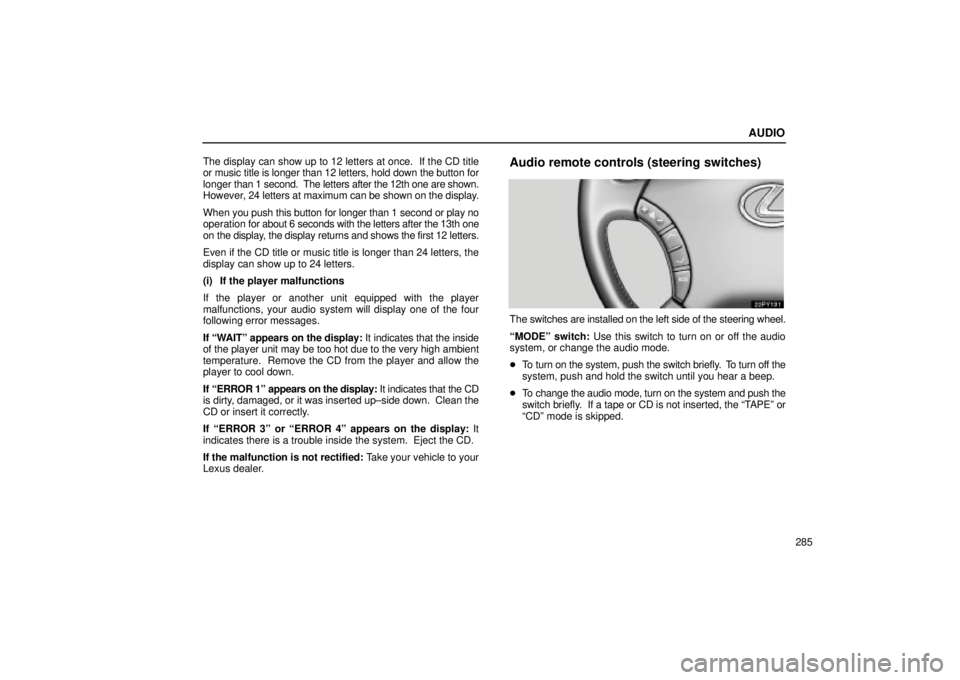
Audio remote controls (steering switches)
The switches are installed on the left side of the steering wheel.
ªMODEº switch: Use this switch to turn on or off the audio
system, or change the audio mode.
� To turn on the system, push the switch briefly. To turn off the
system, push and hold the switch until you hear a beep.
� To change the audio mode, turn on the system and push the
switch briefly. If a tape or CD is not inserted, the ªTAPEº or
ªCDº mode is skipped.
Page 315 of 668
AUDIO
294
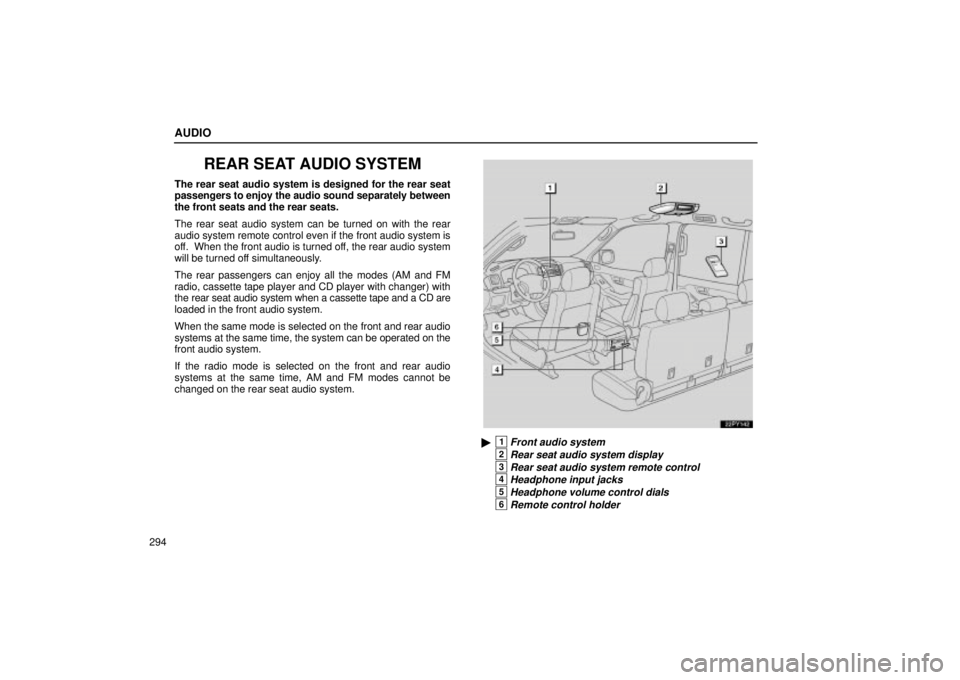
REAR SEAT AUDIO SYSTEM
The rear seat audio system is designed for the rear seat
passengers to enjoy the audio sound separately between
the front seats and the rear seats.
The rear seat audio system can be turned on with the rear
audio system remote control even if the front audio system is
off. When the front audio is turned off, the rear audio system
will be turned off simultaneously.
The rear passengers can enjoy all the modes (AM and FM
radio, cassette tape player and CD player with changer) with
the rear seat audio system when a cassette tape and a CD are
loaded in the front audio system.
When the same mode is selected on the front and rear audio
systems at the same time, the system can be operated on the
front audio system.
If the radio mode is selected on the front and rear audio
systems at the same time, AM and FM modes cannot be
changed on the rear seat audio system.
22PY142
�1Front audio system
2Rear seat audio system display
3Rear seat audio system remote control
4Headphone input jacks
5Headphone volume control dials
6Remote control holder
Page 317 of 668
AUDIO
296(a) Before using the remote control (for new vehicle
owners)
A battery is already set in the remote control with an
insulating sheet, which prevents the battery from being
discharged. Before using the remote control, remove the
insulating sheet.
(b) Using the remote control
To use the rear seat audio system remote control, direct
the signal output portion of the remote control to the
signal reception portion of the rear seat audio system
display.
The rear seat audio system remote control can be operated
when the ignition switch is in the ªACCº or ªONº position.
The remote control does not operate properly when the signal
reception portion of the display is exposed to direct sunlight.
Block the display from direct sunlight.
NOTICE
Observe the followings, otherwise the remote control
may be damaged.
�Do not drop or strongly knock the remote controlagainst hard objects.
�Do not sit on or place heavy objects on the remotecontrol.
Page 321 of 668
AUDIO
300Turning the system on and off
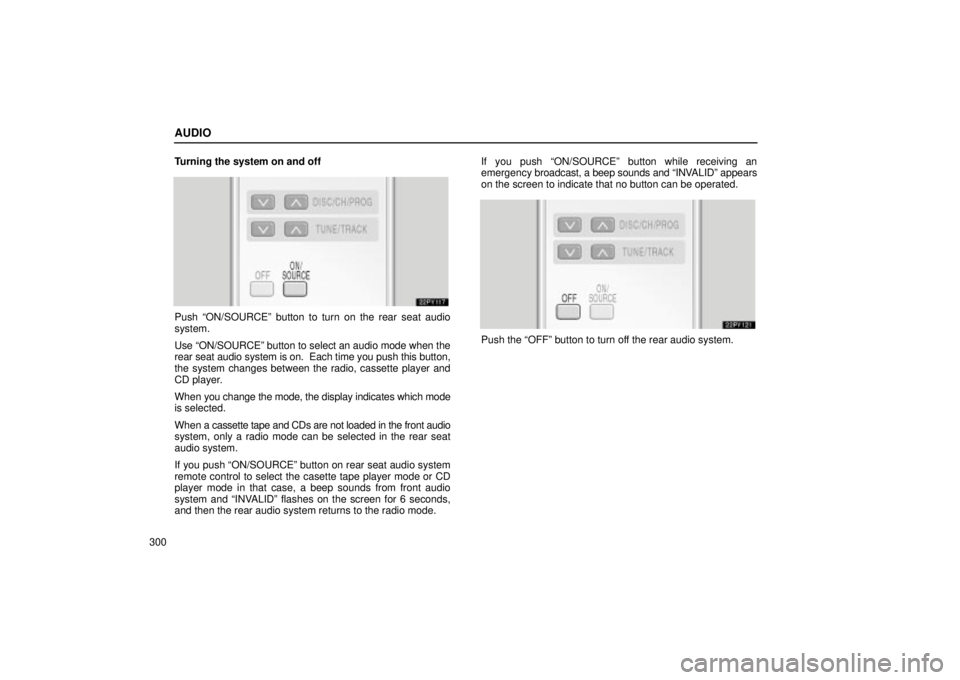
Push ªON/SOURCEº button to turn on the rear seat audio
system.
Use ªON/SOURCEº button to select an audio mode when the
rear seat audio system is on. Each time you push this button,
the system changes between the radio, cassette player and
CD player.
When
you change the mode, the display indicates which mode
is selected.
When a cassette tape and CDs are not loaded in the front audio
system, only a radio mode can be selected in the rear seat
audio system.
If you push ªON/SOURCEº button on rear seat audio system
remote control to select the casette tape player mode or CD
player mode in that case, a beep sounds from front audio
system and ªINVALIDº flashes on the screen for 6 seconds,
and then the rear audio system returns to the radio mode. If you push ªON/SOURCEº button while receiving an
emergency
broadcast, a beep sounds and ªINV ALIDº appears
on the screen to indicate that no button can be operated.
Push the ªOFFº button to turn off the rear audio system.
Page 322 of 668
AUDIO
301
Radio operation
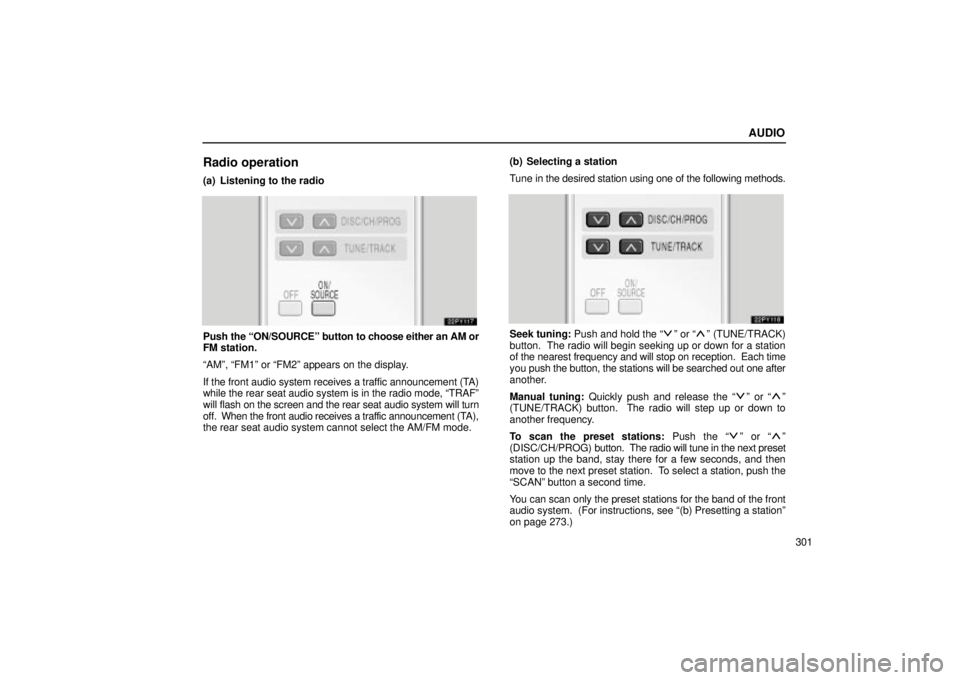
(a) Listening to the radio
Push the ªON/SOURCEº button to choose either an AM or
FM station.
ªAMº, ªFM1º or ªFM2º appears on the display.
If the front audio system receives a traffic announcement (TA)
while the rear seat audio system is in the radio mode, ªTRAFº
will flash on the screen and the rear seat audio system will turn
off. When the front audio receives a traffic announcement (TA),
the rear seat audio system cannot select the AM/FM mode. (b) Selecting a station
Tune in the desired station using one of the following methods.Seek tuning: Push and hold the ªº or ªº (TUNE/TRACK)
button. The radio will begin seeking up or down for a station
of the nearest frequency and will stop on reception. Each time
you push the button, the stations will be searched out one after
another.
Manual tuning: Quickly push and release the ª
º or ªº
(TUNE/TRACK) button. The radio will step up or down to
another frequency.
To scan the preset stations: Push the ª
º or ªº
(DISC/CH/PROG) button. The radio will tune in the next preset
station up the band, stay there for a few seconds, and then
move to the next preset station. To select a station, push the
ªSCANº button a second time.
You can scan only the preset stations for the band of the front
audio system. (For instructions, see ª(b) Presetting a stationº\
on page 273.)
Page 323 of 668
AUDIO
302
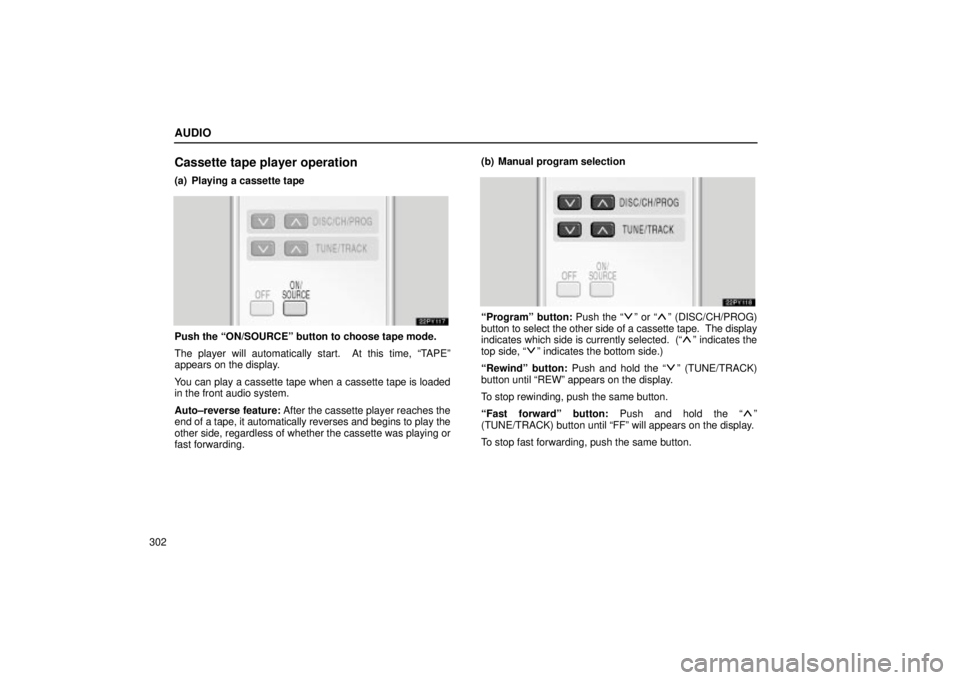
Cassette tape player operation
(a) Playing a cassette tape
Push the ªON/SOURCEº button to choose tape mode.
The player will automatically start. At this time, ªTAPEº
appears on the display.
You can play a cassette tape when a cassette tape is loaded
in the front audio system.
Auto±reverse feature: After the cassette player reaches the
end of a tape, it automatically reverses and begins to play the
other side, regardless of whether the cassette was playing or
fast forwarding. (b) Manual program selection
ªProgramº button: Push the ªº or ªº (DISC/CH/PROG)
button to select the other side of a cassette tape. The display
indicates which side is currently selected. (ª
º indicates the
top side, ªº indicates the bottom side.)
ªRewindº button: Push and hold the ª
º (TUNE/TRACK)
button until ªREWº appears on the display.
To stop rewinding, push the same button.
ªFast forwardº button: Push and hold the ª
º
(TUNE/TRACK) button until ªFFº will appears on the display.
To stop fast forwarding, push the same button.
Page 324 of 668
AUDIO
303
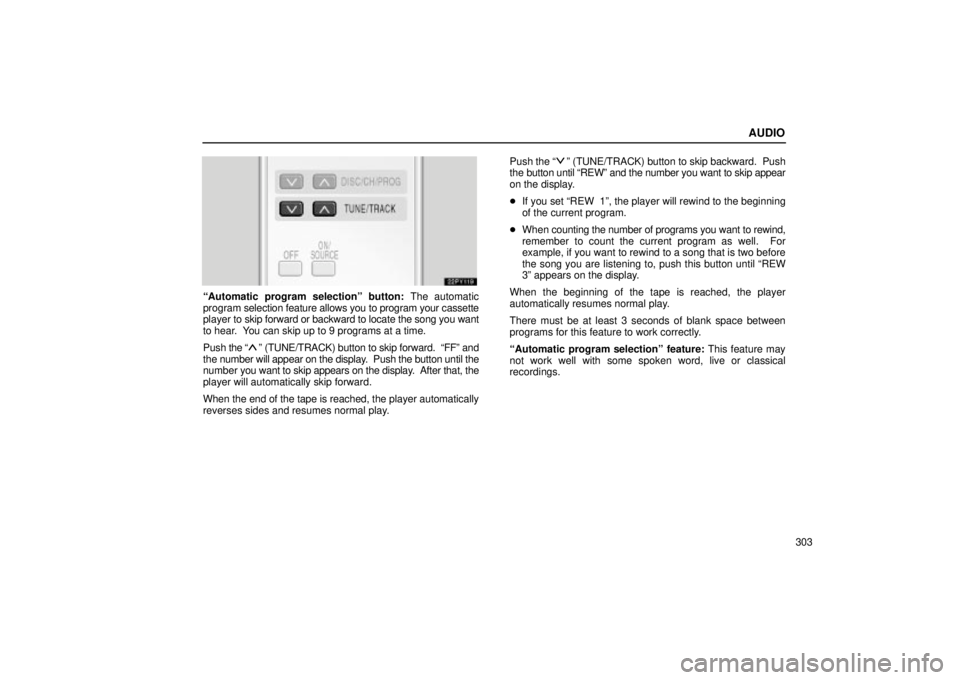
ªAutomatic program selectionº button: The automatic
program selection feature allows you to program your cassette
player to skip forward or backward to locate the song you want
to hear. You can skip up to 9 programs at a time.
Push the ª
º (TUNE/TRACK) button to skip forward. ªFFº and
the number will appear on the display. Push the button until the
number you want to skip appears on the display. After that, the
player will automatically skip forward.
When the end of the tape is reached, the player automatically
reverses sides and resumes normal play. Push
the ª
º (TUNE/TRACK) button to skip backward. Push
the button until ªREWº and the number you want to skip appear
on the display.
� If you set ªREW 1º, the player will rewind to the beginning
of the current program.
� When counting the number of programs you want to rewind,
remember to count the current program as well. For
example, if you want to rewind to a song that is two before
the song you are listening to, push this button until ªREW
3º appears on the display.
When the beginning of the tape is reached, the player
automatically resumes normal play.
There must be at least 3 seconds of blank space between
programs for this feature to work correctly.
ªAutomatic program selectionº feature: This feature may
not work well with some spoken word, live or classical
recordings.
Page 325 of 668
AUDIO
304
CD player operation
(a) Playing a CD
Push the ªON/SOURCEº button to choose CD mode.
ªCDº appears on the display.
You can play a CD when a CD is loaded in the front audio
system.
The CDs set in the front audio system are played continuously,
starting with the last CD you inserted. The CD number of the
CD currently being played, the track number and the time from
the beginning of the program appear on the display.
When play of one CD ends, the first track of the following CD
starts. When play of the final CD ends, play of the first CD
starts again.
The player will skip any empty CD trays.(b) Selecting a desired CD
Searching for a desired CD:
Push
the ª
º or ªº (DISC/CH/PROG) button to select the
CD number.
Push the button several times until the desired CD number
appears on the display. When you release the button, the
player will start playing the selected CD from the first track.