Page 47 of 297
1FEATURES OF YOUR HYUNDAI
30
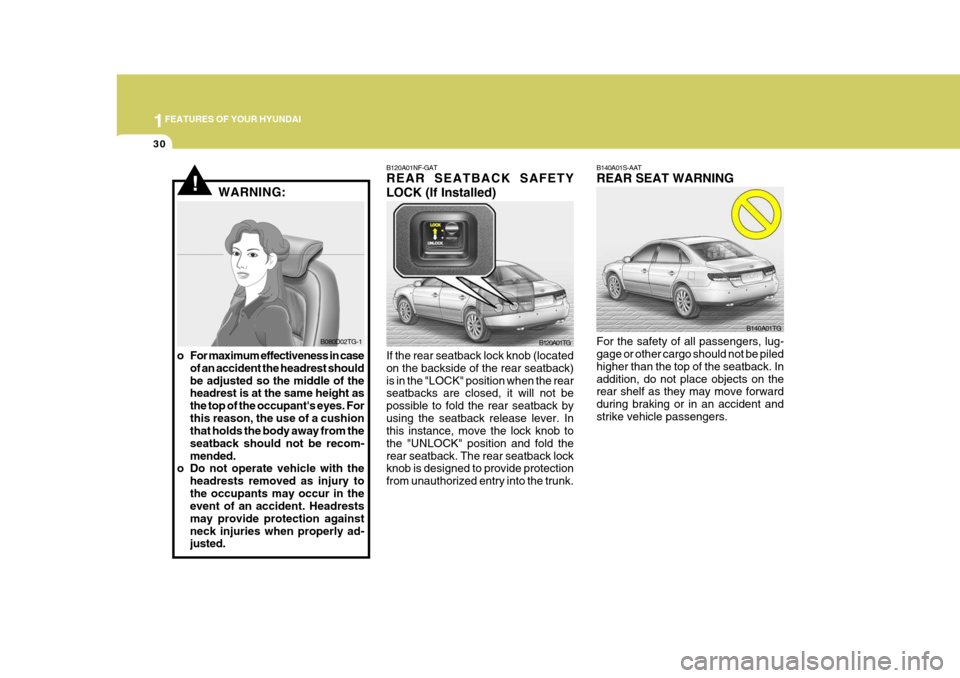
B140A01S-AAT REAR SEAT WARNING For the safety of all passengers, lug- gage or other cargo should not be piled higher than the top of the seatback. Inaddition, do not place objects on the rear shelf as they may move forward during braking or in an accident andstrike vehicle passengers. B140A01TGB120A01NF-GAT REAR SEATBACK SAFETY LOCK (If Installed) If the rear seatback lock knob (located on the backside of the rear seatback)is in the "LOCK" position when the rear seatbacks are closed, it will not be possible to fold the rear seatback byusing the seatback release lever. In this instance, move the lock knob to the "UNLOCK" position and fold therear seatback. The rear seatback lock knob is designed to provide protection from unauthorized entry into the trunk. B120A01TG
!WARNING:
B080D02TG-1
o For maximum effectiveness in case of an accident the headrest should be adjusted so the middle of the headrest is at the same height as the top of the occupant's eyes. Forthis reason, the use of a cushion that holds the body away from the seatback should not be recom-mended.
o Do not operate vehicle with the
headrests removed as injury tothe occupants may occur in the event of an accident. Headrests may provide protection againstneck injuries when properly ad- justed.
Page 54 of 297
1
FEATURES OF YOUR HYUNDAI
37
!
!
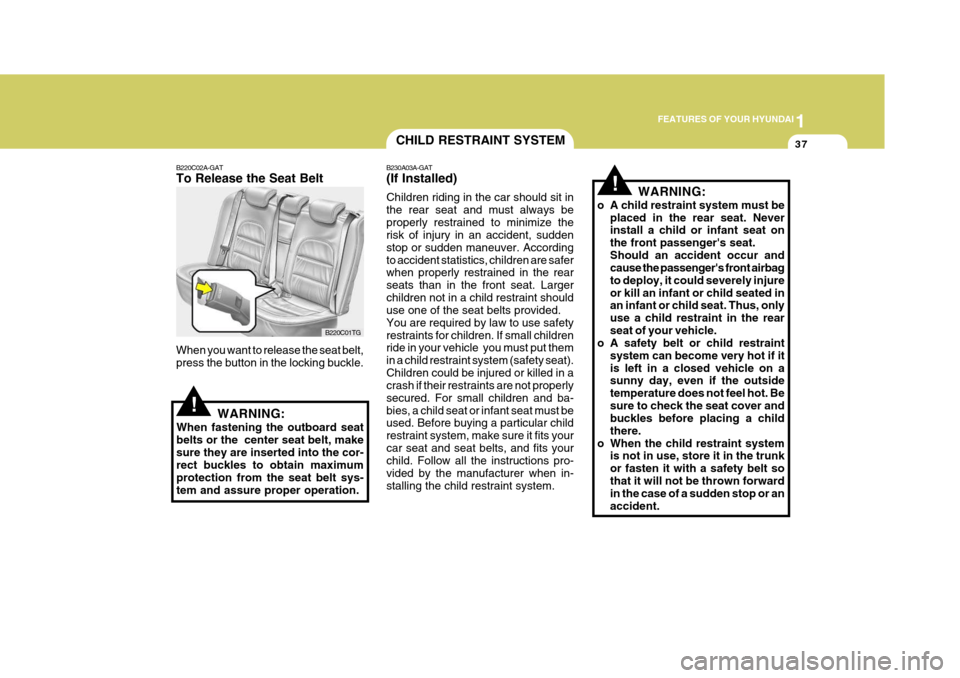
B220C02A-GAT To Release the Seat Belt When you want to release the seat belt, press the button in the locking buckle.
WARNING:
When fastening the outboard seatbelts or the center seat belt, makesure they are inserted into the cor- rect buckles to obtain maximum protection from the seat belt sys-tem and assure proper operation. B220C01TG
CHILD RESTRAINT SYSTEM
B230A03A-GAT (If Installed) Children riding in the car should sit in the rear seat and must always beproperly restrained to minimize the risk of injury in an accident, sudden stop or sudden maneuver. Accordingto accident statistics, children are safer when properly restrained in the rear seats than in the front seat. Largerchildren not in a child restraint should use one of the seat belts provided. You are required by law to use safetyrestraints for children. If small children ride in your vehicle you must put them in a child restraint system (safety seat).Children could be injured or killed in a crash if their restraints are not properly secured. For small children and ba-bies, a child seat or infant seat must be used. Before buying a particular child restraint system, make sure it fits yourcar seat and seat belts, and fits your child. Follow all the instructions pro- vided by the manufacturer when in-stalling the child restraint system. WARNING:
o A child restraint system must be placed in the rear seat. Never install a child or infant seat on the front passenger's seat.Should an accident occur and cause the passenger's front airbag to deploy, it could severely injureor kill an infant or child seated in an infant or child seat. Thus, only use a child restraint in the rearseat of your vehicle.
o A safety belt or child restraint
system can become very hot if itis left in a closed vehicle on a sunny day, even if the outside temperature does not feel hot. Besure to check the seat cover and buckles before placing a child there.
o When the child restraint system is not in use, store it in the trunkor fasten it with a safety belt sothat it will not be thrown forward in the case of a sudden stop or an accident.
Page 76 of 297
1
FEATURES OF YOUR HYUNDAI
59
1. Malfunction Indicator Light (MIL)
2. Low Oil Pressure Warning Light
3. Charging System Warning Light
4. Passenger's Front Airbag OFF Indicator Light (If Installed)
5. SRS (Airbag) Service Reminder Indicator (SRI)
6. Tachometer
7. Turn Signal Indicator Lights
8. High Beam Indicator Light
9. Electronic Stability Program (ESP) Indicator Light (If Installed)
10. Automatic Transaxle Position Indicator Light
11. CRUISE Indicator Light (If Installed)
12. Front Fog Indicator Light 13. Cruise SET Indicator Light (If Installed)
14. Speedometer
15. Low Windshield Washer Fluid Level Warning Light
16. Trunk Lid Open Warning Light
17. Immobilizer Warning Light (If Installed)
18. Coolant Temperature Gauge
19. ABS Service Reminder Indicator (SRI)
20. Door Ajar Warning Light
21. Seat Belt Warning Light (Driver's Side)
22. Odometer/ Trip Computer
23. Parking Brake/Low Brake Fluid Level Warning Light
24. Low Fuel Warning Light
25. Fuel Gauge
Page 78 of 297
1
FEATURES OF YOUR HYUNDAI
61
1. Tachometer
2. High Beam Indicator Light
3. Turn Signal Indicator Lights
4. Speedometer
5. Front Fog Indicator Light
6. Coolant Temperature Gauge
7. Fuel Gauge
8. Charging System Warning Light
9. Passenger's Front Airbag OFF Indicator Light (If Installed)
10. Parking Brake/Low Brake Fluid Level Warning Light
11. Seat Belt Warning Light (Driver's Side)
12. Door Ajar Warning Light
13. SRS (Airbag) Service Reminder Indicator (SRI) 14. Malfunction Indicator Light (MIL)
15. Low Oil Pressure Warning Light
16. Low Windshield Washer Fluid Level Warning Light
17. ABS Service Reminder Indicator (SRI)
18. CRUISE Indicator Light (If Installed)
19. Trunk Lid Open Warning Light
20. Immobilizer Warning Light (If Installed)
21. Cruise SET Indicator Light (If Installed)
22. Automatic Transaxle Position Indicator Light
23. Odometer/Trip Computer/Warning Text
24. Electronic Stability Program (ESP) Indicator Light
(If Installed)
25. Low Fuel Warning Light
Page 82 of 297

1
FEATURES OF YOUR HYUNDAI
65
B260S01TG-GAT Low Windshield Washer
Fluid Level Warning Light
The low windshield washer fluid warn- ing light comes on when the washerfluid reservoir is approaching empty. When it comes on, add washer fluid at your earliest opportunity.
B260S01TG
If your vehicle is equipped with the supervision type cluster, the warning text is double informed on the dot ma-trix display. The warning text comes on for about 20 seconds. If you push the RESET button behind the steeringwheel, the warning text will go out.
B260K01TG-AAT
Trunk Lid Open Warning
Light
This light remains on unless the trunklid is completely closed and latched.
B260K01TG B260M01TG-AAT
Low Fuel Level Warning
Light
The low fuel level warning light comes on when the fuel tank is approachingempty. When it comes on, you should add fuel as soon as possible. Driving with the fuel level warning light on orwith the fuel level below "E" can cause the engine to misfire and damage the catalytic converter.
B260M01TG
If your vehicle is equipped with the supervision type cluster, the warning text is double informed on the dot ma-trix display. The warning text comes on for about 20 seconds. If you push the RESET button behind the steeringwheel, the warning text will go out.
If your vehicle is equipped with thesupervision type cluster, the warning text is double informed on the dot ma- trix display. The warning text comes onfor about 20 seconds. If you push the RESET button behind the steering wheel, the warning text will go out.
Page 100 of 297
1
FEATURES OF YOUR HYUNDAI
83
Left-Hand Drive type
HAZARD WARNING SYS- TEM
B370A01A-AAT
B370A01TG
B370A01TG-R
Right-Hand Drive type
Switch position
0 0 1 2 3
Loading condition Driver onlyDriver + front passenger Full passengers (including driver)Full passengers (includ- ing driver) + full trunk loading (or light trailerloading)
Driver + full trunk load- ing (or maximum trailer
loading)
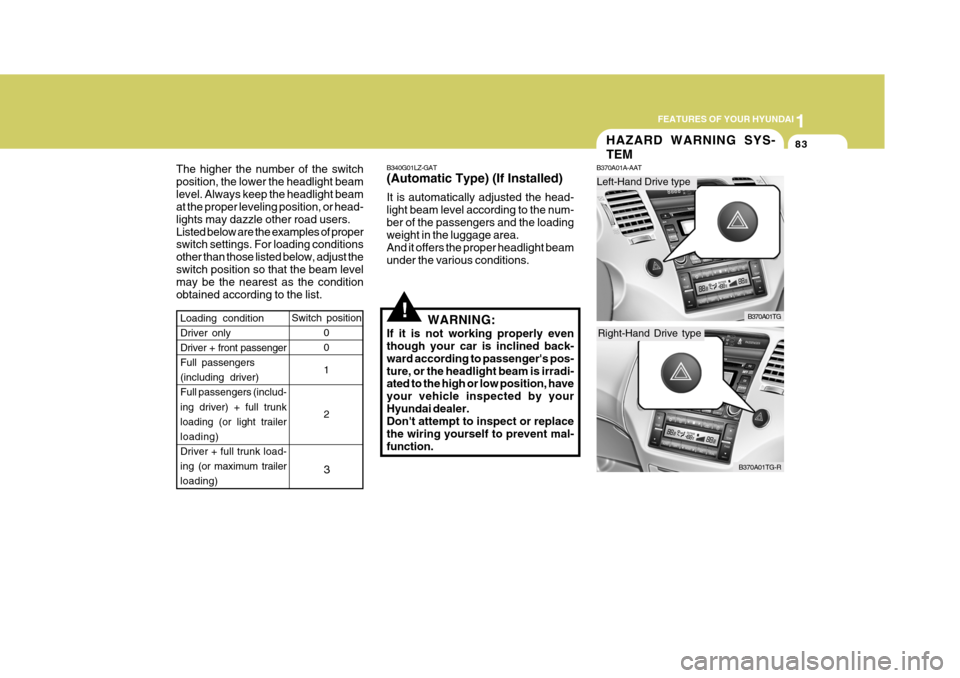
The higher the number of the switch position, the lower the headlight beamlevel. Always keep the headlight beam at the proper leveling position, or head- lights may dazzle other road users.Listed below are the examples of proper switch settings. For loading conditions other than those listed below, adjust theswitch position so that the beam level may be the nearest as the condition obtained according to the list.
!
B340G01LZ-GAT (Automatic Type) (If Installed) It is automatically adjusted the head- light beam level according to the num-ber of the passengers and the loading weight in the luggage area. And it offers the proper headlight beamunder the various conditions.
WARNING:
If it is not working properly even though your car is inclined back- ward according to passenger's pos-ture, or the headlight beam is irradi- ated to the high or low position, have your vehicle inspected by yourHyundai dealer. Don't attempt to inspect or replace the wiring yourself to prevent mal-function.
Page 109 of 297

1FEATURES OF YOUR HYUNDAI
92
3. Insert the hexagonal head wrench
provided with the vehicle into the socket. This wrench can be found in the vehicle's trunk or glove box.
4. Turn the wrench clockwise to open or counterclockwise to close thesunroof. HTG2030
!
B460E01TG-GAT Resetting the sunroof Whenever the vehicle battery is dis- connected or discharged, or you usethe emergency handle to operate the sunroof, you have to reset your sunroof system as follows:
1. Turn the ignition key to the "ON"
position.
2. Press the TILT UP button for more than 1 second to tilt up the sunroof completely when the sunroof is fullyclosed. Then, release the button.
3. Press and hold the TILT UP button
once again until the sunroof hasreturned to the original position of TILT UP after it is raised a little higher than the maximum TILT UPposition. Then, release the button.
4. Press and hold the TILT UP button
within 5 seconds until the sunroof isoperated as follows; TILT DOWN SLIDE OPEN
SLIDE CLOSEThen, release the button. CAUTION:
If the sunroof is not reset, it may not operate properly.
Page 112 of 297
1
FEATURES OF YOUR HYUNDAI
95
B500A01TG-GAT ACCESSORY BOX
The accessory box may be opened by pushing at its top edge (Type A) or pushing the knob downward (Type B). It is used for storing small articles. B500A01TG
B500B01NF-GAT Illuminated Glove Box Opening the glove box will automati- cally turn on the light when the multi- function switch is turned to the firstposition.
NOTE: Information about use of the trunk lid control button located in the glove box is beginning on the trunk lidsection.
B541A01TG
Type A
B500A02TG
Type B
!
STORAGE BOX
B500A01TG-AAT GLOVE BOX
WARNING:
To avoid the possibility of injury in case of an accident or a suddenstop, the glove box door should be kept closed when the car is in mo- tion.
o To open the glove box, pull on the glove box release lever.
o The glove box door can be locked
(and unlocked) with the key.
HTG2178


