Page 3 of 248
Maintenance and Specifications 187
Engine compartment 189
Engine oil 192
Battery 196
Fuel information 203
Tire Information 219
Part numbers 231
Refill capacities 232
Lubricant specifications 234
Accessories 241
Index 243
All rights reserved. Reproduction by any means, electronic or mechanical
including photocopying, recording or by any information storage and retrieval
system or translation in whole or part is not permitted without written
authorization from Ford Motor Company. Ford may change the contents without
notice and without incurring obligation.
Copyright 2004 Ford Motor Company
Table of Contents
3
Page 5 of 248

SAFETY AND ENVIRONMENT PROTECTION
Warning symbols in this guide
How can you reduce the risk of personal injury to yourself or others? In
this guide, answers to such questions are contained in comments
highlighted by the warning triangle symbol. These comments should be
read and observed.
Warning symbols on your vehicle
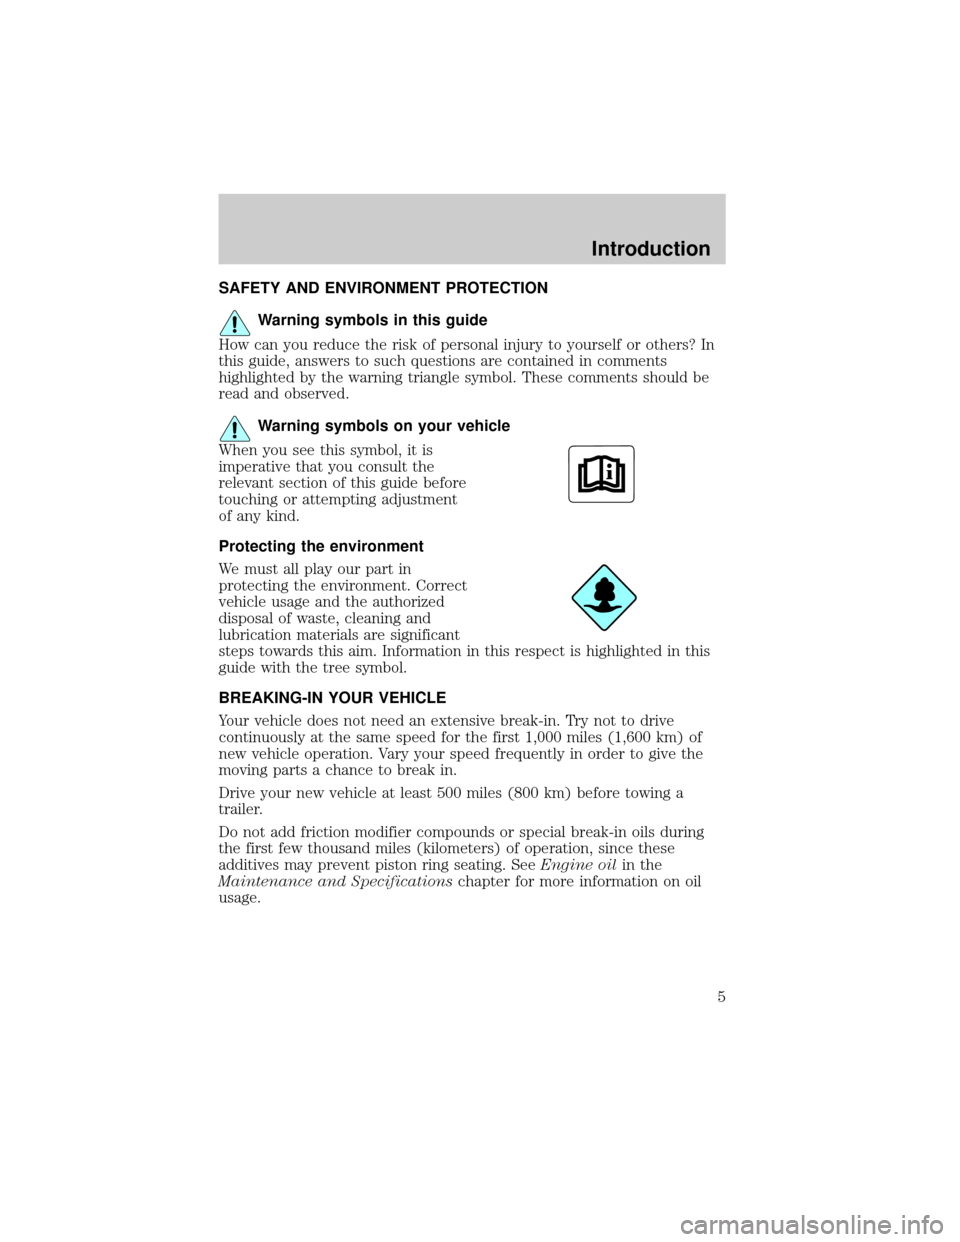
When you see this symbol, it is
imperative that you consult the
relevant section of this guide before
touching or attempting adjustment
of any kind.
Protecting the environment
We must all play our part in
protecting the environment. Correct
vehicle usage and the authorized
disposal of waste, cleaning and
lubrication materials are significant
steps towards this aim. Information in this respect is highlighted in this
guide with the tree symbol.
BREAKING-IN YOUR VEHICLE
Your vehicle does not need an extensive break-in. Try not to drive
continuously at the same speed for the first 1,000 miles (1,600 km) of
new vehicle operation. Vary your speed frequently in order to give the
moving parts a chance to break in.
Drive your new vehicle at least 500 miles (800 km) before towing a
trailer.
Do not add friction modifier compounds or special break-in oils during
the first few thousand miles (kilometers) of operation, since these
additives may prevent piston ring seating. SeeEngine oilin the
Maintenance and Specificationschapter for more information on oil
usage.
Introduction
5
Page 9 of 248
Vehicle Symbol Glossary
Power Windows
Front/Rear
Power Window Lockout
Child Safety Door
Lock/UnlockInterior Luggage
Compartment Release
Symbol
Panic AlarmEngine Oil
Engine CoolantEngine Coolant
Temperature
Do Not Open When HotBattery
Avoid Smoking, Flames,
or SparksBattery Acid
Explosive GasFan Warning
Power Steering FluidMaintain Correct Fluid
LevelMAX
MIN
Emission SystemEngine Air Filter
Passenger Compartment
Air FilterJack
Check fuel cap
Introduction
9
Page 12 of 248

Engine oil pressure:Illuminates
when the oil pressure falls below the
normal range, refer toEngine oilin
theMaintenance and
specificationschapter.
Traction Controlyactive (if
equipped):Flashes when the
Traction Controlyis active. If the
light remains on a malfunction has
been detected; have the system
serviced immediately, refer to theDrivingchapter for more information.
Speed control (if equipped):
Illuminates when the speed control
is activated. Turns off when the
speed control system is deactivated.
SecurilockyAnti-theft system:
Flashes when the Securilocky
Passive Anti-theft System has been
activated. Refer toSecurilockyPassive Anti-theft Systemin theLocks
and Securitychapter.
Turn signal:Illuminates when the
left or right turn signal or the
hazard lights are turned on. If the
indicators stay on or flash faster, check for a burned out bulb.
High beams:Illuminates when the
high beam headlamps are turned on.
Key-in-ignition warning chime:Sounds when the key is left in the
ignition in the OFF/LOCK or ACCESSORY position and the driver's door
is opened.
Headlamps on warning chime:Sounds when the headlamps or parking
lamps are on, the ignition is off (the key is not in the ignition) and the
driver's door is opened.
CRUISE
Instrument Cluster
12
Page 38 of 248
5. Disconnect the electrical
connector from the bulb by pulling
rearward.
6. Remove the bulb retaining ring by
rotating it counterclockwise.
7. Remove the old bulb from the
lamp assembly by pulling it straight
out of the lamp assembly.
To install the new bulb:
Handle a halogen headlamp bulb carefully and keep out of
children's reach. Grasp the bulb only by its plastic base and do
not touch the glass. The oil from your hand could cause the bulb to
break the next time the headlamps are operated.
1. Install the new bulb in lamp assembly by pushing straight in with the
flat surface of the bulb's plastic base facing upward. You may need to
turn the bulb slightly to align the grooves in the plastic base with the
tabs in the lamp assembly.
Lights
38
Page 42 of 248

7. Carefully lift the lamp assembly
away from the liftgate.
8. Remove the bulb socket by
rotating it counterclockwise and
pulling it out from the lamp
assembly.
9. Carefully pull the bulb straight
out of the socket and push in the
new bulb.
10. To complete installation, follow
the removal procedure in reverse order.
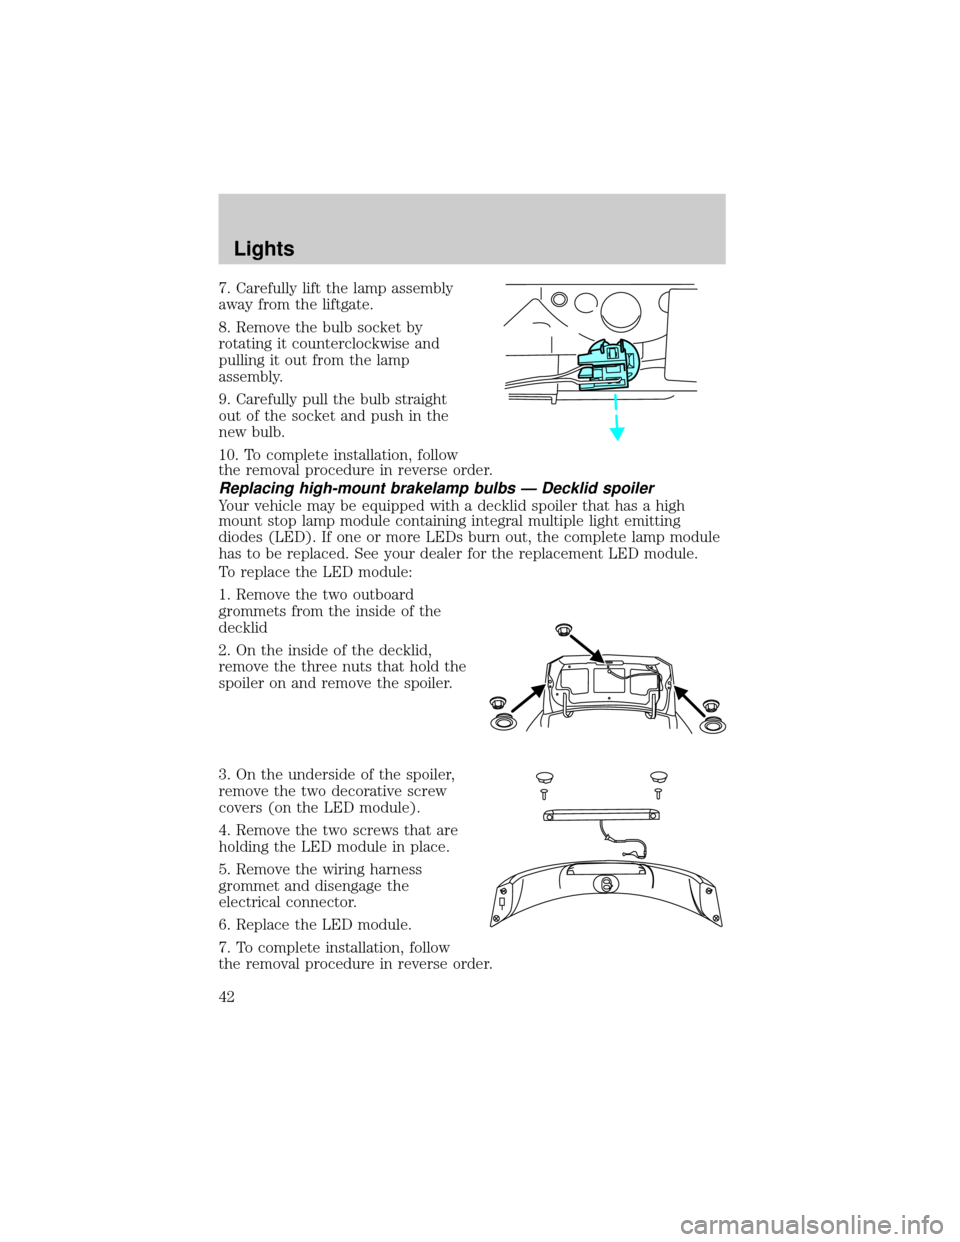
Replacing high-mount brakelamp bulbs Ð Decklid spoiler
Your vehicle may be equipped with a decklid spoiler that has a high
mount stop lamp module containing integral multiple light emitting
diodes (LED). If one or more LEDs burn out, the complete lamp module
has to be replaced. See your dealer for the replacement LED module.
To replace the LED module:
1. Remove the two outboard
grommets from the inside of the
decklid
2. On the inside of the decklid,
remove the three nuts that hold the
spoiler on and remove the spoiler.
3. On the underside of the spoiler,
remove the two decorative screw
covers (on the LED module).
4. Remove the two screws that are
holding the LED module in place.
5. Remove the wiring harness
grommet and disengage the
electrical connector.
6. Replace the LED module.
7. To complete installation, follow
the removal procedure in reverse order.
Lights
42
Page 64 of 248

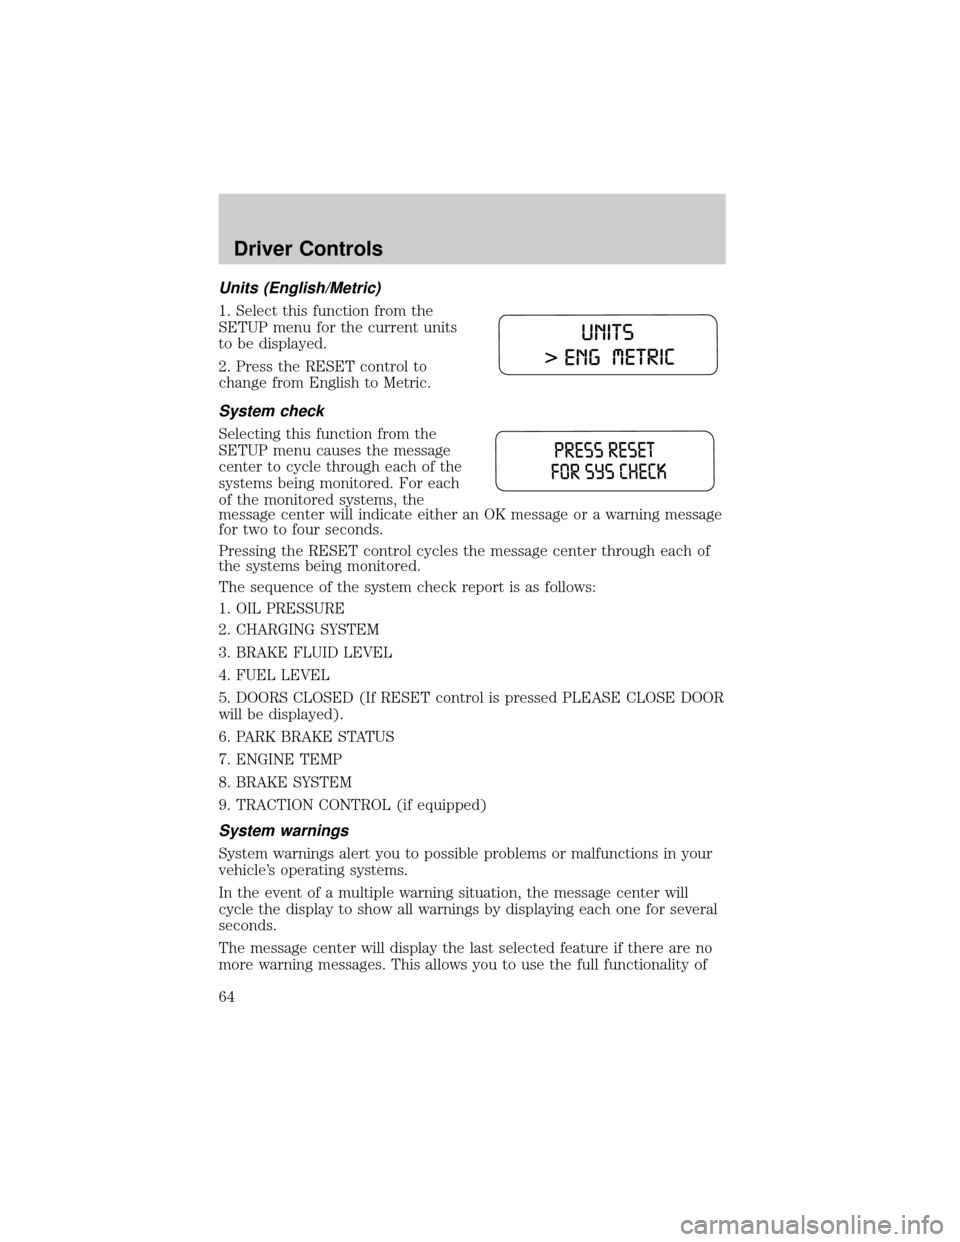
Units (English/Metric)
1. Select this function from the
SETUP menu for the current units
to be displayed.
2. Press the RESET control to
change from English to Metric.
System check
Selecting this function from the
SETUP menu causes the message
center to cycle through each of the
systems being monitored. For each
of the monitored systems, the
message center will indicate either an OK message or a warning message
for two to four seconds.
Pressing the RESET control cycles the message center through each of
the systems being monitored.
The sequence of the system check report is as follows:
1. OIL PRESSURE
2. CHARGING SYSTEM
3. BRAKE FLUID LEVEL
4. FUEL LEVEL
5. DOORS CLOSED (If RESET control is pressed PLEASE CLOSE DOOR
will be displayed).
6. PARK BRAKE STATUS
7. ENGINE TEMP
8. BRAKE SYSTEM
9. TRACTION CONTROL (if equipped)
System warnings
System warnings alert you to possible problems or malfunctions in your
vehicle's operating systems.
In the event of a multiple warning situation, the message center will
cycle the display to show all warnings by displaying each one for several
seconds.
The message center will display the last selected feature if there are no
more warning messages. This allows you to use the full functionality of
Driver Controls
64
Page 65 of 248

the message center after you acknowledge the warning by pressing the
RESET control and clearing the warning message.
Warning messages that have been reset are divided into three categories:
²They will not disappear until a condition is changed.
²They will reappear on the display ten minutes from the reset.
²They will not reappear until an ignition OFF-ON cycle has been
completed.
This acts as a reminder that these warning conditions still exist within
the vehicle.
Warnings Status
Driver's door ajar Warning cannot be reset (CLOSE
DOOR TO RESET) will be displayed
Passenger door ajar
Left rear door ajar
Right rear door ajar
Park brake engaged RELEASE PARK BRAKE will be
displayed
Check engine temp Warning returns after 10 minutes
Transmission overheated
Check transmission
Low fuel level
Check fuel cap
Check charging system
Oil pressure low
Check brake system
Low brake fluid Warning returns after the ignition key
is turned from OFF to RUN
Liftgate ajar (if equipped)
Check Traction Control (if
equipped)
Data error
DRIVER'S DOOR AJAR.Displayed when the driver's door is not
completely closed.
PASSENGER DOOR AJAR.Displayed when the passenger side door is
not completely closed.
LEFT REAR DOOR AJAR.Displayed when the left rear door is not
completely closed.
Driver Controls
65