2005 FORD TAURUS brakes
[x] Cancel search: brakesPage 2 of 248

Seating and Safety Restraints 88
Seating 88
Safety restraints 92
Air bags 108
Child restraints 117
Driving 130
Starting 130
Brakes 134
Traction control 136
Transmission operation 138
Vehicle loading 142
Trailer towing 146
Recreational towing 148
Roadside Emergencies 150
Getting roadside assistance 150
Hazard flasher switch 151
Fuel pump shut-off switch 151
Fuses and relays 153
Changing tires 159
Jump starting 165
Wrecker towing 170
Customer Assistance 172
Reporting safety defects (U.S. only) 180
Cleaning 181
Table of Contents
2
Page 52 of 248

Setting speed control
The controls for using your speed
control are located on the steering
wheel for your convenience.
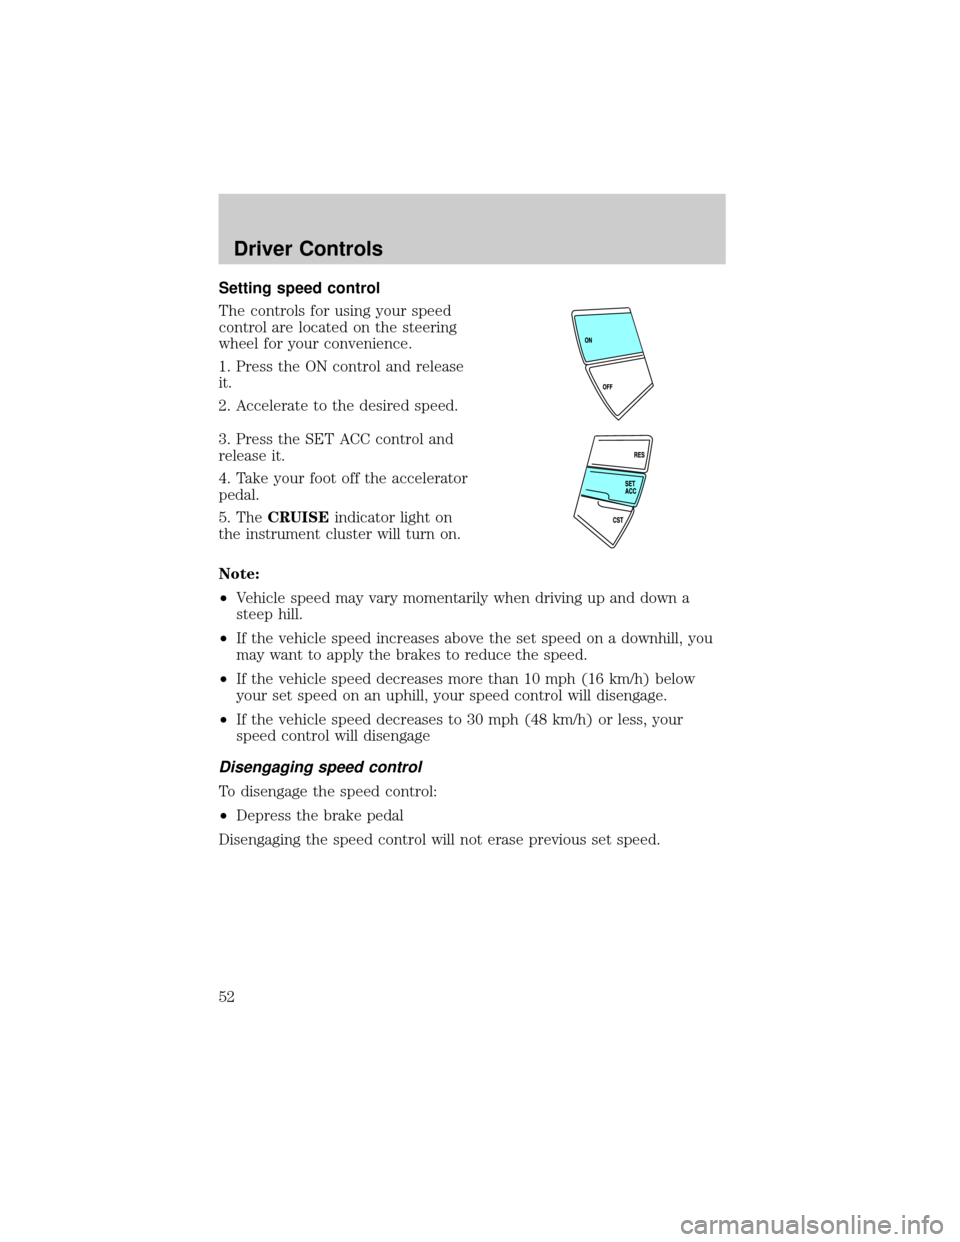
1. Press the ON control and release
it.
2. Accelerate to the desired speed.
3. Press the SET ACC control and
release it.
4. Take your foot off the accelerator
pedal.
5. TheCRUISEindicator light on
the instrument cluster will turn on.
Note:
²Vehicle speed may vary momentarily when driving up and down a
steep hill.
²If the vehicle speed increases above the set speed on a downhill, you
may want to apply the brakes to reduce the speed.
²If the vehicle speed decreases more than 10 mph (16 km/h) below
your set speed on an uphill, your speed control will disengage.
²If the vehicle speed decreases to 30 mph (48 km/h) or less, your
speed control will disengage
Disengaging speed control
To disengage the speed control:
²Depress the brake pedal
Disengaging the speed control will not erase previous set speed.
Driver Controls
52
Page 97 of 248

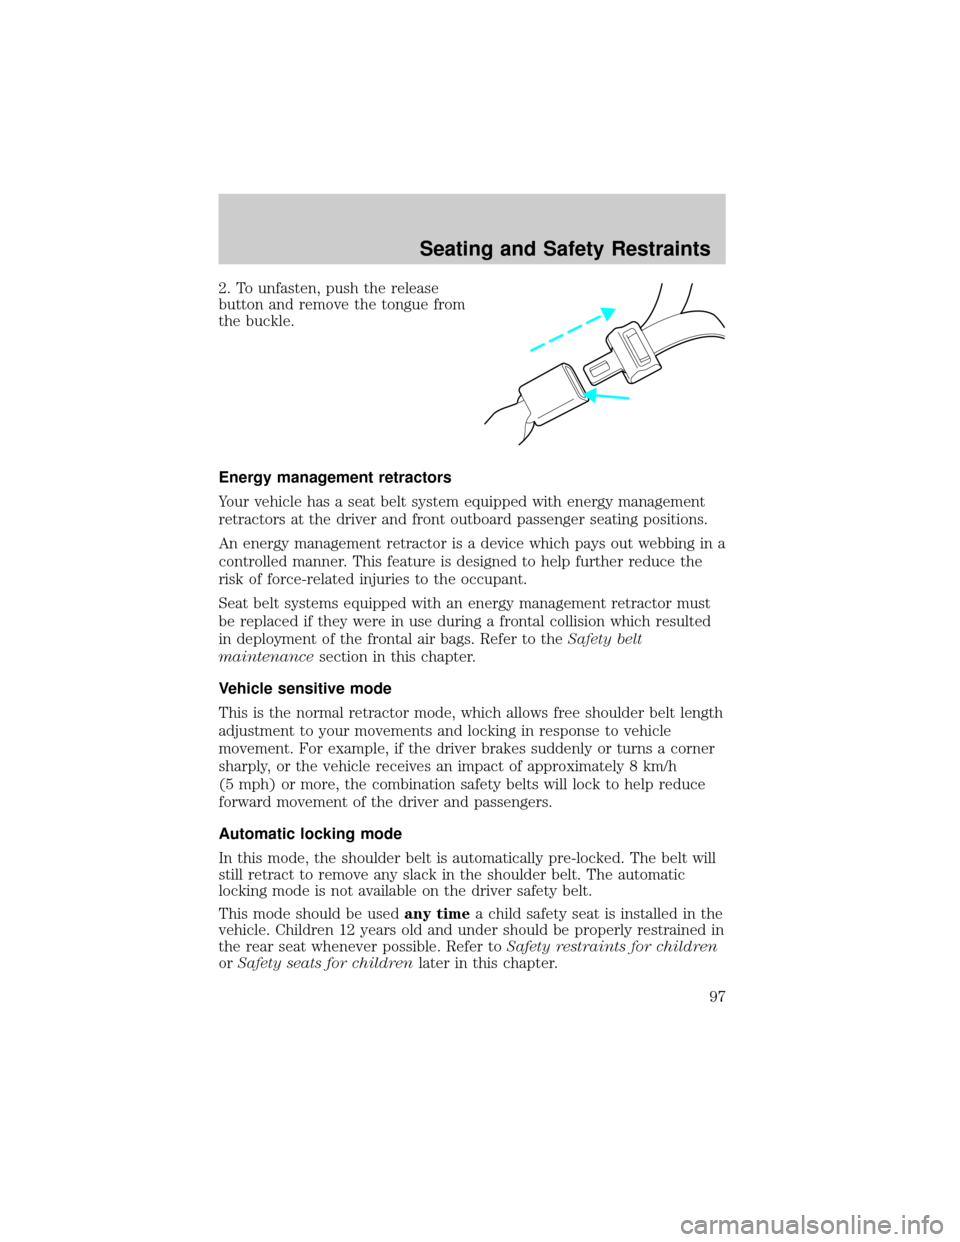
2. To unfasten, push the release
button and remove the tongue from
the buckle.
Energy management retractors
Your vehicle has a seat belt system equipped with energy management
retractors at the driver and front outboard passenger seating positions.
An energy management retractor is a device which pays out webbing in a
controlled manner. This feature is designed to help further reduce the
risk of force-related injuries to the occupant.
Seat belt systems equipped with an energy management retractor must
be replaced if they were in use during a frontal collision which resulted
in deployment of the frontal air bags. Refer to theSafety belt
maintenancesection in this chapter.
Vehicle sensitive mode
This is the normal retractor mode, which allows free shoulder belt length
adjustment to your movements and locking in response to vehicle
movement. For example, if the driver brakes suddenly or turns a corner
sharply, or the vehicle receives an impact of approximately 8 km/h
(5 mph) or more, the combination safety belts will lock to help reduce
forward movement of the driver and passengers.
Automatic locking mode
In this mode, the shoulder belt is automatically pre-locked. The belt will
still retract to remove any slack in the shoulder belt. The automatic
locking mode is not available on the driver safety belt.
This mode should be usedany timea child safety seat is installed in the
vehicle. Children 12 years old and under should be properly restrained in
the rear seat whenever possible. Refer toSafety restraints for children
orSafety seats for childrenlater in this chapter.
Seating and Safety Restraints
97
Page 134 of 248

strongly recommended if you live in a region where temperatures reach
-10ÉF (-23ÉC) or below. For best results, plug the heater in at least three
hours before starting the vehicle. The heater can be plugged in the night
before starting the vehicle.
To reduce the risk of electrical shock, do not use your heater
with ungrounded electrical systems or two-pronged (cheater)
adapters.
Guarding against exhaust fumes
Carbon monoxide is present in exhaust fumes. Take precautions to avoid
its dangerous effects.
If you smell exhaust fumes inside your vehicle, have your dealer
inspect your vehicle immediately. Do not drive if you smell
exhaust fumes.
Important ventilating information
If the engine is idling while the vehicle is stopped for a long period of
time, open the windows at least one inch (2.5 cm) or adjust the heating
or air conditioning to bring in fresh air.
BRAKES
Your service brakes are self-adjusting. Refer to the Scheduled
Maintenance Guide for maintenance recommendations.
Occasional brake noise is normal and often does not indicate a
performance concern with the vehicle's brake system. In normal
operation, automotive brake systems may emit occasional or intermittent
squeal or groan noises when the brakes are applied. Such noises are
usually heard during the first few brake applications in the morning;
however, they may be heard at any time while braking and can be
aggravated by environmental conditions such as cold, heat, moisture,
road dust, salt or mud. If a ªmetal-to-metal,º ªcontinuous grindingº or
ªcontinuous squealº sound is present while braking, the brake linings
may be worn-out and should be inspected by a qualified service
technician.
If the vehicle has continuous vibration or shudder in the steering wheel
while braking, the vehicle should be inspected by a qualified service
technician.
Driving
134
Page 135 of 248

Refer toBrake system warning
lightin theInstrument Cluster
chapter for information on the brake
system warning light.
Four-wheel anti-lock brake system (ABS) (if equipped)
On vehicles equipped with an anti-lock braking system (ABS), a noise
from the hydraulic pump motor and pulsation in the pedal may be
observed during ABS braking events. Pedal pulsation coupled with noise
while braking under panic conditions or on loose gravel, bumps, wet or
snowy roads is normal and indicates proper functioning of the vehicle's
anti-lock brake system. The ABS performs a self-check after you start
the engine and begin to drive away. A brief mechanical noise may be
heard during this test. This is normal. If a malfunction is found, the ABS
warning light will come on.
The ABS operates by detecting the onset of wheel lockup during brake
applications and compensates for this tendency. The wheels are
prevented from locking even when the brakes are firmly applied.
Using ABS
²In an emergency or when maximum efficiency from the four-wheel
ABS is required, apply continuous force on the brake. The four wheel
ABS will be activated immediately, thus allowing you to retain steering
control of your vehicle and, providing there is sufficient space, will
enable you to avoid obstacles and bring the vehicle to a controlled
stop.
²The anti-lock system does not reduce stopping distance. Always leave
enough room between your vehicle and the vehicle in front of you to
stop.
²We recommend that you familiarize yourself with this braking
technique. However, avoid taking any unnecessary risks.
ABS warning lamp
The ABS lamp in the instrument
cluster momentarily illuminates
when the ignition is turned on. If
the light does not illuminate during
start up, remains on or flashes, the
ABS may be disabled and may need to be serviced.
P!
BRAKE
ABS
Driving
135
Page 136 of 248

Even when the ABS is disabled,
normal braking is still effective. (If
your BRAKE warning lamp
illuminates with the parking brake
released, have your brake system
serviced immediately.)
Parking brake
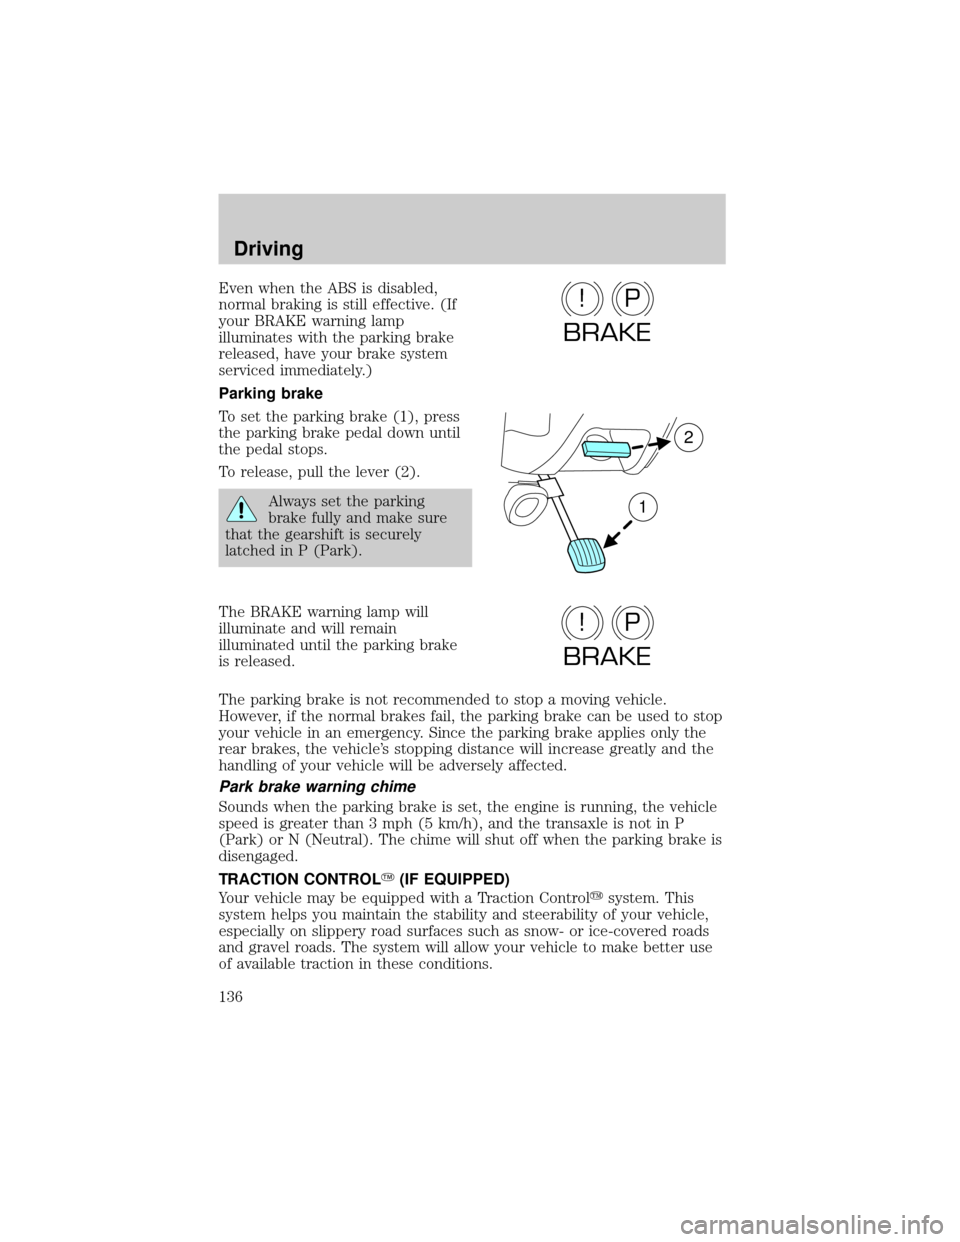
To set the parking brake (1), press
the parking brake pedal down until
the pedal stops.
To release, pull the lever (2).
Always set the parking
brake fully and make sure
that the gearshift is securely
latched in P (Park).
The BRAKE warning lamp will
illuminate and will remain
illuminated until the parking brake
is released.
The parking brake is not recommended to stop a moving vehicle.
However, if the normal brakes fail, the parking brake can be used to stop
your vehicle in an emergency. Since the parking brake applies only the
rear brakes, the vehicle's stopping distance will increase greatly and the
handling of your vehicle will be adversely affected.
Park brake warning chime
Sounds when the parking brake is set, the engine is running, the vehicle
speed is greater than 3 mph (5 km/h), and the transaxle is not in P
(Park) or N (Neutral). The chime will shut off when the parking brake is
disengaged.
TRACTION CONTROLY(IF EQUIPPED)
Your vehicle may be equipped with a Traction Controlysystem. This
system helps you maintain the stability and steerability of your vehicle,
especially on slippery road surfaces such as snow- or ice-covered roads
and gravel roads. The system will allow your vehicle to make better use
of available traction in these conditions.
P!
BRAKE
2
1
P!
BRAKE
Driving
136
Page 139 of 248

Do not drive your vehicle until you verify that the brakelamps
are working.
Always set the parking brake fully and make sure the gearshift is
latched in P (Park). Turn the ignition to the LOCK position and
remove the key whenever you leave your vehicle.
If the parking brake is fully released, but the brake warning lamp
remains illuminated, the brakes may not be working properly.
See your dealer or a qualified service technician.
Driving with an automatic overdrive transaxle
Your automatic overdrive transaxle
provides fully automatic operation in
either
(Overdrive) or D (Drive).
Driving with the gearshift lever
in
(Overdrive) gives the best
fuel economy for normal driving
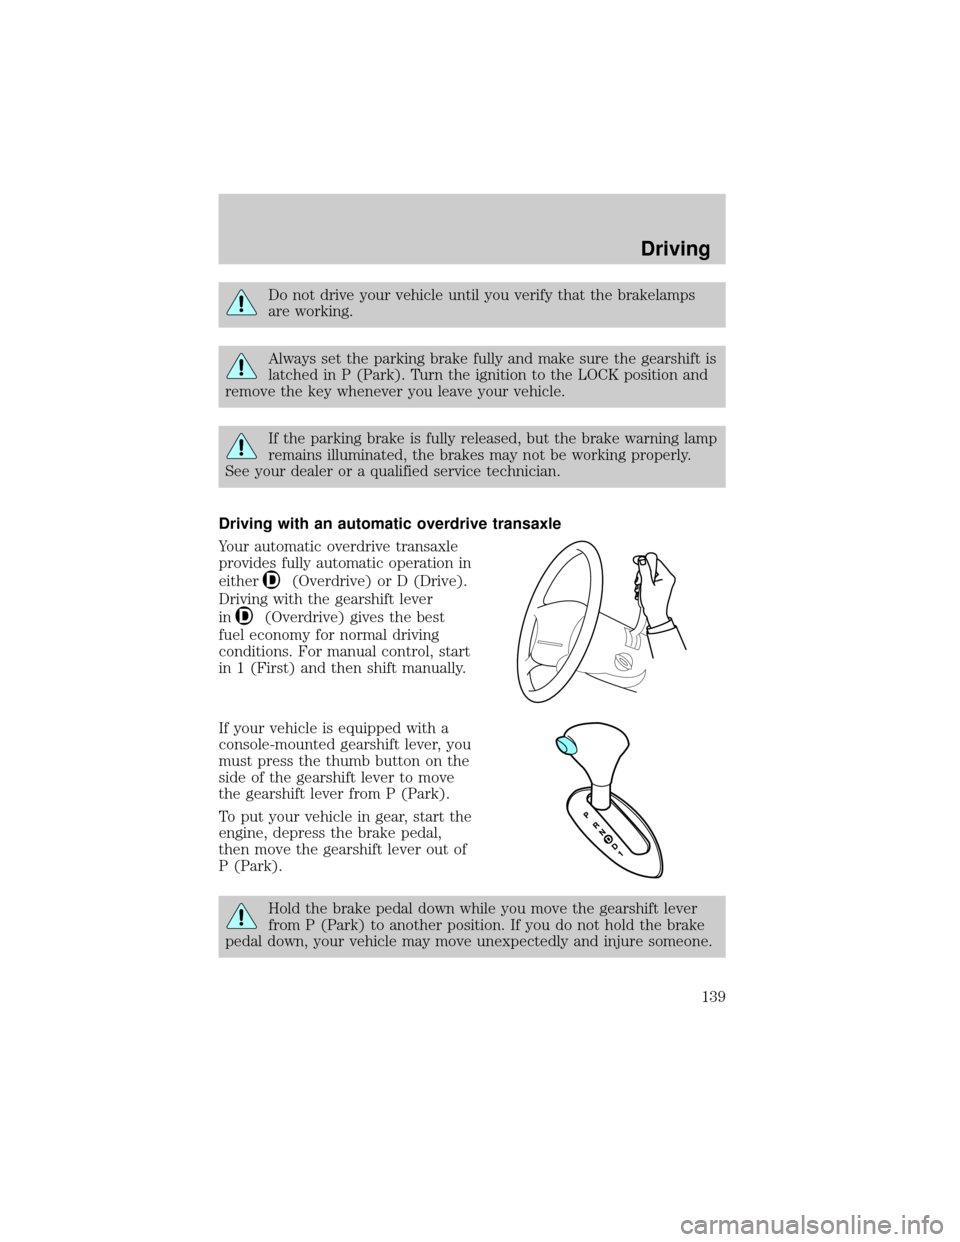
conditions. For manual control, start
in 1 (First) and then shift manually.
If your vehicle is equipped with a
console-mounted gearshift lever, you
must press the thumb button on the
side of the gearshift lever to move
the gearshift lever from P (Park).
To put your vehicle in gear, start the
engine, depress the brake pedal,
then move the gearshift lever out of
P (Park).
Hold the brake pedal down while you move the gearshift lever
from P (Park) to another position. If you do not hold the brake
pedal down, your vehicle may move unexpectedly and injure someone.
Driving
139
Page 142 of 248

If necessary, try turning the Traction Controlysystem off. This will allow
the wheels to spin, which may help to free your stuck vehicle. For more
information, refer toTraction Controly(if equipped)in this chapter.
Do not rock the vehicle if the engine is not at normal operating
temperature or damage to the transmission may occur.
Do not rock the vehicle for more than a minute or damage to the
transmission and tires may occur, or the engine may overheat.
DRIVING THROUGH WATER
If driving through deep or standing water is unavoidable, proceed very
slowly especially when the depth is not known. Never drive through
water that is higher than the bottom of the hubs (for trucks) or the
bottom of the wheel rims (for cars). When driving through water,
traction or brake capability may be limited. Also, water may enter your
engine's air intake and severely damage your engine or your vehicle may
stall.Driving through deep water where the transmission vent
tube is submerged may allow water into the transmission and
cause internal transmission damage.
Once through the water, always dry the brakes by moving your
vehicle slowly while applying light pressure on the brake pedal.
Wet brakes do not stop the vehicle as quickly as dry brakes.
VEHICLE LOADING ± WITH AND WITHOUT A TRAILER
This section will guide you in the proper loading of your vehicle and/or
trailer, to keep your loaded vehicle weight within its design rating
capability, with or without a trailer. Properly loading your vehicle will
provide maximum return of vehicle design performance. Before loading
your vehicle, familiarize yourself with the following terms for determining
your vehicle's weight ratings, with or without a trailer, from the vehicle's
Safety Certification Label and Tire Label:
Base Curb Weight± is the weight of the vehicle including a full tank of
fuel and all standard equipment. It does not include passengers, cargo, or
optional equipment.
Vehicle Curb Weight± is the weight of your new vehicle when you
picked it up from your dealer plus any aftermarket equipment.
Driving
142