2005 CHEVROLET VENTURE park assist
[x] Cancel search: park assistPage 140 of 470
This device complies with RSS-210 of Industry Canada.
Operation is subject to the following two conditions:
1. This device may not cause interference.
2. This device must accept any interference received,
including interference that may cause undesired
operation of the device.
Changes and modi�cations to this system by other than
an authorized service facility could void authorization
to use this equipment.
Programming the HomeLink®
Transmitter
Do not use the HomeLink®Transmitter with any garage
door opener that does not have the “stop and reverse”
feature. This includes any garage door opener model
manufactured before April 1, 1982. If you have a newer
garage door opener with rolling codes, please be
sure to follow Steps 6 through 8 to complete the
programming of your HomeLink
®Transmitter.
Read the instructions completely before attempting to
program the HomeLink
®Transmitter. Because of the
steps involved, it may be helpful to have another person
available to assist you in programming the transmitter.Keep the original transmitter for use in other vehicles as
well as for future HomeLink
®programming. It is also
recommended that upon the sale of the vehicle, the
programmed HomeLink
®buttons should be erased for
security purposes. Refer to “Erasing HomeLink®Buttons”
or, for assistance, contact HomeLink®on the Internet at:
www.homelink.com or by calling 1-800-355-3515.
Be sure that people and objects are clear of the garage
door or gate operator you are programming. When
programming a garage door, it is advised to park outside
of the garage.
It is recommended that a new battery be installed in
your hand-held transmitter for quicker and more
accurate transmission of the radio frequency.
Programming HomeLink®
Your vehicle’s engine should be turned off while
programming the transmitter. Follow these steps to
program up to three channels:
1. Press and hold down the two outside buttons,
releasing only when the indicator light begins to
�ash, after 20 seconds. Do not hold down the
buttons for longer than 30 seconds and do not
repeat this step to program a second and/or third
transmitter to the remaining two HomeLink
®buttons.
2. Position the end of your hand-held transmitter about
1 to 3 inches (3 to 8 cm) away from the HomeLink
®
buttons while keeping the indicator light in view.
2-44
Page 161 of 470

Instrument Panel Overview...............................3-4
Hazard Warning Flashers................................3-6
Other Warning Devices...................................3-6
Horn.............................................................3-6
Tilt Wheel.....................................................3-6
Turn Signal/Multifunction Lever.........................3-7
Turn and Lane-Change Signals........................3-7
Headlamp High/Low-Beam Changer..................3-8
Flash-to-Pass.................................................3-8
Windshield Wipers..........................................3-9
Windshield Washer.........................................3-9
Cruise Control..............................................3-10
Exterior Lamps.............................................3-14
Daytime Running Lamps (DRL)/Automatic
Headlamp System.....................................3-14
Instrument Panel Brightness...........................3-15
Interior Lamps Control...................................3-15
Interior Lamp Override...................................3-16
Dome Lamp.................................................3-16
Entry Lighting...............................................3-16
Delayed Lighting...........................................3-17
Exit Lighting.................................................3-17
Front Reading Lamps....................................3-18
Rear Reading Lamps....................................3-18
Cargo Lamp.................................................3-18
Battery Run-Down Protection..........................3-19
Switchbanks.................................................3-19Instrument Panel Switchbank..........................3-19
Overhead Console Switchbank.......................3-20
Ultrasonic Rear Parking Assist (URPA)............3-20
Accessory Power Outlets...............................3-23
Climate Controls............................................3-24
Climate Control System.................................3-24
Outlet Adjustment.........................................3-26
Rear Climate Control System
(Without Entertainment System)...................3-27
Rear Climate Control System
(With Entertainment System).......................3-29
Passenger Compartment Air Filter...................3-30
Warning Lights, Gages, and Indicators............3-32
Instrument Panel Cluster................................3-33
Speedometer and Odometer...........................3-35
Dual Trip Odometers.....................................3-35
Tachometer.................................................3-37
Safety Belt Reminder Light.............................3-37
Airbag Readiness Light..................................3-38
Brake System Warning Light..........................3-39
Anti-Lock Brake System Warning Light.............3-40
Traction Control System (TCS) Warning Light......3-40
Engine Coolant Temperature Gage..................3-41
Malfunction Indicator Lamp.............................3-42
Highbeam On Light.......................................3-45
Fuel Gage...................................................3-45
Section 3 Instrument Panel
3-1
Page 180 of 470
Overhead Console Switchbank
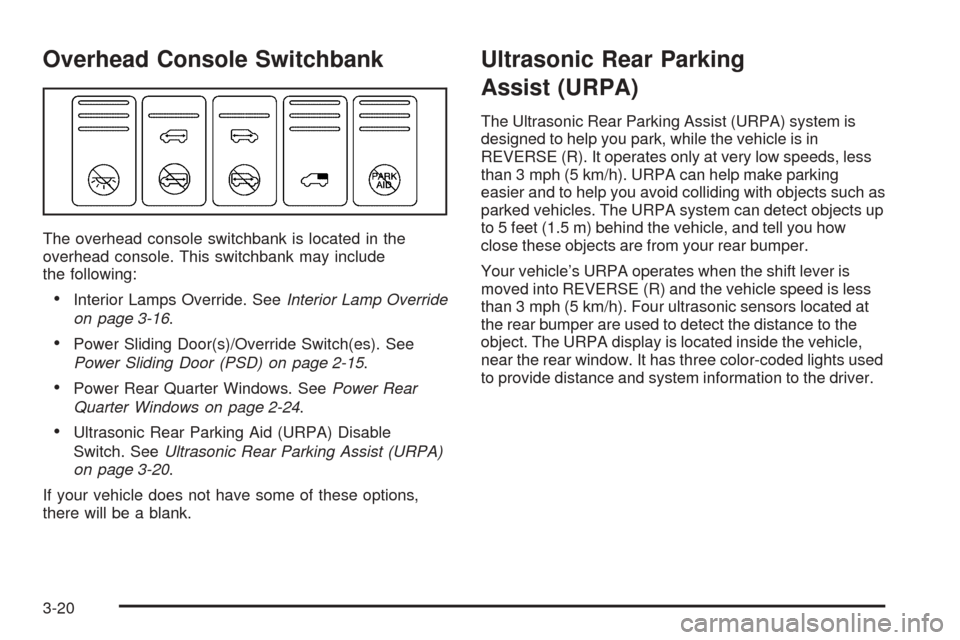
The overhead console switchbank is located in the
overhead console. This switchbank may include
the following:
Interior Lamps Override. SeeInterior Lamp Override
on page 3-16.
Power Sliding Door(s)/Override Switch(es). See
Power Sliding Door (PSD) on page 2-15.
Power Rear Quarter Windows. SeePower Rear
Quarter Windows on page 2-24.
Ultrasonic Rear Parking Aid (URPA) Disable
Switch. SeeUltrasonic Rear Parking Assist (URPA)
on page 3-20.
If your vehicle does not have some of these options,
there will be a blank.
Ultrasonic Rear Parking
Assist (URPA)
The Ultrasonic Rear Parking Assist (URPA) system is
designed to help you park, while the vehicle is in
REVERSE (R). It operates only at very low speeds, less
than 3 mph (5 km/h). URPA can help make parking
easier and to help you avoid colliding with objects such as
parked vehicles. The URPA system can detect objects up
to 5 feet (1.5 m) behind the vehicle, and tell you how
close these objects are from your rear bumper.
Your vehicle’s URPA operates when the shift lever is
moved into REVERSE (R) and the vehicle speed is less
than 3 mph (5 km/h). Four ultrasonic sensors located at
the rear bumper are used to detect the distance to the
object. The URPA display is located inside the vehicle,
near the rear window. It has three color-coded lights used
to provide distance and system information to the driver.
3-20
Page 181 of 470
{CAUTION:
Even with the Ultrasonic Rear Park Assist
system, the driver must check carefully before
backing up. The system does not operate above
typical backing speeds of 3 mph (5 km/h) while
parking. And, the system does not detect
objects that are more than 5 feet (1.5 meters)
behind the vehicle.
So, unless you check carefully behind you
before and when you back up, you could strike
children, pedestrians, bicyclists or pets behind
you, and they could be injured or killed.
Whether or not you are using rear park assist,
always check carefully behind your vehicle
before you back up and then watch closely as
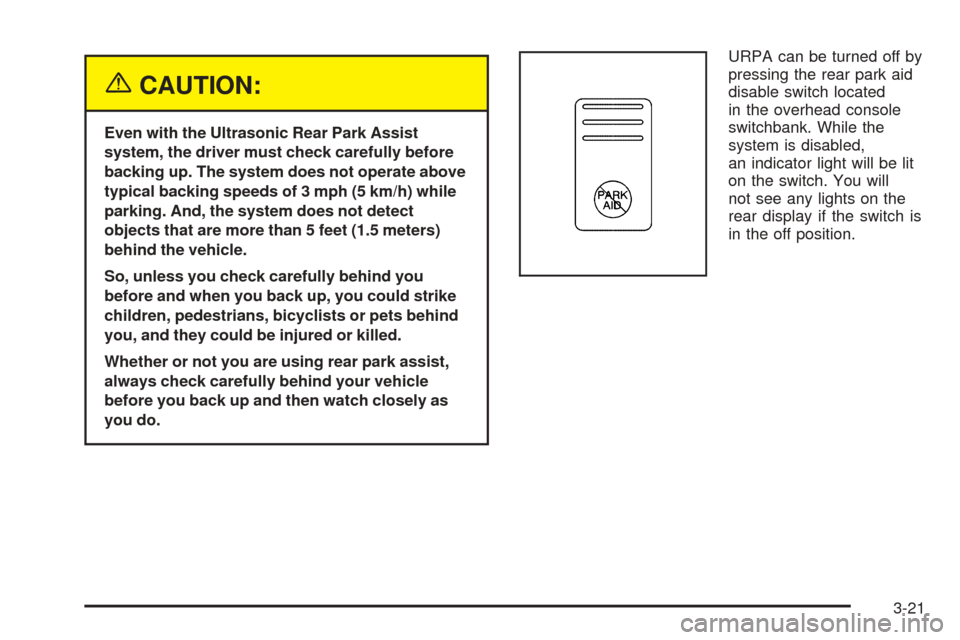
you do.URPA can be turned off by
pressing the rear park aid
disable switch located
in the overhead console
switchbank. While the
system is disabled,
an indicator light will be lit
on the switch. You will
not see any lights on the
rear display if the switch is
in the off position.
3-21
Page 395 of 470
Changing a Flat Tire
If a tire goes �at, avoid further tire and wheel damage
by driving slowly to a level place. Turn on your
hazard warning �ashers.
{CAUTION:
Changing a tire can be dangerous. The vehicle
can slip off the jack and roll over or fall on you
or other people. You and they could be badly
injured or even killed. Find a level place to
change your tire. To help prevent the vehicle
from moving:
1. Set the parking brake �rmly.
2. Put the shift lever in PARK (P).
3. Turn off the engine and do not restart
while the vehicle is raised.
4. Do not allow passengers to remain in the
vehicle.
CAUTION: (Continued)
CAUTION: (Continued)
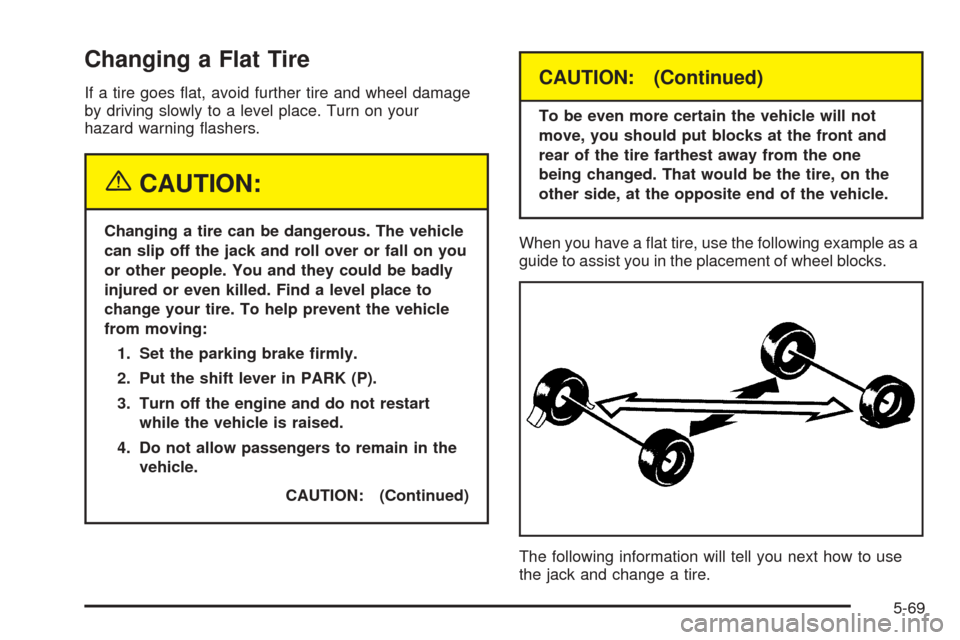
To be even more certain the vehicle will not
move, you should put blocks at the front and
rear of the tire farthest away from the one
being changed. That would be the tire, on the
other side, at the opposite end of the vehicle.
When you have a �at tire, use the following example as a
guide to assist you in the placement of wheel blocks.
The following information will tell you next how to use
the jack and change a tire.
5-69
Page 455 of 470
Reporting Safety Defects to the
Canadian Government
If you live in Canada, and you believe that your vehicle
has a safety defect, you should immediately notify
Transport Canada, in addition to notifying General
Motors of Canada Limited. You may write to:
Transport Canada
330 Sparks Street
Tower C
Ottawa, Ontario K1A 0N5
Reporting Safety Defects to
General Motors
In addition to notifying NHTSA (or Transport Canada) in
a situation like this, we certainly hope you will notify
General Motors. Please call the Chevrolet Customer
Assistance Center at 1-800-222-1020, or write:
Chevrolet Motor Division
Chevrolet Customer Assistance Center
P.O. Box 33170
Detroit, MI 48232-5170In Canada, please call us at 1-800-263-3777 (English)
or 1-800-263-7854 (French). Or, write:
General Motors of Canada Limited
Customer Communication Centre, 163-005
1908 Colonel Sam Drive
Oshawa, Ontario L1H 8P7
Service Publications Ordering
Information
Service Manuals
Service Manuals have the diagnosis and repair
information on engines, transmission, axle suspension,
brakes, electrical, steering, body, etc.
Transmission, Transaxle, Transfer
Case Unit Repair Manual
This manual provides information on unit repair service
procedures, adjustments, and speci�cations for GM
transmissions, transaxles, and transfer cases.
7-11
Page 465 of 470
N
New Vehicle Break-In......................................2-29
Normal Maintenance Replacement Parts............6-14
O
Odometer......................................................3-35
Odometers, Dual Trip......................................3-35
Off-Road Recovery..........................................4-12
Oil
Engine.......................................................5-13
Pressure Message.......................................3-49
Older Children, Restraints................................1-48
Online Owner Center........................................ 7-3
OnStar
®System.............................................2-42
Other Warning Devices...................................... 3-6
Outlet Adjustment............................................3-26
Outside
Convex Mirror.............................................2-41
Heated Mirrors............................................2-42
Power Mirrors.............................................2-41
Overhead Console..........................................2-48
Overhead Console Switchbank..........................3-20
Overheated Engine Protection Operating Mode.....5-27
Owner Checks and Services.............................. 6-9
Owners, Canadian............................................... ii
P
Park Aid........................................................3-20
Park (P)
Shifting Into................................................2-37
Shifting Out of............................................2-38
Parking
Assist........................................................3-20
Brake........................................................2-36
Over Things That Burn.................................2-39
Passenger Compartment Air Filter.....................3-30
Passing.........................................................4-12
PASS-Key
®III ................................................2-27
PASS-Key®III Operation..................................2-27
PASS-Key®III Security Message.......................3-52
Power
Accessory Outlets........................................3-23
Door Locks.................................................2-10
Electrical System.........................................5-92
Rear Quarter Windows.................................2-24
Retained Accessory (RAP)............................2-31
Six-Way Seats.............................................. 1-4
Sliding Door................................................2-15
Sliding Door Warning Message......................3-50
Steering Fluid.............................................5-34
Windows....................................................2-23
Pretensioners, Safety Belt................................1-47
Programmable Automatic Door Locks.................2-11
9
Page 467 of 470
Right Front Passenger Position, Safety Belts......1-42
Roadside
Assistance Program....................................... 7-6
Rocking Your Vehicle to Get it Out....................4-29
Running Your Engine While You Are Parked.......2-40
S
Safety Belt
Pretensioners..............................................1-47
Reminder Light............................................3-37
Stowage, Second Row Seat........................... 1-6
Safety Belts
Care of Safety Belts and Built-in Child
Restraint Harness.....................................5-86
Driver Position............................................1-34
How to Wear Safety Belts Properly................1-34
Questions and Answers About Safety Belts.....1-33
Rear Safety Belt Comfort Guides for
Children and Small Adults.........................1-45
Rear Seat Passengers.................................1-42
Right Front Passenger Position......................1-42
Safety Belt Extender....................................1-47
Safety Belt Use During Pregnancy.................1-42
Safety Belts Are for Everyone.......................1-28
Shoulder Belt Height Adjuster........................1-41
Safety Warnings and Symbols.............................. iii
Scheduled Maintenance..................................... 6-4Seats
Bucket Seats, Rear......................................1-15
Captain Chairs............................................1-21
Flip and Fold Feature.................................... 1-7
Head Restraints............................................ 1-6
Manual........................................................ 1-3
Rear Seat Operation...................................... 1-6
Reclining Seatbacks...................................... 1-4
Six-Way Power Seats.................................... 1-4
Split Bench Seats......................................... 1-8
Stowable Seat............................................1-25
Second Row Safety Belt Stowage....................... 1-6
Secondary Latch System.................................5-78
Securing a Child Restraint
Designed for the LATCH System...................1-62
Rear Seat Position......................................1-62
Right Front Seat Position..............................1-64
Security Message, PASS-Key
®III ......................3-52
Service........................................................... 5-3
Adding Equipment to the Outside
of Your Vehicle.......................................... 5-5
Doing Your Own Work................................... 5-4
Engine Soon Light.......................................3-42
Publications Ordering Information...................7-11
Traction System Warning Message.................3-46
Servicing Your Airbag-Equipped Vehicle..............1-88
Setting the Time
Radios with Radio Data Systems (RDS).........3-56
Radios without Radio Data Systems (RDS).....3-56
11