2005 CHEVROLET VENTURE engine oil
[x] Cancel search: engine oilPage 128 of 470

Engine Coolant Heater
Your vehicle may have an engine coolant heater. In
very cold weather, 0°F (−18°C) or colder, the engine
coolant heater can help. You will get easier starting and
better fuel economy during engine warm-up. Usually,
the coolant heater should be plugged in a minimum
of four hours prior to starting your vehicle. At
temperatures above 32°F (0°C), use of the coolant
heater is not required.
To Use the Engine Coolant Heater
1. Turn off the engine.
2. Open the hood and unwrap the electrical cord. The
electrical cord is located on the driver’s side of the
engine compartment.
3. Plug it into a normal, grounded 110-volt AC outlet.
{CAUTION:
Plugging the cord into an ungrounded outlet
could cause an electrical shock. Also, the
wrong kind of extension cord could overheat
and cause a �re. You could be seriously
injured. Plug the cord into a properly grounded
three-prong 110-volt AC outlet. If the cord will
not reach, use a heavy-duty three-prong
extension cord rated for at least 15 amps.
4. Before starting the engine, be sure to unplug and
store the cord as it was before to keep it away
from moving engine parts. If you do not, it could be
damaged.
How long should you keep the coolant heater plugged
in? The answer depends on the outside temperature, the
kind of oil you have, and some other things. Instead
of trying to list everything here, we ask that you contact
your dealer in the area where you will be parking
your vehicle. The dealer can give you the best advice
for that particular area.
2-32
Page 162 of 470

Message Center.............................................3-46
Service Traction System Warning Message......3-46
Traction Active Message................................3-47
Engine Coolant Temperature Warning
Message..................................................3-48
Charging System Indicator Message................3-48
Low Oil Pressure Message............................3-49
Change Engine Oil Message..........................3-50
Power Sliding Door Warning Message.............3-50
Door Ajar Warning Message...........................3-51
Rear Hatch Ajar Warning Message..................3-51
PASS-Key
®III Security Message....................3-52
Low Fuel Warning Message...........................3-52
Driver Information Center (DIC).......................3-53
Audio System(s).............................................3-56
Setting the Time for Radios without
Radio Data Systems (RDS)........................3-56
Setting the Time for Radios with Radio
Data Systems (RDS)..................................3-56
AM-FM Radio...............................................3-57Radio with CD (Base Level)...........................3-59
Radio with CD (MP3)....................................3-69
Radio with Cassette and CD..........................3-84
Radio with Six-Disc CD.................................3-94
Entertainment System..................................3-108
Rear Seat Audio (RSA) (Without
Entertainment System)..............................3-114
Rear Seat Audio (RSA) (With
Entertainment System)..............................3-116
Theft-Deterrent Feature
(Non-RDS Radios)...................................3-118
Theft-Deterrent Feature
(RDS Radios)..........................................3-118
Audio Steering Wheel Controls......................3-118
Radio Reception.........................................3-119
Care of Your Cassette Tape Player...............3-120
Care of Your CDs and DVDs........................3-121
Care of Your CD and DVD Player.................3-121
Fixed Mast Antenna....................................3-121
XM™ Satellite Radio Antenna System............3-121
Section 3 Instrument Panel
3-2
Page 195 of 470
Speedometer and Odometer
Your speedometer lets you see your speed in both
miles per hour (mph) and kilometers per hour (km/h).
Your odometer shows how far your vehicle has
been driven, in either miles (used in the United States)
or kilometers (used in Canada).
Your vehicle has a tamper-resistant odometer.
You may wonder what happens if your vehicle needs a
new odometer installed. If the new one can be set to
the mileage total of the old odometer, then that will
be done. If it cannot be, it will be set at zero and a label
must be put on the driver’s door to show the old
mileage reading when the new odometer was installed.
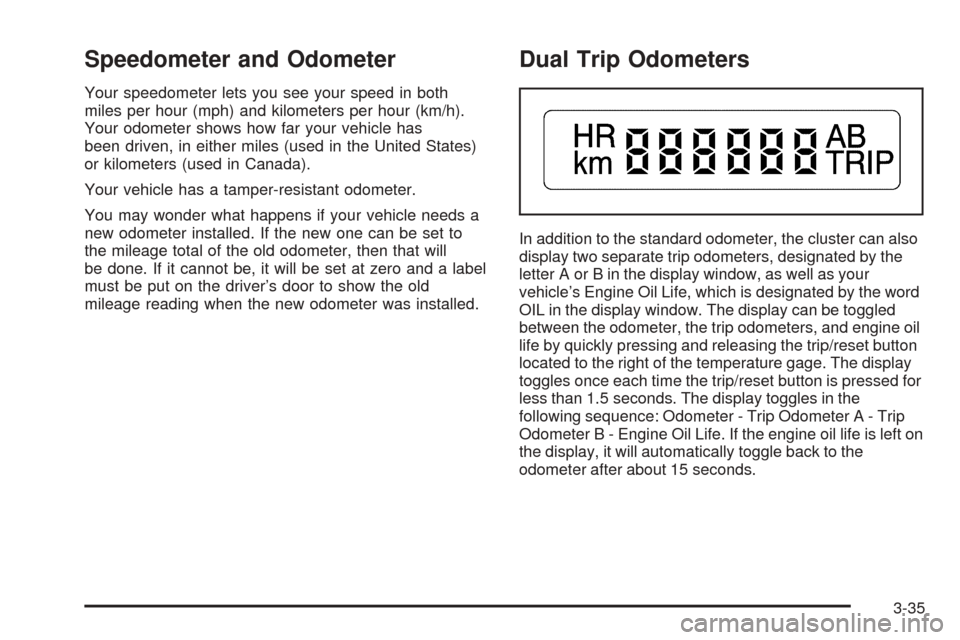
Dual Trip Odometers
In addition to the standard odometer, the cluster can also
display two separate trip odometers, designated by the
letter A or B in the display window, as well as your
vehicle’s Engine Oil Life, which is designated by the word
OIL in the display window. The display can be toggled
between the odometer, the trip odometers, and engine oil
life by quickly pressing and releasing the trip/reset button
located to the right of the temperature gage. The display
toggles once each time the trip/reset button is pressed for
less than 1.5 seconds. The display toggles in the
following sequence: Odometer - Trip Odometer A - Trip
Odometer B - Engine Oil Life. If the engine oil life is left on
the display, it will automatically toggle back to the
odometer after about 15 seconds.
3-35
Page 209 of 470
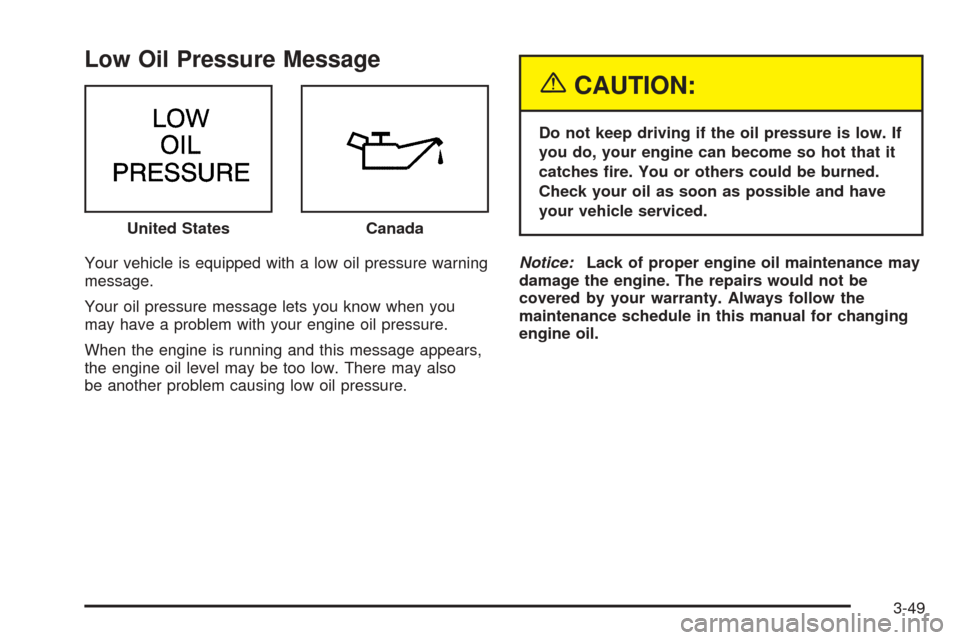
Low Oil Pressure Message
Your vehicle is equipped with a low oil pressure warning
message.
Your oil pressure message lets you know when you
may have a problem with your engine oil pressure.
When the engine is running and this message appears,
the engine oil level may be too low. There may also
be another problem causing low oil pressure.
{CAUTION:
Do not keep driving if the oil pressure is low. If
you do, your engine can become so hot that it
catches �re. You or others could be burned.
Check your oil as soon as possible and have
your vehicle serviced.
Notice:Lack of proper engine oil maintenance may
damage the engine. The repairs would not be
covered by your warranty. Always follow the
maintenance schedule in this manual for changing
engine oil. United States
Canada
3-49
Page 210 of 470
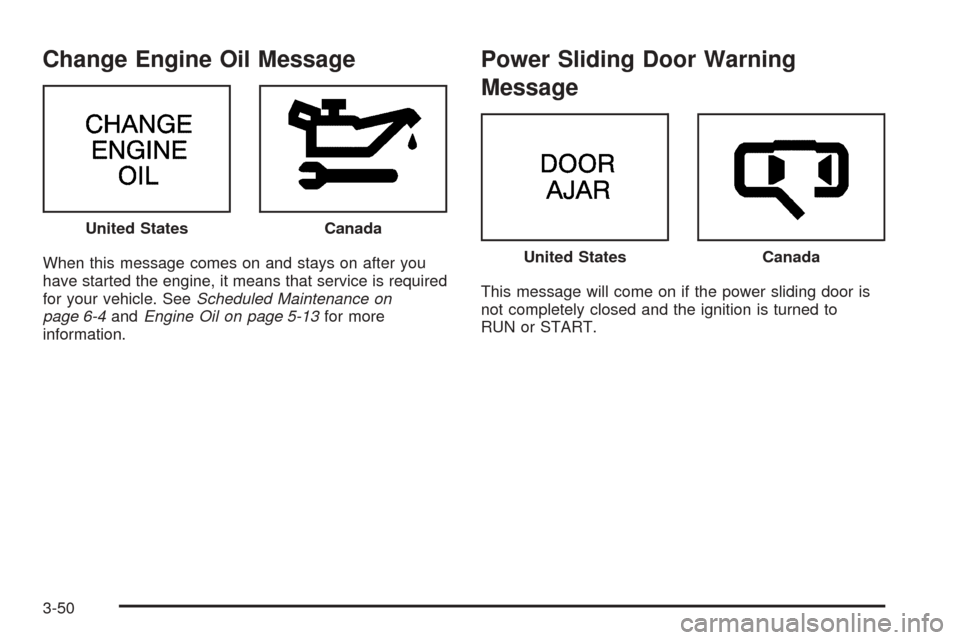
Change Engine Oil Message
When this message comes on and stays on after you
have started the engine, it means that service is required
for your vehicle. SeeScheduled Maintenance on
page 6-4andEngine Oil on page 5-13for more
information.
Power Sliding Door Warning
Message
This message will come on if the power sliding door is
not completely closed and the ignition is turned to
RUN or START. United States
Canada
United StatesCanada
3-50
Page 303 of 470
The exit ramp can be curved, sometimes quite sharply.
The exit speed is usually posted.
Reduce your speed according to your speedometer, not
to your sense of motion. After driving for any distance
at higher speeds, you may tend to think you are
going slower than you actually are.
Before Leaving on a Long Trip
Make sure you are ready. Try to be well rested. If you
must start when you are not fresh — such as after
a day’s work — do not plan to make too many miles that
�rst part of the journey. Wear comfortable clothing
and shoes you can easily drive in.
Is your vehicle ready for a long trip? If you keep it
serviced and maintained, it is ready to go. If it needs
service, have it done before starting out. Of course, you
will �nd experienced and able service experts in GM
dealerships all across North America. They will be ready
and willing to help if you need it.Here are some things you can check before a trip:
Windshield Washer Fluid:Is the reservoir full? Are
all windows clean inside and outside?
Wiper Blades:Are they in good shape?
Fuel, Engine Oil, Other Fluids:Have you checked
all levels?
Lamps:Are they all working? Are the lenses clean?
Tires:They are vitally important to a safe,
trouble-free trip. Is the tread good enough for
long-distance driving? Are the tires all in�ated to the
recommended pressure?
Weather Forecasts:What is the weather outlook
along your route? Should you delay your trip a
short time to avoid a major storm system?
Maps:Do you have up-to-date maps?
4-21
Page 325 of 470
Maintenance When Trailer Towing
Your vehicle will need service more often when you are
pulling a trailer. See the Maintenance Schedule for more
on this. Things that are especially important in trailer
operation are automatic transaxle �uid, engine oil, belts,
cooling system, and brake system. Each of these is
covered in this manual, and the Index will help you �nd
them quickly. If you are trailering, it is a good idea to
review these sections before you start your trip.
Check periodically to see that all hitch nuts and bolts
are tight.
Trailer Wiring Harness
Your vehicle has a trailer wiring harness located at the
rear of your vehicle. To use the trailer wiring harness,
you need a converter kit. Contact your dealer for more
information.
4-43
Page 327 of 470

Service............................................................5-3
Doing Your Own Service Work.........................5-4
Adding Equipment to the Outside of
Your Vehicle..............................................5-5
Fuel................................................................5-5
Gasoline Octane............................................5-5
Gasoline Speci�cations....................................5-5
California Fuel...............................................5-6
Additives.......................................................5-6
Fuels in Foreign Countries...............................5-7
Filling Your Tank............................................5-8
Filling a Portable Fuel Container.....................5-10
Checking Things Under the Hood....................5-10
Hood Release..............................................5-11
Engine Compartment Overview.......................5-12
Engine Oil...................................................5-13
Engine Oil Life System..................................5-16
Engine Air Cleaner/Filter................................5-17
Automatic Transaxle Fluid..............................5-19
Engine Coolant.............................................5-22
Radiator Pressure Cap..................................5-25
Engine Overheating.......................................5-25
Overheated Engine Protection Operating Mode . . .5-27
Cooling System............................................5-28
Power Steering Fluid.....................................5-34
Windshield Washer Fluid................................5-35Brakes........................................................5-36
Battery........................................................5-39
Jump Starting...............................................5-40
Bulb Replacement..........................................5-45
Halogen Bulbs..............................................5-45
Headlamps..................................................5-46
Front Turn Signal, Sidemarker and
Parking Lamps..........................................5-48
Taillamps, Turn Signal, Stoplamps and
Back-up Lamps.........................................5-50
Replacement Bulbs.......................................5-51
Windshield Wiper Blade Replacement..............5-52
Tires..............................................................5-53
Tire Sidewall Labelling...................................5-54
Tire Terminology and De�nitions.....................5-56
In�ation - Tire Pressure.................................5-59
Tire Inspection and Rotation...........................5-60
When It Is Time for New Tires.......................5-61
Buying New Tires.........................................5-62
Uniform Tire Quality Grading..........................5-63
Wheel Alignment and Tire Balance..................5-64
Wheel Replacement......................................5-64
Tire Chains..................................................5-66
Accessory In�ator.........................................5-66
If a Tire Goes Flat........................................5-68
Changing a Flat Tire.....................................5-69
Section 5 Service and Appearance Care
5-1