2005 CHEVROLET VENTURE maintenance schedule
[x] Cancel search: maintenance schedulePage 1 of 470

Seats and Restraint Systems........................... 1-1
Front Seats ............................................... 1-3
Rear Seats ............................................... 1-6
Safety Belts ............................................. 1-28
Child Restraints ....................................... 1-48
Airbag System ......................................... 1-78
Restraint System Check ............................1-88
Features and Controls ..................................... 2-1
Keys ........................................................ 2-3
Doors and Locks ....................................... 2-8
Windows ................................................. 2-22
Theft-Deterrent Systems ............................2-25
Starting and Operating Your Vehicle ...........2-29
Mirrors .................................................... 2-41
OnStar
®System ...................................... 2-42
HomeLink®Transmitter ............................. 2-43
Storage Areas ......................................... 2-47
Vehicle Personalization .............................2-55
Instrument Panel ............................................. 3-1
Instrument Panel Overview .......................... 3-4
Climate Controls ...................................... 3-24
Warning Lights, Gages, and Indicators ........3-32
Message Center ....................................... 3-46
Driver Information Center (DIC) ..................3-53
Audio System(s) ....................................... 3-56Driving Your Vehicle
....................................... 4-1
Your Driving, the Road, and Your Vehicle ........ 4-2
Towing ................................................... 4-34
Service and Appearance Care .......................... 5-1
Service ..................................................... 5-3
Fuel ......................................................... 5-5
Checking Things Under the Hood ...............5-10
Bulb Replacement .................................... 5-45
Windshield Wiper Blade Replacement .........5-52
Tires ...................................................... 5-53
Appearance Care ..................................... 5-83
Vehicle Identi�cation
................................. 5-91
Electrical System ...................................... 5-92
Capacities and Speci�cations .....................5-99
Maintenance Schedule ..................................... 6-1
Maintenance Schedule ................................ 6-2
Customer Assistance and Information .............. 7-1
Customer Assistance and Information ........... 7-2
Reporting Safety Defects ...........................7-10
Index ................................................................ 1
2005 Chevrolet Venture Owner ManualM
Page 190 of 470
9(Fan):If the driver is adjusting the fan speed, use
this control. Turn the fan knob on the rear fan control
located below the main climate control system on
the switchbank to numeral 1, 2, or 3 to increase or
decrease air�ow to the rear seating area. Turn the fan
knob on the rear fan control to 0 to turn off the fan.
FAN:If a rear-seat passenger is adjusting the fan
speed, use this control. Press the FAN button on the
rear control panel. The display will show the current
setting. Press the left and right arrow buttons to cycle
through the available settings of OFF, LOW, MED,
and HIGH.
Temperature Control:If the driver is adjusting the
temperature, increase or decrease the temperature for
the entire vehicle using the temperature controls
located on the main climate control panel. The
air-conditioning system must be on to direct cooled air
to the rear of the vehicle. If it is not on, the temperature
in the rear of the vehicle will remain at cabin
temperature.
If a rear-seat passenger is adjusting the temperature,
press the TEMP button on the rear control panel.
Use the left arrow button to make the air cooler.
Use the right arrow button to make the air warmer.Rear Air Outlets
The outlet behind the left rear seat is the cold air return
outlet. Be sure to keep it free from obstructions.
Also, keep the area around the base of the center
instrument panel console, between and under the front
seats, free of objects that could also obstruct air�ow
to the rear seating area.
For more information on how to use the main climate
control system, seeClimate Control System on
page 3-24. For information on ventilation, seeOutlet
Adjustment on page 3-26.
Passenger Compartment Air Filter
Passenger compartment air, both outside and
recirculated air, is routed through a passenger
compartment �lter. The �lter removes most particles
from the air, including dust particles. Reductions
in air�ow, which may occur more quickly in dusty areas,
indicate that the �lter needs to be replaced early. For
how often to change the air �lter, seeScheduled
Maintenance on page 6-4.
3-30
Page 209 of 470
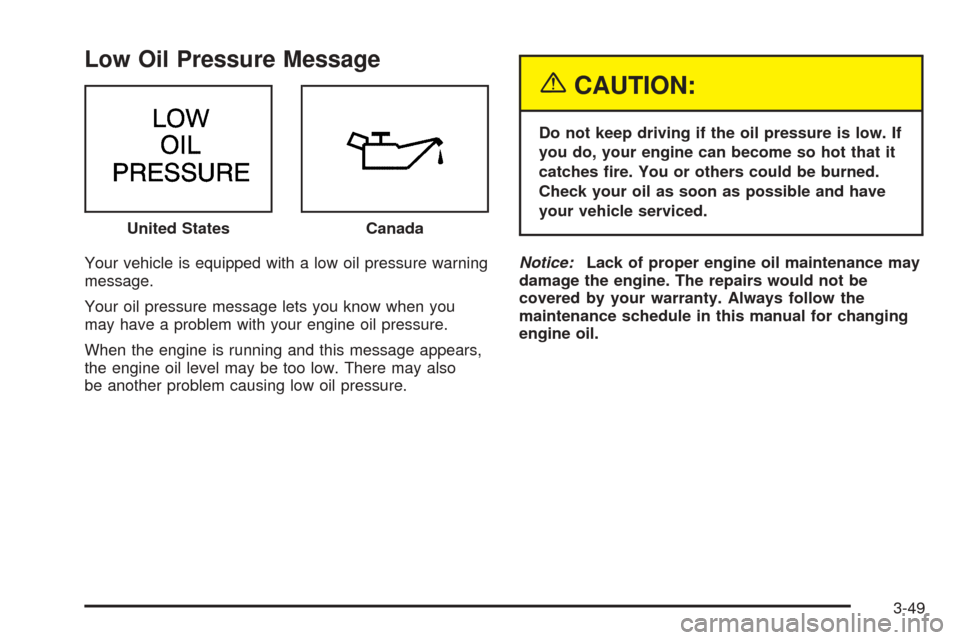
Low Oil Pressure Message
Your vehicle is equipped with a low oil pressure warning
message.
Your oil pressure message lets you know when you
may have a problem with your engine oil pressure.
When the engine is running and this message appears,
the engine oil level may be too low. There may also
be another problem causing low oil pressure.
{CAUTION:
Do not keep driving if the oil pressure is low. If
you do, your engine can become so hot that it
catches �re. You or others could be burned.
Check your oil as soon as possible and have
your vehicle serviced.
Notice:Lack of proper engine oil maintenance may
damage the engine. The repairs would not be
covered by your warranty. Always follow the
maintenance schedule in this manual for changing
engine oil. United States
Canada
3-49
Page 210 of 470
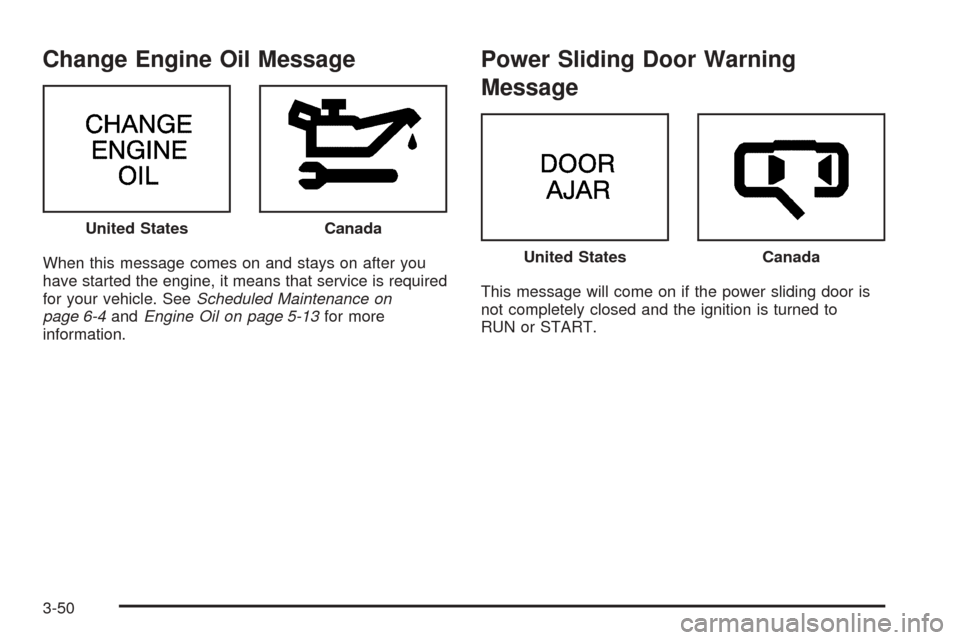
Change Engine Oil Message
When this message comes on and stays on after you
have started the engine, it means that service is required
for your vehicle. SeeScheduled Maintenance on
page 6-4andEngine Oil on page 5-13for more
information.
Power Sliding Door Warning
Message
This message will come on if the power sliding door is
not completely closed and the ignition is turned to
RUN or START. United States
Canada
United StatesCanada
3-50
Page 325 of 470
Maintenance When Trailer Towing
Your vehicle will need service more often when you are
pulling a trailer. See the Maintenance Schedule for more
on this. Things that are especially important in trailer
operation are automatic transaxle �uid, engine oil, belts,
cooling system, and brake system. Each of these is
covered in this manual, and the Index will help you �nd
them quickly. If you are trailering, it is a good idea to
review these sections before you start your trip.
Check periodically to see that all hitch nuts and bolts
are tight.
Trailer Wiring Harness
Your vehicle has a trailer wiring harness located at the
rear of your vehicle. To use the trailer wiring harness,
you need a converter kit. Contact your dealer for more
information.
4-43
Page 343 of 470
How to Reset the Engine Oil Life
System
The Engine Oil Life System calculates when to change
your engine oil and �lter based on vehicle use.
Anytime your oil is changed, reset the system so it can
calculate when the next oil change is required. If a
situation occurs where you change your oil prior to a
CHANGE ENGINE OIL message being turned on, reset
the system.
1. With the ignition key in RUN but the engine off,
repeatedly push the trip/reset button until OIL is
displayed on the Driver Information Center (DIC).
2. Once OIL is displayed, push and hold the trip/reset
button for �ve seconds. The number will disappear
and be replaced by 100 (indicating 100% oil life
remaining).
3. Turn the key to OFF.
If the CHANGE ENGINE OIL message comes back on
when you start your vehicle, the engine oil life system
has not reset. Repeat the procedure.
What to Do with Used Oil
Used engine oil contains certain elements that may be
unhealthy for your skin and could even cause cancer.
Do not let used oil stay on your skin for very long.Clean your skin and nails with soap and water, or a
good hand cleaner. Wash or properly dispose of clothing
or rags containing used engine oil. See the
manufacturer’s warnings about the use and disposal of
oil products.
Used oil can be a threat to the environment. If you
change your own oil, be sure to drain all the oil from the
�lter before disposal. Never dispose of oil by putting it in
the trash, pouring it on the ground, into sewers, or into
streams or bodies of water. Instead, recycle it by taking it
to a place that collects used oil. If you have a problem
properly disposing of your used oil, ask your dealer, a
service station or a local recycling center for help.
Engine Air Cleaner/Filter
SeeEngine Compartment Overview on page 5-12for
the location of the engine air cleaner/�lter.
When to Inspect the Engine Air
Cleaner/Filter
Inspect the air cleaner/�lter at the MaintenanceII
intervals and replace at the �rst oil change after
50,000 miles (83 000 km). SeeScheduled Maintenance
on page 6-4for more information. If you are driving
in dusty/dirty conditions, inspect the �lter at each engine
oil change.
5-17
Page 345 of 470
Automatic Transaxle Fluid
When to Check and Change Automatic
Transaxle Fluid
A good time to check your automatic transaxle �uid
level is when the engine oil is changed.
Change both the �uid and �lter every 50,000 miles
(83 000 km) if the vehicle is mainly driven under one or
more of these conditions:
In heavy city traffic where the outside temperature
regularly reaches 90°F (32°C) or higher.
In hilly or mountainous terrain.
When doing frequent trailer towing.
Uses such as found in taxi, police or delivery
service.
If you do not use your vehicle under any of these
conditions, change the �uid and �lter at 100,000 miles
(166 000 km).
SeeScheduled Maintenance on page 6-4for more
information.
How to Check Automatic Transaxle
Fluid
Because this operation can be a little difficult, you may
choose to have this done at the dealership service
department.
If you do it yourself, be sure to follow all the instructions
here, or you could get a false reading on the dipstick.
Notice:Too much or too little �uid can damage the
transaxle. Too much can mean that some of the �uid
could come out and fall on hot engine or exhaust
system parts, starting a �re. Too little �uid could
cause the transaxle to overheat. Be sure to get an
accurate reading if you check the transaxle �uid.
Wait at least 30 minutes before checking the transaxle
�uid level if you have been driving:
When outside temperatures are above 90°F (32°C).
At high speed for quite a while.
In heavy traffic — especially in hot weather.
While pulling a trailer.
5-19
Page 347 of 470
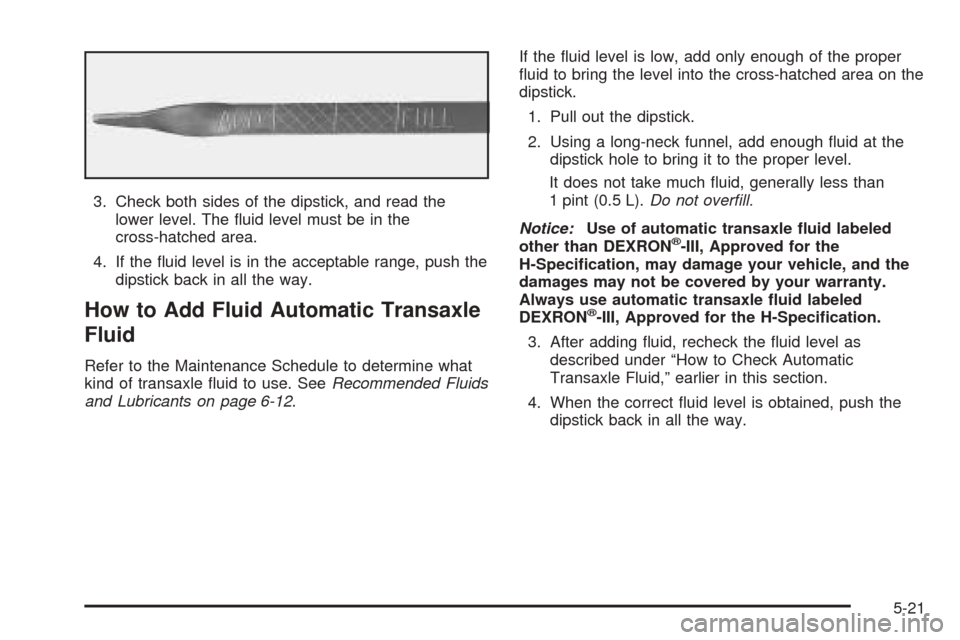
3. Check both sides of the dipstick, and read the
lower level. The �uid level must be in the
cross-hatched area.
4. If the �uid level is in the acceptable range, push the
dipstick back in all the way.
How to Add Fluid Automatic Transaxle
Fluid
Refer to the Maintenance Schedule to determine what
kind of transaxle �uid to use. SeeRecommended Fluids
and Lubricants on page 6-12.If the �uid level is low, add only enough of the proper
�uid to bring the level into the cross-hatched area on the
dipstick.
1. Pull out the dipstick.
2. Using a long-neck funnel, add enough �uid at the
dipstick hole to bring it to the proper level.
It does not take much �uid, generally less than
1 pint (0.5 L).Do not over�ll.
Notice:Use of automatic transaxle �uid labeled
other than DEXRON
®-III, Approved for the
H-Speci�cation, may damage your vehicle, and the
damages may not be covered by your warranty.
Always use automatic transaxle �uid labeled
DEXRON
®-III, Approved for the H-Speci�cation.
3. After adding �uid, recheck the �uid level as
described under “How to Check Automatic
Transaxle Fluid,” earlier in this section.
4. When the correct �uid level is obtained, push the
dipstick back in all the way.
5-21