2005 BMW Z4 ROADSTER 2.5I fuel
[x] Cancel search: fuelPage 50 of 120
Everything under control
48 4.Press button1 repeatedly until the required
minutes are set
5.Press button2 to confirm the settings.
The set time of day is transferred to the car
radio display or appears in the instrument clus-
ter display.
Display mode
In ignition key position 0:
Press button1.
The time of day is displayed for several sec-
onds.
Computer*
Mode selection
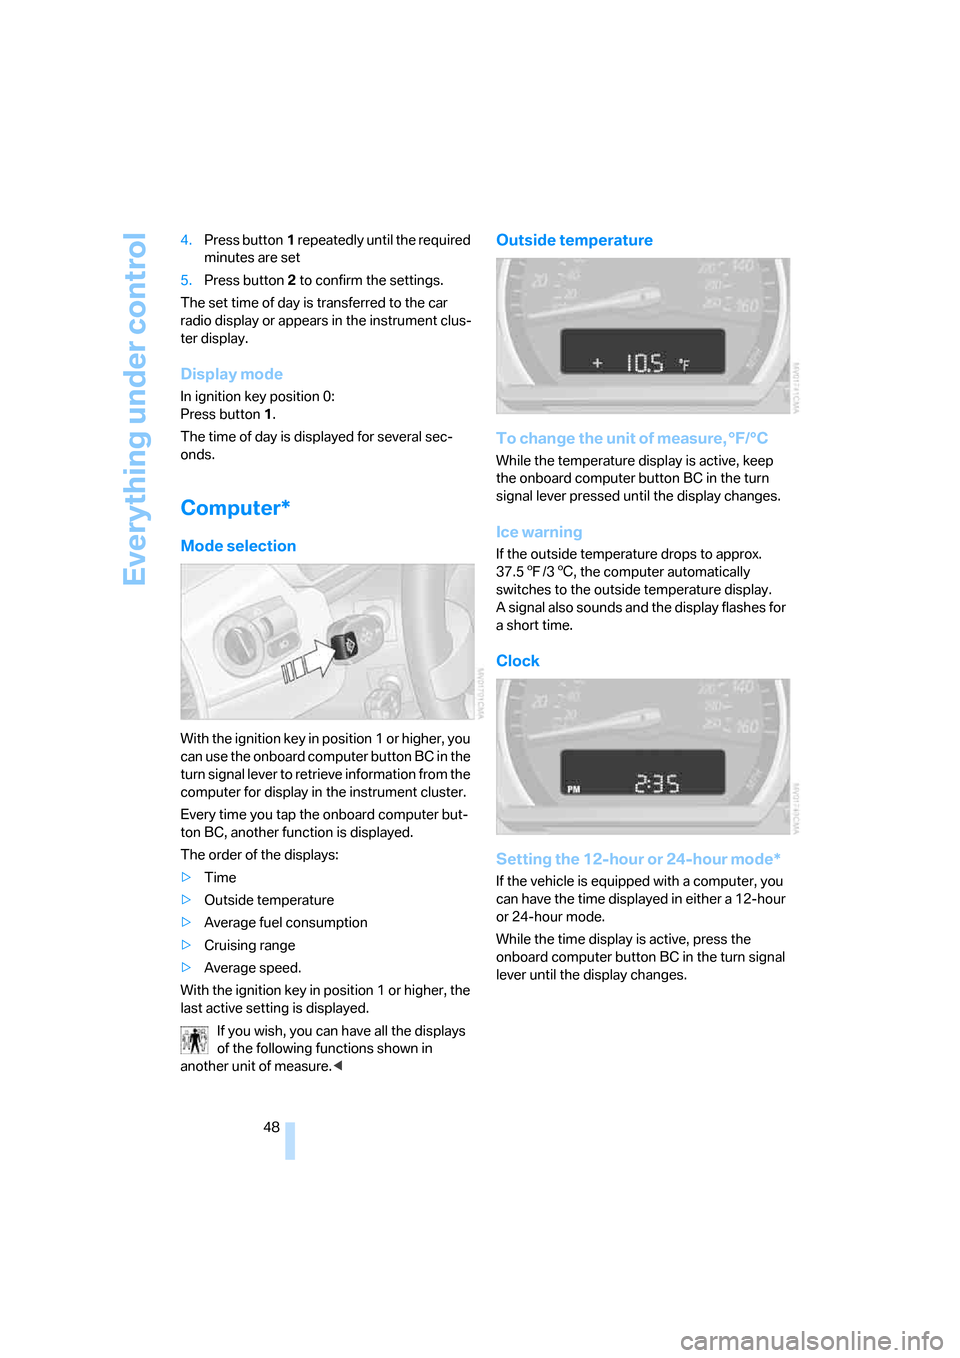
With the ignition key in position 1 or higher, you
can use the onboard computer button BC in the
turn signal lever to retrieve information from the
computer for display in the instrument cluster.
Every time you tap the onboard computer but-
ton BC, another function is displayed.
The order of the displays:
>Time
>Outside temperature
>Average fuel consumption
>Cruising range
>Average speed.
With the ignition key in position 1 or higher, the
last active setting is displayed.
If you wish, you can have all the displays
of the following functions shown in
another unit of measure.<
Outside temperature
To change the unit of measure, °F/°C
While the temperature display is active, keep
the onboard computer button BC in the turn
signal lever pressed until the display changes.
Ice warning
If the outside temperature drops to approx.
37.57/36, the computer automatically
switches to the outside temperature display.
A signal also sounds and the display flashes for
a short time.
Clock
Setting the 12-hour or 24-hour mode*
If the vehicle is equipped with a computer, you
can have the time displayed in either a 12-hour
or 24-hour mode.
While the time display is active, press the
onboard computer button BC in the turn signal
lever until the display changes.
Page 51 of 120
Reference
At a glance
Controls
Driving tips
Mobility
49
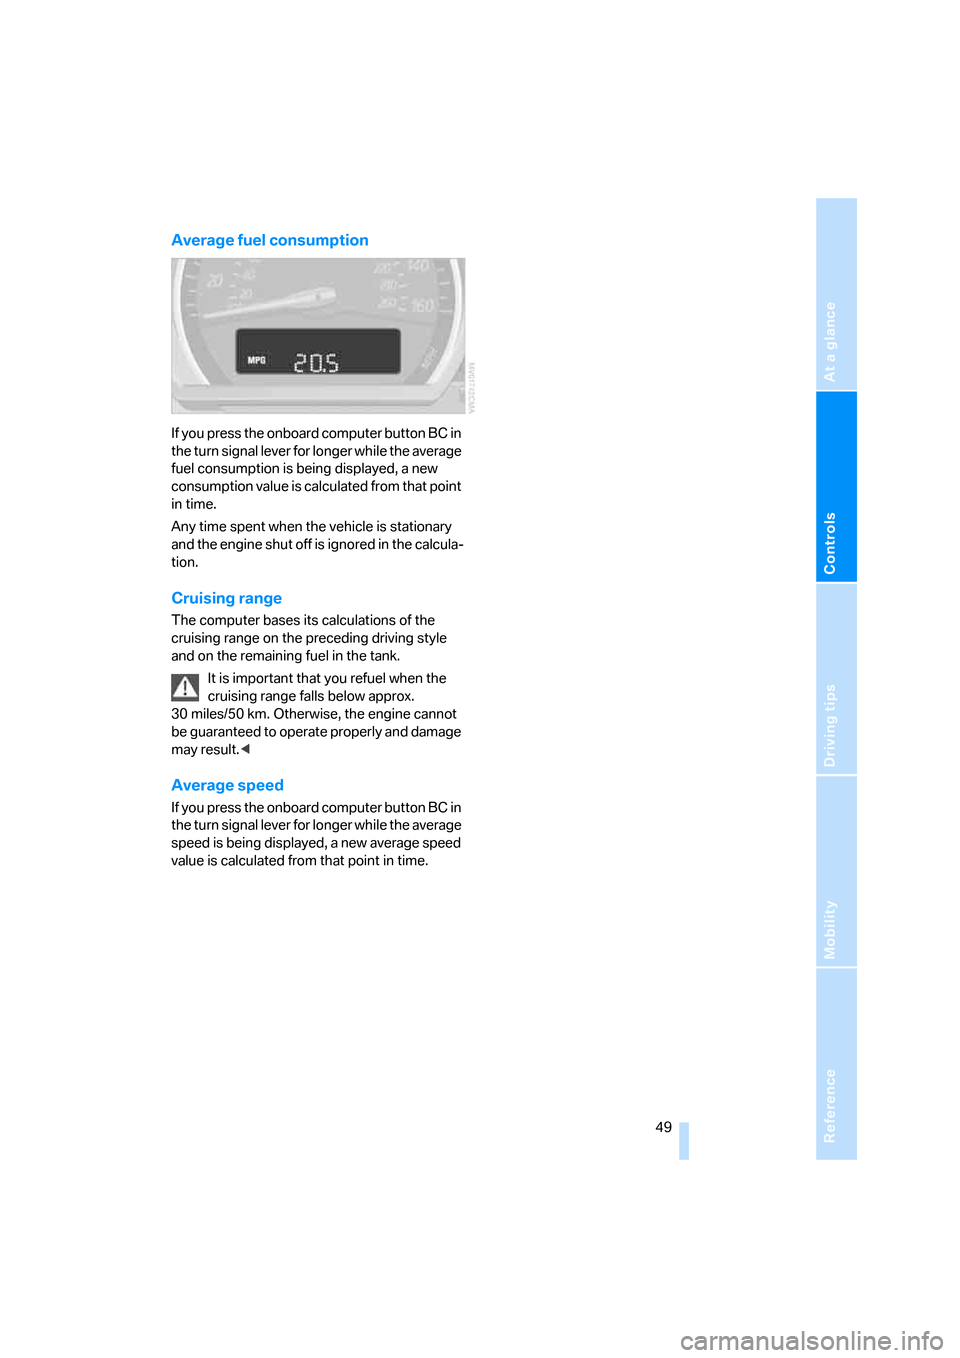
Average fuel consumption
If you press the onboard computer button BC in
the turn signal lever for longer while the average
fuel consumption is being displayed, a new
consumption value is calculated from that point
in time.
Any time spent when the vehicle is stationary
and the engine shut off is ignored in the calcula-
tion.
Cruising range
The computer bases its calculations of the
cruising range on the preceding driving style
and on the remaining fuel in the tank.
It is important that you refuel when the
cruising range falls below approx.
30 miles/50 km. Otherwise, the engine cannot
be guaranteed to operate properly and damage
may result.<
Average speed
If you press the onboard computer button BC in
the turn signal lever for longer while the average
speed is being displayed, a new average speed
value is calculated from that point in time.
Page 77 of 120
Mobility
To ensure that you stay mobile, the following
chapter provides you with important
information on fuels and fluids, tires and
wheels, maintenance procedures and steps to
take in the event of a breakdown.
Mobility
Page 78 of 120

Refueling
76
Refueling
Fuel filler door
1.Open fuel filler door
2.Turn the gas cap in a counter-clockwise
direction
3.Place the cap in the bracket on the filler
door.
Releasing manually
If an electrical malfunction occurs, you can
unlock the fuel filler door manually:
1.Remove the covers of the tail lamps by turn-
ing the lock to the right; refer also to
page93
2.Pull the luggage compartment trim panel
slightly toward the interior.
The green button with the fuel pump sym-
bol becomes visible
3.Undo the adhesive strip and pull off
4.Pull the button
The fuel filler door is released.
Pull on the button slowly and carefully
as it could otherwise be torn off.<
Note when refueling
When handling fuels, comply with all of
the applicable safety precautions posted
at the service station.<
When refueling, insert the filler nozzle com-
pletely into the filler pipe. Lifting the nozzle dur-
ing refueling
>results in premature shutoff
>and will reduce the effect of the vapor
recovery system on the pump.
The fuel tank is full when the filler nozzle shuts
off the first time.
Closing the fuel filler cap
Place the cap in position and turn it clockweise
until a clearly audible click is heard.
Close the filler cap carefully after refueling
until a click is heard. While closing, be
sure not to squeeze the strap which is fastened
to the cap. A loose or missing cap will activate
the Check gas cap lamp
*.<
Warning lamp
* lights up.
The gas cap is not properly closed or is
missing. Check if the gas cap is prop-
erly closed.
Contents of the fuel tank
Approx. 14.5 gallons/55 liters, of which approx.
2.1 gallons/8 liters are reserve capacity.
Fill the fuel tank before it is completely
empty. Driving to the last drop of fuel can
prevent the engine from operating properly and
result in damage.<
Fuel specifications
The engine uses lead-free gasoline only.
Required fuel
Premium Unleaded Gasoline, Minimum Octane
Rating: 91.
Page 79 of 120
Reference
At a glance
Controls
Driving tips
Mobility
77
Minimum Octane Rating corresponds to the
Anti Knock Index AKI and is determined by the
so-called (R+M)/2 method.
Do not use leaded gasoline, as otherwise
the lambda probe and catalytic converter
will be permanently damaged.<
Use high-quality brands
Field experience has indicated significant dif-
ferences in fuel quality: volatility, composition,
additives, etc., among gasolines offered for sale
in the United States and Canada. Fuels contain-
ing up to and including 10 % ethanol or other
oxygenates with up to 2.8 % oxygen by weight,
that is, 15 % MTBE or 3 % methanol plus an
equivalent amount of co-solvent, will not void
the applicable warranties with respect to
defects in materials or workmanship.
The use of poor-quality fuels may result in
drivability, starting and stalling problems
especially under certain environmental condi-
tions such as high ambient temperature and
high altitude.
Should you encounter drivability problems
which you suspect could be related to the fuel
you are using, we recommend that you respond
by switching to a recognized high-quality
brand.
Failure to comply with these recommendations
may also result in unscheduled maintenance.<
Page 85 of 120
Reference
At a glance
Controls
Driving tips
Mobility
83
can lead to damage and accidents. Have this
work performed by skilled professionals only.
The technicans at your BMW center will be glad
to assist you with the required professional
knowledge and specialized equipment.<
Storage
Store tires in a cool, dry place, protecting them
against light whenever possible. Protect the
tires from contact with oil, grease and fuel. Do
not exceed the maximum tire inflation pres-
sures specified on the tire sidewall.
Snow chains*
Only certain types of snow chains have been
tested by BMW, classified as road-safe and
approved. Consult your BMW center for more
information. BMW recommends using only
approved fine-link snow chains. Use them in
pairs on either summer or winter tires, but only
on both rear wheels.
Comply with all manufacturer's safety precau-
tions when mounting the chains.
Do not exceed a speed of 30 mph / 50 km/h
when using snow chains.
Do not initialize the Flat Tire Monitor after
snow chains have been mounted.
When driving with snow chains, it may be useful
to deactivate the DSC briefly. Refer to
page51.<
Page 88 of 120

In the engine compartment
86
Washer fluids for washer
systems
Headlamp* and windshield washer
system
Capacity of windshield washer system: approx.
3.2 quarts/3 liters.
Capacity when equipped with headlamp
washer system: approx. 5.3 quarts/5 liters.
Fill with water and, if required, with an antifreeze
agent according to the manufacturer's recom-
mendations.
We recommend that you mix the washer
fluid before adding it to the reservoir.<
Antifreeze agents for the washing sys-
tems are highly flammable. For this rea-
son, keep them away from sources of flame and
store them only in their original containers.
Store them so that they are inaccessible to chil-
dren. Comply with the instructions on the con-
tainers.<
Engine oil
Oil consumption is directly influenced by your
driving style and vehicle operating conditions.
Warning lamp
Engine oil pressure
The warning lamp lights up in red:
The engine oil pressure is too low.
Stop the vehicle immediately and
switch off the engine. Check the engine oil level
and top up if necessary. If the oil level is correct,
please contact the nearest BMW center.Do not continue driving, as the engine
could sustain serious damage from inad-
equate lubrication.<
Engine oil level
The warning lamp lights up in yellow
while driving:
The oil level is at the absolute mini-
mum; refill as soon as possible. Do not drive
more than 30 miles/50 km before refilling.
The warning lamp lights up in yellow
after the engine has been switched off:
Add engine oil at the earliest opportu-
nity, e.g. when you stop to refuel.
Engine oil sensor
The warning lamp lights up in yellow
within 20 seconds after the engine is
started:
The oil level sensor is defective. Please have it
checked by a BMW center.
Checking the oil level
1.With the vehicle's engine at normal operat-
ing temperature, i.e. after uninterrupted
driving for at least 6 miles/10 km, park the
vehicle on a level surface
2.Switch off the engine
3.After approx. 5 minutes, pull the dipstick
out and wipe it off with a clean lint-free
cloth, paper towel, or similar material
4.Carefully push the dipstick all the way into
the guide tube and pull it out again
5.The oil level should be between the two
marks on the dipstick
Page 89 of 120
Reference
At a glance
Controls
Driving tips
Mobility
87
6.Return the dipstick to the guide tube,
inserting it as far as it will go.
As with fuel economy, oil consumption is
directly influenced by your driving style and
vehicle operating conditions.
The oil volume between the two marks on the
dipstick corresponds to approx. 1.1 quarts/
1 liter.
Do not fill beyond the upper mark on the
dipstick. Excess oil will damage the
engine.<
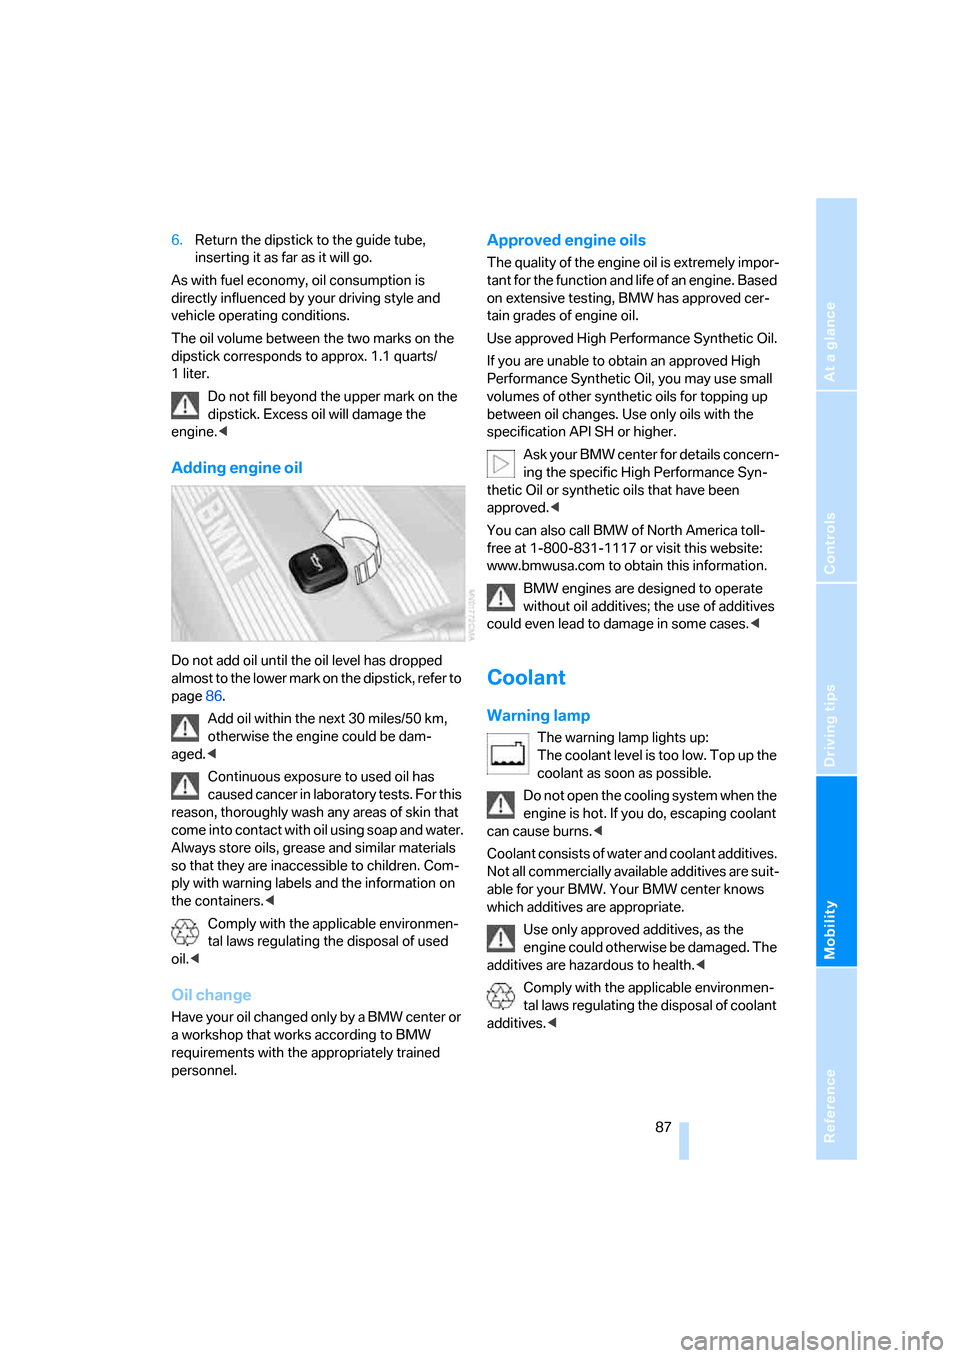
Adding engine oil
Do not add oil until the oil level has dropped
almost to the lower mark on the dipstick, refer to
page86.
Add oil within the next 30 miles/50 km,
otherwise the engine could be dam-
aged.<
Continuous exposure to used oil has
caused cancer in laboratory tests. For this
reason, thoroughly wash any areas of skin that
come into contact with oil using soap and water.
Always store oils, grease and similar materials
so that they are inaccessible to children. Com-
ply with warning labels and the information on
the containers.<
Comply with the applicable environmen-
tal laws regulating the disposal of used
oil.<
Oil change
Have your oil changed only by a BMW center or
a workshop that works according to BMW
requirements with the appropriately trained
personnel.
Approved engine oils
The quality of the engine oil is extremely impor-
tant for the function and life of an engine. Based
on extensive testing, BMW has approved cer-
tain grades of engine oil.
Use approved High Performance Synthetic Oil.
If you are unable to obtain an approved High
Performance Synthetic Oil, you may use small
volumes of other synthetic oils for topping up
between oil changes. Use only oils with the
specification API SH or higher.
Ask your BMW center for details concern-
ing the specific High Performance Syn-
thetic Oil or synthetic oils that have been
approved.<
You can also call BMW of North America toll-
free at 1-800-831-1117 or visit this website:
www.bmwusa.com to obtain this information.
BMW engines are designed to operate
without oil additives; the use of additives
could even lead to damage in some cases.<
Coolant
Warning lamp
The warning lamp lights up:
The coolant level is too low. Top up the
coolant as soon as possible.
Do not open the cooling system when the
engine is hot. If you do, escaping coolant
can cause burns.<
Coolant consists of water and coolant additives.
Not all commercially available additives are suit-
able for your BMW. Your BMW center knows
which additives are appropriate.
Use only approved additives, as the
engine could otherwise be damaged. The
additives are hazardous to health.<
Comply with the applicable environmen-
tal laws regulating the disposal of coolant
additives.<