Page 279 of 491

7-10
Starting and operating
If the engine does not start within ten seconds, wait a
while and then turn the ignition switch to the “START”
position again while depressing the accelerator pedal
half way down.
6. Confirm that all warning and indicator lights have
gone off after the engine has started. The fuel injection
system automatically lowers the idle speed as the en-
gine warms up. !
Automatic transmission vehicle
1. Apply the parking brake.
2. Turn off unnecessary lights and accessories.
3. Shift the selector lever to the “P” or “N” position
(preferably “P” position).
The starter motor will only operate when the select le-
ver is at the “P” or “N” position.
4. Turn the ignition switch to the “ON” position and
check the operation of the warning and indicator lights.
Refer to the “Warning and indicator lights” section
(chapter 3).
5. Turn the ignition switch to the “START” position
without depressing the accelerator pedal. Release
the key immediately after the engine has started.
If the engine does not start within ten seconds, wait a
while and then turn the ignition switch to the “START”
position again while depressing the accelerator pedal half way down.
6. Confirm that all warning and indicator lights have
gone out after the engine has started. The fuel injec-
tion system automatically lowers the idle speed as the
engine warms up.
While the engine is warming up, make sure that the
selector lever is at the “P” or “N” position and that the
parking brake is applied.
If you restart the engine while the vehicle is
moving, shift the selector lever into the “N” po-
sition. Do not attempt to place the selector lever
of a moving vehicle into the “P” position.
! Starting the engine during cold weath- er below −4 °F ( −20 °C)
If the engine is difficult to start using the normal meth-
od (without depressing the accelerator pedal), turn the
ignition switch to the “START” position while slightly
depressing the accelerator pedal.
Page 280 of 491
7-11
Starting and operating
– CONTINUED –
!Starting a flooded engine
If the engine does not start, it may be flooded (exces-
sive fuel in the engine).
In case of a flooded engine, turn the starter motor for
five seconds with the accelerator pedal fully de-
pressed. Repeat this two or three times until the en-
gine starts. Release the ignition switch and accelera-
tor pedal as soon as the engine starts.Stopping the engine
The ignition switch should be turned off only when the
engine is idling.
Do not stop the engine when the vehicle is mov-
ing. This will cause loss of power to the power
steering and the brake booster, making steer-
ing and braking more difficult. It could also re-
sult in accidental activation of the “LOCK” po-
sition on the ignition switch, causing the steer-
ing wheel to lock.
Page 288 of 491

7-19
Starting and operating
– CONTINUED –
suit driving and road-surface conditions. When the ig-
nition switch is turned ON, the “AUTO” indicator light
in the combination meter comes on. The system can
be switched to a manual mode. !Manual mode
The manual mode allows the driver to set the differen-
tial-action limiting factor of the center differential as
desired to suit driving and road-surface conditions.
When this mode is selected, the “AUTO” indicator light
in the combination meter goes off. ! Manual switch
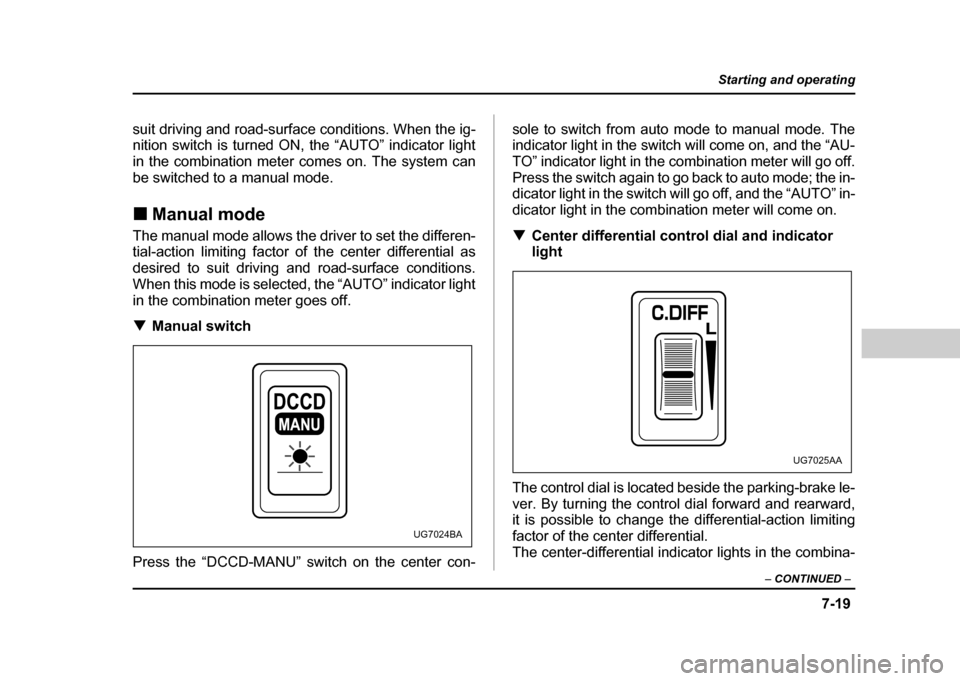
Press the “DCCD-MANU” switch on the center con- sole to switch from auto mode to manual mode. The
indicator light in the switch will come on, and the “AU-
TO” indicator light in the combination meter will go off.
Press the switch again to go back to auto mode; the in-
dicator light in the switch will go off, and the “AUTO” in-
dicator light in the combination meter will come on. !
Center differential control dial and indicator
light
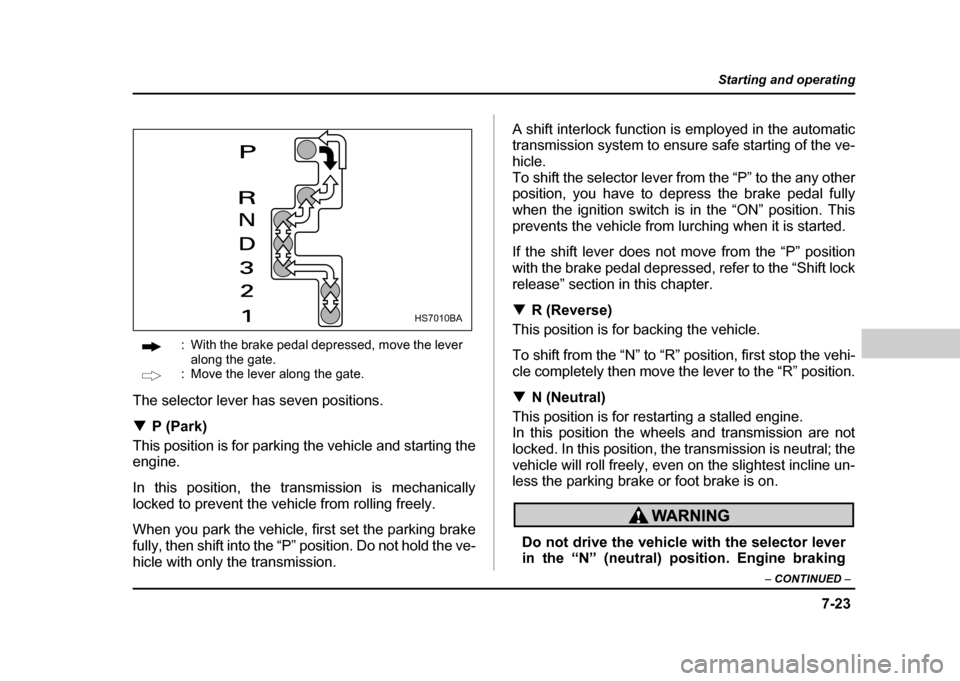
The control dial is located beside the parking-brake le-
ver. By turning the control dial forward and rearward,
it is possible to change the differential-action limiting
factor of the center differential.
The center-differential indicator lights in the combina-
MANU
UG7024BA
UG7025AA
Page 292 of 491

7-23
Starting and operating
– CONTINUED –
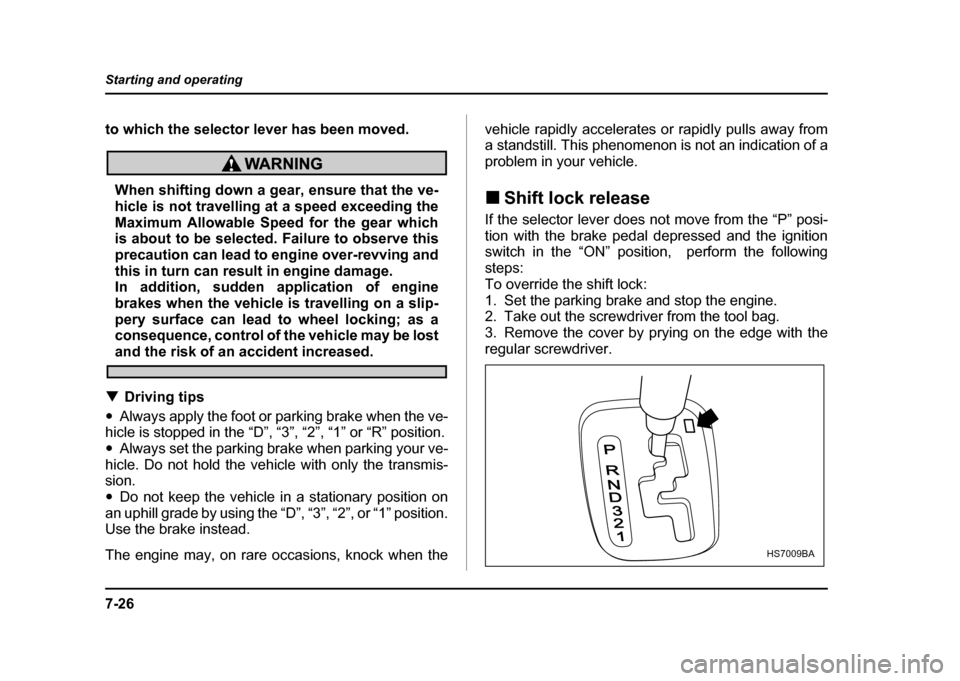
: With the brake pedal depressed, move the lever
along the gate.
: Move the lever along the gate.
The selector lever has seven positions. ! P (Park)
This position is for parking the vehicle and starting the
engine.
In this position, the transmission is mechanically
locked to prevent the vehicle from rolling freely.
When you park the vehicle, first set the parking brake
fully, then shift into the “P” position. Do not hold the ve-
hicle with only the transmission. A shift interlock function is employed in the automatic
transmission system to ensure safe starting of the ve-
hicle.
To shift the selector lever from the “P” to the any other
position, you have to depress the brake pedal fully
when the ignition switch is in the “ON” position. This
prevents the vehicle from lurching when it is started.
If the shift lever does not move from the “P” position
with the brake pedal depressed, refer to the “Shift lock
release” section in this chapter. !
R (Reverse)
This position is for backing the vehicle.
To shift from the “N” to “R” position, first stop the vehi-
cle completely then move the lever to the “R” position. ! N (Neutral)
This position is for restarting a stalled engine.
In this position the wheels and transmission are not
locked. In this position, the transmission is neutral; the
vehicle will roll freely, even on the slightest incline un-
less the parking brake or foot brake is on.
Do not drive the vehicle with the selector lever
in the “N” (neutral) position. Engine braking
HS7010BA
Page 295 of 491

7-26
Starting and operating
to which the selector lever has been moved.
When shifting down a gear, ensure that the ve-
hicle is not travelling at a speed exceeding the
Maximum Allowable Speed for the gear which
is about to be selected. Failure to observe this
precaution can lead to engine over-revving and
this in turn can result in engine damage.
In addition, sudden application of engine
brakes when the vehicle is travelling on a slip-
pery surface can lead to wheel locking; as a
consequence, control of the vehicle may be lost
and the risk of an accident increased.
! Driving tips
" Always apply the foot or parking brake when the ve-
hicle is stopped in the “D”, “3”, “2”, “1” or “R” position. " Always set the parking brake when parking your ve-
hicle. Do not hold the vehicle with only the transmis-sion." Do not keep the vehicle in a stationary position on
an uphill grade by using the “D”, “3”, “2”, or “1” position.
Use the brake instead.
The engine may, on rare occasions, knock when the vehicle rapidly accelerates or rapidly pulls away from
a standstill. This phenomenon is not an indication of a
problem in your vehicle. !
Shift lock release
If the selector lever does not move from the “P” posi-
tion with the brake pedal depressed and the ignition
switch in the “ON” position, perform the following steps:
To override the shift lock:
1. Set the parking brake and stop the engine.
2. Take out the screwdriver from the tool bag.
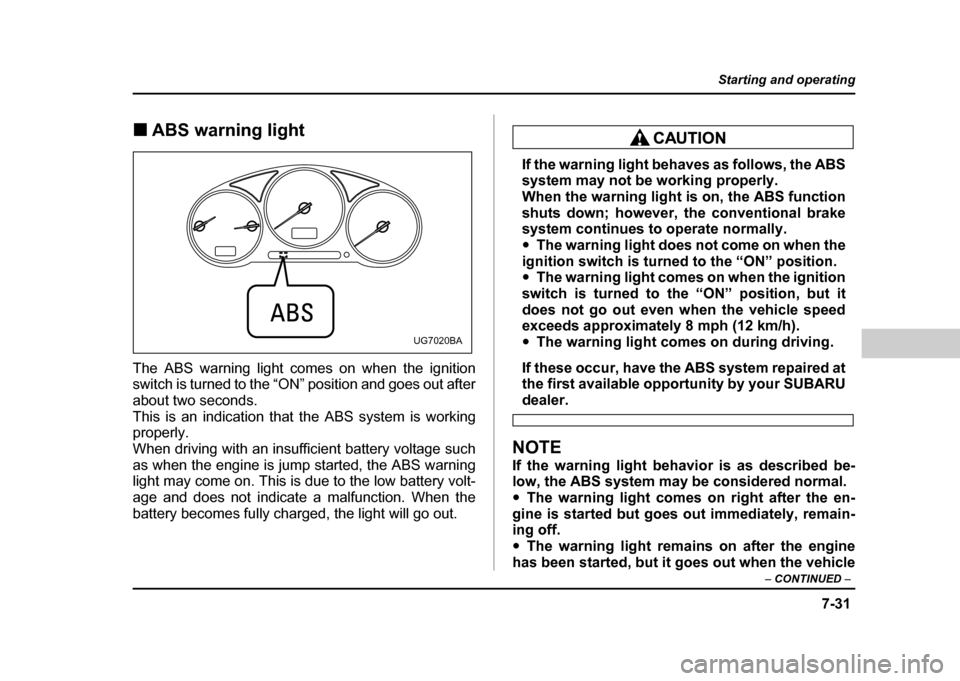
3. Remove the cover by prying on the edge with the
regular screwdriver.
P
RND321
HS7009BA
Page 300 of 491

7-31
Starting and operating
– CONTINUED –
!ABS warning light
The ABS warning light comes on when the ignition
switch is turned to the “ON” position and goes out after
about two seconds.
This is an indication that the ABS system is working
properly.
When driving with an insufficient battery voltage such
as when the engine is jump started, the ABS warning
light may come on. This is due to the low battery volt-
age and does not indicate a malfunction. When the
battery becomes fully charged, the light will go out.
If the warning light behaves as follows, the ABS
system may not be working properly.
When the warning light is on, the ABS function
shuts down; however, the conventional brake
system continues to operate normally. " The warning light does not come on when the
ignition switch is turned to the “ON” position. " The warning light comes on when the ignition
switch is turned to the “ON” position, but it
does not go out even when the vehicle speed
exceeds approximately 8 mph (12 km/h). " The warning light comes on during driving.
If these occur, have the ABS system repaired at
the first available opportunity by your SUBARU
dealer.
NOTE
If the warning light behavior is as described be-
low, the ABS system may be considered normal." The warning light comes on right after the en-
gine is started but goes out immediately, remain-
ing off." The warning light remains on after the engine
has been started, but it goes out when the vehicle
UG7020BA
Page 306 of 491
7-37
Starting and operating
– CONTINUED –
Cruise control
Cruise control enables you to maintain a constant ve-
hicle speed without holding your foot on the accelera-
tor pedal and it is operative when the vehicle speed is
25 mph (40 km/h) or more. Make sure the main switch
is turned “OFF” when the cruise control is not in use to
avoid unintentionally setting the cruise control.
Do not use the cruise control under any of the
following conditions. This may cause loss of
vehicle control:"driving up or down a steep grade
" driving on slippery or winding roads
"driving in heavy traffic !
To set cruise control
0
WRX-STi
UG7021BA
Page 307 of 491
7-38
Starting and operating
Except WRX-STi
1. Push the main switch button. The “ ” indicator light on the combination
meter will come on.
2. Depress the accelerator pedal until the vehicle
reaches the desired speed.
UG7028AAUG7020HA