Page 235 of 491
5-22
Audio !
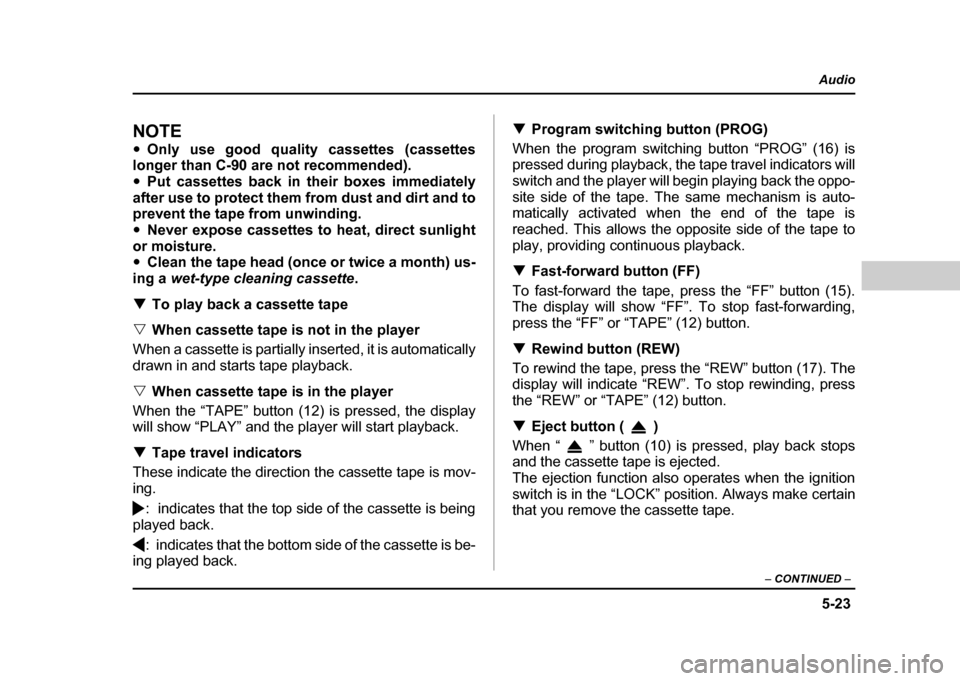
Cassette player operation
(9) (10)
(17) (16) (15) (14) (13) (11) (12)
UG5031CB
(9) Cassette slot
(10) Eject button
(11) Repeat button
(12) TAPE (cassette player selec-
tion) button
(13) TPS button
(14) Dolby B NR button
(15) Fast forward button
(16) Program switching button
(17) Rewind button
Page 236 of 491

5-23
Audio
– CONTINUED –
NOTE "Only use good quality cassettes (cassettes
longer than C-90 are not recommended). " Put cassettes back in their boxes immediately
after use to protect them from dust and dirt and to
prevent the tape from unwinding. " Never expose cassettes to heat, direct sunlight
or moisture. " Clean the tape head (once or twice a month) us-
ing a wet-type cleaning cassette .
! To play back a cassette tape
" When cassette tape is not in the player
When a cassette is partially inserted, it is automatically
drawn in and starts tape playback. " When cassette tape is in the player
When the “TAPE” button (12) is pressed, the display
will show “PLAY” and the player will start playback. ! Tape travel indicators
These indicate the direction the cassette tape is mov-
ing.
: indicates that the top side of the cassette is being
played back.
: indicates that the bottom side of the cassette is be-
ing played back. !
Program switching button (PROG)
When the program switching button “PROG” (16) is
pressed during playback, the tape travel indicators will
switch and the player will begin playing back the oppo-
site side of the tape. The same mechanism is auto-
matically activated when the end of the tape is
reached. This allows the opposite side of the tape to
play, providing continuous playback. ! Fast-forward button (FF)
To fast-forward the tape, press the “FF” button (15).
The display will show “FF”. To stop fast-forwarding,
press the “FF” or “TAPE” (12) button. ! Rewind button (REW)
To rewind the tape, press the “REW” button (17). The
display will indicate “REW”. To stop rewinding, press
the “REW” or “TAPE” (12) button. ! Eject button ( )
When “ ” button (10) is pressed, play back stops
and the cassette tape is ejected.
The ejection function also operates when the ignition
switch is in the “LOCK” position. Always make certain
that you remove the cassette tape.
Page 246 of 491

5-33
Audio
– CONTINUED –
2. Press the “Eject button” (4). The selected disc will
be ejected and the indicator light will begin blinking.
3. To remove another disc, repeat step 1 and 2
choosing a different “Disc select” button.
(To remove discs when the ignition switch is in the
“Lock” position, press the “Eject” button, and the first
disc will be ejected. Press the “Eject” button again,
and the next disc will be ejected and so on. At this
time, the “Disc select” buttons are disabled.) !To remove all discs at one time
1. Press and hold the “Eject” button (4) until all “Disc”
indicators begin blinking (about 1.5 seconds), and the
first disc will be ejected.
2. When the disc is removed, the next one will be
ejected, and so on. ! To replace a playing disc with another
Simply press the desired one of “Disc select” buttons
(3) (numbered from 1 to 6) or press the “DISC select”
button on the radio unit to select the desired disc, and
the disc will begin to play. ! Disc indicators
Lit: when the corresponding storage tray is occupied
by a disc.
Blinking: Disc player is either in loading, eject or
changing mode. OFF: No disc is loaded or the ignition switch is in the
“LOCK” position. "
Open/Closed disc slot indicator
When the disc slot is open, the disc indicators on both
sides of the slot illuminate. ! Function control
Refer to CD changer control operating instructions de-
scribed in the “Type B audio set (if equipped)” section.
Page 251 of 491
6-2
Interior equipment
Interior equipmentInterior light
When leaving your vehicle, make sure the light goes
out to avoid battery discharge. !
Dome light
The dome light switch has three positions: ON: The light stays on continuously.
DOOR (middle position): The dome light comes on
when any of the doors (or the rear gate on wagon) is
opened. The light remains on for several seconds and
gradually goes out after all doors (and the rear gate on
the wagon) are closed or if the key is inserted in the ig- nition switch.
The light also can be turned on by use of the remote
keyless entry transmitter. See the “Remote keyless
entry system” in chapter 2 for detailed information.
OFF:
The light stays off.
! Cargo area light (if equipped)
DOOR: The light comes on only when the rear gate is
opened.
OFF: The light stays off.
ON
DOOR
OFF
HS6025BB
OFF
DOOR
UG6501BB
Page 252 of 491
6-3
Interior equipment
– CONTINUED –
Map light (if equipped)
Vehicle with moonroof Vehicle without moonroof
To turn on the map light, push the switch.
To turn it off, push the switch again.
When leaving the vehicle, make sure the light is turned
off to avoid battery discharge.
UG6021BA
UG6502BA
Page 258 of 491

6-9
Interior equipment
– CONTINUED –
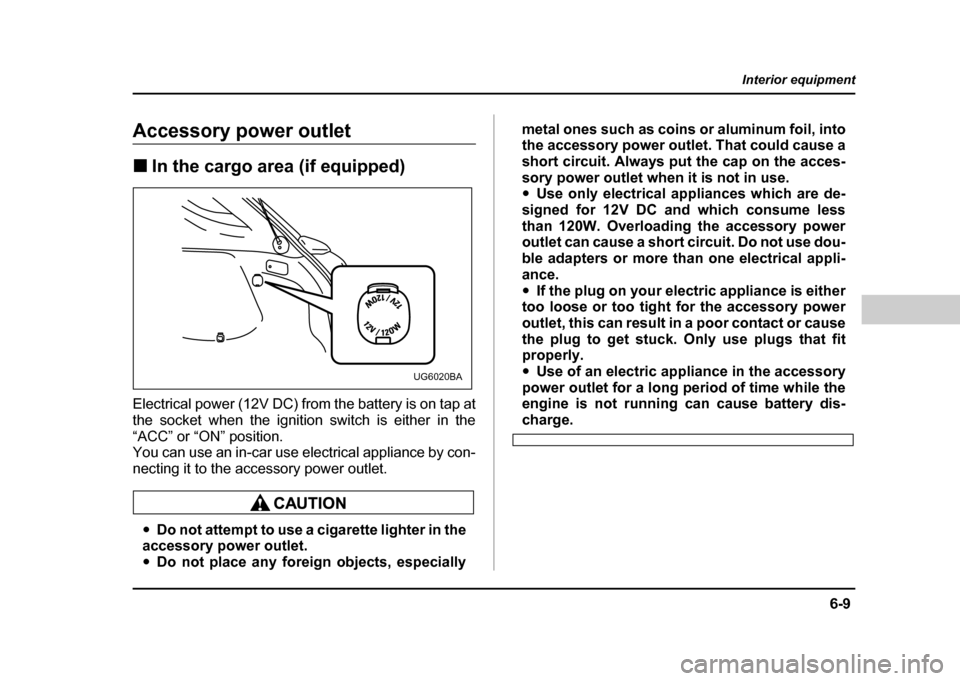
Accessory power outlet !In the cargo area (if equipped)
Electrical power (12V DC) from the battery is on tap at
the socket when the ignition switch is either in the
“ACC” or “ON” position.
You can use an in-car use electrical appliance by con-
necting it to the accessory power outlet.
" Do not attempt to use a cigarette lighter in the
accessory power outlet. " Do not place any foreign objects, especially metal ones such as coins or aluminum foil, into
the accessory power outlet. That could cause a
short circuit. Always put the cap on the acces-
sory power outlet when it is not in use. "
Use only electrical appliances which are de-
signed for 12V DC and which consume less
than 120W. Overloading the accessory power
outlet can cause a short circuit. Do not use dou-
ble adapters or more than one electrical appli-
ance." If the plug on your electric appliance is either
too loose or too tight for the accessory power
outlet, this can result in a poor contact or cause
the plug to get stuck. Only use plugs that fit
properly. " Use of an electric appliance in the accessory
power outlet for a long period of time while the
engine is not running can cause battery dis-
charge.
UG6020BA
Page 260 of 491

6-11
Interior equipment
– CONTINUED –
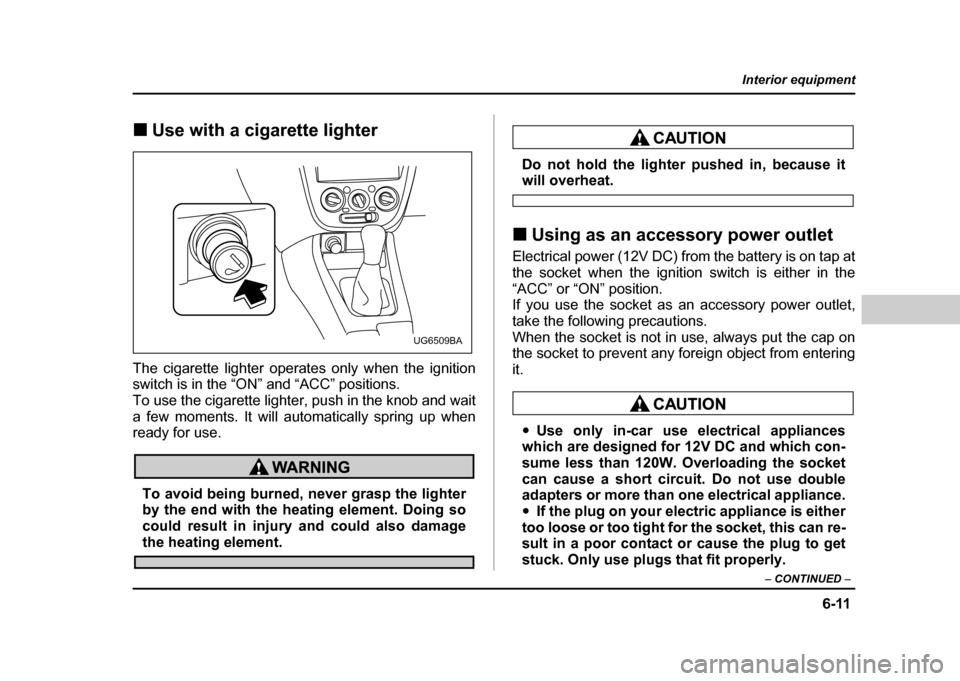
!Use with a cigarette lighter
The cigarette lighter operates only when the ignition
switch is in the “ON” and “ACC” positions.
To use the cigarette lighter, push in the knob and wait
a few moments. It will automatically spring up when
ready for use.
To avoid being burned, never grasp the lighter
by the end with the heating element. Doing so
could result in injury and could also damage
the heating element.
Do not hold the lighter pushed in, because itwill overheat.
! Using as an accessory power outlet
Electrical power (12V DC) from the battery is on tap at
the socket when the ignition switch is either in the
“ACC” or “ON” position.
If you use the socket as an accessory power outlet,
take the following precautions.
When the socket is not in use, always put the cap on
the socket to prevent any foreign object from entering it.
" Use only in-car use electrical appliances
which are designed for 12V DC and which con-
sume less than 120W. Overloading the socket
can cause a short circuit. Do not use double
adapters or more than one electrical appliance. " If the plug on your electric appliance is either
too loose or too tight for the socket, this can re-
sult in a poor contact or cause the plug to get
stuck. Only use plugs that fit properly.
UG6509BA
Page 278 of 491

7-9
Starting and operating
– CONTINUED –
Preparing to drive
You should perform the following checks and adjust-
ments every day before you start driving.
1. Check that all windows, mirrors, and lights are
clean and unobstructed.
2. Check the appearance and condition of the tires.
Also check tires for proper inflation.
3. Look under the vehicle for any sign of leaks.
4. Check that the hood, trunk and rear gate are fully
closed.
5. Check the adjustment of the seat.
6. Check the adjustment of the inside and outside mir-
rors.
7. Fasten your seatbelt. Check that your passengers
have fastened their seatbelts.
8. Check the operation of the warning and indicator
lights when the ignition switch is turned to the “ON” po-sition.
9. Check the gauges, indicator and warning lights af-
ter starting the engine.
NOTE
Engine oil, engine coolant, brake fluid, washer flu-
id and other fluid levels should be checked daily,
weekly or at fuel stops.
Starting the engine
Do not operate the starter motor continuously
for more than ten seconds. If the engine fails to
start after operating the starter for five to ten
seconds, wait for ten seconds or more before
trying again.
! Manual transmission vehicle
1. Apply the parking brake.
2. Turn off unnecessary lights and accessories.
3. Press the clutch pedal to the floor and shift the shift
lever into neutral. Hold the clutch pedal to the floor
while starting the engine.
The starter motor will only operate when the clutch
pedal is pressed fully to the floor.
4. Turn the ignition switch to the “ON” position and
check the operation of the warning and indicator lights.
Refer to the “Warning and indicator lights” section (chapter 3).
5. Turn the ignition switch to the “START” position
without depressing the accelerator pedal. Release
the key immediately after the engine has started.