Page 331 of 2870

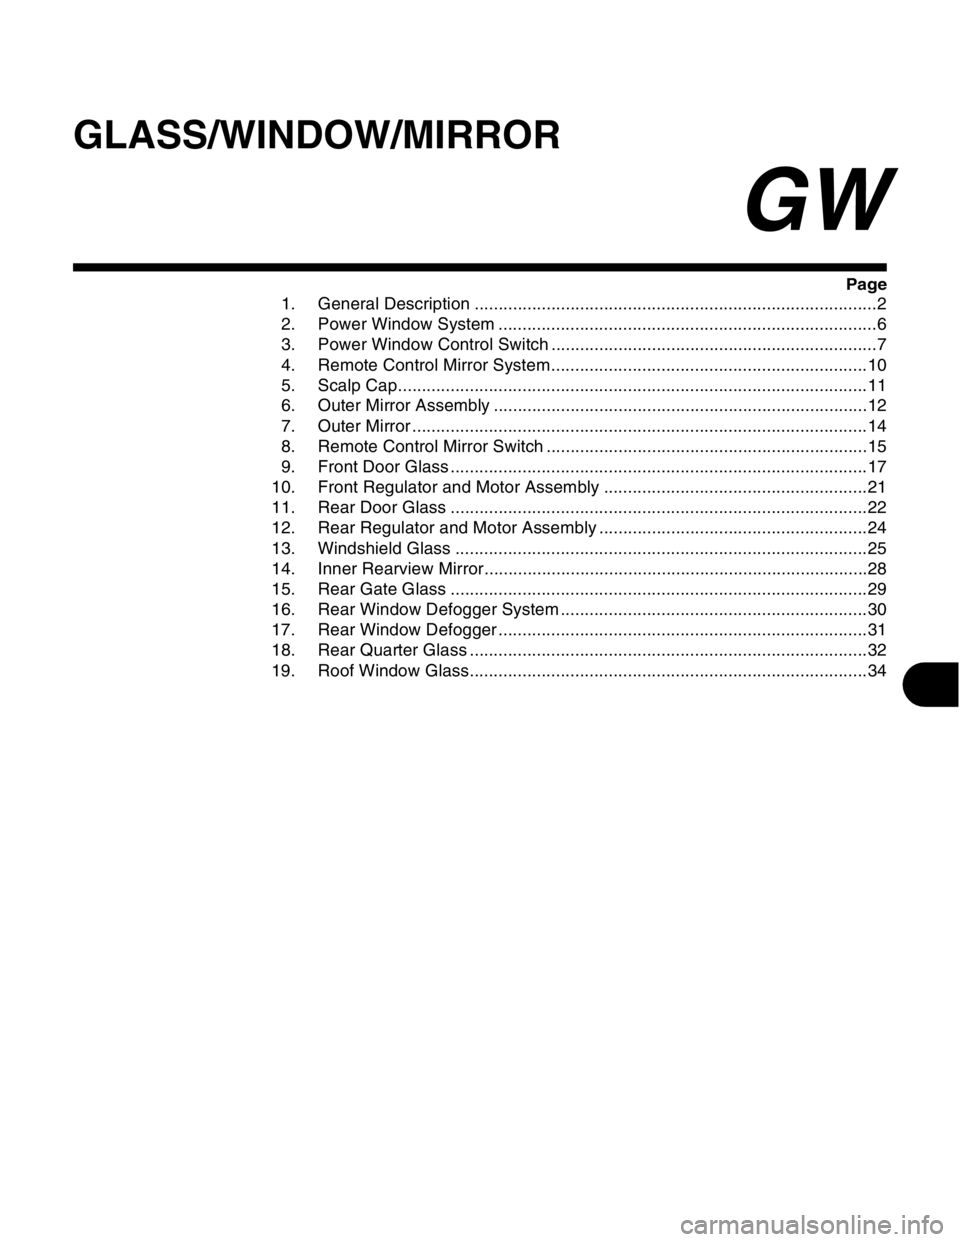
GLASS/WINDOW/MIRROR
GW
Page
1. General Description ....................................................................................2
2. Power Window System ...............................................................................6
3. Power Window Control Switch ....................................................................7
4. Remote Control Mirror System..................................................................10
5. Scalp Cap..................................................................................................11
6. Outer Mirror Assembly ..............................................................................12
7. Outer Mirror ...............................................................................................14
8. Remote Control Mirror Switch ...................................................................15
9. Front Door Glass .......................................................................................17
10. Front Regulator and Motor Assembly .......................................................21
11. Rear Door Glass .......................................................................................22
12. Rear Regulator and Motor Assembly ........................................................24
13. Windshield Glass ......................................................................................25
14. Inner Rearview Mirror................................................................................28
15. Rear Gate Glass .......................................................................................29
16. Rear Window Defogger System ................................................................30
17. Rear Window Defogger .............................................................................31
18. Rear Quarter Glass ...................................................................................32
19. Roof Window Glass...................................................................................34
Page 332 of 2870
GW-2
GLASS/WINDOW/MIRROR
General Description
1. General Description
A: COMPONENT
1. FIXED GLASS
(1) Windshield glass (5) Locate pin (9) Rear gate glass
(2) Dam rubber (6) Fastener (10) Spring
(3) Molding (7) Rear quarter glass (11) Cover C pillar
(4) Rearview mirror mount (8) Locate pin
GW-00326
(1)(2)
(3) (6)
(4)
(10)
(9)
(6) (8)
(7)
(3)
(11)(8)
(8)
(5)
(5)
Page 335 of 2870
GW-5
GLASS/WINDOW/MIRROR
General Description
4. MIRRORS
B: CAUTION
When the electrical connectors are disconnected, always conduct an operational check after connecting
them again.
Avoid impact and damage to glass.
C: PREPARATION TOOL
(1) Outer mirror (Large-sized) (4) Scalp cap (7) Spring
(2) Outer mirror (Standard) (5) Rearview mirror
(3) Mirror (6) Mount
TOOL NAME REMARKS
Circuit Tester Used for checking voltage and continuity.
Piano Wire Used for window glass removal.
Windshield Knife Used for window glass removal.
GW-00298
(1)
(7)
(3)
(5)
(6)
(3)
(2)
(4)
Page 340 of 2870
GW-10
GLASS/WINDOW/MIRROR
Remote Control Mirror System
4. Remote Control Mirror System
A: WIRING DIAGRAM
1. REMOTE CONTROL MIRROR
B: INSPECTION
Symptom Repair order
All function does not operate.(1) Fuse (F/B No. 4) (F/B No. 13) (F/B No. 17) (F/B No. 18)
(2) Mirror switch
(3) Wiring harness
One side of the mirror motor does not operate.(1) Mirror switch
(2) Mirror motor
(3) Wiring harness
Heated mirror does not operate.(1) Mirror switch
(2) Heated mirror
(3) Wiring harness
Page 341 of 2870
GW-11
GLASS/WINDOW/MIRROR
Scalp Cap
5. Scalp Cap
A: REPLACEMENT
1) Turn the rearview mirror downward.
2) Insert a thin screw driver, push the clip part of
scalp cap, and remove the scalp cap.
3) Insert the claw at the bottom of scalp cap into
door mirror.
4) Install the scalp cap securely.
GW-00224
GW-00299
Page 343 of 2870
GW-13
GLASS/WINDOW/MIRROR
Outer Mirror Assembly
C: INSPECTION
Check to ensure that the rearview mirror moves properly when battery voltage is applied to terminals.
Heated mirror not-equipped model:
If NG, replace the mirror.
Heated mirror equipped model:
If NG, replace the mirror.
Switch position Terminal No.
OFF —
UP 1 (+) and 3 (−)
DOWN 3 (+) and 1 (−)
LEFT 2 (+) and 3 (−)
RIGHT 3 (+) and 2 (−)
Switch position Terminal No.
OFF —
UP 2 (+) and 4 (−)
DOWN 4 (+) and 2 (−)
LEFT 3 (+) and 4 (−)
RIGHT 4 (+) and 3 (−)
Page 346 of 2870
GW-16
GLASS/WINDOW/MIRROR
Remote Control Mirror Switch
C: INSPECTION
Move the rearview mirror switch to each position
and check continuity between terminals.
Change over switch right position:
Change over switch left position:
If NG, replace the switch.
GW-00012
1 2
3 4 5 6
7 8 910
Switch position Terminal No. Standard
OFF — More than 1MΩ
UP 8 and 3, 6 and 7 Less than 1Ω
DOWN 8 and 6, 3 and 7 Less than 1Ω
LEFT 8 and 2, 6 and 7 Less than 1Ω
RIGHT 8 and 6, 2 and 7 Less than 1Ω
Switch position Terminal No. Standard
OFF — More than 1MΩ
UP 8 and 4, 6 and 7 Less than 1Ω
DOWN 8 and 6, 4 and 7 Less than 1Ω
LEFT 8 and 5, 6 and 7 Less than 1Ω
RIGHT 8 and 6, 5 and 7 Less than 1Ω
Page 358 of 2870
GW-28
GLASS/WINDOW/MIRROR
Inner Rearview Mirror
14.Inner Rearview Mirror
A: REMOVAL
NOTE:
The spring cannot be reused. Prepare a new spring
before removal.
1) Turn the mirror base 90 degrees clockwise or
counterclockwise to remove it.
2) Remove the spring from mirror base.
CAUTION:
Be careful not to damage the mirror surface.
3) If the mirror base is damaged, remove the mirror
base using piano wire or spatula, etc.
CAUTION:
Be careful not to damage the windshield glass.
B: INSTALLATION
1) If removing the mirror base, remove the remain-
ing adhesive thoroughly, and then fit the mirror
base to mark on windshield glass to install.
Adhesive:
REPAIR KIT IN MR (Part No. 65029FC000)
2) Verify that the mirror base is adhered securely,
and then install the spring.
3) Install in the reverse order of removal.
C: INSPECTION
1) Check that the mirror is not damaged.
2) Check that the spring is not damaged.
GW-00046
GW-00047