2004 PONTIAC GRAND PRIX lubricants
[x] Cancel search: lubricantsPage 235 of 432

The broken tape detection feature of your cassette tape
player may identify the cleaning cassette as a damaged
tape, in error. To prevent the cleaning cassette from
being ejected, use the following steps:
1. Turn the ignition on.
2. Turn the radio off.
3. Press and hold the CD TAPE button for ®ve
seconds. READY will appear on the display for
®ve seconds.
4. Insert the scrubbing action cleaning cassette.
5. Eject the cleaning cassette after the manufacturer's
recommended cleaning time.
After the cleaning cassette is ejected, the broken tape
detection feature will be active again.
You may also choose a non-scrubbing action, wet-type
cleaner which uses a cassette with a fabric belt to
clean the tape head. This type of cleaning cassette will
not eject on its own. A non-scrubbing action cleaner
may not clean as thoroughly as the scrubbing type
cleaner. The use of a non-scrubbing action, dry-type
cleaning cassette is not recommended.After you clean the player, press and hold the eject
button for ®ve seconds to reset the CLEAN PLAYER
indicator. The radio will display CLEANED to show the
indicator was reset.
Cassettes are subject to wear and the sound quality
may degrade over time. Always make sure the cassette
tape is in good condition before you have your tape
player serviced.
Care of Your CDs
Handle discs carefully. Store them in their original cases
or other protective cases and away from direct sunlight
and dust. If the surface of a disc is soiled, dampen
a clean, soft cloth in a mild, neutral detergent solution
and clean it, wiping from the center to the edge.
Be sure never to touch the side without writing when
handling discs. Pick up discs by grasping the outer
edges or the edge of the hole and the outer edge.
Care of Your CD Player
The use of CD lens cleaner discs is not advised, due to
the risk of contaminating the lens of the CD optics
with lubricants internal to the CD mechanism.
3-131
Page 301 of 432
What to Do with Used Oil
Used engine oil contains certain elements that may be
unhealthy for your skin and could even cause cancer.
Don't let used oil stay on your skin for very long. Clean
your skin and nails with soap and water, or a good
hand cleaner. Wash or properly dispose of clothing or
rags containing used engine oil. See the manufacturer's
warnings about the use and disposal of oil products.
Used oil can be a threat to the environment. If you
change your own oil, be sure to drain all the oil from
the ®lter before disposal. Never dispose of oil by putting
it in the trash, pouring it on the ground, into sewers,
or into streams or bodies of water. Instead, recycle it by
taking it to a place that collects used oil. If you have
a problem properly disposing of your used oil, ask your
dealer, a service station or a local recycling center
for help.
Supercharger Oil
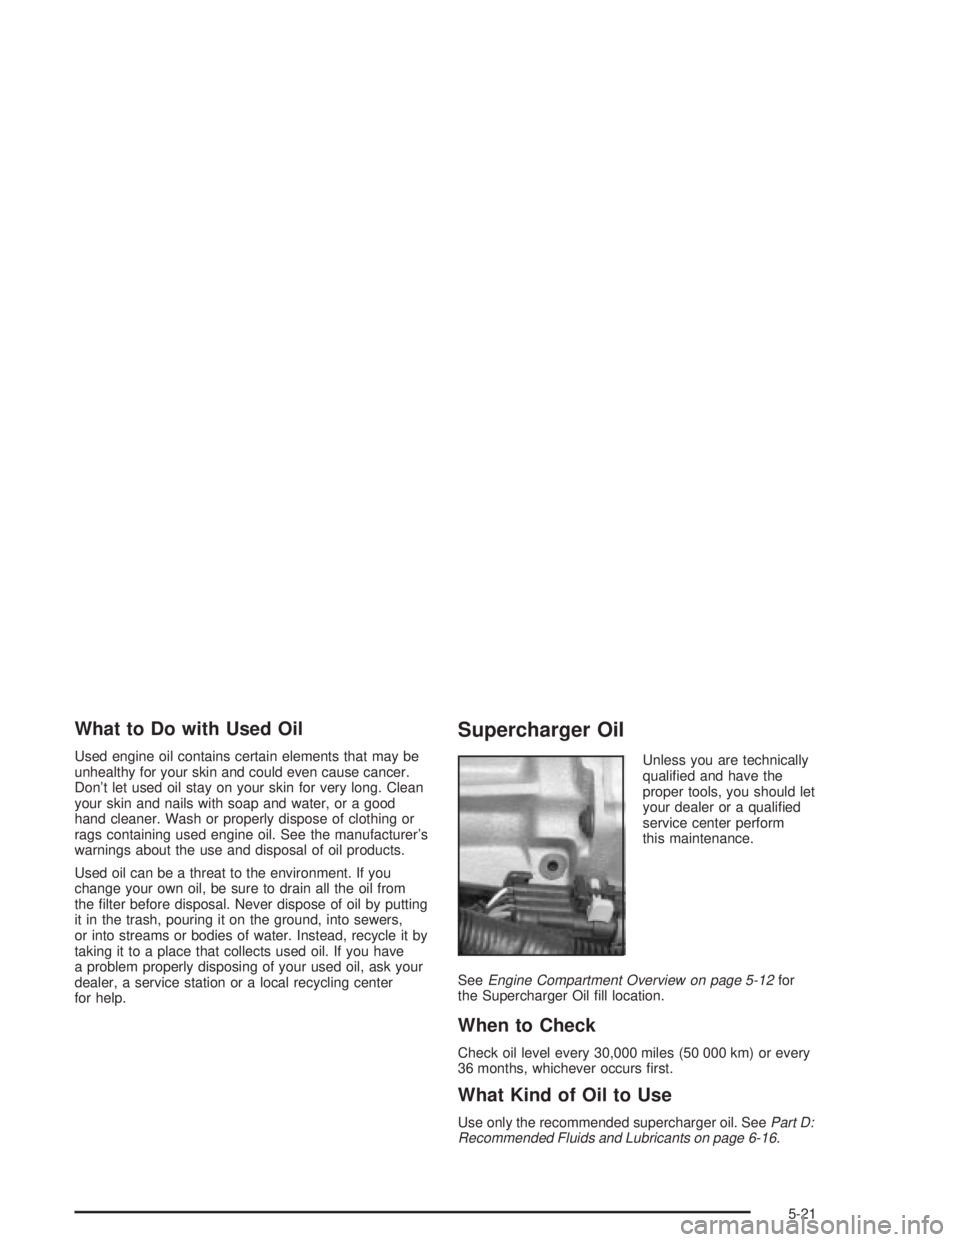
Unless you are technically
quali®ed and have the
proper tools, you should let
your dealer or a quali®ed
service center perform
this maintenance.
See
Engine Compartment Overview on page 5-12for
the Supercharger Oil ®ll location.
When to Check
Check oil level every 30,000 miles (50 000 km) or every
36 months, whichever occurs ®rst.
What Kind of Oil to Use
Use only the recommended supercharger oil. SeePart D:
Recommended Fluids and Lubricants on page 6-16.
5-21
Page 306 of 432
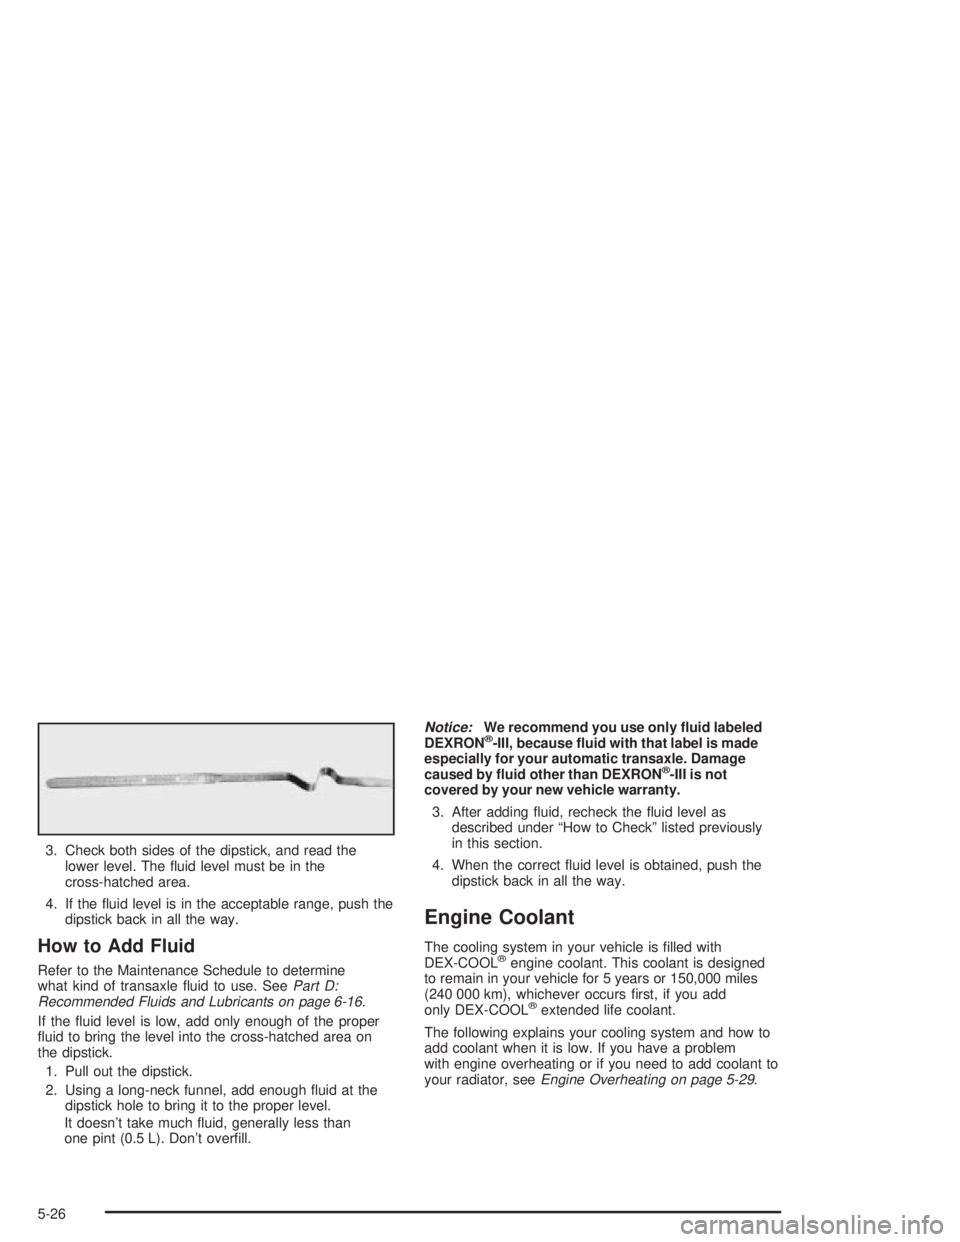
3. Check both sides of the dipstick, and read the
lower level. The ¯uid level must be in the
cross-hatched area.
4. If the ¯uid level is in the acceptable range, push the
dipstick back in all the way.
How to Add Fluid
Refer to the Maintenance Schedule to determine
what kind of transaxle ¯uid to use. SeePart D:
Recommended Fluids and Lubricants on page 6-16.
If the ¯uid level is low, add only enough of the proper
¯uid to bring the level into the cross-hatched area on
the dipstick.
1. Pull out the dipstick.
2. Using a long-neck funnel, add enough ¯uid at the
dipstick hole to bring it to the proper level.
It doesn't take much ¯uid, generally less than
one pint (0.5 L). Don't over®ll.
Notice:We recommend you use only ¯uid labeled
DEXRONž-III, because ¯uid with that label is made
especially for your automatic transaxle. Damage
caused by ¯uid other than DEXRON
ž-III is not
covered by your new vehicle warranty.
3. After adding ¯uid, recheck the ¯uid level as
described under ªHow to Checkº listed previously
in this section.
4. When the correct ¯uid level is obtained, push the
dipstick back in all the way.
Engine Coolant
The cooling system in your vehicle is ®lled with
DEX-COOLžengine coolant. This coolant is designed
to remain in your vehicle for 5 years or 150,000 miles
(240 000 km), whichever occurs ®rst, if you add
only DEX-COOL
žextended life coolant.
The following explains your cooling system and how to
add coolant when it is low. If you have a problem
with engine overheating or if you need to add coolant to
your radiator, see
Engine Overheating on page 5-29.
5-26
Page 323 of 432

The ¯uid level should be between the ADD and HOT
marks when the engine is cold
When the engine compartment is hot, the level should
be at the HOT mark.
If the ¯uid is at the ADD mark when the engine is cold
or hot, you should add power steering ¯uid.
What to Use
To determine what kind of ¯uid to use, seePart D:
Recommended Fluids and Lubricants on page 6-16.
Always use the proper ¯uid. Failure to use the proper
¯uid can cause leaks and damage hoses and seals.
Windshield Washer Fluid
When to Add
This symbol, along with
the LOW WASHER FLUID
message will appear in
the Driver's Information
Center (DIC) when
the windshield washer
¯uid is low.
What to Use
When you need to add windshield washer ¯uid, be sure
to read the manufacturer's instructions before use.
If you will be operating your vehicle in an area where
the temperature may fall below freezing, use a ¯uid that
has sufficient protection against freezing.
5-43
Page 326 of 432
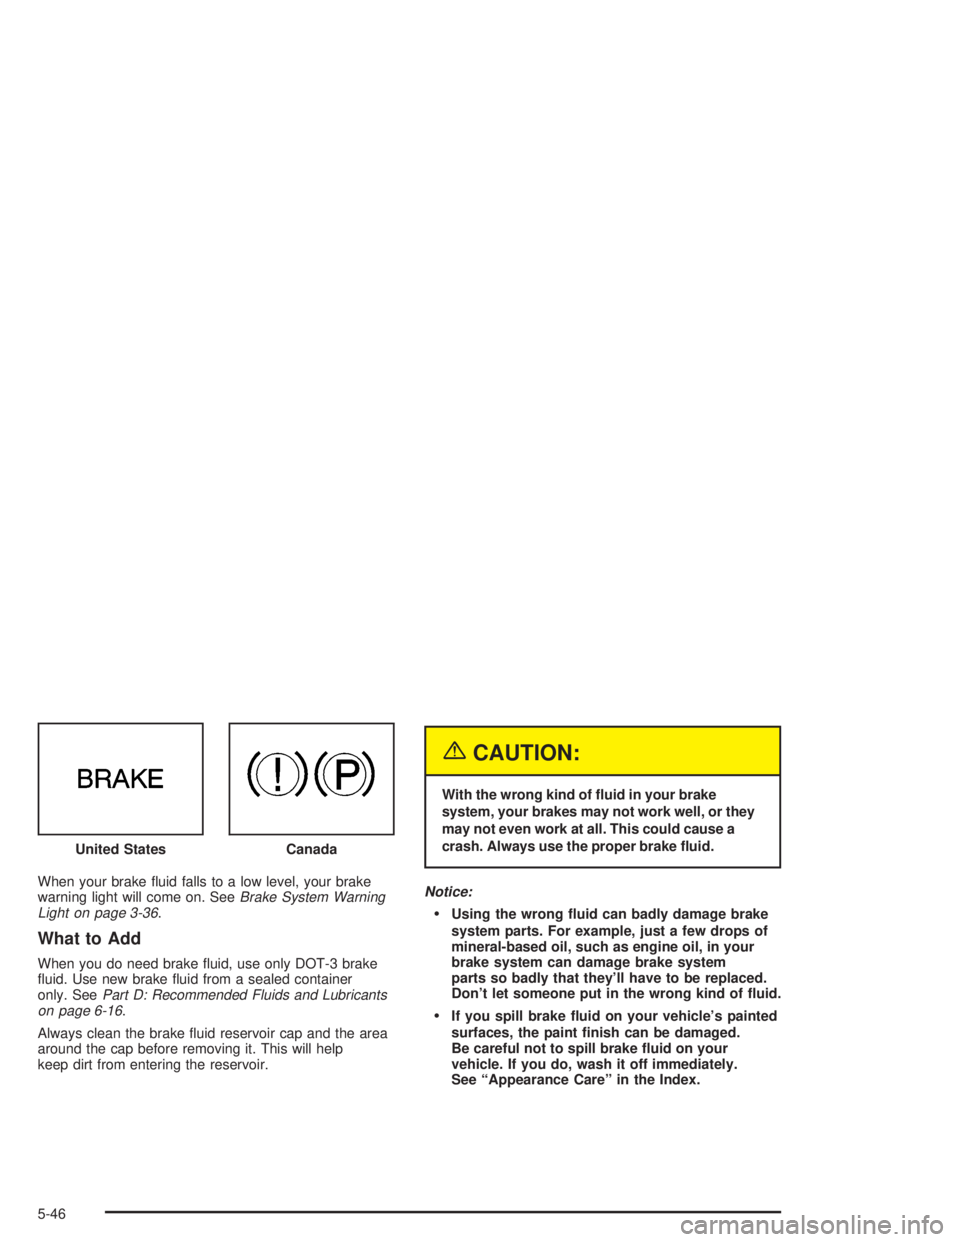
When your brake ¯uid falls to a low level, your brake
warning light will come on. SeeBrake System Warning
Light on page 3-36.
What to Add
When you do need brake ¯uid, use only DOT-3 brake
¯uid. Use new brake ¯uid from a sealed container
only. See
Part D: Recommended Fluids and Lubricants
on page 6-16.
Always clean the brake ¯uid reservoir cap and the area
around the cap before removing it. This will help
keep dirt from entering the reservoir.
{CAUTION:
With the wrong kind of ¯uid in your brake
system, your brakes may not work well, or they
may not even work at all. This could cause a
crash. Always use the proper brake ¯uid.
Notice:
·Using the wrong ¯uid can badly damage brake
system parts. For example, just a few drops of
mineral-based oil, such as engine oil, in your
brake system can damage brake system
parts so badly that they'll have to be replaced.
Don't let someone put in the wrong kind of ¯uid.
·If you spill brake ¯uid on your vehicle's painted
surfaces, the paint ®nish can be damaged.
Be careful not to spill brake ¯uid on your
vehicle. If you do, wash it off immediately.
See ªAppearance Careº in the Index. United States
Canada
5-46
Page 373 of 432
Care of Safety Belts
Keep belts clean and dry.
{CAUTION:
Do not bleach or dye safety belts. If you do, it
may severely weaken them. In a crash, they
might not be able to provide adequate
protection. Clean safety belts only with mild
soap and lukewarm water.
Weatherstrips
Silicone grease on weatherstrips will make them last
longer, seal better, and not stick or squeak. Apply
silicone grease with a clean cloth at least every six
months. During very cold, damp weather more frequent
application may be required. See
Part D: Recommended
Fluids and Lubricants on page 6-16.
Cleaning the Outside of Your
Vehicle
The paint ®nish on your vehicle provides beauty, depth
of color, gloss retention and durability.
Washing Your Vehicle
The best way to preserve your vehicle's ®nish is to keep it
clean by washing it often with lukewarm or cold water.
Don't wash your vehicle in the direct rays of the sun.
Use a car washing soap. Don't use strong soaps
or chemical detergents. Be sure to rinse the vehicle
well, removing all soap residue completely. You can get
GM-approved cleaning products from your dealer.
See
GM Vehicle Care/Appearance Materials on
page 5-96. Don't use cleaning agents that are petroleum
based, or that contain acid or abrasives. All cleaning
agents should be ¯ushed promptly and not allowed
to dry on the surface, or they could stain. Dry the ®nish
with a soft, clean chamois or an all-cotton towel to
avoid surface scratches and water spotting.
High pressure car washes may cause water to enter
your vehicle.
5-93
Page 377 of 432
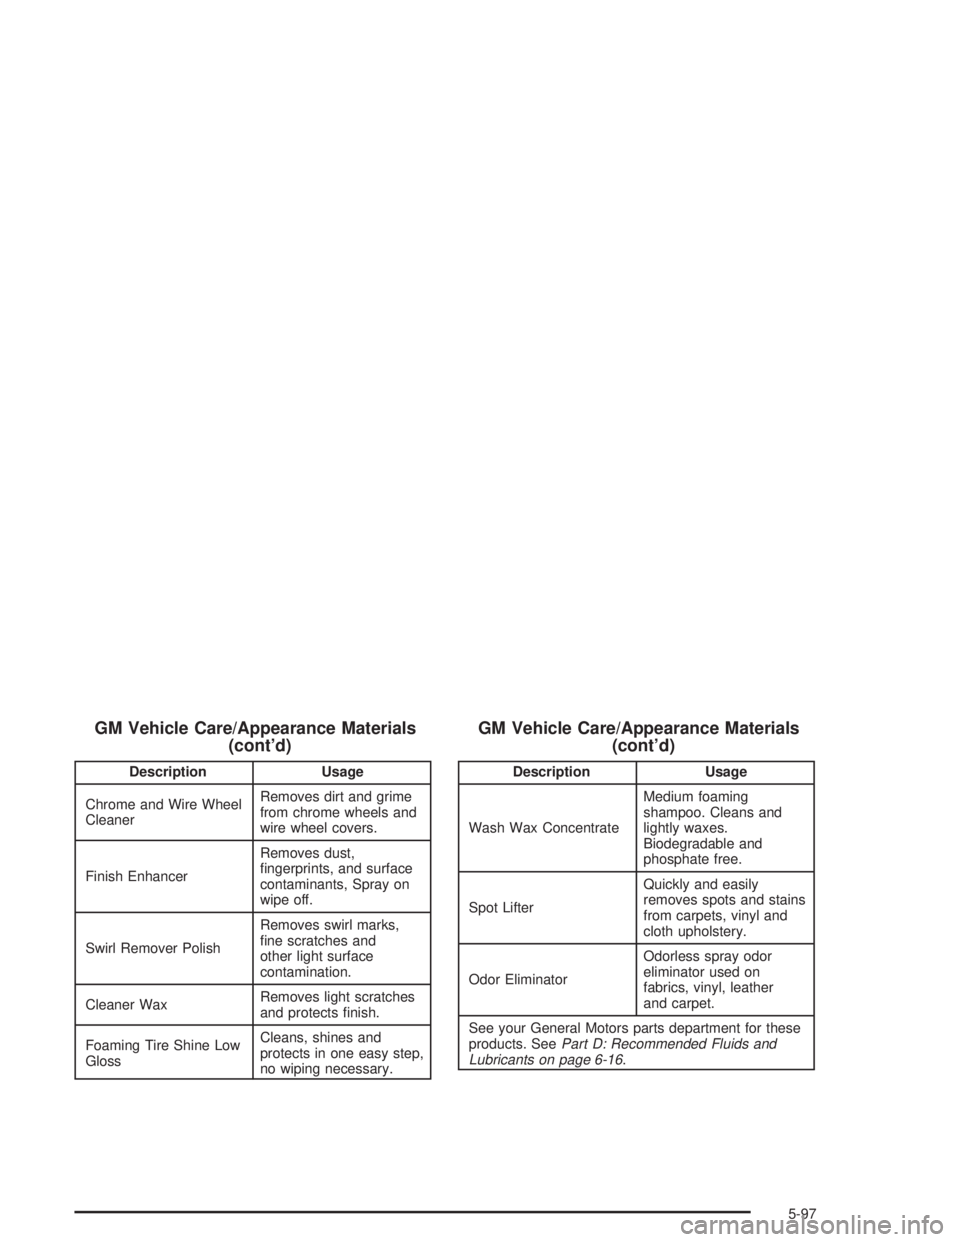
GM Vehicle Care/Appearance Materials
(cont'd)
Description Usage
Chrome and Wire Wheel
CleanerRemoves dirt and grime
from chrome wheels and
wire wheel covers.
Finish EnhancerRemoves dust,
®ngerprints, and surface
contaminants, Spray on
wipe off.
Swirl Remover PolishRemoves swirl marks,
®ne scratches and
other light surface
contamination.
Cleaner WaxRemoves light scratches
and protects ®nish.
Foaming Tire Shine Low
GlossCleans, shines and
protects in one easy step,
no wiping necessary.
GM Vehicle Care/Appearance Materials
(cont'd)
Description Usage
Wash Wax ConcentrateMedium foaming
shampoo. Cleans and
lightly waxes.
Biodegradable and
phosphate free.
Spot LifterQuickly and easily
removes spots and stains
from carpets, vinyl and
cloth upholstery.
Odor EliminatorOdorless spray odor
eliminator used on
fabrics, vinyl, leather
and carpet.
See your General Motors parts department for these
products. See
Part D: Recommended Fluids and
Lubricants on page 6-16.
5-97
Page 384 of 432
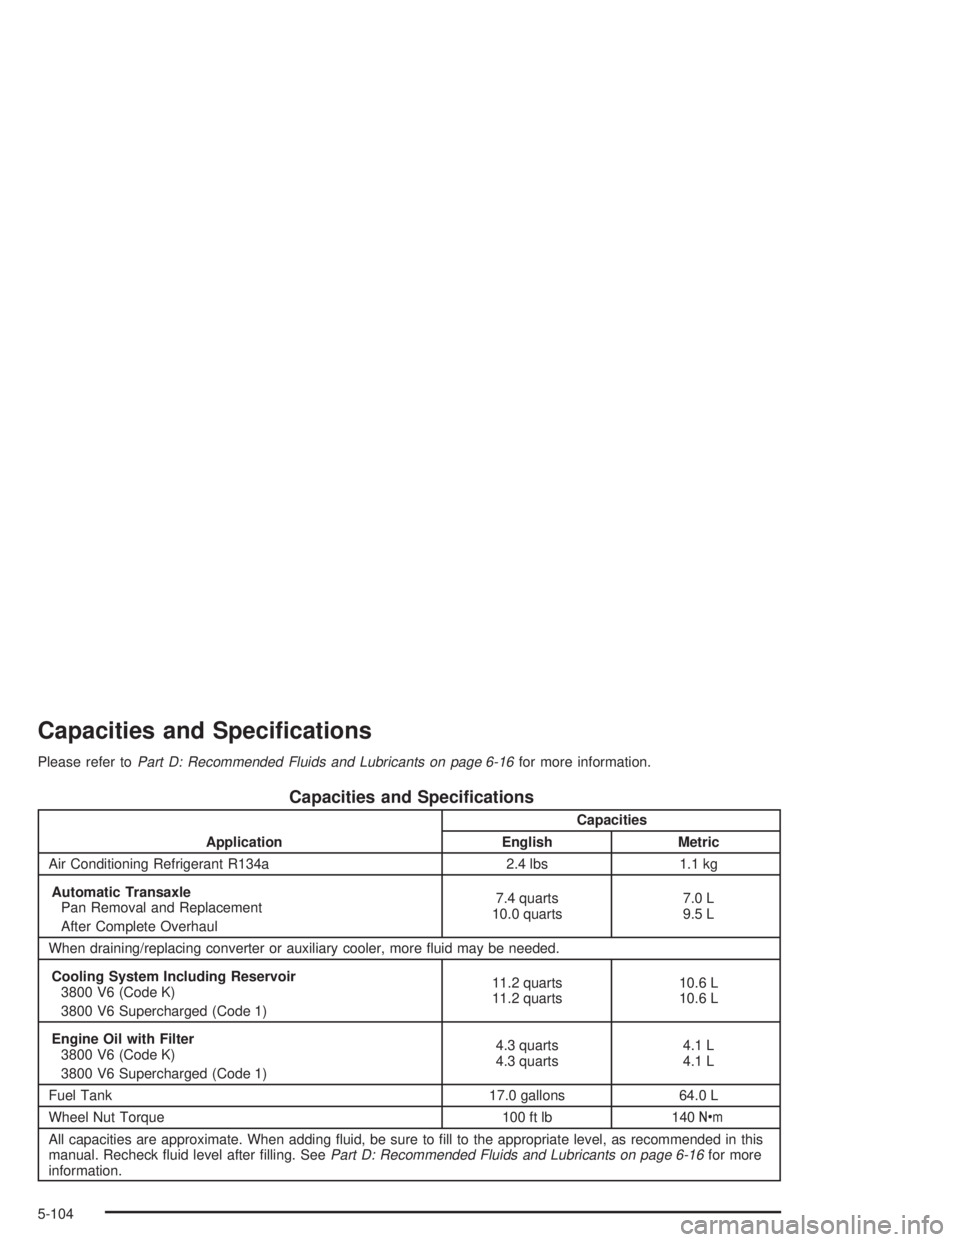
Capacities and Speci®cations
Please refer toPart D: Recommended Fluids and Lubricants on page 6-16for more information.
Capacities and Speci®cations
ApplicationCapacities
English Metric
Air Conditioning Refrigerant R134a 2.4 lbs 1.1 kg
Automatic Transaxle
Pan Removal and Replacement
After Complete Overhaul7.4 quarts
10.0 quarts7.0 L
9.5 L
When draining/replacing converter or auxiliary cooler, more ¯uid may be needed.
Cooling System Including Reservoir
3800 V6 (Code K)
3800 V6 Supercharged (Code 1)11.2 quarts
11.2 quarts10.6 L
10.6 L
Engine Oil with Filter
3800 V6 (Code K)
3800 V6 Supercharged (Code 1)4.3 quarts
4.3 quarts4.1 L
4.1 L
Fuel Tank 17.0 gallons 64.0 L
Wheel Nut Torque 100 ft lb 140Y
All capacities are approximate. When adding ¯uid, be sure to ®ll to the appropriate level, as recommended in this
manual. Recheck ¯uid level after ®lling. See
Part D: Recommended Fluids and Lubricants on page 6-16for more
information.
5-104