2004 PONTIAC BONNEVILLE instrument cluster
[x] Cancel search: instrument clusterPage 89 of 446
Sun Visors
To block out glare, you can swing down the visors. You
can also remove them from the center mount and
swing them to the side.
Visor Vanity Mirror
Open the cover to expose the vanity mirror.
If your vehicle has the optional lighted vanity mirrors,
the lamps come on when you open the cover.
Theft-Deterrent Systems
Vehicle theft is big business, especially in some cities.
Although your vehicle has a number of theft-deterrent
features, we know that nothing we put on it can make it
impossible to steal.
Universal Theft-Deterrent
If your vehicle has this feature, it has a theft-deterrent
alarm system. With this system, the SECURITY light will
�ash as you open the door if your ignition is in OFF.This light on the instrument
panel cluster reminds you
to activate the
theft-deterrent system
when leaving your vehicle.
To activate the system, do the following:
1. Open the door.
2. Lock the door with the power door lock switch while
the door is open, or use the remote keyless entry
transmitter (if equipped). The SECURITY light
should come on and stay on.
3. Close all doors. The SECURITY light should go off
after about 30 seconds and the system will then be
armed.
If the SECURITY light comes on for one minute and
then shuts off while the ignition is on, the security
system has detected a problem. See your dealer for
service.
If a door is opened without the key or remote keyless
entry transmitter, or if the door key cylinders are
damaged, the alarm will go off. The exterior lamps will
�ash and the horn will sound for 30 seconds, then will go
off in order to save battery power.
2-21
Page 94 of 446

Ignition Positions
With the key in the ignition,
you can turn to four
different positions.
Notice:If your key seems stuck in OFF and you
can’t turn it, be sure you are using the correct key;
if so, is it all the way in? If it is, then turn the
steering wheel left and right while you turn the key
hard. Turn the key only with your hand. Using a
tool to force it could break the key or the ignition
switch. If none of these works, then your vehicle
needs service.OFF:This is the only position from which you can
remove the key. This position locks your ignition and
transaxle. It is a theft-deterrent feature.
ACC (Accessory):In this position you can operate your
electrical accessories such as power windows, sunroof (if
equipped), audio system and windshield wipers.
ON:This is the position the switch returns to after you
start your engine and release the switch. Even when
the engine is not running, you can use ON to operate
your electrical accessories and to display some
instrument panel cluster warning lights. This is the
position for driving your vehicle.
START:This position starts the engine. When the
engine starts, release the key. The ignition switch will
return to ON for normal driving.
Even if the engine is not running, ACC and ON are
positions that allow you to operate your electrical
accessories.
Key Reminder Warning
If you leave your key in OFF you will hear a warning
tone when you open the driver’s door.
2-26
Page 121 of 446
Instrument Panel Overview...............................3-4
Hazard Warning Flashers................................3-6
Other Warning Devices...................................3-6
Horn.............................................................3-7
Tilt Wheel.....................................................3-7
Turn Signal/Multifunction Lever.........................3-7
Windshield Wiper Lever.................................3-13
Exterior Lamps.............................................3-14
Interior Lamps..............................................3-18
Head-Up Display (HUD).................................3-22
Accessory Power Outlets...............................3-25
Ashtrays and Cigarette Lighter........................3-26
Climate Controls............................................3-27
Climate Control System.................................3-27
Automatic Climate Control System...................3-29
Outlet Adjustment.........................................3-34
Climate Controls Personalization.....................3-35
Warning Lights, Gages, and Indicators............3-36
Instrument Panel Cluster................................3-37
Speedometer and Odometer...........................3-39
Tachometer.................................................3-40
Safety Belt Reminder Light.............................3-40
Air Bag Readiness Light................................3-41
Voltmeter Gage............................................3-42Brake System Warning Light..........................3-42
Anti-Lock Brake System Warning Light.............3-44
Traction Control System (TCS) Warning Light......3-45
Low Traction Active Light...............................3-46
Engine Coolant Temperature Gage..................3-47
Tire Pressure Light.......................................3-48
Malfunction Indicator Lamp.............................3-48
Oil Pressure Gage........................................3-52
Check Oil Level Light....................................3-53
Security Light...............................................3-53
Low Washer Fluid Warning Light.....................3-53
Check Gages Warning Light...........................3-54
Door Ajar Light.............................................3-54
Trunk Ajar Light............................................3-55
Service Vehicle Soon Light............................3-55
Fuel Gage...................................................3-56
Systems Monitor............................................3-57
Driver Information Center (DIC).......................3-58
DIC Controls and Displays.............................3-58
DIC Warnings and Messages.........................3-61
Driver Identi�er DIC Display...........................3-63
DIC Vehicle Personalization............................3-64
Secondary Information Center (SIC).................3-70
Electronic Compass......................................3-70
Section 3 Instrument Panel
3-1
Page 128 of 446

Turn and Lane-Change Signals
The turn signal has two upward (for right) and two
downward (for left) positions. These positions allow you
to signal a turn or a lane change.
To signal a turn, move the lever all the way up or down.
When the turn is �nished, the lever will return
automatically.
An arrow on the instrument
panel cluster will �ash in
the direction of the
turn or lane change.
To signal a lane change, just raise or lower the lever
until the arrow starts to �ash. Hold it there until you
complete your lane change. The lever will return by itself
when you release it.If the arrows �ash very fast as you signal a turn or a
lane change, a signal bulb may be burned out and other
drivers will not see your turn signal. If a bulb is burned
out, replace it to help avoid an accident. SeeBulb
Replacement on page 5-52.
If the arrows do not go on at all when you signal a turn,
check the fuse. SeeFuses and Circuit Breakers on
page 5-101.
Turn Signal On Chime
If your turn signal is left on for more than 3/4 of a mile
(1.2 km), a chime will sound at each �ash of the
turn signal. To turn off the chime, move the turn signal
lever to the off position.
3-8
Page 129 of 446
Headlamp High/Low-Beam Changer
To change the headlamps from low beam to high beam,
push the lever forward. To change from high beam to
low beam, pull the turn signal lever toward you,
then release it.
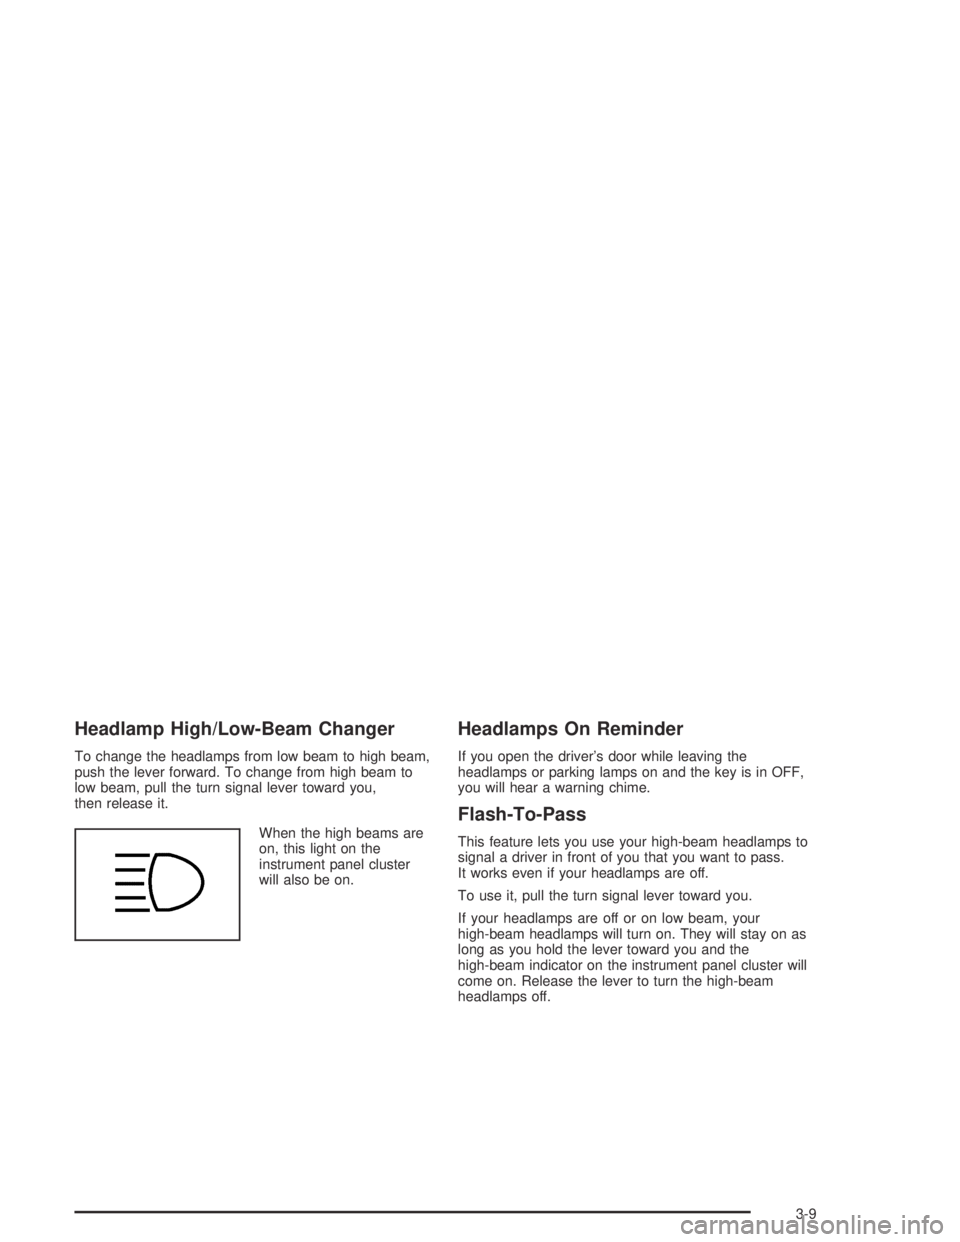
When the high beams are
on, this light on the
instrument panel cluster
will also be on.
Headlamps On Reminder
If you open the driver’s door while leaving the
headlamps or parking lamps on and the key is in OFF,
you will hear a warning chime.
Flash-To-Pass
This feature lets you use your high-beam headlamps to
signal a driver in front of you that you want to pass.
It works even if your headlamps are off.
To use it, pull the turn signal lever toward you.
If your headlamps are off or on low beam, your
high-beam headlamps will turn on. They will stay on as
long as you hold the lever toward you and the
high-beam indicator on the instrument panel cluster will
come on. Release the lever to turn the high-beam
headlamps off.
3-9
Page 133 of 446
Windshield Wiper Lever
Windshield Wipers
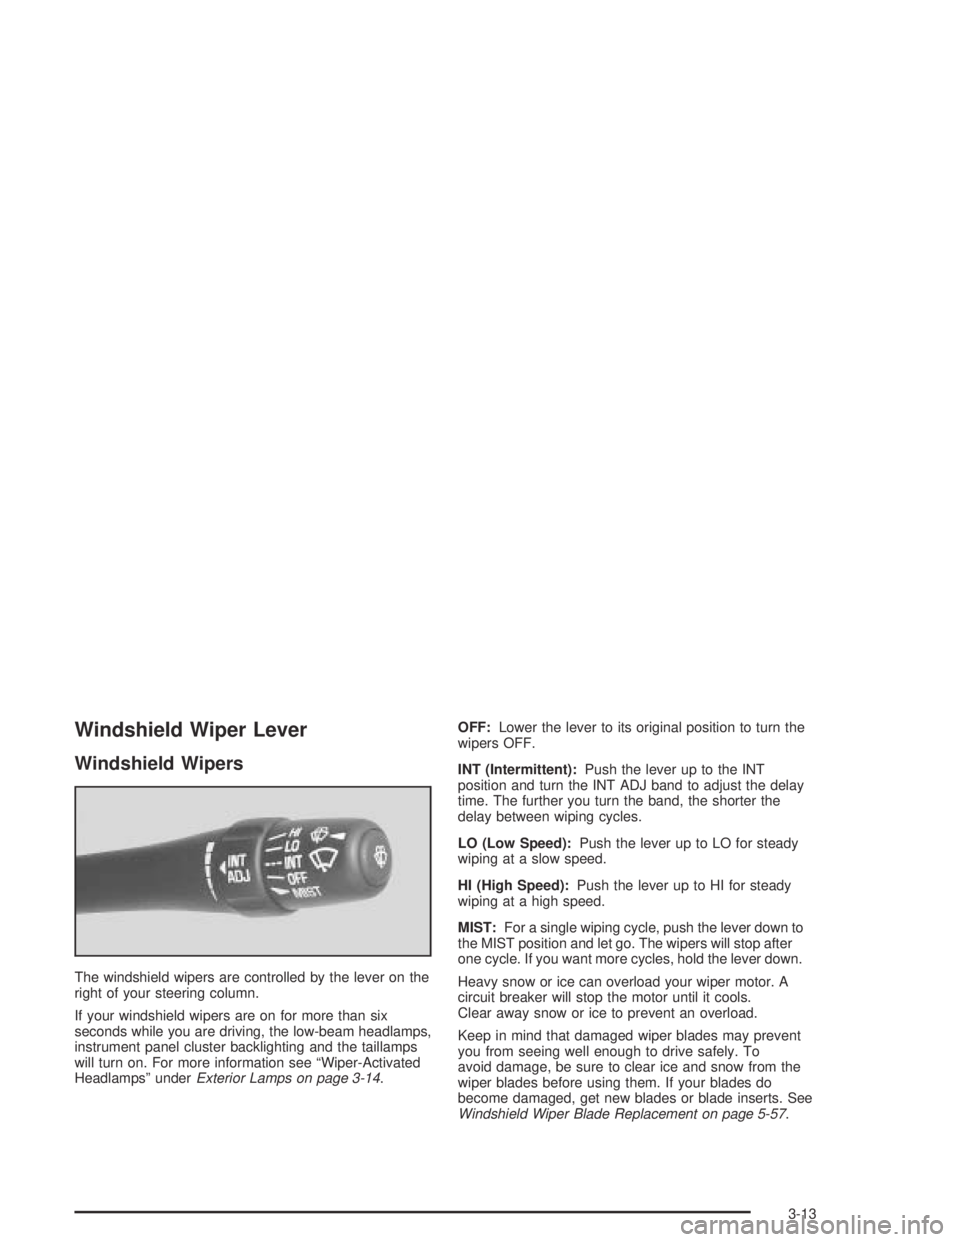
The windshield wipers are controlled by the lever on the
right of your steering column.
If your windshield wipers are on for more than six
seconds while you are driving, the low-beam headlamps,
instrument panel cluster backlighting and the taillamps
will turn on. For more information see “Wiper-Activated
Headlamps” underExterior Lamps on page 3-14.OFF:Lower the lever to its original position to turn the
wipers OFF.
INT (Intermittent):Push the lever up to the INT
position and turn the INT ADJ band to adjust the delay
time. The further you turn the band, the shorter the
delay between wiping cycles.
LO (Low Speed):Push the lever up to LO for steady
wiping at a slow speed.
HI (High Speed):Push the lever up to HI for steady
wiping at a high speed.
MIST:For a single wiping cycle, push the lever down to
the MIST position and let go. The wipers will stop after
one cycle. If you want more cycles, hold the lever down.
Heavy snow or ice can overload your wiper motor. A
circuit breaker will stop the motor until it cools.
Clear away snow or ice to prevent an overload.
Keep in mind that damaged wiper blades may prevent
you from seeing well enough to drive safely. To
avoid damage, be sure to clear ice and snow from the
wiper blades before using them. If your blades do
become damaged, get new blades or blade inserts. See
Windshield Wiper Blade Replacement on page 5-57.
3-13
Page 135 of 446

;(Parking Lamps):Turn the switch to this position
to turn on the parking lamps, together with the
following:
Sidemarker Lamps
Taillamps
License Plate Lamps
Instrument Panel Lights
3(Headlamps):Turn the switch to this position to
turn on the headlamps, together with the previously
listed lamps and lights.
Wiper-Activated Headlamps
This feature turns on the low-beam headlamps,
instrument panel cluster backlighting and taillamps
when the Twilight Sentinel
®is in day mode and after
the windshield wipers have been in use for about
six seconds.
To operate the wiper-activated headlamps, the Twilight
Sentinel
®must be on. If the wiper-activated headlamps
are on and the ignition switch is turned to ON, the
wiper-activated headlamps will continue. When you turn
the key to OFF, the wiper-activated headlamps will
immediately turn off. The wiper-activated headlamps will
also turn off if you turn off the Twilight Sentinel
®or
the windshield wipers.
Daytime Running Lamps
Daytime Running Lamps (DRL) can make it easier for
others to see the front of your vehicle during the
day. DRL can be helpful in many different driving
conditions, but they can be especially helpful in the short
periods after dawn and before sunset. Fully functional
daytime running lamps are required on all vehicles
�rst sold in Canada.
A light sensor on top of the instrument panel monitors
the exterior light level for the operation of DRL and
Twilight Sentinel
®, so be sure it is not covered. The DRL
system will make your high-beam headlamps come
on at a reduced brightness when the following conditions
are met:
The ignition is on.
The exterior lamp control is off.
The transaxle is not in PARK (P).
When the DRL are on, only your high-beam headlamps
will be on at reduced intensity. The taillamps,
sidemarker and other lamps will not be on. Your
instrument panel will not be lit either.
3-15
Page 138 of 446
Interior Lamps
Instrument Panel Brightness
When it is dark outside, you can brighten or dim your
instrument panel cluster lights using the DIM knob,
located to the left of the steering wheel on the instrument
panel.
Turn the knob clockwise to brighten the instrument
panel cluster lights and displays. Turn the knob
clockwise all the way to turn on the interior courtesy
lamps. Turn the knob counterclockwise to dim the
instrument panel cluster lights and displays and to turn
off the courtesy lamps.
Courtesy Lamps
If it is dark enough outside, when any door is opened,
several lamps will come on. They make it easier for you
to enter and leave the vehicle. Turn the dimmer knob all
the way clockwise to turn the interior courtesy lamps on.
Entry Lighting
If it is dark enough outside and you press the unlock
button on the remote keyless entry transmitter (if
equipped), the interior courtesy lamps will come on and
stay on for about 25 seconds. The lamps will turn off
immediately by pressing the lock button on the remote
keyless entry transmitter, by turning the ignition key
to ON or by activating the power door locks.
If a door is left ajar, your interior lamps will turn off after
10 minutes to save your battery.
Delayed Entry Lighting
When you open the door to enter your vehicle, the
interior lamps will come on if it is dark enough outside.
When you close the door with the ignition off, the
interior lamps will stay on for 25 seconds or until the
ignition is turned on. Locking the doors with the power
door lock switch, or with the lock button on the
remote keyless entry transmitter (if equipped), will
override the delayed entry lighting and the lamps will
turn off immediately.
3-18