Page 151 of 446

PASS (Passenger’s Side Temperature):The knob on
the right is used to change the temperature of the air
coming through the system on the passenger’s side of
the vehicle. Push this knob to turn the system on
and off. Turn the knob toward the blue area to decrease
the set temperature, and toward the red area to
increase the set temperature. When this knob is
adjusted, only the word PASS will be displayed under
the set temperature.
9(Fan):Press the Fan button to display and hold the
current fan speed while in manual mode. Press the
HIGH side to increase fan speed and the LOW side to
decrease the fan speed.
MODE:Press this button repeatedly to cycle through
and choose the mode of air delivery into the vehicle. The
system will stay in the selected mode until MODE is
pressed again or until the AUTO button is pressed.
FLOOR:This mode directs most of the air�ow to the
�oor outlets with some directed to the outboard
outlets (for the side windows) and the windshield.
BI-LEVEL:This mode directs air�ow through the
instrument panel outlets and slightly warmer air through
the �oor outlets.PANEL:This mode directs air�ow through the
instrument panel outlets.
Whenever MODE is pressed, the display will show the
current system settings for �ve seconds before
returning the display to the exterior temperature.
The mode button can also be used to select the DEFOG
mode. Information on defogging and defrosting can
be found later in this section.:OUTSIDE AIR:Press this button to turn the
OUTSIDE AIR mode on or off. When this mode is on,
outside air will circulate through your vehicle. When the
button is pressed, an indicator light in the button will
come on to let you know that it is activated. The
OUTSIDE AIR mode can be used with all modes except
the recirculation mode.
If you are in city traffic, and your vehicle is stopped and
idling, or the weather is hot, the system may switch
from the OUTSIDE AIR mode to the recirculation mode.
To prevent the air inside of your vehicle from becoming
too stale, be sure to return to the outside air mode
periodically.
3-31
Page 159 of 446

Speedometer and Odometer
Your speedometer lets you see your speed in miles per
hour (mph) or kilometers per hour (km/h). Your
odometer shows how far your vehicle has been driven,
in either miles (used in the United States) or kilometers
(used in Canada).
The speedometer shows a top speed of 140 mph
(220 km/h). This is not intended to be the vehicle’s top
speed.
Your vehicle is equipped with a tamper resistant
odometer. If you see ERROR displayed, you will know
that someone has probably tried to turn it back.
You may wonder what happens if your vehicle needs a
new odometer installed. If the new one can be set to
the mileage total of the old odometer, then it must
be. But if it cannot, then it is set at zero and a label must
be put on the driver’s door to show the old mileage
reading when the new odometer was installed.
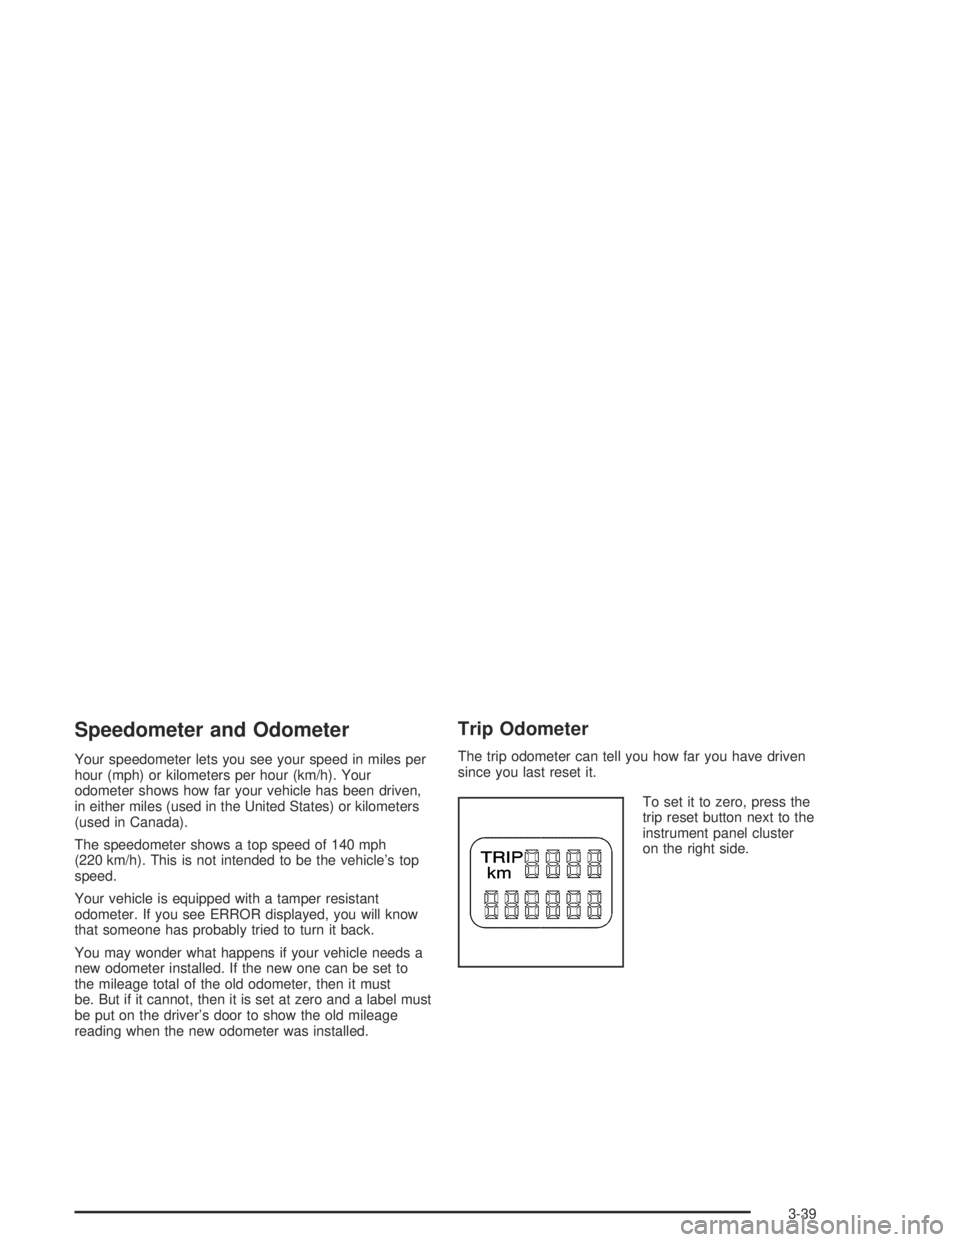
Trip Odometer
The trip odometer can tell you how far you have driven
since you last reset it.
To set it to zero, press the
trip reset button next to the
instrument panel cluster
on the right side.
3-39
Page 161 of 446

Air Bag Readiness Light
There is an air bag readiness light on the instrument
panel, which shows AIR BAG. The system checks
the air bag’s electrical system for malfunctions. The light
tells you if there is an electrical problem. The system
check includes the air bag sensors, the air bag modules,
the wiring and the crash sensing and diagnostic
module. For more information on the air bag system,
seeAir Bag Systems on page 1-51.
This light will come on
when you start your
vehicle, and it will �ash for
a few seconds. Then the
light should go out. This
means the system is ready.
If the air bag readiness light stays on after you start the
vehicle or comes on when you are driving, your air
bag system may not work properly. Have your vehicle
serviced right away.{CAUTION:
If the air bag readiness light stays on after you
start your vehicle, it means the air bag system
may not be working properly. The air bags in
your vehicle may not in�ate in a crash, or they
could even in�ate without a crash. To help avoid
injury to yourself or others, have your vehicle
serviced right away if the air bag readiness light
stays on after you start your vehicle.
The air bag readiness light should �ash for a few
seconds when you turn the ignition key to ON. If the
light doesn’t come on then, have it �xed so it will
be ready to warn you if there is a problem.
On vehicles with the DIC, a SERVICE AIR BAG
message will be displayed when there is a problem with
the air bag system. SeeDIC Warnings and Messages
on page 3-61for more information.
3-41
Page 162 of 446

Voltmeter Gage
When your engine is not
running, but the ignition
key is turned to ON,
this gage shows the state
of the battery charge in
DC volts.
When the ignition is running, the gage shows the
condition of the charging system. Readings between the
shaded warning zones indicate the normal operating
range. Readings in the shaded warning zones indicate a
possible problem in the electrical system.On vehicles with the systems monitor, the CHECK
GAGES light will also come on, and a warning chime
will sound if there is a problem in the electrical system.
Have your vehicle serviced immediately.
On vehicles with a DIC, a CHECK CHARGE SYSTEM
message will be displayed and a warning chime will
sound if there is a problem in the electrical system. Have
your vehicle serviced immediately. SeeDIC Warnings
and Messages on page 3-61for more information.
Brake System Warning Light
Your vehicle’s hydraulic brake system is divided into two
parts. If one part is not working, the other part can
still work and stop you. For good braking, though, you
need both parts working well.
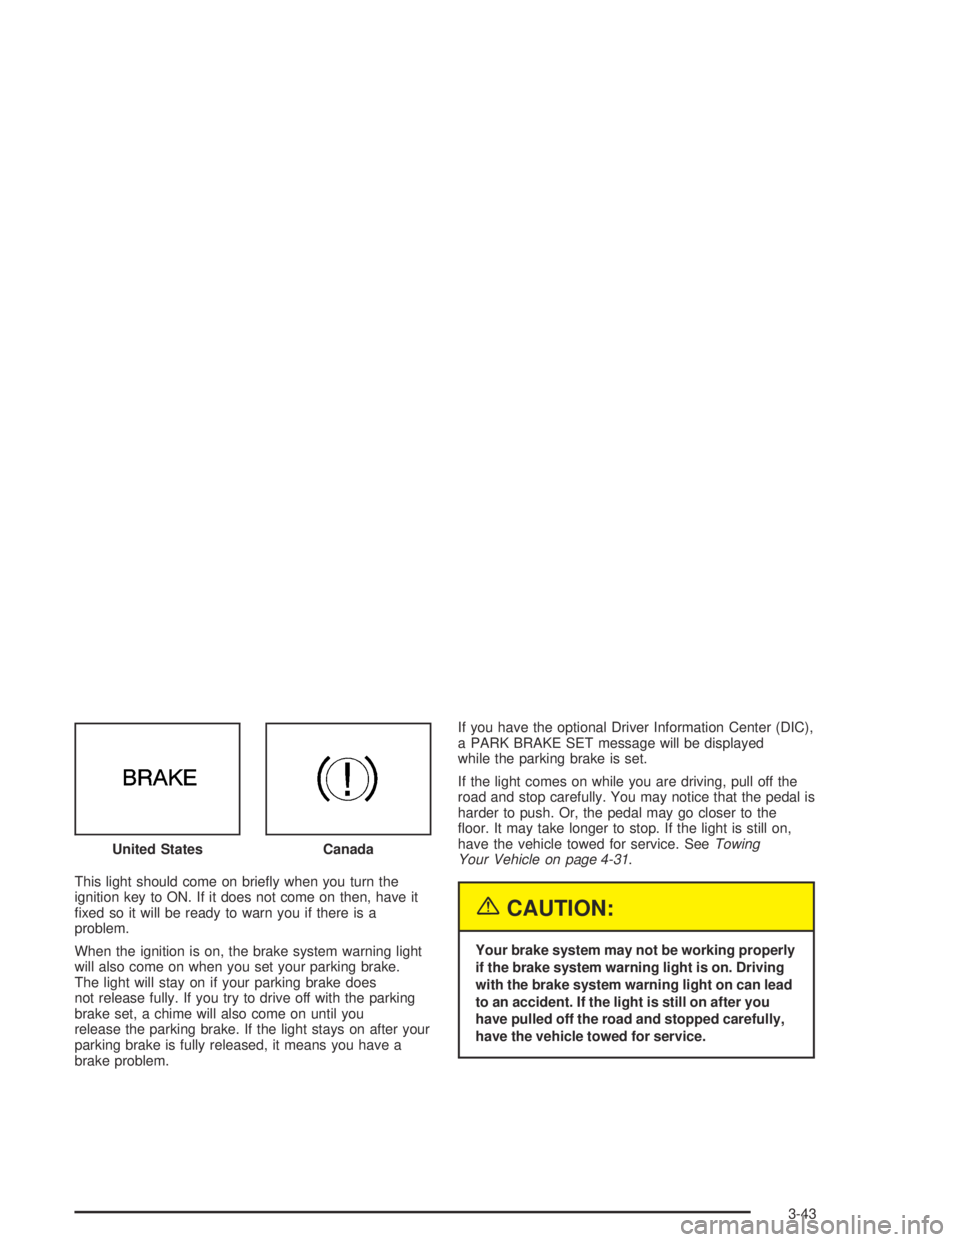
If the warning light comes on, there is a brake problem.
Have your brake system inspected right away.
3-42
Page 163 of 446

This light should come on brie�y when you turn the
ignition key to ON. If it does not come on then, have it
�xed so it will be ready to warn you if there is a
problem.
When the ignition is on, the brake system warning light
will also come on when you set your parking brake.
The light will stay on if your parking brake does
not release fully. If you try to drive off with the parking
brake set, a chime will also come on until you
release the parking brake. If the light stays on after your
parking brake is fully released, it means you have a
brake problem.If you have the optional Driver Information Center (DIC),
a PARK BRAKE SET message will be displayed
while the parking brake is set.
If the light comes on while you are driving, pull off the
road and stop carefully. You may notice that the pedal is
harder to push. Or, the pedal may go closer to the
�oor. It may take longer to stop. If the light is still on,
have the vehicle towed for service. SeeTowing
Your Vehicle on page 4-31.
{CAUTION:
Your brake system may not be working properly
if the brake system warning light is on. Driving
with the brake system warning light on can lead
to an accident. If the light is still on after you
have pulled off the road and stopped carefully,
have the vehicle towed for service. United States
Canada
3-43
Page 167 of 446
Engine Coolant Temperature Gage
This gage shows the engine coolant temperature.
To prevent engine overheating, the air conditioning
compressor will turn off automatically just prior to the
gage pointer entering the shaded area.As the engine cools down, the air conditioning
compressor will automatically turn back on. On vehicles
equipped with the DIC, the message ENGINE HOT... A/C
DISABLED will appear in the DIC display and a warning
chime will sound.
If the gage pointer moves into the shaded area, your
engine is too hot. On vehicles equipped with the
systems monitor, the CHECK GAGES light will come on
and a warning chime will sound.
On vehicles with a DIC, a CHECK GAGES
TEMPERATURE message will be displayed and a
warning chime will sound. SeeDIC Warnings and
Messages on page 3-61for more information.
SeeEngine Overheating on page 5-29, for information
on what to do if your engine overheats. United States
Canada
3-47
Page 172 of 446

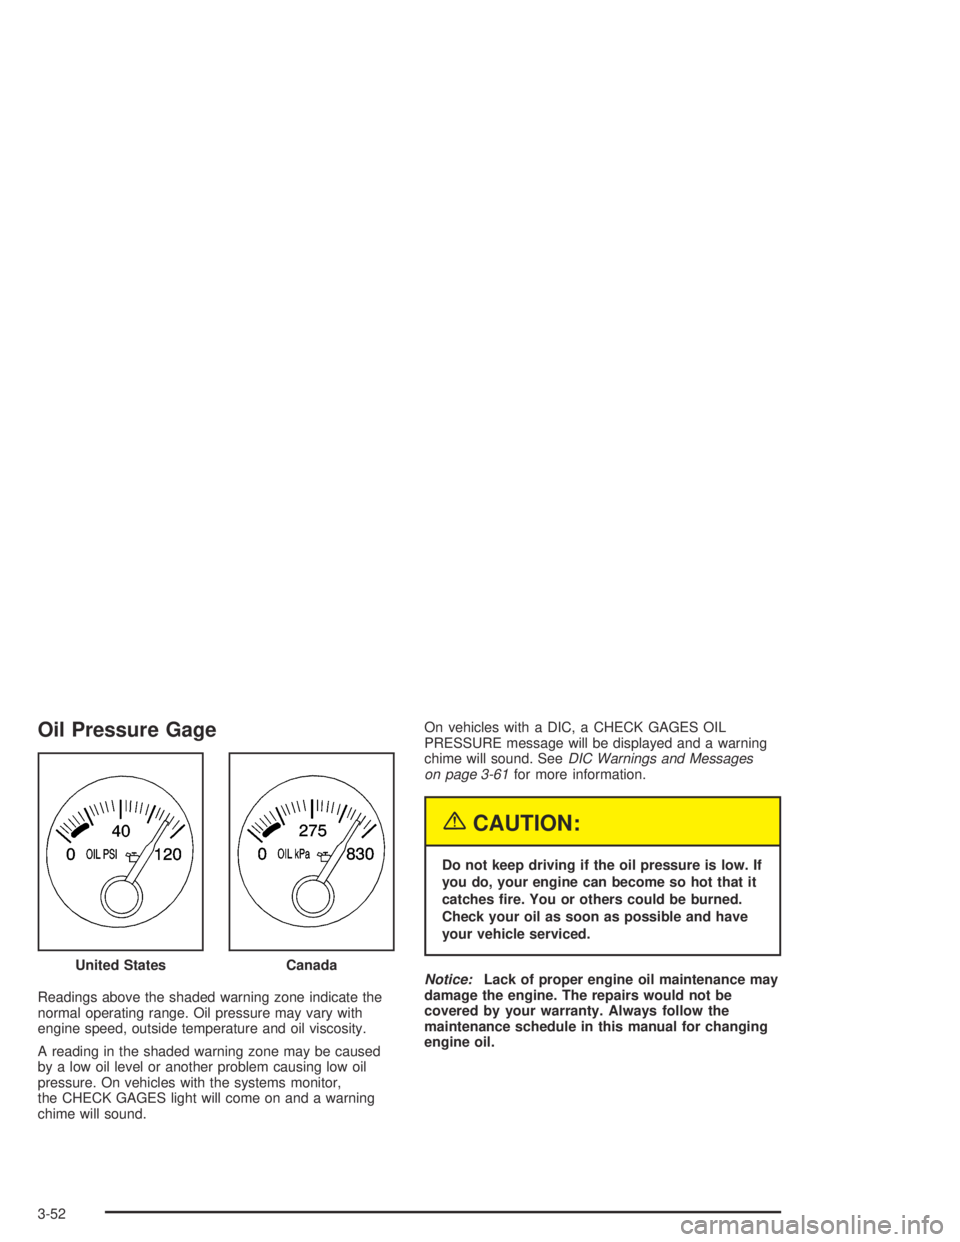
Oil Pressure Gage
Readings above the shaded warning zone indicate the
normal operating range. Oil pressure may vary with
engine speed, outside temperature and oil viscosity.
A reading in the shaded warning zone may be caused
by a low oil level or another problem causing low oil
pressure. On vehicles with the systems monitor,
the CHECK GAGES light will come on and a warning
chime will sound.On vehicles with a DIC, a CHECK GAGES OIL
PRESSURE message will be displayed and a warning
chime will sound. SeeDIC Warnings and Messages
on page 3-61for more information.
{CAUTION:
Do not keep driving if the oil pressure is low. If
you do, your engine can become so hot that it
catches �re. You or others could be burned.
Check your oil as soon as possible and have
your vehicle serviced.
Notice:Lack of proper engine oil maintenance may
damage the engine. The repairs would not be
covered by your warranty. Always follow the
maintenance schedule in this manual for changing
engine oil. United States
Canada
3-52
Page 174 of 446
Check Gages Warning Light
If your vehicle has the
systems monitor, this light
will come on brie�y as a
bulb check when your
ignition is turned to ON.
If this light comes on and stays on while you are driving,
check your gages for fuel, coolant temperature, oil
pressure and voltage.
Door Ajar Light
If your vehicle has the
systems monitor, this light
will come on and a warning
chime will sound when the
driver’s door or one of the
passenger’s doors is not
completely closed.
On vehicles with a DIC, the door that is ajar will be shown
as an icon next to the vehicle outline and a message will
appear on the display. SeeDIC Warnings and Messages
on page 3-61for more information.
3-54