Page 2 of 128

22-12-2003
3YOUR PARTNER AT A GLANCE
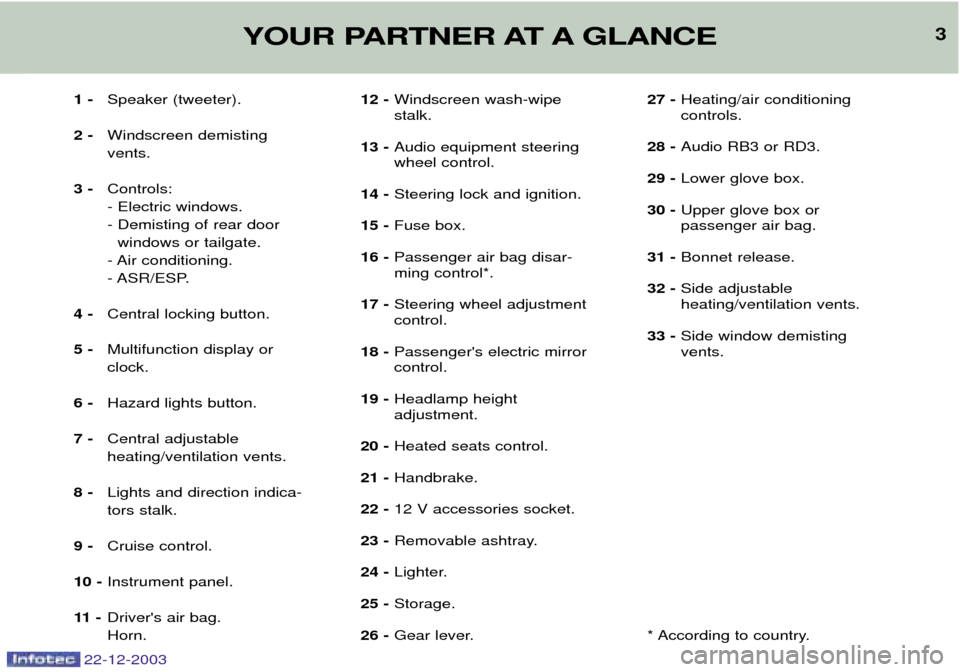
1 -Speaker (tweeter).
2 - Windscreen demisting vents.
3 - Controls:- Electric windows.
- Demisting of rear door
windows or tailgate.
- Air conditioning.
- ASR/ESP.
4 - Central locking button.
5 - Multifunction display or clock.
6 - Hazard lights button.
7 - Central adjustable heating/ventilation vents.
8 - Lights and direction indica-tors stalk.
9 - Cruise control.
10 - Instrument panel.
11 - Driver's air bag.Horn. 12 -
Windscreen wash-wipe stalk.
13 - Audio equipment steeringwheel control.
14 - Steering lock and ignition.
15 - Fuse box.
16 - Passenger air bag disar-ming control*.
17 - Steering wheel adjustmentcontrol.
18 - Passenger's electric mirrorcontrol.
19 - Headlamp height adjustment.
20 - Heated seats control.
21 - Handbrake.
22 - 12 V accessories socket.
23 - Removable ashtray.
24 - Lighter.
25 - Storage.
26 - Gear lever. 27 -
Heating/air conditioningcontrols.
28 - Audio RB3 or RD3.
29 - Lower glove box.
30 - Upper glove box or passenger air bag.
31 - Bonnet release.
32 - Side adjustableheating/ventilation vents.
33 - Side window demistingvents.
* According to country.
Page 5 of 128
6YOUR PARTNER AT A GLANCE
FRONT SEATS Driver and passenger seats 1- Head restraint height adjust-
ment.
Never travel with the head restraints removed.
2 - Seat back angle adjustment.
3 - Forwards-backwards adjust-
ment.
4 - Storage drawer (passenger).
5 - Access to rear seats.
54
22-12-2003
Page 54 of 128
22-12-2003
YOUR PARTNER IN DETAIL
54
FRONT SEATS
1- Head restraint height
adjustment
To raise or lower the restraint, slide it.
To remove the head restraint, place it in the top position, press the tabsand pull it upwards.
To put it back in position, locate the stems of the restraint in the holes,taking care to keep them in line withthe seat back.
2- Seat back angle adjustment A. Turn the knob.
B. Pull the lever (version with one
sliding side door only).
3- Forwards-backwards adjustment
Lift the control and slide the seat forwards or backwards.
The adjustment is correct when the upper edge of the headrestraint is level with the top ofthe head.
Page 62 of 128

22-12-2003
YOUR PARTNER IN DETAIL
62
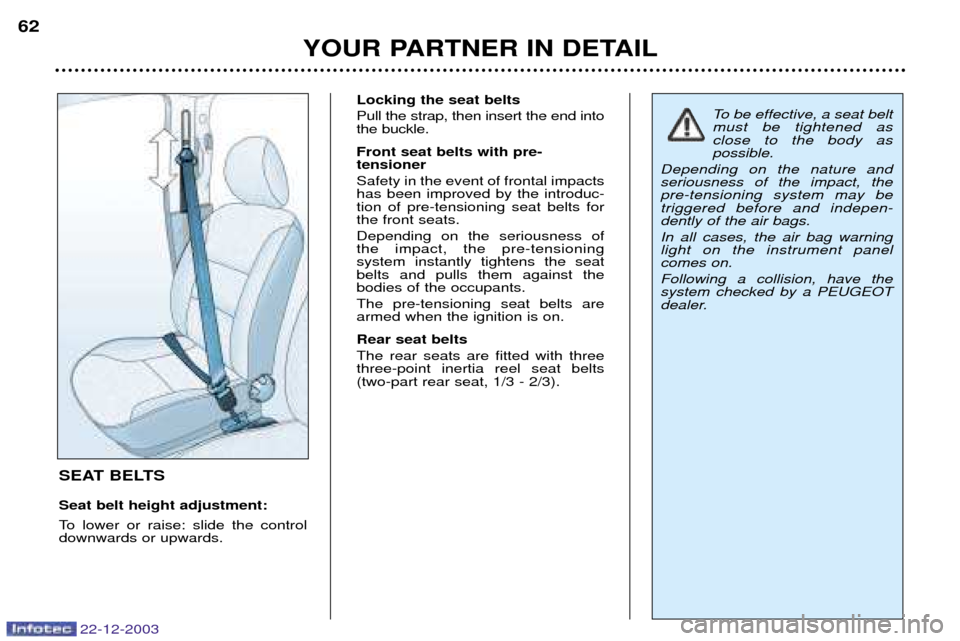
SEAT BELTS Seat belt height adjustment:
To lower or raise: slide the control downwards or upwards. Locking the seat belts Pull the strap, then insert the end into the buckle. Front seat belts with pre- tensioner Safety in the event of frontal impacts has been improved by the introduc-tion of pre-tensioning seat belts forthe front seats. Depending on the seriousness of the impact, the pre-tensioning system instantly tightens the seatbelts and pulls them against thebodies of the occupants. The pre-tensioning seat belts are armed when the ignition is on. Rear seat belts The rear seats are fitted with three three-point inertia reel seat belts(two-part rear seat, 1/3 - 2/3).
To be effective, a seat belt must be tightened asclose to the body as possible.
Depending on the nature andseriousness of the impact, thepre-tensioning system may betriggered before and indepen-dently of the air bags. In all cases, the air bag warning light on the instrument panelcomes on. Following a collision, have the system checked by a PEUGEOT
dealer.
Page 82 of 128
22-12-2003
YOUR PARTNER IN DETAIL77
AREAS FOR TOLL CARDS /
CAR PARK TICKETS The athermic windscreen has two non-reflective zones located eitherside of the base of the interior
mirror.
They are intended for affixing toll cards and/or car park tickets. HEADLAMP ADJUSTMENT Depending on the load in your vehicle, it is recommended that theheadlamp beam is adjusted. 0 -
1 or 2 people in the front seats.
Ð - 3 people.
1 - 5 people.
2 - 5 people + maximum authorised load.
3 - Driver + maximum authorisedload.
Initial setting is position 0.