Page 1264 of 3870
Fig. 60: Installing O
-Ring
Courtesy of MITSUBISHI MOTOR SALES OF AMERICA.
> >B<< ENGINE COOLANT TEMPERATURE SENSOR INSTALLATION Apply the specified sealant to the thread of the engine coolant temperature sensor,
and then tighten it to the specified torque.
Specified Sealant:3M(tm) AAD part number 8371 or equivalent
2004 Mitsubishi Endeavor Limited 2004 ENGINE Engine Cooling - Endeavor
Page 1265 of 3870
Fig. 61: Installing Engine Coolant Temperature Sensor
Courtesy of MITSUBISHI MOTOR SALES OF AMERICA.
> >C<< RADIATOR UPPER HOSE CONNECTION 1. Insert each hose as far as the projection of the water outlet fitting.
2. Align the mating marks on the radiator hose and hose clamp, and then connect
the radiator hose.
2004 Mitsubishi Endeavor Limited 2004 ENGINE Engine Cooling - Endeavor
Page 1326 of 3870
INSTALLATION SERVICE POINT>>A<< BOOST SENSOR INSTALLATION
>>B<< THROTTLE BODY GASKET INSTALLATION Install the throttle body gasket so that the tab is positioned as shown in the
illustration.
Fig. 8: Installing The Throttle Body Gasket
Courtesy of MITSUBISHI MOTOR SALES OF AMERICA.
CAUTION:
Do not strike or drop to the sensor. Never use a sensor that has been dropped.
2004 Mitsubishi Endeavor Limited 2004 ENGINE Engine Overhaul - Endeavor
Page 1333 of 3870
Fig. 15: Tightening The Camshaft Position Sensing Cylinder Bolt
Courtesy of MITSUBISHI MOTOR SALES OF AMERICA.
>>B<< CAMSHAFT POSITION SENSOR SUPPORT INSTALLATION Apply a 3 mm (0.12 inch) diameter bead of sealant Mitsubishi Genuine Parts
number MD970389, or e
quivalent to the camshaft
position sensor su
pport.
2004 Mitsubishi Endeavor Limited 2004 ENGINE Engine Overhaul - Endeavor
Page 1334 of 3870
Fig. 16: Installing Camshaft Position Sensor Support
Courtesy of MITSUBISHI MOTOR SALES OF AMERICA.
TIMING BELT REMOVAL AND INSTALLATION
2004 Mitsubishi Endeavor Limited 2004 ENGINE Engine Overhaul - Endeavor
Page 1370 of 3870
Fig. 48: Installing Thermostat
Courtesy of MITSUBISHI MOTOR SALES OF AMERICA.
>>D<< SEALANT APPLICATION TO ENGINE COOLANT TEMPERATURE SENSOR Apply 3M< SD >TM< /SD > AAD Part number 8731 or equivalent to the engine
coolant tem
perature sensor.
2004 Mitsubishi Endeavor Limited 2004 ENGINE Engine Overhaul - Endeavor
Page 1470 of 3870
Fig. 139: Installing Block Heater
Courtesy of MITSUBISHI MOTOR SALES OF AMERICA.
>>B<< KNOCK SENSOR BRACKET INSTALLATION Check that the bracket is in proper contact with the cylinder block boss and tighten
to the specified torque in the order shown.
Tightening torque: 28+/-2 N.m (21+/-1 ft-lb)
Fig. 140: Installing Knock Sensor Bracket
Courtesy of MITSUBISHI MOTOR SALES OF AMERICA.
>>C<< CRANKSHAFT BEARING INSTALLATION
2004 Mitsubishi Endeavor Limited 2004 ENGINE Engine Overhaul - Endeavor
Page 1518 of 3870

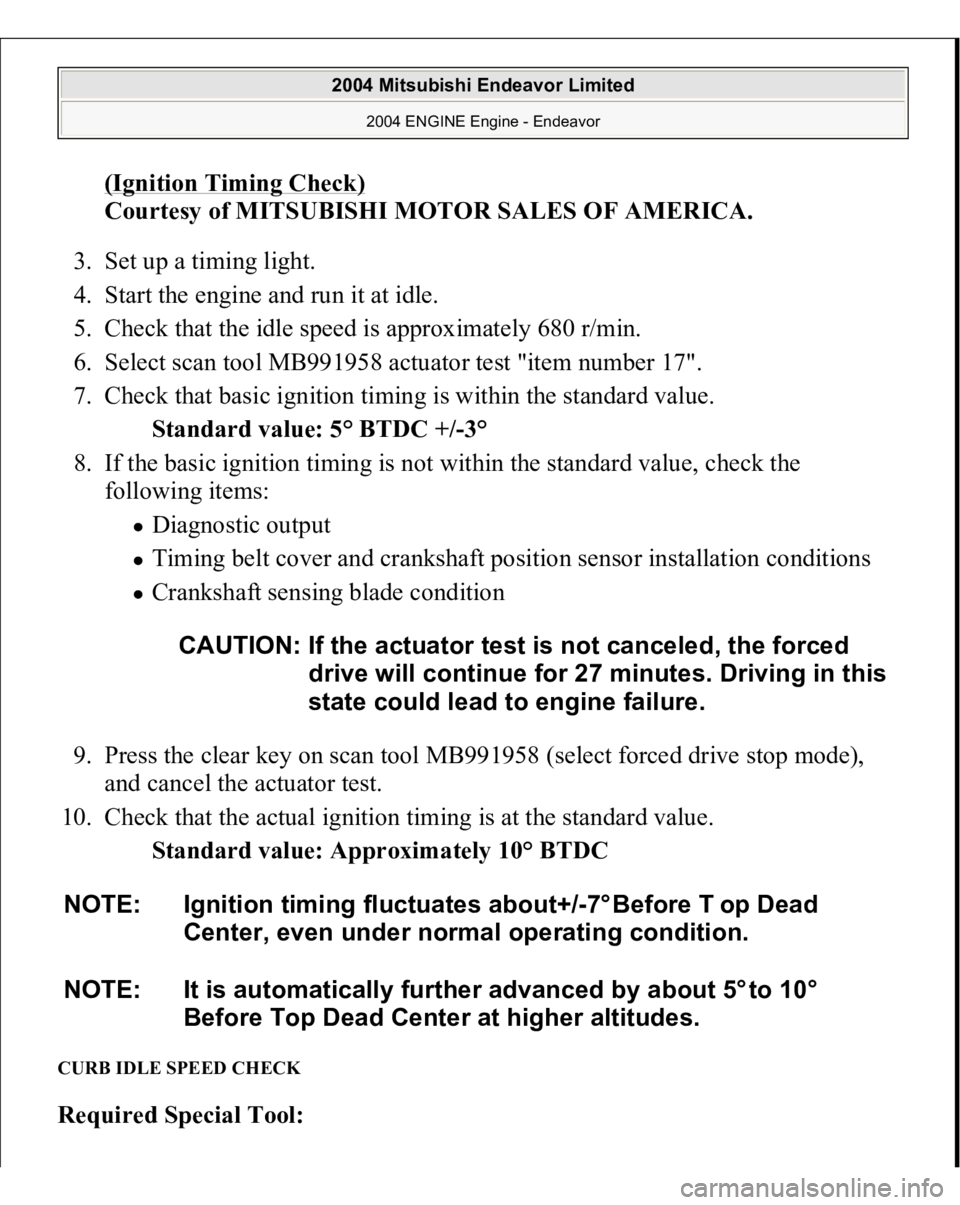
(Ignition Timing Check)
Courtesy of MITSUBISHI MOTOR SALES OF AMERICA.
3. Set up a timing light.
4. Start the engine and run it at idle.
5. Check that the idle speed is approximately 680 r/min.
6. Select scan tool MB991958 actuator test "item number 17".
7. Check that basic ignition timing is within the standard value.
Standard value: 5° BTDC +/-3°
8. If the basic ignition timing is not within the standard value, check the
following items:
Diagnostic output Timing belt cover and crankshaft position sensor installation conditions Crankshaft sensing blade condition
9. Press the clear key on scan tool MB991958 (select forced drive stop mode),
and cancel the actuator test.
10. Check that the actual ignition timing is at the standard value.
Standard value: Approximately 10° BTDC
CURB IDLE SPEED CHECK Required Special Tool:
CAUTION: If the actuator test is not canceled, the forced
drive will continue for 27 minutes. Driving in this
state could lead to engine failure.
NOTE: Ignition timing fluctuates about+/-7° Before T op Dead
Center, even under normal operating condition.
NOTE: It is automatically further advanced by about 5° to 10°
Before Top Dead Center at higher altitudes.
2004 Mitsubishi Endeavor Limited
2004 ENGINE Engine - Endeavor