Page 136 of 344

136 Controls in detailAutomatic climate controlThe automatic climate control is operatio-
nal whenever the engine is running. You
can operate the climate control system in
either the automatic or manual mode. The
system cools or heats the interior depend-
ing on the selected interior temperature
and the current outside temperature.
Nearly all dust particles, pollutants and
odors are filtered out before outside air en-
ters the passenger compartment through
the air distribution system.Warning!
G
When operating the automatic climate con-
trol, the air that enters the passenger com-
partment through the air vents in the
footwell can be very hot or very cold (de-
pending on the set temperature). This may
cause burns or frostbite on unprotected skin
in the immediate area of the air vents.
Always keep sufficient distance between un-
protected parts of the body and the footwell
air vents. If necessary, change the air flow
using the air distribution controls to direct
the air away from the footwell air vents
(�page 138).
Warning!
G
Follow the recommended settings for heat-
ing and cooling given on the following pag-
es. Otherwise the windows could fog up,
impairing visibility and endangering you and
others.
iSevere conditions (e.g. strong air pollu-
tion) may require replacement of the fil-
ter before its scheduled interval. A
clogged filter will reduce the air volume
to the interior.
If the vehicle interior is hot, ventilate
the interior before driving off.
Keep the air intake grille in front of the
windshield free of snow and debris.
Do not touch the interior temperature
sensor to maintain a precise tempera-
ture.
The set value is indicated by a lighted
segment on the control wheels.
Page 142 of 344
142 Controls in detailAutomatic climate control
Adjusting air distribution�
Press upper part of buttonÔ.
Air is directed upwards.
�
Press lower part of buttonÓ.
Air is directed to the footwell.
Front and rear air ventsAdjusting side air vents
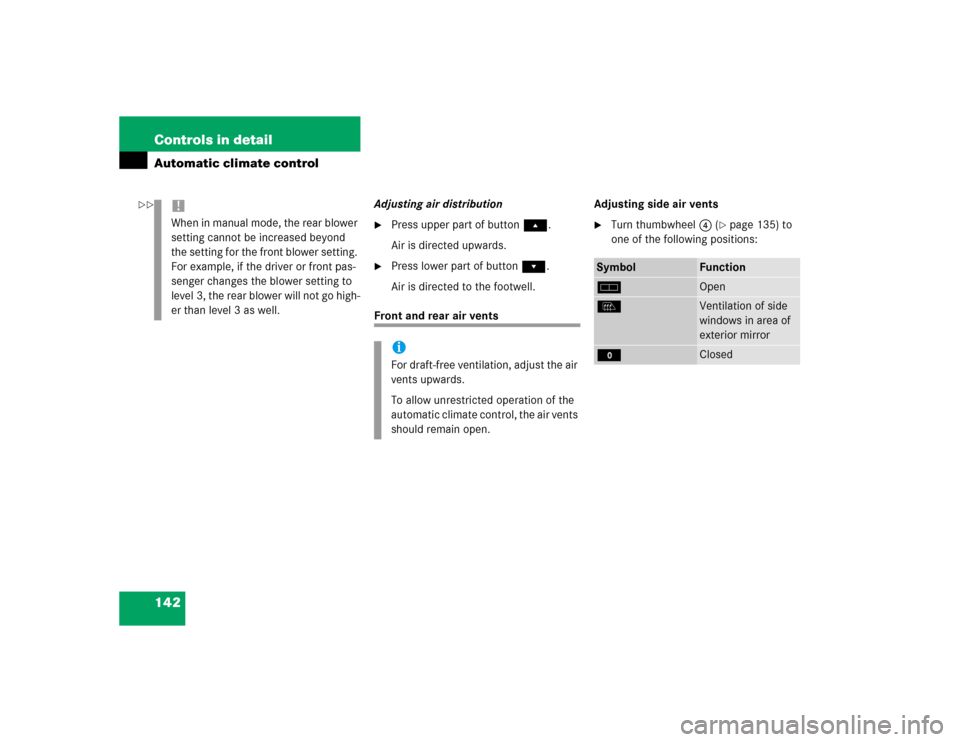
�
Turn thumbwheel4 (
�page 135) to
one of the following positions:
!When in manual mode, the rear blower
setting cannot be increased beyond
the setting for the front blower setting.
For example, if the driver or front pas-
senger changes the blower setting to
level 3, the rear blower will not go high-
er than level 3 as well.
iFor draft-free ventilation, adjust the air
vents upwards.
To allow unrestricted operation of the
automatic climate control, the air vents
should remain open.
Symbol
Function
h
Open
l
Ventilation of side
windows in area of
exterior mirror
M
Closed
��
Page 143 of 344
143 Controls in detail
Automatic climate control
Center air vents
Opening �
Turn thumbwheel for center air vent1
(�page 135) upward to positionh.
Closing
�
Turn thumbwheel for center air vent1
downward to positionM.
Use the left thumbwheel to adjust the cen-
ter air vents on the left and in the center.
Use the right thumbwheel to adjust the
right center air vent.Rear passenger compartment air vents
1Left center air vent, adjustable
2 Right center air vent, adjustable
iThe temperature at the air vents for the
rear passenger compartment is the
same as at the dashboard center air
vents.
Page 150 of 344

150 Controls in detailDriving systems
�Driving systemsThe driving systems of your vehicle are de-
scribed on the following pages:�
Cruise control, with which the vehicle
can maintain a preset speed.
�
Parktronic*, with which you can assist
your parking maneuvers.
The driving systems BAS, ABS, ESP, EBB
and 4-ETS, are described in the “Safety
and Security” section (
�page 76).
Cruise control
Cruise control automatically maintains the
speed you set for your vehicle.
Use of cruise control is recommended for
driving at a constant speed for extended
periods of time. You can set or resume
cruise control at any speed over 20 mph
(30 km / h).
The cruise control function is operated by
means of the cruise control lever.
The cruise control lever is the uppermost
lever found on the left-hand side of the
steering column (
�page 23).
Warning!
G
Cruise control is a convenience system de-
signed to assist the driver during vehicle op-
eration. The driver is and must remain
responsible for the vehicle speed and for
safe brake operation.
Only use cruise control if the road, traffic
and weather conditions make it advisable to
travel at a steady speed.�
The use of cruise control can be danger-
ous on winding roads or in heavy traffic
because conditions do not allow safe
driving at a steady speed.
�
The use of cruise control can be danger-
ous on slippery roads. Rapid changes in
tire traction can result in wheel spin and
loss of control.
�
Deactivate cruise control when driving
in fog.
The “Resume” function should only be oper-
ated if the driver is fully aware of the previ-
ously set speed and wishes to resume this
particular preset speed.
Page 157 of 344

157 Controls in detail
Loading
�Loading
Loading instructions
The gross vehicle weight which is the
weight of the vehicle including fuel, tools,
spare wheel, installed accessories, pas-
sengers and luggage / cargo must never
exceed the Gross Vehicle Weight Rating
(GVWR) for your vehicle. In addition, the
load must be distributed in such a way so
that the weight on each axle never exceeds
the Gross Axle Weight Rating (GAWR) for
the front and rear axle. The GVWR and
GAWR for your vehicle are indicated on the
certification label which can be found on
the left door pillar.The handling characteristics of a fully load-
ed vehicle depend greatly on the load dis-
tribution. It is therefore recommended to
load the vehicle according to the illustra-
tions shown, with the heaviest items being
placed towards the front of the vehicle.
Please pay attention to and comply with
the following instructions when loading the
vehicle and transporting cargo:
�
Always place items being carried
against front or rear seat backrests,
and fasten them as securely as possi-
ble.
�
The heaviest portion of the cargo
should always be kept as low as possi-
ble against front or rear seat backrests.
Warning!
G
Always fasten items being carried as secure-
ly as possible using cargo tie-down rings and
fastening materials appropriate for the
weight and size of the load.
In an accident, during hard braking or sud-
den maneuvers, loose items will be thrown
around inside the vehicle, and can cause in-
jury to vehicle occupants unless the items
are securely fastened in the vehicle.
To help avoid personal injury during a colli-
sion or sudden maneuver, always use parti-
tion net when transporting cargo.
Never drive vehicle with the liftgate open.
Deadly carbon monoxide (CO) gases may
enter vehicle interior resulting in uncon-
sciousness and death.
Page 191 of 344
191 Operation
The first 1000 miles (1500 km)
Driving instructions
At the gas station
Engine compartment
Tires and wheels
Winter driving
Maintenance
Vehicle care
Page 195 of 344

195 Operation
Driving instructions
Install only brake pads and brake fluid
recommended by Mercedes-Benz.
After hard braking, it is advisable to drive
on for some time, rather than immediately
parking, so the air stream will cool down
the brakes faster.
Driving off
Apply the brakes to test them briefly after
driving off. Perform this procedure only
when the road is clear of other traffic.
Warm up the engine smoothly. Do not
place full load on the engine until the oper-
ating temperature has been reached.
When starting off on a slippery surface, do
not allow a drive wheel to spin for an ex-
tended period with the ESP switched off.
Doing so may cause serious damage to the
drivetrain which is not covered by the
Mercedes-Benz Limited Warranty.
Warning!
G
If other than recommended brake pads are
installed, or other than recommended brake
fluid is used, the braking properties of the
vehicle can be degraded to an extent that
safe braking is substantially impaired. This
could result in an accident.
!When driving down long and steep
grades, relieve the load on the brakes
by shifting into a lower gear to use the
engine’s braking power. This helps
prevent overheating of the brakes and
reduces brake pad wear.
Page 196 of 344
 are required by
law. These indicators are located in six
places on the tread circumference and be-
come visible at a tread")
196 OperationDriving instructionsParking
Tires
Tread wear indicators (TWI) are required by
law. These indicators are located in six
places on the tread circumference and be-
come visible at a tread depth of approxi-
mately
1/16
in (1.6 mm), at which point
the tire is considered worn and should be
replaced.
!Set the parking brake whenever park-
ing or leaving the vehicle. In addition,
move gear selector lever to positionP.
When parking on hills, always turn front
wheels towards the curb.
Warning!
G
To reduce the risk of personal injury, or
damage to the vehicle powertrain, as a re-
sult of vehicle / trailer movement, always:�
Keep right foot on brake pedal.
�
Shift gear selector lever to positionN.
�
Have a second person place wheel
chocks on downhill side of left and right
trailer wheels.
�
Slowly release brake pedal and let vehi-
cle and trailer roll into chocks until
stopped.
�
Firmly depress parking brake pedal.
�
Move gear selector lever to positionP.
�
When parked on an incline, turn front
wheel towards the road curb.
Warning!
G
If you feel a sudden significant vibration or
ride disturbance, or you suspect that possi-
ble damage to your vehicle has occurred,
you should turn on the hazard warning flash-
ers, carefully slow down, and drive with cau-
ti o n t o an a r ea wh ic h is a s a fe d is ta n c e fr o m
the road.
Inspect the tires and the vehicle underbody
for possible damage. If the vehicle or tires
appear unsafe, have it towed to the nearest
Mercedes-Benz Light Truck Center or tire
dealer for repairs.


Driving instructions
At the gas station
Engine compartment
Tires and wheels
Winter driving
Maintenance
Vehicle care")