Page 49 of 376
49 Getting started
Driving
Rear window wiper/washer
The rear window wiper / washer switch is
located on the upper part of the center
console.
1Interval wiping on/off
2Indicator lamp
3Simultaneous operation of wiper and
washer
�
Make sure the ignition is switched on.
Interval wiping
Switching on
�
Press upper half1 of the switch.
The indicator lamp2 comes on.
Switching off
�
Press upper half1 of the switch
again.
The indicator lamp2 goes out.Wiping with windshield washer fluid
�
Press and hold lower half3 of the
switch.
The wiper operates with washer fluid.
The rear window will be wiped for ap-
proximately another five seconds after
the switch is released.
For information on filling up the washer
reservoir, see “Windshield/rear window
washer system and headlamp cleaning
system” (
�page 234).
iThe rear window wiper will also auto-
matically engage if�
the windshield wipers are engaged
�
the gear selector lever is placed
inR “Reverse”
Page 57 of 376

57 Safety and Security
Occupant safety
A malfunction in the system has been de-
tected if the 1 indicator lamp:�
fails to extinguish after approximately
four seconds.
�
does not come on at all.
�
comes on after the engine was started
or while driving.
For safety reasons, we strongly recom-
mend that you visit an authorized
Mercedes-Benz Light Truck Center imme-
diately to have the system checked.
For more information, see “Practical hints”
(
�page 258).
Airbags
Warning!
G
In the event that the 1indicator lamp
comes on during driving or does not come
on at all, the SRS may not be operational.
For your safety, we strongly recommend
that you visit an authorized Mercedes-Benz
Light Truck Center immediately to have the
system checked; otherwise the SRS may not
be activated when needed in an accident,
which could result in serious or fatal injury,
or it might deploy unexpectedly and unnec-
essarily which could also result in injury.
Improper work on the restraint systems, in-
cluding incorrect installation and removal,
can lead to possible injury through an unin-
tended activation of the SRS.
In addition, through improper work there is
a risk of rendering the SRS inoperative or
causing unintended airbag deployment.
Work on the SRS must therefore only be per-
formed by qualified technicians. Contact an
authorized Mercedes-Benz Light Truck Cen-
ter.
Warning!
G
Airbags are designed to reduce the potential
of injury in certain frontal (front airbags) im-
pacts, which may cause significant injuries.
However, no system available today can to-
tally eliminate injuries and fatalities.
The activation of the SRS temporarily releas-
es a small amount of dust from the airbags.
This dust, however, is neither injurious to
your health, nor does it indicate a fire in the
vehicle. The dust might cause some tempo-
rary breathing difficulty for people with asth-
ma or other breathing trouble. To avoid this,
you may wish to get out of the vehicle as
soon as it is safe to do so. If you have any
breathing difficulty but cannot get out of the
vehicle after the airbag inflates, then get
fresh air by opening a window or door.
Page 71 of 376

71 Safety and Security
Occupant safety
Blocking rear door window operation
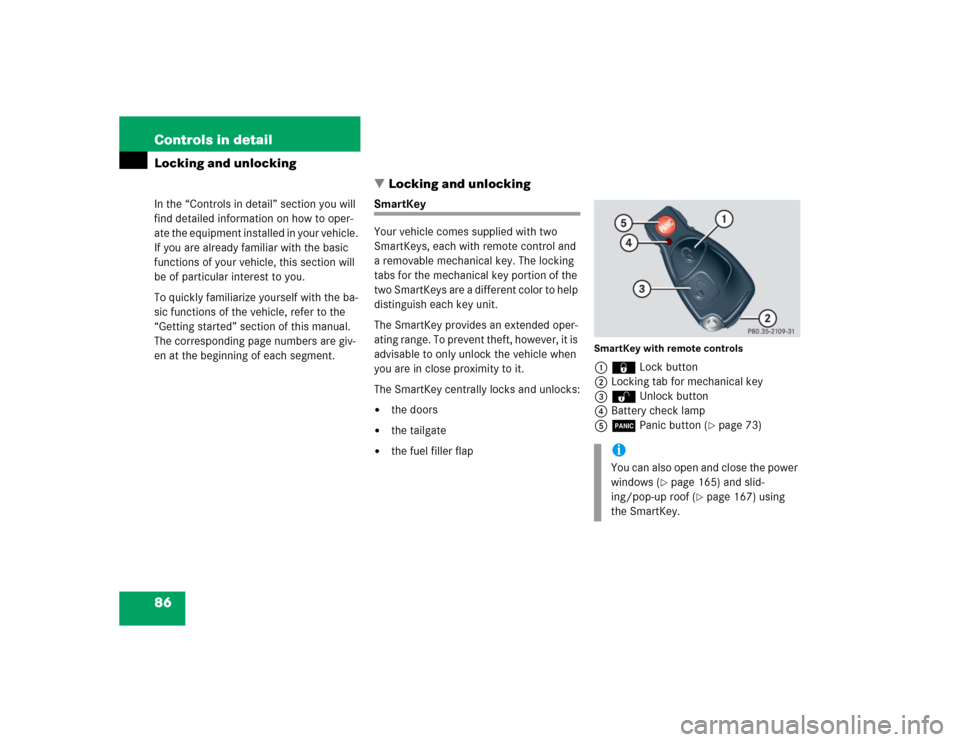
The override switch is located in the driv-
er’s door.
1Override switch
Activating override switch�
Slide override switch1 to the right.
A dot becomes visible. The functions in
the rear are disabled.
iWith a child seat installed in the left
rear seat, the seat belt for the center
seat occupied by a passenger must op-
erate freely.
Non-LATCH type child seats may also
be used and can be installed using the
vehicle’s seat belt system. Install child
seat according to the manufacturer’s
instructions.Warning!
G
Install child seat according to manufactur-
er’s instructions.
T h e c h i l d s e a t m u s t b e f i r m l y a t t a c h e d i n t h e
right and left side anchors.
Warning!
G
An incorrectly mounted child seat may come
loose during an accident.
Damaged or impact-damaged child seats or
child seat mounting fittings must be re-
placed.
Do not leave children unattended in the ve-
hicle, even if the children are secured in a
child restraint system.
Children too big for child restraint systems
must ride in back seats using regular seat
belts. Position shoulder belt across chest
and shoulder, not face or neck. A booster
seat may be necessary to achieve proper
belt positioning for children from 41 lbs until
they reach a height where a lap / shoulder
belt fits properly without a booster.
iOperation of the rear windows with the
switches located in the driver’s door is
still possible.
Page 72 of 376
72 Safety and SecurityOccupant safetyDeactivating override switch�
Slide override switch1 to the left.
The functions in the rear are enabled
again.
For more information on power windows,
see “Power windows” (
�page 164).
Warning!
G
Activate the override switch when children
are riding in the back seats of the vehicle.
The children may otherwise injure them-
selves, e.g. by becoming trapped in the win-
dow opening.
When leaving the vehicle, always remove the
SmartKey from the starter switch, and lock
the vehicle. Do not leave children unattend-
ed in the vehicle, or with access to an un-
locked vehicle. Unsupervised use of vehicle
equipment can cause an accident and/or
serious personal injury.
Page 85 of 376
85 Controls in detail
Locking and unlocking
Seats
Memory function
Lighting
Instrument cluster
Control system
Automatic transmission
Transfer case
Differential locks
Good visibility
Climate control
Power windows
Sliding/pop-up roof
Driving systems
Loading
Useful features
Page 86 of 376

86 Controls in detailLocking and unlocking
�In the “Controls in detail” section you will
find detailed information on how to oper-
ate the equipment installed in your vehicle.
If you are already familiar with the basic
functions of your vehicle, this section will
be of particular interest to you.
To quickly familiarize yourself with the ba-
sic functions of the vehicle, refer to the
“Getting started” section of this manual.
The corresponding page numbers are giv-
en at the beginning of each segment.
Locking and unlocking
SmartKey
Your vehicle comes supplied with two
SmartKeys, each with remote control and
a removable mechanical key. The locking
tabs for the mechanical key portion of the
two SmartKeys are a different color to help
distinguish each key unit.
The SmartKey provides an extended oper-
ating range. To prevent theft, however, it is
advisable to only unlock the vehicle when
you are in close proximity to it.
The SmartKey centrally locks and unlocks:�
the doors
�
the tailgate
�
the fuel filler flap
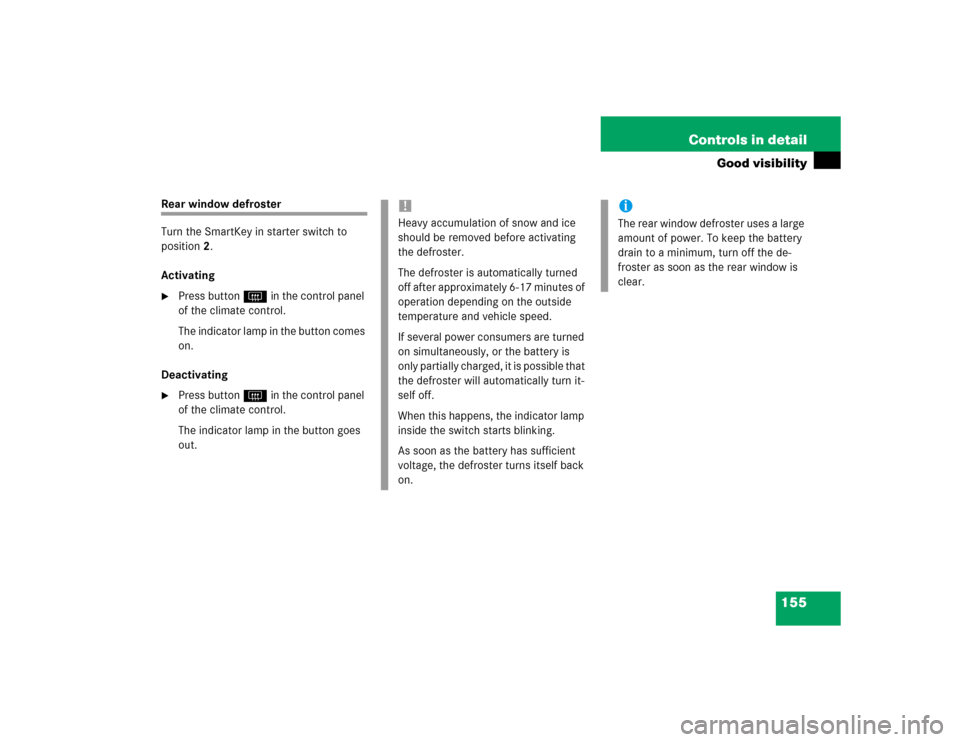
SmartKey with remote controls1‹ Lock button
2Locking tab for mechanical key
3ΠUnlock button
4Battery check lamp
5Â Panic button (
�page 73)
iYou can also open and close the power
windows (
�page 165) and slid-
ing/pop-up roof (
�page 167) using
the SmartKey.
Page 155 of 376

155 Controls in detail
Good visibility
Rear window defroster
Turn the SmartKey in starter switch to
position2.
Activating�
Press button F in the control panel
of the climate control.
The indicator lamp in the button comes
on.
Deactivating
�
Press button F in the control panel
of the climate control.
The indicator lamp in the button goes
out.
!Heavy accumulation of snow and ice
should be removed before activating
the defroster.
The defroster is automatically turned
off after approximately 6-17 minutes of
operation depending on the outside
temperature and vehicle speed.
If several power consumers are turned
on simultaneously, or the battery is
only partially charged, it is possible that
the defroster will automatically turn it-
self off.
When this happens, the indicator lamp
inside the switch starts blinking.
As soon as the battery has sufficient
voltage, the defroster turns itself back
on.
iThe rear window defroster uses a large
amount of power. To keep the battery
drain to a minimum, turn off the de-
froster as soon as the rear window is
clear.
Page 157 of 376
157 Controls in detail
Climate control
Climate control panel
1
Windshield defroster air vents
2
Center air vent, adjustable
3
Thumbwheel for center air vent
4
Side air vent, adjustable
5
Side defroster air vent, fixed
6
Thumbwheel for side air vent
7
Footwell air vents
8
Climate control paneliFor draft-free ventilation, move the slid-
ers for the center air vents to the mid-
dle position.
1
Air volume
2
Temperature control, left
3
Temperature control, right
4
Air distribution control
5
Rear window defroster (
�page 155)
6
AC cooling on / off (AC
OFF
)
Residual engine heat utilization
(REST)
7
Air distribution and air volume (auto-
matic mode)
8
Air recirculation
9
Defrosting