Page 102 of 168
101 Navigation*
Navigation main menu
�
Press the � or � key to select the
desired setting.
�
Press�.
The new setting is stored.
�
Press �.
The full-screen display of the map ap-
pears. The vehicle’s current location is
indicated.
�
Press any soft key.
The soft key display appears.1Symbol = current position
�
Press the Memory soft key.
The system stores the current position
as a destination in the Last
Destinations memory (
�page 132).
While storage takes place, the Memory
soft key display changes its color for a
short period of time.
iThe solid circle . shows the current
setting.Saving current location
iSuch destinations are marked in the
Last destinations destination mem-
ory with (
�page 132).
For permanent storage, the destination
can be stored in the standard destina-
tion memory (�page 133).
Page 117 of 168

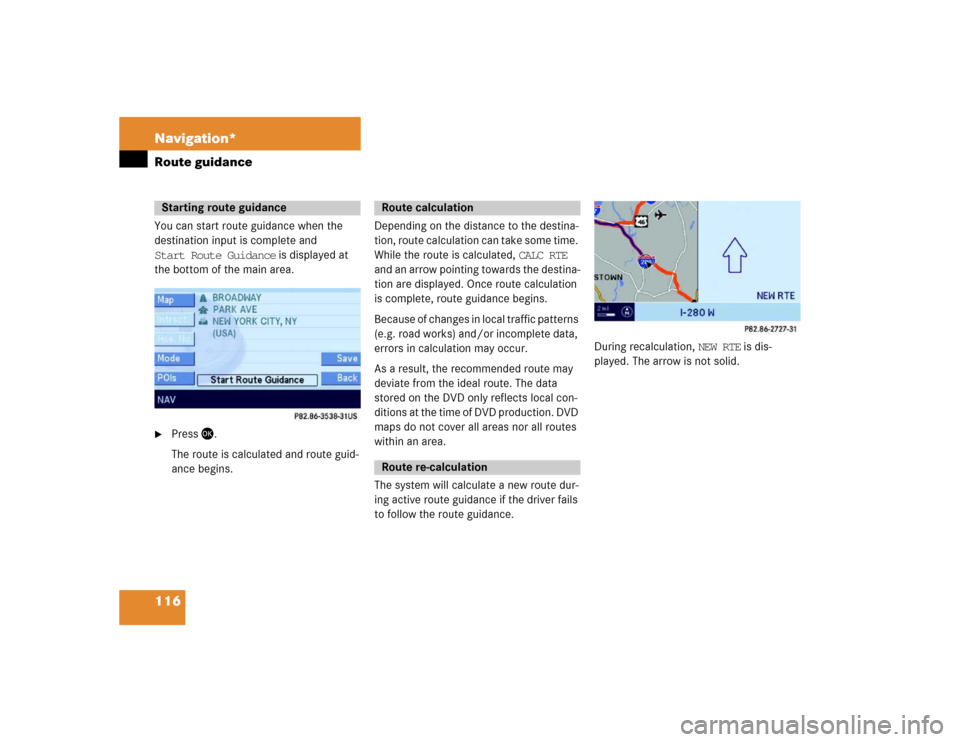
116 Navigation*Route guidanceYou can start route guidance when the
destination input is complete and
Start Route Guidance is displayed at
the bottom of the main area.�
Press �.
The route is calculated and route guid-
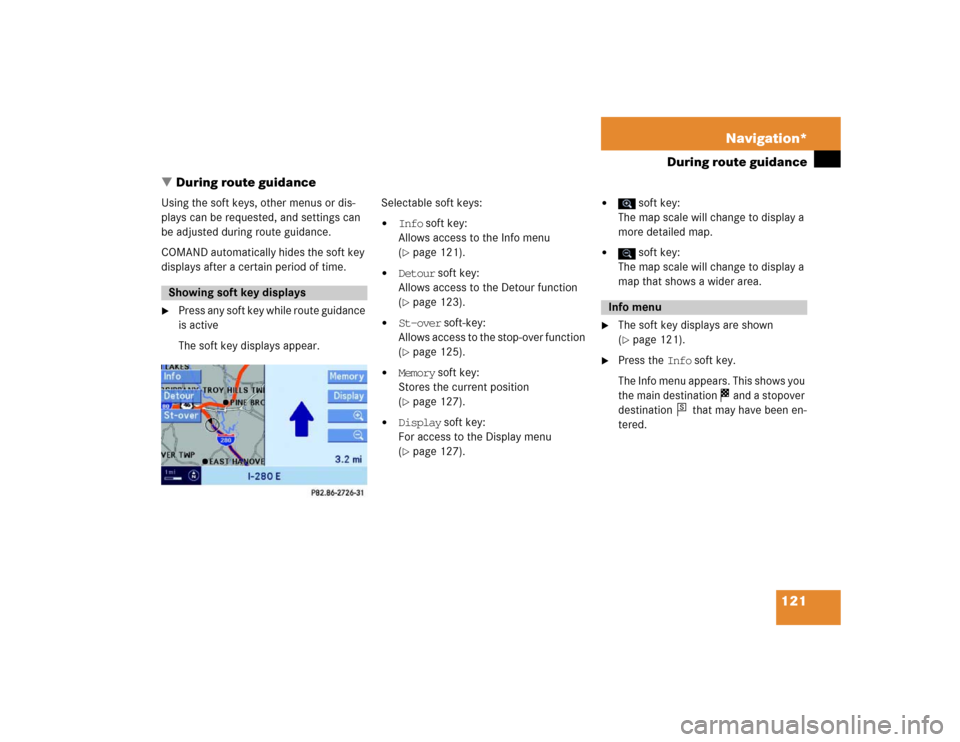
ance begins.Depending on the distance to the destina-
tion, route calculation can take some time.
While the route is calculated, CALC RTE
and an arrow pointing towards the destina-
tion are displayed. Once route calculation
is complete, route guidance begins.
Because of changes in local traffic patterns
(e.g. road works) and/or incomplete data,
errors in calculation may occur.
As a result, the recommended route may
deviate from the ideal route. The data
stored on the DVD only reflects local con-
ditions at the time of DVD production. DVD
maps do not cover all areas nor all routes
within an area.
The system will calculate a new route dur-
ing active route guidance if the driver fails
to follow the route guidance.
During recalculation, NEW RTE is dis-
played. The arrow is not solid.
Starting route guidance
Route calculationRoute re-calculation
Page 122 of 168

121 Navigation*
During route guidance
� During route guidance
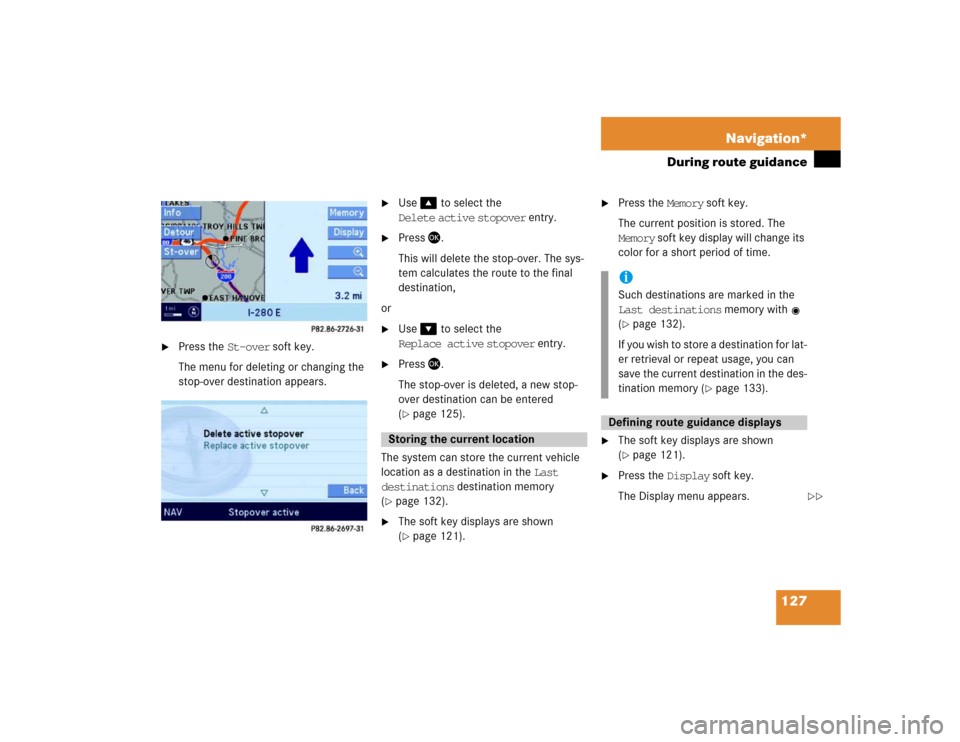
Using the soft keys, other menus or dis-
plays can be requested, and settings can
be adjusted during route guidance.
COMAND automatically hides the soft key
displays after a certain period of time.�
Press any soft key while route guidance
is active
The soft key displays appear.Selectable soft keys:
�
Info soft key:
Allows access to the Info menu
(�page 121).
�
Detour soft key:
Allows access to the Detour function
(�page 123).
�
St-over soft-key:
Allows access to the stop-over function
(�page 125).
�
Memory soft key:
Stores the current position
(�page 127).
�
Display soft key:
For access to the Display menu
(�page 127).
�
soft key:
The map scale will change to display a
more detailed map.
�
soft key:
The map scale will change to display a
map that shows a wider area.
�
The soft key displays are shown
(�page 121).
�
Press the Info soft key.
The Info menu appears. This shows you
the main destination and a stopover
destination that may have been en-
tered.
Showing soft key displays
Info menu
s
Page 128 of 168

127 Navigation*
During route guidance
�
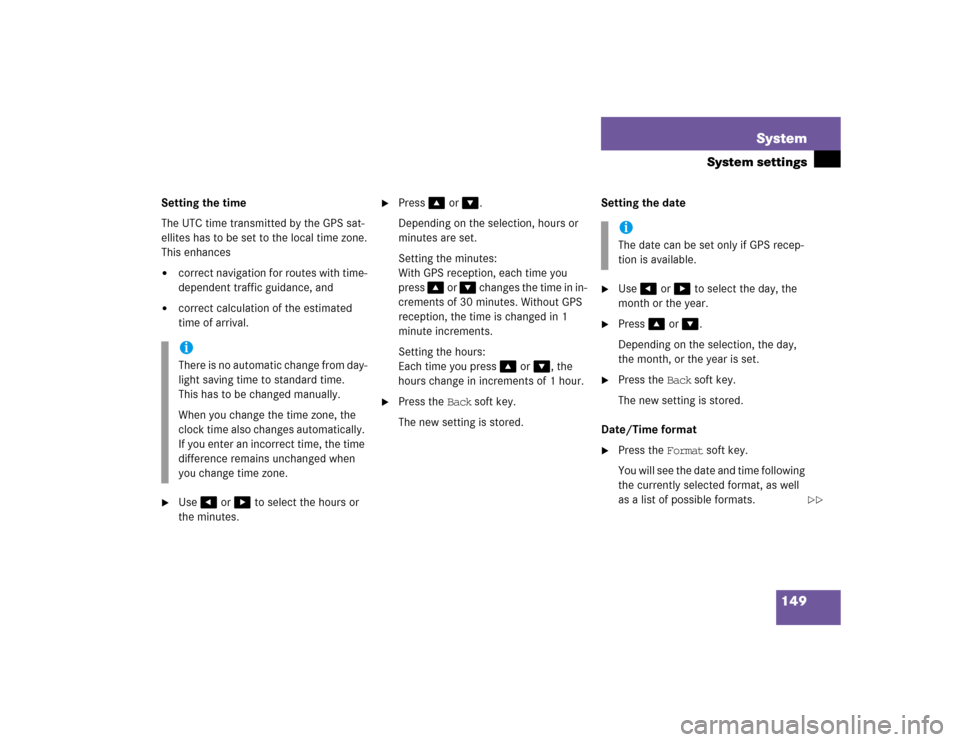
Press the St-over soft key.
The menu for deleting or changing the
stop-over destination appears.
�
Use� to select the
Delete active stopover entry.
�
Press �.
This will delete the stop-over. The sys-
tem calculates the route to the final
destination,
or
�
Use� to select the
Replace active stopover entry.
�
Press �.
The stop-over is deleted, a new stop-
over destination can be entered
(�page 125).
The system can store the current vehicle
location as a destination in the Last
destinations destination memory
(
�page 132).
�
The soft key displays are shown
(�page 121).
�
Press the Memory soft key.
The current position is stored. The
Memory soft key display will change its
color for a short period of time.
�
The soft key displays are shown
(�page 121).
�
Press the Display soft key.
The Display menu appears.
Storing the current location
iSuch destinations are marked in the
Last destinations memory with
(�page 132).
If you wish to store a destination for lat-
er retrieval or repeat usage, you can
save the current destination in the des-
tination memory (
�page 133).
Defining route guidance displays
��
Page 144 of 168

143 Service
Data entry
Moving the cursor to any position in a
text�
Press the Keypad soft key:
The mode is changed to text.
�
Press� or �:
The cursor moves to the left or to the
right in the text.
�
Press the Keypad soft key:
The mode is now reversed from text
mode to keypad mode.
Deleting characters
�
Move the cursor behind the character
to be deleted (
�page 144).
�
Press the Delete soft key.
The character to the left of the input
cursor is deleted.Inserting characters
�
Move the cursor to the desired posi-
tion.
�
Enter the character to be inserted as
described under “Entering characters”
(�page 142).
Exiting the Selection menu
�
Press the Back soft key,
or
�
Use� and � or � to select the
field .
�
Press�.
In both cases the system accepts the
data entered.Upper and lower case characters, accent-
ed characters, special characters, and
numbers can be entered.
Entering characters
�
Use the� or � - � keys to enter
a character.
A key must be pressed once or several
times in quick succession:
ok
Entry via 12 button keypadi Example: key:
1 depression = J
2 depressions = K
3 depressions = L
4 depressions = 5
��
Page 145 of 168

144 ServiceData entry
After pressing the first time, the char-
acter display appears.
You can see which characters can be
entered when using the keys.
Each additional depression moves you
to the next character.
�
If necessary, press$.
This switches between upper and lower
case characters.
�
Wait until the character display disap-
pears,
or
�
Press�.
The character is entered.Moving the cursor to any position in the
text
�
Press the Keypad soft key:
The mode changes to text.
�
Press� or �:
The cursor is moved to the left or to the
right in the text.
�
Press the Keypad soft key again:
The mode now reverses from text
mode to keypad mode.
Deleting characters
�
Move the cursor behind the character
to be deleted (
�page 144).
The characters to the left of the input
cursor are deleted.Inserting characters
�
Move the cursor to the desired posi-
tion.
�
Enter the character to be inserted as
described under “Entering characters”
(�page 143).
Exiting the Selection menu
�
Press the Back soft key.
or
�
Use� and � or � to select the
field .
�
Press�.
In both cases, the system accepts the
data entered.
iUse� to enter a space “ ”.
ok
Page 150 of 168

149 System
System settings
Setting the time
The UTC time transmitted by the GPS sat-
ellites has to be set to the local time zone.
This enhances�
correct navigation for routes with time-
dependent traffic guidance, and
�
correct calculation of the estimated
time of arrival.
�
Use� or � to select the hours or
the minutes.
�
Press� or �.
Depending on the selection, hours or
minutes are set.
Setting the minutes:
With GPS reception, each time you
press � or � changes the time in in-
crements of 30 minutes. Without GPS
reception, the time is changed in 1
minute increments.
Setting the hours:
Each time you press � or �, the
hours change in increments of 1 hour.
�
Press the Back soft key.
The new setting is stored.Setting the date
�
Use� or � to select the day, the
month or the year.
�
Press� or �.
Depending on the selection, the day,
the month, or the year is set.
�
Press the Back soft key.
The new setting is stored.
Date/Time format
�
Press the Format soft key.
You will see the date and time following
the currently selected format, as well
as a list of possible formats.
iThere is no automatic change from day-
light saving time to standard time.
This has to be changed manually.
When you change the time zone, the
clock time also changes automatically.
If you enter an incorrect time, the time
difference remains unchanged when
you change time zone.
iThe date can be set only if GPS recep-
tion is available.
��
Page 151 of 168
150 SystemSystem settings
Setting the format: �
Use� or � to select a format.
�
Press�.
The appropriate format is selected.
�
Finally, press the Back soft key.
The language setting changes the display
language as well as the language used for
voice instructions in navigation announce-
ments.
�
In the System menu, press the
(�page 148) Lang. soft key.
The language list is displayed.
�
Use� or � to select an entry.
�
Press�.
�
Instr. cluster settings:
The system switches to the language
already set in the vehicle instrument
cluster.
�
Other options:
The system switches to the requested
language.
�
Finally, press the Back soft key.
iList entry 1-3:
Date formats
List entry 4 and 5:
Time formats
Solid circle : format set
Empty circle : format not set
Setting the language