Page 12 of 4264
9-10 ACCESSORIES
CONNECTOR LIST
No. Connector face No. Connector face
B-10
White
Clock B-56
WhiteJ/B I4
B-14
Gray
Audio B-62
WhiteIgnition switch
B-20
White
Cigar lighter illumination B-64
SilverWeld splice 1
B-21
White
Cigar lighter B-65
SilverWeld splice 2
B-22
Black
Cigar lighter B-73
SilverWeld splice 3
B-40
Black
Acc socket relay C-2
BlackEngine room –RH ground
B-41
Natural
Acc socket C-108
White
J/B E1
B-42
White
Acc socket C-109
BlackBody –LH ground
B-43
Anti theft control unit D-3
BlackFront speaker -RH
B-55
White
J/B I3 D-8
BlackFront speaker -LH
Page 14 of 4264
9-12 ACCESSORIES
RADIO
REMOVAL AND INSTALLATION
RTW48AMF000201
Removal
1. Remove the ash try
2. Remove the HVAC control
3. Remove the 2 crews unit on the HVAC
4. Remove the center cluster cover assembly
5. Remove the ash try bracket
6. Disconnect the connector for Audio
8. Remove the 4 screws on the radio
8. Disconnect the Antenna feeder plug
9. Pull out the radio
Installation
To install, follow the removal steps in the reverse order.
Page 661 of 4264

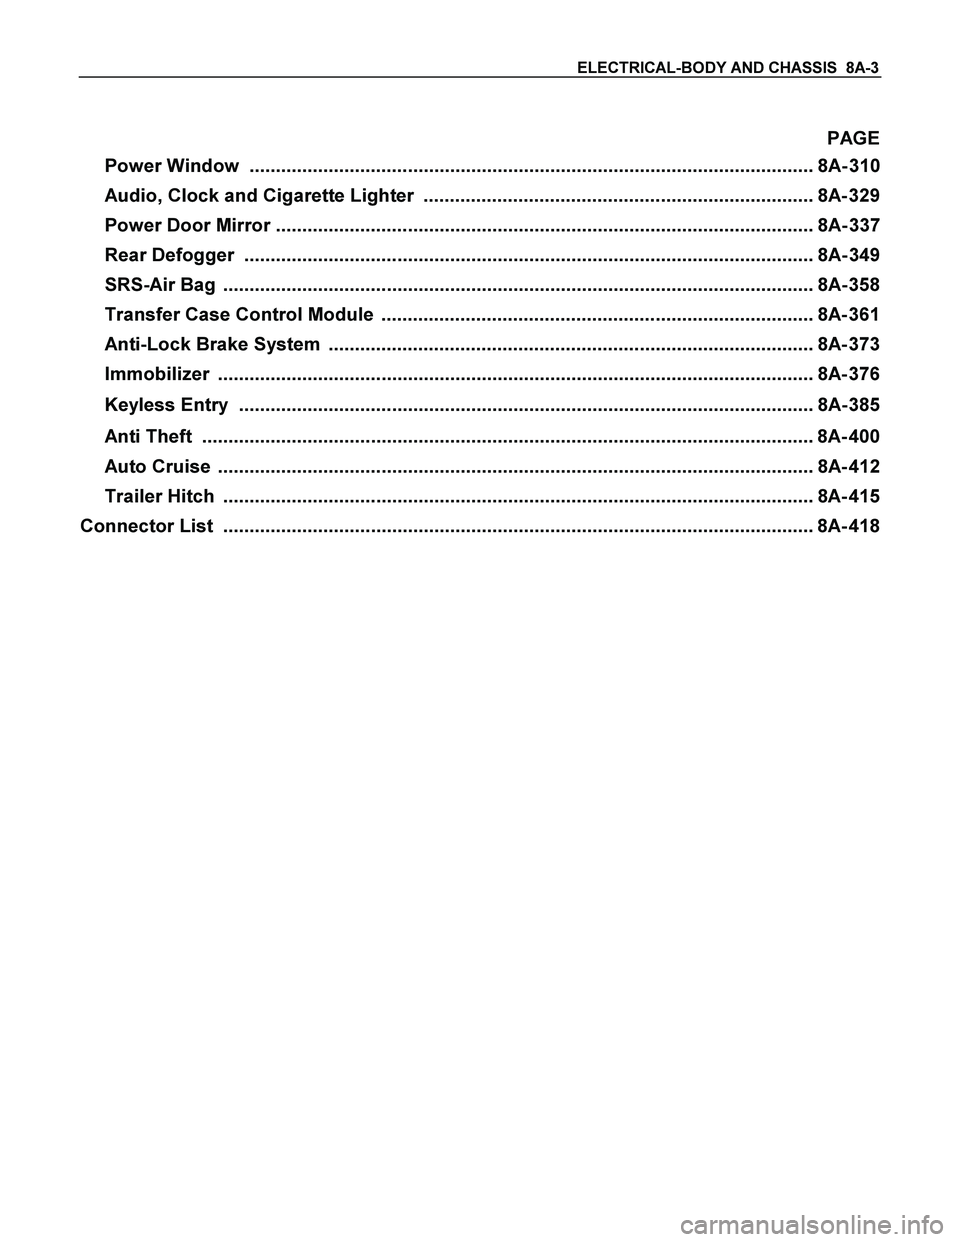
ELECTRICAL-BODY AND CHASSIS 8A-3
PAGE
Power Window ........................................................................................................... 8A- 310
Audio, Clock and Cigarette Lighter .......................................................................... 8A- 329
Power Door Mirror ...................................................................................................... 8A- 337
Rear Defogger ............................................................................................................ 8A- 349
SRS-Air Bag ................................................................................................................ 8A- 358
Transfer Case Control Module .................................................................................. 8A- 361
Anti-Lock Brake System ............................................................................................ 8A- 373
Immobilizer ................................................................................................................. 8A- 376
Keyless Entry ............................................................................................................. 8A- 385
Anti Theft ....................................................................................................................8A- 400
Auto Cruise ................................................................................................................. 8A- 412
Trailer Hitch ................................................................................................................ 8A- 415
Connector List ................................................................................................................8A- 418
Page 987 of 4264
ELECTRICAL-BODY AND CHASSIS 8A-329
AUDIO, CLOCK AND CIGARETTE LIGHTER
PARTS LOCATION (RHD)
RTW48AXF020001 & RTW48AXF020101
Page 993 of 4264

ELECTRICAL-BODY AND CHASSIS 8A-335
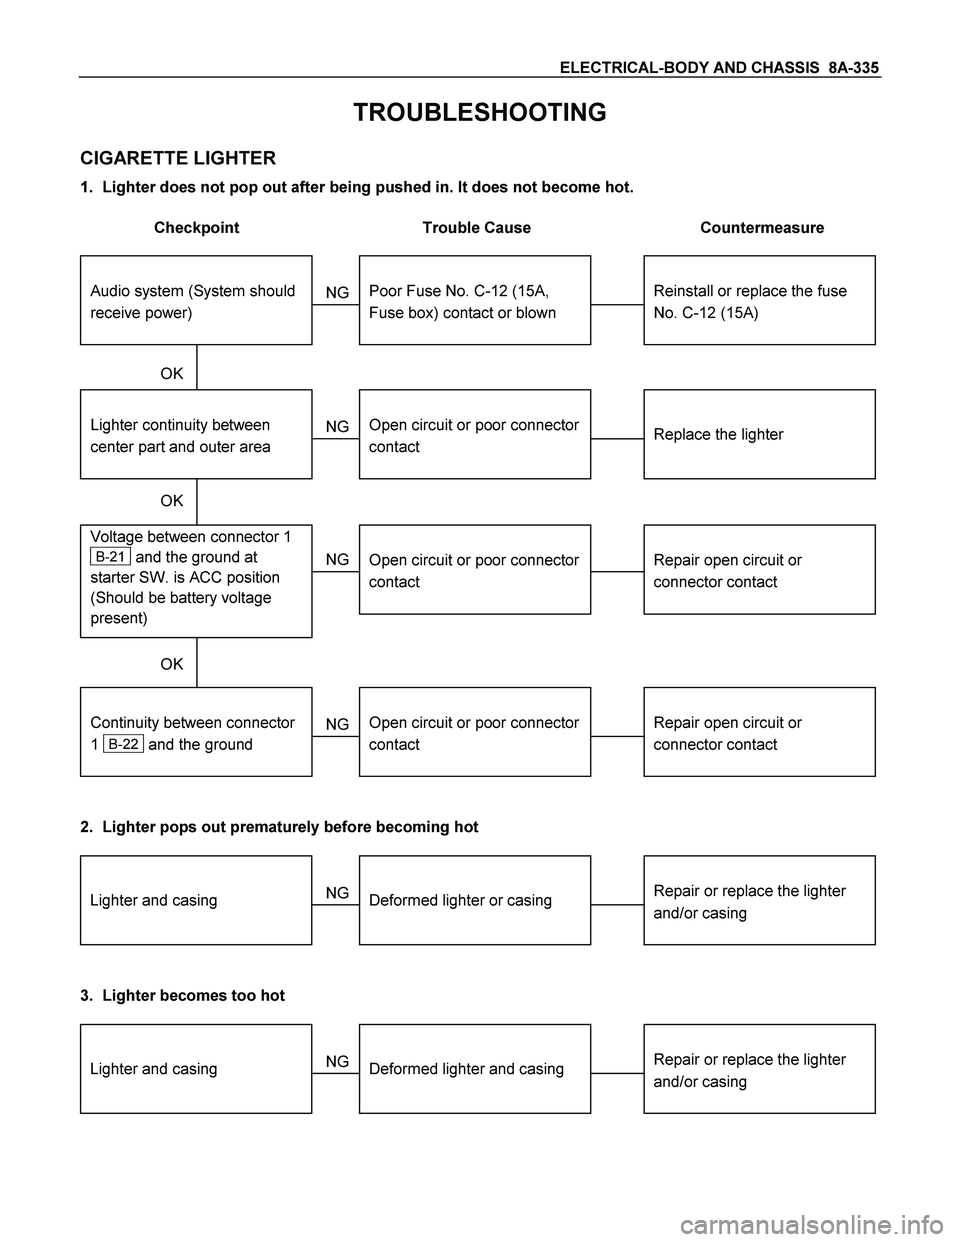
TROUBLESHOOTING
CIGARETTE LIGHTER
1. Lighter does not pop out after being pushed in. It does not become hot.
Checkpoint Trouble Cause Countermeasure
Reinstall or replace the fuse
No. C-12 (15A)
Poor Fuse No. C-12 (15A,
Fuse box) contact or blown
NG
Replace the lighter
Lighter continuity between
center part and outer area
Open circuit or poor connector
contact
Repair open circuit or
connector contact
Voltage between connector 1
B-21 and the ground at
starter SW. is ACC position
(Should be battery voltage
present)
Open circuit or poor connector
contact
NG NG OK
OK OK
Audio system (System should
receive power)
Repair open circuit or
connector contact
Open circuit or poor connector
contact
NG
Continuity between connector
1
B-22 and the ground
2. Lighter pops out prematurely before becoming hot
Repair or replace the lighter
and/or casingDeformed lighter or casing NGLighter and casing
3. Lighter becomes too hot
Repair or replace the lighter
and/or casingDeformed lighter and casing NGLighter and casing
Page 994 of 4264
8A-336 ELECTRICAL-BODY AND CHASSIS
REMOVAL AND INSTALLATION
AUDIO
Refer to Section 9 “ACCESSORIES” for details.
CIGARETTE LIGHTER
Removal
1. Disconnect the battery ground cable.
2. Remove the center cluster ASM.
3. Remove the lighter
1.
4. Disconnect the connector
2.
5. Loosen the ring nut
3 at the back side.
6. Remove the outer case
4.
7. Remove the lighter holder
5 from the bezel.
Installation
Follow the removal procedure in the reverse order to install the
lighter.
Pay close attention to the important points mentioned in the
following paragraphs.
Connector
Be absolutely sure that the lighter connector is securely
connected.
This will prevent a poor contact and an open circuit.
ACC SOCKET
Removal
1. Disconnect the battery ground cable.
2. Remove the center cluster ASM.
3. Disconnect the connector.
4. Remove the holder nut
1.
5. Remove the ACC Socket
2
Installation
Follow the removal procedure in the reverse order to install the
lighter.
Page 1076 of 4264
8A-418 ELECTRICAL-BODY AND CHASSIS
CONNECTOR LIST
No. Connector face No. Connector face
B-1
~
B-6 NOT USED B-17
~
B-19 NOT USED
B-7
Black
Rear defogger relay B-20
WhiteCigar lighter illumination
B-8
Black
Power Window Relay B-21
WhiteCigar lighter
B-9
NOT USED B-22
Black
Cigar lighter
B-10
White
Clock B-23
GreenMeter-A
B-11
�
B-12 NOT USED B-24
Green
Meter-B
B-13
White
Fan switch B-25
~
B-27 NOT USED
B-14
Gray
Audio B-24
GreenGround Driver Side
B-15
NOT USED B-30
~
B-29 NOT USED
B-16
White
Hazard switch B-31
SDM
Page 1417 of 4264
4JA1/4JH1 ENGINE DRIVEABILITY AND EMISSIONS 6E–45
FUSE A ND RELAY LOCATION (LHD & RHD)
FUSE
SLOW BLOW FUSE
RELAYNo. Capacity Indication on label No. Capacity Indication on label
1——12 15A CIGER
2 10A ABS 13 15A AUDIO (+B)
3——14 20A DOOR LOCK
4 15A BACK UP 15 10A METER (+B)
5 15A METER 16 10A ROOM
6 10A TURN 17 10A ANTI THEFT
7 15A ELEC.IG 18 15A STOP
8 15A ENGINE 19 15A ACC SOCKET
9 20A FRT WIPER 20 10A STARTER
10 15A EGR 21 10A SRS
11 10A AUDIO
No. Capacity Indication on label
SBF-10 20A RR DEF
SBF-11 30A POWER WINDOW
Connector No. B-7 B-8 B-40
4JA1-TC, 4JH1-TC REAR
DEFOGGERPOWER
WINDOWACC
SOCKET
FUSE BOX