Page 174 of 4449

TROUBLE DIAGNOSIS
AT-97
D
E
F
G
H
I
J
K
L
MA
B
AT
Revision: 2004 November 2004 FX35/FX45
How to Erase Self-diagnostic Results
1. Perform “CONSULT-II SETTING PROCEDURE” Refer to AT- 9 3 ,
"CONSULT-II SETTING PROCEDURE" .
2. Touch “SELF-DIAG RESULTS”.
3. Touch ”ERASE”. (The self-diagnostic results will be erased.)
DATA MONITOR MODE
Operation Procedure
1. Perform “CONSULT-II SETTING PROCEDURE” Refer to AT- 9 3 ,
"CONSULT-II SETTING PROCEDURE" .
2. Touch “DATA MONITOR”.
NOTE:
When malfunction is detected, CONSULT-II performs
“REAL-TIME DIAGNOSIS”. Also, any malfunction detected
while in this mode will be displayed at real time.
Display Items List
X: Standard, —: Not applicable
SCIA5304E
PCIA0061E
SCIA5304E
Monitored item (Unit)Monitor Item Selection
Remarks ECU
INPUT
SIGNALSMAIN SIG-
NALSSELEC-
TION
FROM
MENU
VHCL/S SE·A/T (km/h) X X X Revolution sensor
VHCL/S SE·MTR (km/h) X — X
ACCELE POSI (0.0/8) X — X Accelerator pedal position signal
THROTTLE POSI (0.0/8) X X XDegree of opening for accelerator recognized by
the TCM
For fail-safe operation, the specific value used
for control is displayed.
CLSD THL POS (ON-OFF display) X — X
Signal input with CAN communications
W/O THL POS (ON-OFF display) X — X
BRAKE SW (ON-OFF display) X — X Stop lamp switch
Page 188 of 4449
DTC P0615 START SIGNAL CIRCUIT
AT-111
D
E
F
G
H
I
J
K
L
MA
B
AT
Revision: 2004 November 2004 FX35/FX45
3. CHECK TERMINAL CORD ASSEMBLY
1. Remove control valve with TCM. Refer to AT- 2 4 2 , "
Control Valve with TCM and A/T Fluid Temperature
Sensor 2" .
2. Disconnect A/T assembly harness connector and control valve with TCM harness connector.
3. Check continuity between A/T assembly harness connector terminal and control valve with TCM harness
connector terminal. Refer to AT- 1 0 9 , "
Wiring Diagram — AT — STSIG" .
4. If OK, check harness for short to ground and short to power.
OK or NG
OK >> Replace the control valve with TCM. Refer to AT- 2 4 2 , "Control Valve with TCM and A/T Fluid Tem-
perature Sensor 2" .
NG >> Replace open circuit or short to ground and short to power in harness or connectors.
4. CHECK DTC
Perform “DTC Confirmation Procedure”.
�Refer to AT- 1 0 8 , "DTC Confirmation Procedure" .
OK or NG
OK >>INSPECTION END
NG >> GO TO 2.
Page 191 of 4449

AT-114
DTC P0705 PARK/NEUTRAL POSITION SWITCH
Revision: 2004 November 2004 FX35/FX45
Diagnostic ProcedureACS007B3
1. CHECK PNP SW CIRCUIT
With CONSULT-II
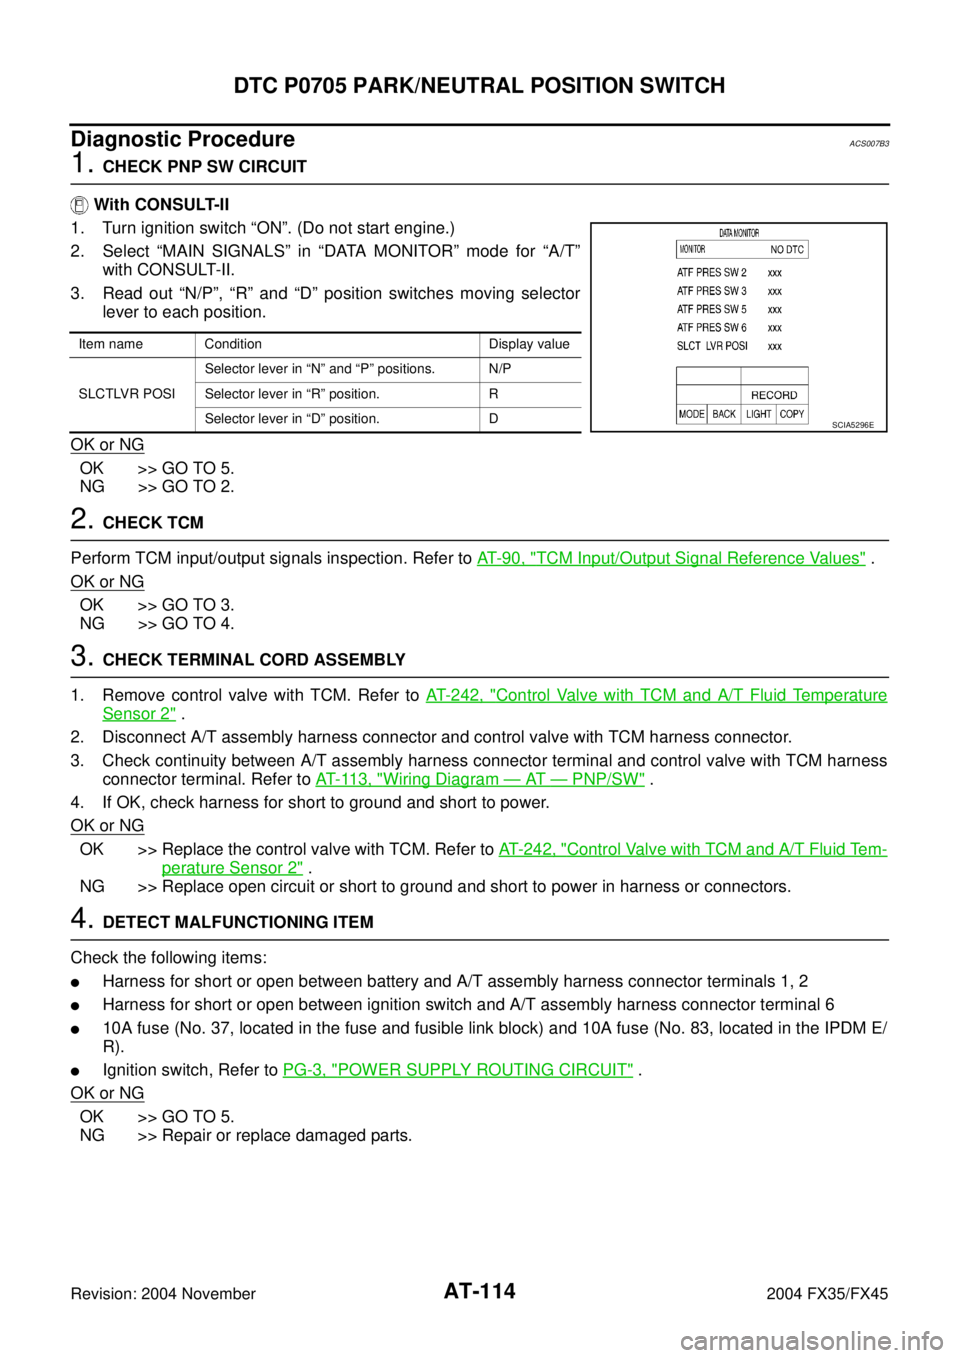
1. Turn ignition switch “ON”. (Do not start engine.)
2. Select “MAIN SIGNALS” in “DATA MONITOR” mode for “A/T”
with CONSULT-II.
3. Read out “N/P”, “R” and “D” position switches moving selector
lever to each position.
OK or NG
OK >> GO TO 5.
NG >> GO TO 2.
2. CHECK TCM
Perform TCM input/output signals inspection. Refer to AT- 9 0 , "
TCM Input/Output Signal Reference Values" .
OK or NG
OK >> GO TO 3.
NG >> GO TO 4.
3. CHECK TERMINAL CORD ASSEMBLY
1. Remove control valve with TCM. Refer to AT- 2 4 2 , "
Control Valve with TCM and A/T Fluid Temperature
Sensor 2" .
2. Disconnect A/T assembly harness connector and control valve with TCM harness connector.
3. Check continuity between A/T assembly harness connector terminal and control valve with TCM harness
connector terminal. Refer to AT- 11 3 , "
Wiring Diagram — AT — PNP/SW" .
4. If OK, check harness for short to ground and short to power.
OK or NG
OK >> Replace the control valve with TCM. Refer to AT- 2 4 2 , "Control Valve with TCM and A/T Fluid Tem-
perature Sensor 2" .
NG >> Replace open circuit or short to ground and short to power in harness or connectors.
4. DETECT MALFUNCTIONING ITEM
Check the following items:
�Harness for short or open between battery and A/T assembly harness connector terminals 1, 2
�Harness for short or open between ignition switch and A/T assembly harness connector terminal 6
�10A fuse (No. 37, located in the fuse and fusible link block) and 10A fuse (No. 83, located in the IPDM E/
R).
�Ignition switch, Refer to PG-3, "POWER SUPPLY ROUTING CIRCUIT" .
OK or NG
OK >> GO TO 5.
NG >> Repair or replace damaged parts.
Item name Condition Display value
SLCTLVR POSISelector lever in “N” and “P” positions. N/P
Selector lever in “R” position. R
Selector lever in “D” position. D
SCIA5296E
Page 193 of 4449

AT-116
DTC P0720 VEHICLE SPEED SENSOR A/T (REVOLUTION SENSOR)
Revision: 2004 November 2004 FX35/FX45
DTC P0720 VEHICLE SPEED SENSOR A/T (REVOLUTION SENSOR)PFP:32702
DescriptionACS007B4
The revolution sensor detects the revolution of the idler gear parking pawl lock gear and emits a pulse signal.
The pulse signal is sent to the TCM which converts it into vehicle speed.
CONSULT-II Reference ValueACS007B5
On Board Diagnosis LogicACS007B6
�This is an OBD-II self-diagnostic item.
�Diagnostic trouble code “VEH SPD SEN/CIR AT” with CONSULT-II or P0720 without CONSULT-II is
detected under the following conditions.
–When TCM does not receive the proper voltage signal from the sensor.
–After ignition switch is turned “ON”, irregular signal input from vehicle speed sensor MTR before the vehi-
cle starts moving.
Possible CauseACS007B7
�Harness or connectors
(Sensor circuit is open or shorted.)
�Revolution sensor
�Vehicle speed sensor MTR
DTC Confirmation ProcedureACS007B8
CAUTION:
�Always drive vehicle at a safe speed.
�Be careful not to rev engine into the red zone on the tachometer.
NOTE:
If “DTC Confirmation Procedure” has been previously performed, always turn ignition switch “OFF”
and wait at least 10 seconds before performing the next test.
After the repair, perform the following procedure to confirm the malfunction is eliminated.
WITH CONSULT-II
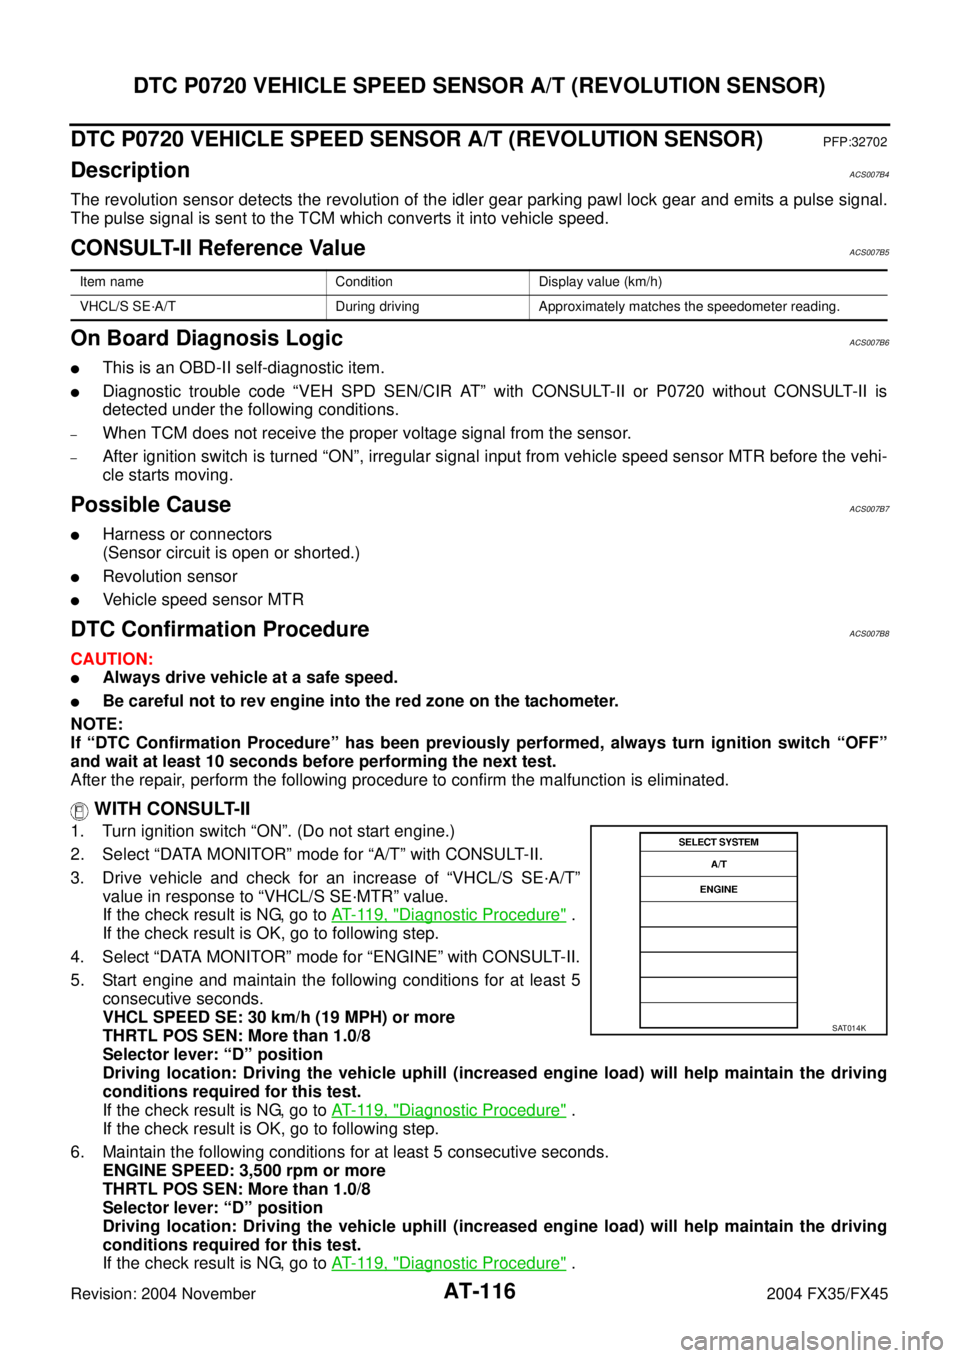
1. Turn ignition switch “ON”. (Do not start engine.)
2. Select “DATA MONITOR” mode for “A/T” with CONSULT-II.
3. Drive vehicle and check for an increase of “VHCL/S SE·A/T”
value in response to “VHCL/S SE·MTR” value.
If the check result is NG, go to AT- 11 9 , "
Diagnostic Procedure" .
If the check result is OK, go to following step.
4. Select “DATA MONITOR” mode for “ENGINE” with CONSULT-II.
5. Start engine and maintain the following conditions for at least 5
consecutive seconds.
VHCL SPEED SE: 30 km/h (19 MPH) or more
THRTL POS SEN: More than 1.0/8
Selector lever: “D” position
Driving location: Driving the vehicle uphill (increased engine load) will help maintain the driving
conditions required for this test.
If the check result is NG, go to AT- 11 9 , "
Diagnostic Procedure" .
If the check result is OK, go to following step.
6. Maintain the following conditions for at least 5 consecutive seconds.
ENGINE SPEED: 3,500 rpm or more
THRTL POS SEN: More than 1.0/8
Selector lever: “D” position
Driving location: Driving the vehicle uphill (increased engine load) will help maintain the driving
conditions required for this test.
If the check result is NG, go to AT- 11 9 , "
Diagnostic Procedure" .
Item name Condition Display value (km/h)
VHCL/S SE·A/T During driving Approximately matches the speedometer reading.
SAT014K
Page 194 of 4449
DTC P0720 VEHICLE SPEED SENSOR A/T (REVOLUTION SENSOR)
AT-117
D
E
F
G
H
I
J
K
L
MA
B
AT
Revision: 2004 November 2004 FX35/FX45
WITH GST
Follow the procedure “With CONSULT-II”.
Page 195 of 4449
AT-118
DTC P0720 VEHICLE SPEED SENSOR A/T (REVOLUTION SENSOR)
Revision: 2004 November 2004 FX35/FX45
Wiring Diagram — AT — VSSA/TACS007B9
TCWM0249E
Page 196 of 4449

DTC P0720 VEHICLE SPEED SENSOR A/T (REVOLUTION SENSOR)
AT-119
D
E
F
G
H
I
J
K
L
MA
B
AT
Revision: 2004 November 2004 FX35/FX45
Diagnostic ProcedureACS007BA
1. CHECK INPUT SIGNALS
With CONSULT-II
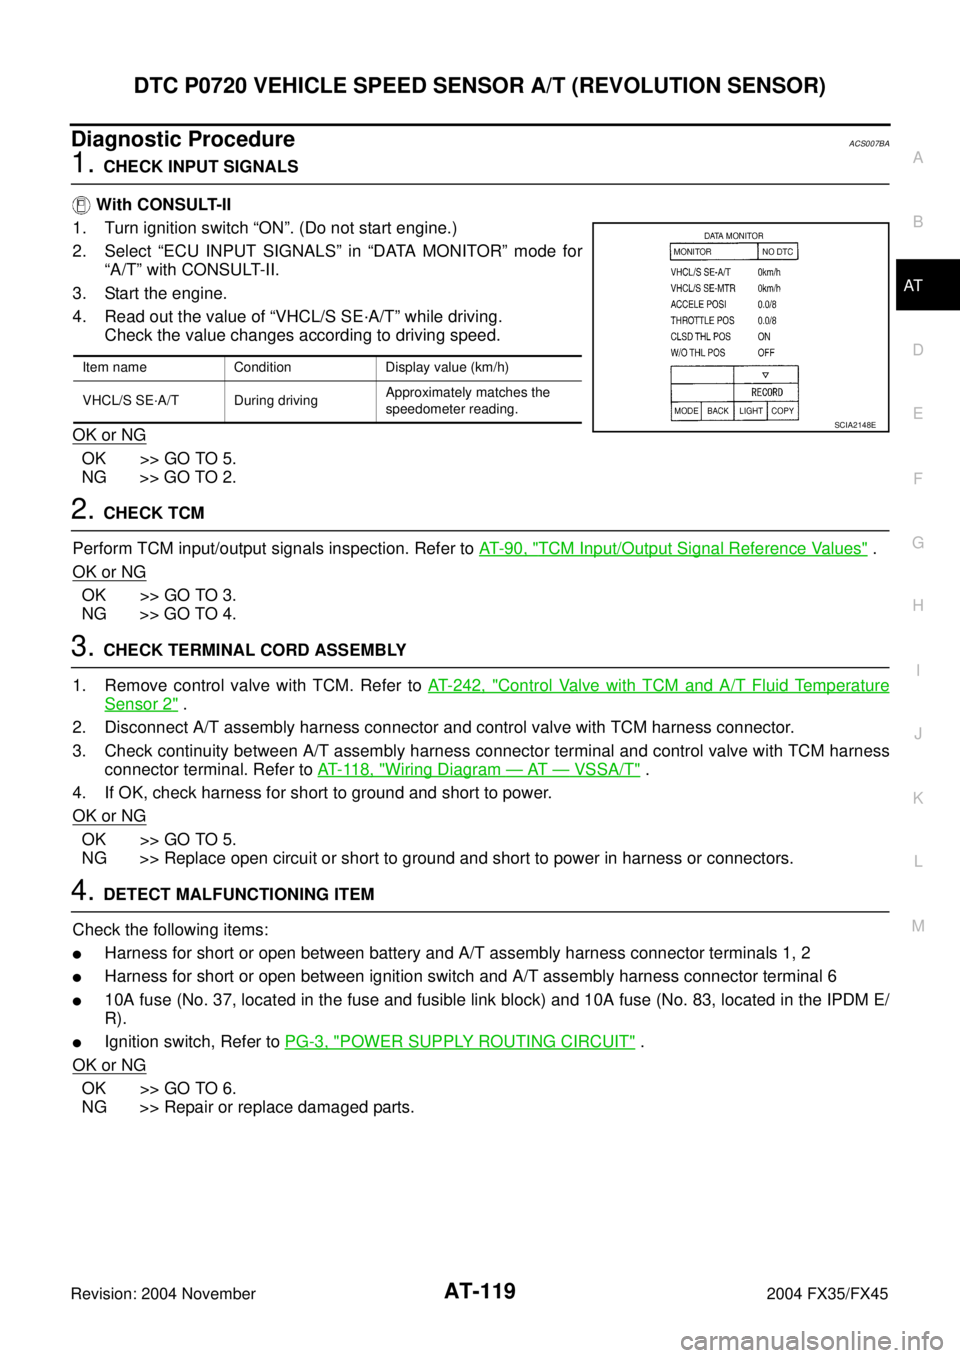
1. Turn ignition switch “ON”. (Do not start engine.)
2. Select “ECU INPUT SIGNALS” in “DATA MONITOR” mode for
“A/T” with CONSULT-II.
3. Start the engine.
4. Read out the value of “VHCL/S SE·A/T” while driving.
Check the value changes according to driving speed.
OK or NG
OK >> GO TO 5.
NG >> GO TO 2.
2. CHECK TCM
Perform TCM input/output signals inspection. Refer to AT- 9 0 , "
TCM Input/Output Signal Reference Values" .
OK or NG
OK >> GO TO 3.
NG >> GO TO 4.
3. CHECK TERMINAL CORD ASSEMBLY
1. Remove control valve with TCM. Refer to AT- 2 4 2 , "
Control Valve with TCM and A/T Fluid Temperature
Sensor 2" .
2. Disconnect A/T assembly harness connector and control valve with TCM harness connector.
3. Check continuity between A/T assembly harness connector terminal and control valve with TCM harness
connector terminal. Refer to AT- 11 8 , "
Wiring Diagram — AT — VSSA/T" .
4. If OK, check harness for short to ground and short to power.
OK or NG
OK >> GO TO 5.
NG >> Replace open circuit or short to ground and short to power in harness or connectors.
4. DETECT MALFUNCTIONING ITEM
Check the following items:
�Harness for short or open between battery and A/T assembly harness connector terminals 1, 2
�Harness for short or open between ignition switch and A/T assembly harness connector terminal 6
�10A fuse (No. 37, located in the fuse and fusible link block) and 10A fuse (No. 83, located in the IPDM E/
R).
�Ignition switch, Refer to PG-3, "POWER SUPPLY ROUTING CIRCUIT" .
OK or NG
OK >> GO TO 6.
NG >> Repair or replace damaged parts.
Item name Condition Display value (km/h)
VHCL/S SE·A/T During drivingApproximately matches the
speedometer reading.
SCIA2148E
Page 197 of 4449
AT-120
DTC P0720 VEHICLE SPEED SENSOR A/T (REVOLUTION SENSOR)
Revision: 2004 November 2004 FX35/FX45
5. REPLACE THE REVOLUTION SENSOR AND CHECK DTC
1. Replace the revolution sensor. Refer to AT- 2 6 0 , "
Revolution Sensor Components (2WD Models Only)"
(2WD models) or AT- 2 8 6 , "Disassembly" (AWD models).
2. Perform “DTC Confirmation Procedure”. Refer to AT- 11 6 , "
DTC Confirmation Procedure" .
OK or NG
OK >>INSPECTION END
NG >> Replace the control valve with TCM. Refer to AT- 2 4 2 , "
Control Valve with TCM and A/T Fluid Tem-
perature Sensor 2" .
6. CHECK DTC
Perform “DTC Confirmation Procedure”.
�Refer to AT- 11 6 , "DTC Confirmation Procedure" .
OK or NG
OK >>INSPECTION END
NG >> GO TO 2.