Page 3 of 280
Maintenance and Specifications 222
Engine compartment 224
Engine oil 226
Battery 229
Fuel information 237
Air filter(s) 251
Part numbers 257
Refill capacities 257
Lubricant specifications 261
Accessories 271
Index 274
All rights reserved. Reproduction by any means, electronic or mechanical
including photocopying, recording or by any information storage and retrieval
system or translation in whole or part is not permitted without written
authorization from Ford Motor Company. Ford may change the contents without
notice and without incurring obligation.
Copyright 2003 Ford Motor Company
Table of Contents
3
Page 9 of 280
Vehicle Symbol Glossary
Power Windows
Front/Rear
Power Window Lockout
Child Safety Door
Lock/UnlockInterior Luggage
Compartment Release
Symbol
Panic AlarmEngine Oil
Engine CoolantEngine Coolant
Temperature
Do Not Open When HotBattery
Avoid Smoking, Flames,
or SparksBattery Acid
Explosive GasFan Warning
Power Steering FluidMaintain Correct Fluid
LevelMAX
MIN
Emission SystemEngine Air Filter
Passenger Compartment
Air FilterJack
Check fuel capLow tire warning
Introduction
9
Page 13 of 280

Charging system:Illuminates when
the battery is not charging properly.
Door ajar:Illuminates when the
ignition is in the ON position and
any door is open.
Overdrive off (if equipped):Illuminates when the overdrive function
of the transmission has been turned off, refer to theDrivingchapter.
²With Mini Message Center
²With Full Message Center
If the light flashes steadily or does
not illuminate, have the transmission
serviced soon, or damage may occur.
Four wheel drive low:Illuminates
when four-wheel drive low is
engaged.
Four wheel drive high:Illuminates
when four-wheel drive high is
engaged.
Speed control:Illuminates when
the speed control is activated. Turns
off when the speed control system
is deactivated.
Turn signal:Illuminates when the
left or right turn signal or the
hazard lights are turned on. If the
indicators stay on or flash faster, check for a burned out bulb.
High beams:Illuminates when the
high beam headlamps are turned on.
O/D
OFF
4x4
LOW
4x4 HI
Instrument Cluster
13
Page 16 of 280

Odometer:Registers the total kilometers (miles) of the vehicle.
²With Mini Message Center
²With Full Message Center
Refer to Message Center in the
Drivers Controls chapter on how to
switch the display from Metric to
English.
Trip odometer:Registers the kilometers (miles) of individual journeys.
²With Mini Message Center
Press and release the button on top
of the cluster to toggle between
odometer and trip odometer display.
²With Full Message Center
Press and release the message
center INFO button until TRIP
mode appears in the display. Press
the RESET button to reset.
Tachometer (if equipped):
Indicates the engine speed in
revolutions per minute. Driving with
your tachometer pointer
continuously at the top of the scale
may damage the engine.
Battery voltage gauge:Indicates
the battery voltage when the
ignition is in the ON position. If the
pointer moves and stays outside the
normal operating range (as
indicated by arrows), have the
vehicle's electrical system checked
as soon as possible.
Instrument Cluster
16
Page 67 of 280

also recommended that a new battery be placed in the hand-held
transmitter of the device being programmed to HomeLinktfor quicker
training and accurate transmission of the radio-frequency signal.
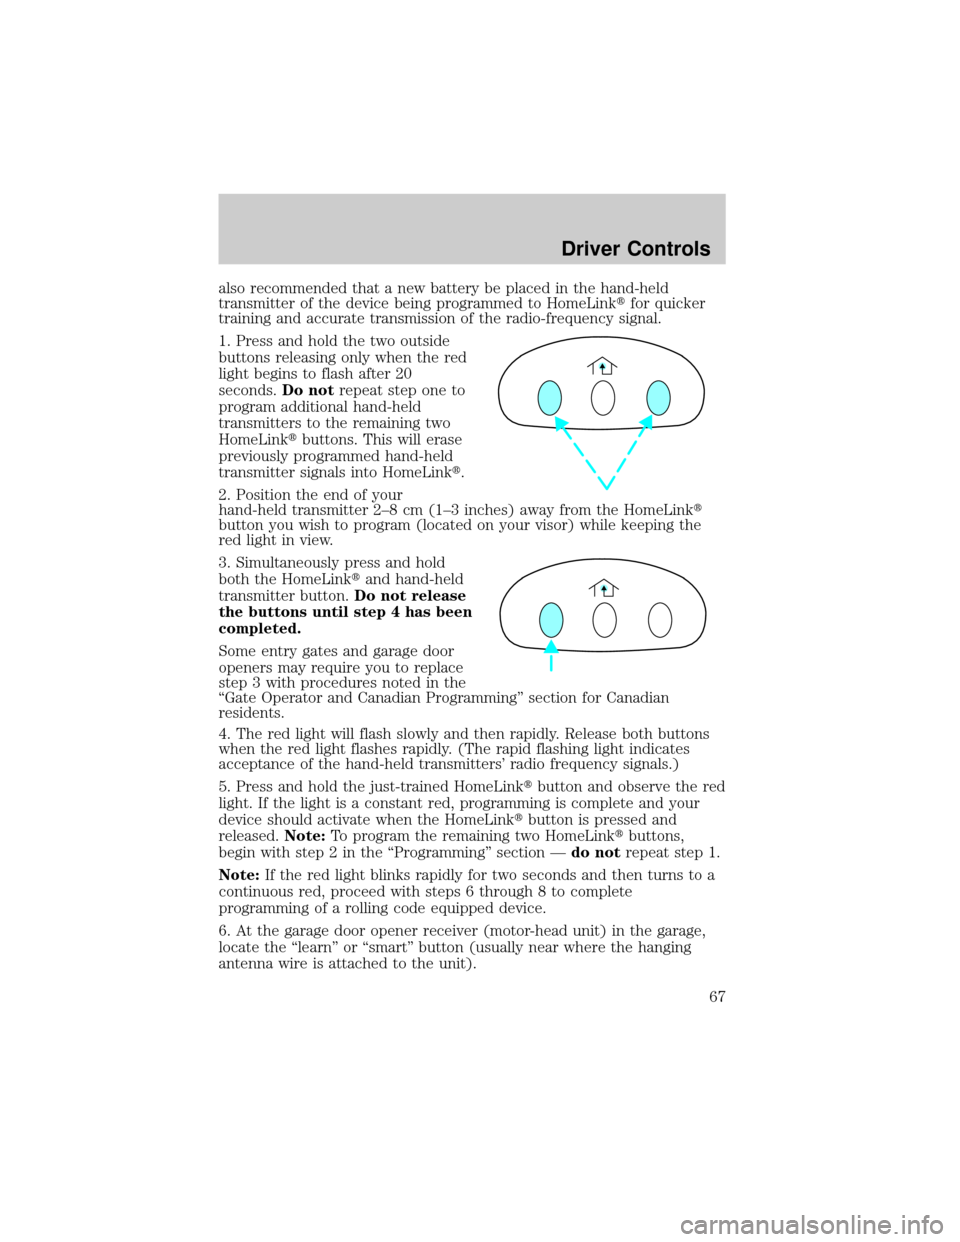
1. Press and hold the two outside
buttons releasing only when the red
light begins to flash after 20
seconds.Do notrepeat step one to
program additional hand-held
transmitters to the remaining two
HomeLinktbuttons. This will erase
previously programmed hand-held
transmitter signals into HomeLinkt.
2. Position the end of your
hand-held transmitter 2±8 cm (1±3 inches) away from the HomeLinkt
button you wish to program (located on your visor) while keeping the
red light in view.
3. Simultaneously press and hold
both the HomeLinktand hand-held
transmitter button.Do not release
the buttons until step 4 has been
completed.
Some entry gates and garage door
openers may require you to replace
step 3 with procedures noted in the
ªGate Operator and Canadian Programmingº section for Canadian
residents.
4. The red light will flash slowly and then rapidly. Release both buttons
when the red light flashes rapidly. (The rapid flashing light indicates
acceptance of the hand-held transmitters' radio frequency signals.)
5. Press and hold the just-trained HomeLinktbutton and observe the red
light. If the light is a constant red, programming is complete and your
device should activate when the HomeLinktbutton is pressed and
released.Note:To program the remaining two HomeLinktbuttons,
begin with step 2 in the ªProgrammingº section Ðdo notrepeat step 1.
Note:If the red light blinks rapidly for two seconds and then turns to a
continuous red, proceed with steps 6 through 8 to complete
programming of a rolling code equipped device.
6. At the garage door opener receiver (motor-head unit) in the garage,
locate the ªlearnº or ªsmartº button (usually near where the hanging
antenna wire is attached to the unit).
Driver Controls
67
Page 72 of 280

Perform compass calibration in an open area free from steel structures
and high voltage lines. For optimum calibration, turn off all electrical
accessories (heater/air conditioning, wipers, etc.) and make sure all
vehicle doors are shut.
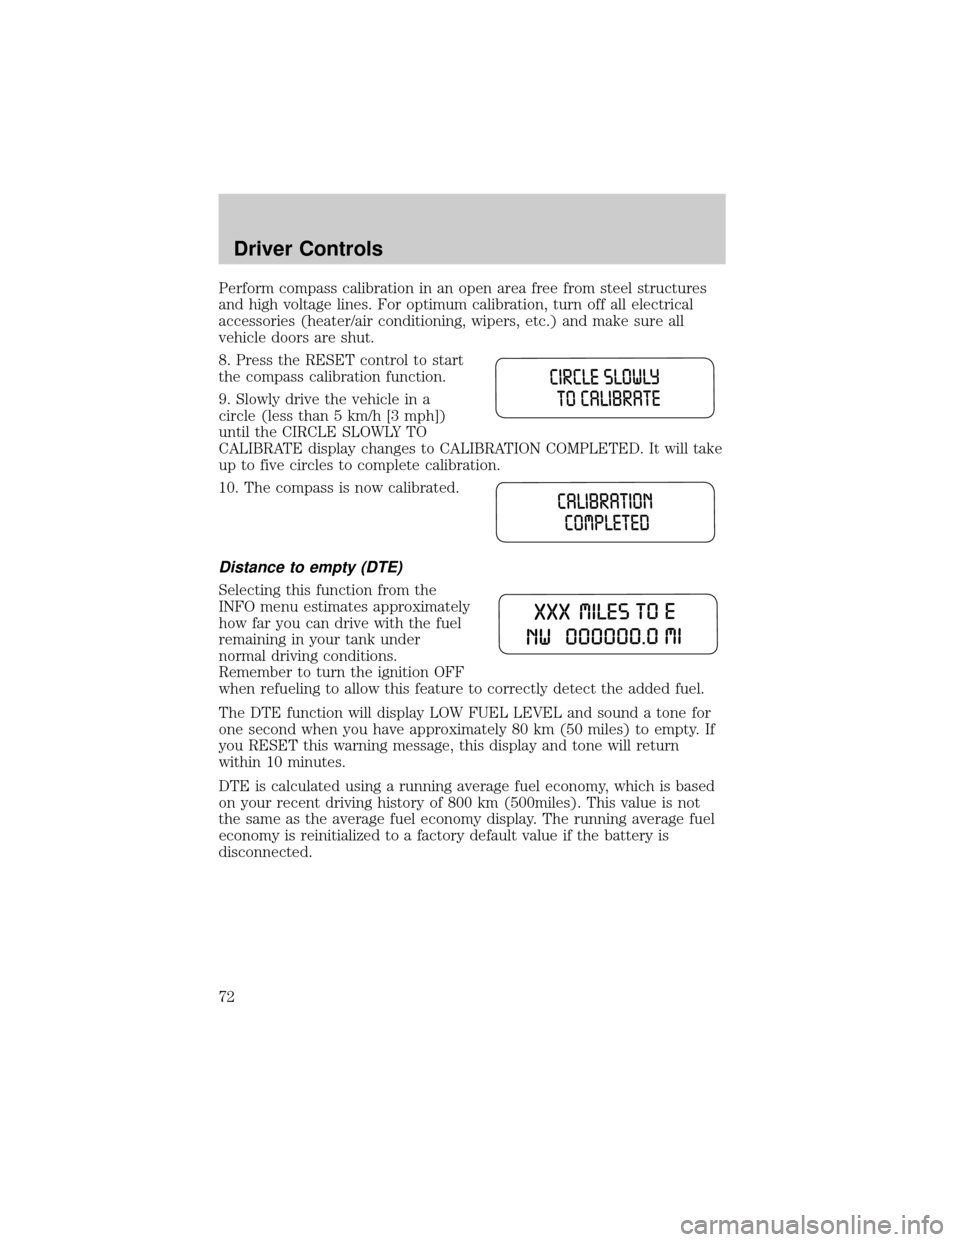
8. Press the RESET control to start
the compass calibration function.
9. Slowly drive the vehicle in a
circle (less than 5 km/h [3 mph])
until the CIRCLE SLOWLY TO
CALIBRATE display changes to CALIBRATION COMPLETED. It will take
up to five circles to complete calibration.
10. The compass is now calibrated.
Distance to empty (DTE)
Selecting this function from the
INFO menu estimates approximately
how far you can drive with the fuel
remaining in your tank under
normal driving conditions.
Remember to turn the ignition OFF
when refueling to allow this feature to correctly detect the added fuel.
The DTE function will display LOW FUEL LEVEL and sound a tone for
one second when you have approximately 80 km (50 miles) to empty. If
you RESET this warning message, this display and tone will return
within 10 minutes.
DTE is calculated using a running average fuel economy, which is based
on your recent driving history of 800 km (500miles). This value is not
the same as the average fuel economy display. The running average fuel
economy is reinitialized to a factory default value if the battery is
disconnected.
Driver Controls
72
Page 87 of 280

Activating the memory feature
To activate this feature:
1. Position the seat and adjustable pedals to the positions you desire.
2. Press the SET control on the
driver's door panel.
3. Within 5 five seconds, press one
control on the remote transmitter
and then press the 1 or 2 control on
the driver's door panel to which you
would like to associate with Driver 1
or Driver 2 positions.
4. Repeat this procedure for another
remote transmitter if desired.
Deactivating the memory feature
To deactivate this feature:
1. Press the SET control on the driver's door panel.
2. Within 5 five seconds, press any control on the remote transmitter
which you would like to deactivate and then press the SET control on
the driver's door panel.
3. Repeat this procedure for another remote transmitter if desired.
Replacing the battery
The remote entry transmitter uses one coin type three-volt lithium
battery CR2032 or equivalent. The typical operating range for your
remote entry transmitter is approximately 10 meters (33 feet). A
decrease in the operating range could be caused by:
²weather conditions,
²nearby radio towers,
²structures around the vehicle and
²other vehicles parked next to the vehicle.
SE T
12
Locks and Security
87
Page 88 of 280

To replace the battery:
1. Twist a thin coin between the two
halves of the remote entry
transmitter near the key ring. DO
NOT TAKE THE RUBBER COVER
AND CIRCUIT BOARD OFF THE
FRONT HOUSING OF THE
REMOTE ENTRY TRANSMITTER.
2. Do not wipe off any grease on the
battery terminals on the back
surface of the circuit board.
3. Remove the old battery.
4. Insert the new battery. Refer to the diagram inside the remote entry
transmitter for the correct orientation of the battery. Press the battery
down to ensure that the battery is fully seated in the battery housing
cavity.
5. Snap the two halves back together.
Note:Replacement of the battery willnotcause the remote transmitter
to become deprogrammed from your vehicle. The remote transmitter
should operate normally after battery replacement.
Replacing lost transmitters
If a remote transmitter has been lost and you would like to remove it
from the vehicle's memory, or you would like to purchase additional
remote transmitters and have them programmed to your vehicle:
²Takeallyour vehicle's transmitters to your dealer for programming, or
²Perform the programming procedure yourself.
Programming remote transmitters
It is necessary to haveall(maximum of four Ð original and/or new) of
your remote transmitters available prior to beginning this procedure.
Locks and Security
88