Page 3 of 280
Maintenance and Specifications 222
Engine compartment 224
Engine oil 226
Battery 229
Fuel information 237
Air filter(s) 251
Part numbers 257
Refill capacities 257
Lubricant specifications 261
Accessories 271
Index 274
All rights reserved. Reproduction by any means, electronic or mechanical
including photocopying, recording or by any information storage and retrieval
system or translation in whole or part is not permitted without written
authorization from Ford Motor Company. Ford may change the contents without
notice and without incurring obligation.
Copyright 2003 Ford Motor Company
Table of Contents
3
Page 9 of 280
Vehicle Symbol Glossary
Power Windows
Front/Rear
Power Window Lockout
Child Safety Door
Lock/UnlockInterior Luggage
Compartment Release
Symbol
Panic AlarmEngine Oil
Engine CoolantEngine Coolant
Temperature
Do Not Open When HotBattery
Avoid Smoking, Flames,
or SparksBattery Acid
Explosive GasFan Warning
Power Steering FluidMaintain Correct Fluid
LevelMAX
MIN
Emission SystemEngine Air Filter
Passenger Compartment
Air FilterJack
Check fuel capLow tire warning
Introduction
9
Page 224 of 280
IDENTIFYING COMPONENTS IN THE ENGINE COMPARTMENT
4.6L V8
1. Battery
2. Transmission fluid dipstick (automatic transmission)
3. Engine oil filler cap
4. Power steering fluid reservoir
5. Engine oil dipstick
6. Brake fluid reservoir
7. Engine coolant reservoir
8. Air filter assembly
9. Windshield washer fluid reservoir
Maintenance and Specifications
224
Page 225 of 280
5.4L V8
1. Battery
2. Transmission fluid dipstick (automatic transmission)
3. Air filter assembly
4. Power steering fluid reservoir
5. Engine oil dipstick
6. Brake fluid reservoir
7. Engine coolant reservoir
8. Engine oil filler cap
9. Windshield washer fluid reservoir
Maintenance and Specifications
225
Page 241 of 280

Many of the world's automakers approved the World-wide Fuel Charter
that recommends gasoline specifications to provide improved
performance and emission control system protection for your vehicle.
Gasolines that meet the World-wide Fuel Charter should be used when
available. Ask your fuel supplier about gasolines that meet the
World-wide Fuel Charter.
Cleaner air
Ford endorses the use of reformulated ªcleaner-burningº gasolines to
improve air quality.
Running out of fuel
Avoid running out of fuel because this situation may have an adverse
affect on powertrain components.
If you have run out of fuel:
²You may need to cycle the ignition from OFF to ON several times after
refueling, to allow the fuel system to pump the fuel from the tank to
the engine.
²Your ªService Engine Soonº indicator may come on. For more
information on the ªService Engine Soonº indicator, refer to the
Instrument clusterchapter.
Fuel Filter
For fuel filter replacement, see your dealer or a qualified service
technician. Refer to the scheduled maintenance guide for the appropriate
intervals for changing the fuel filter.
Replace the fuel filter with an authorized Motorcraft part. The
customer warranty may be void for any damage to the fuel system
if an authorized Motorcraft fuel filter is not used.
ESSENTIALS OF GOOD FUEL ECONOMY
Measuring techniques
Your best source of information about actual fuel economy is you, the
driver. You must gather information as accurately and consistently as
possible. Fuel expense, frequency of fill-ups or fuel gauge readings are
NOT accurate as a measure of fuel economy. We do not recommend
taking fuel economy measurements during the first 1,600 km (1,000
miles) of driving (engine break-in period). You will get a more accurate
measurement after 3,000 km±5,000 km (2,000 miles-3,000 miles).
Maintenance and Specifications
241
Page 251 of 280

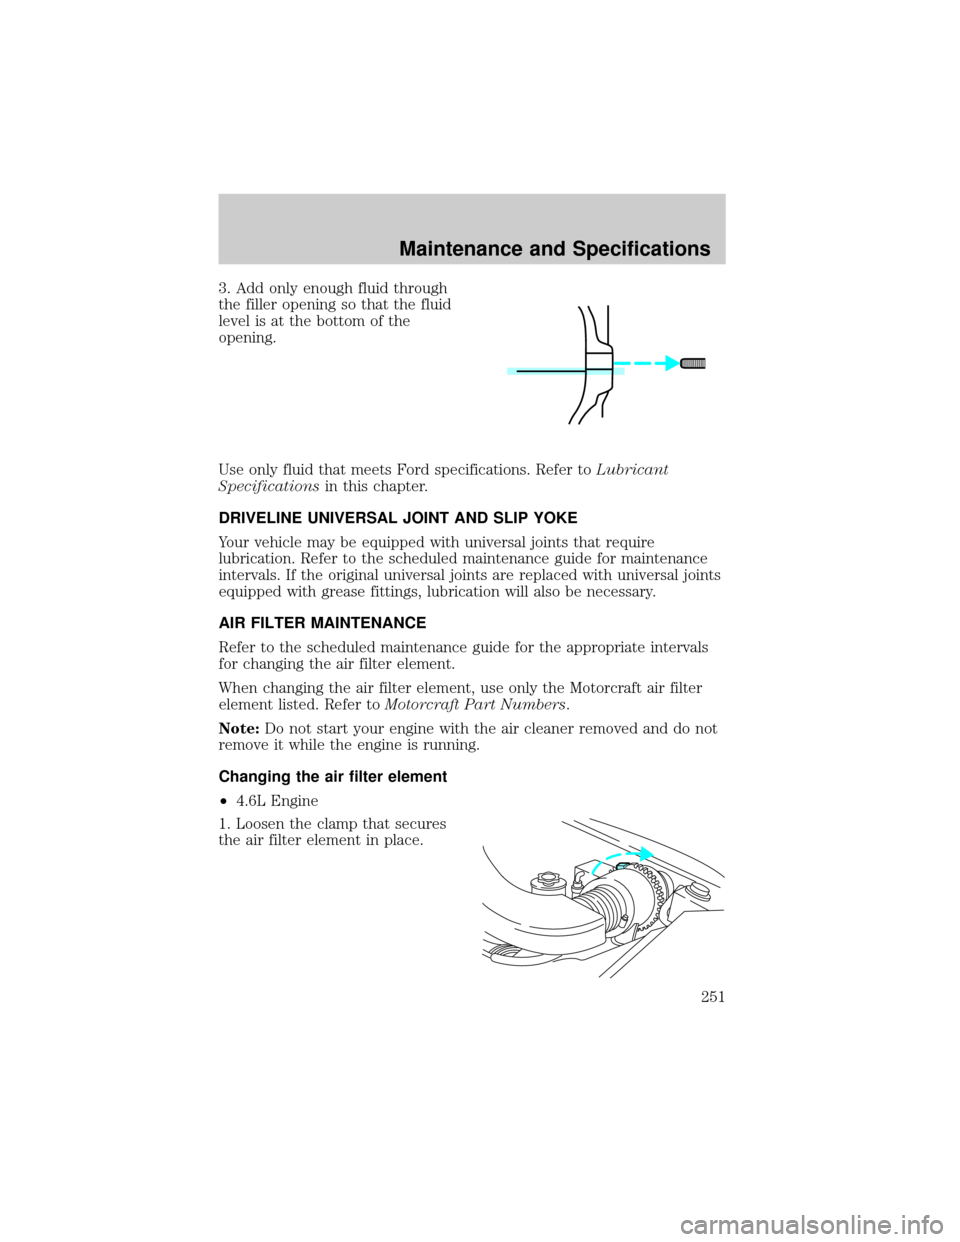
3. Add only enough fluid through
the filler opening so that the fluid
level is at the bottom of the
opening.
Use only fluid that meets Ford specifications. Refer toLubricant
Specificationsin this chapter.
DRIVELINE UNIVERSAL JOINT AND SLIP YOKE
Your vehicle may be equipped with universal joints that require
lubrication. Refer to the scheduled maintenance guide for maintenance
intervals. If the original universal joints are replaced with universal joints
equipped with grease fittings, lubrication will also be necessary.
AIR FILTER MAINTENANCE
Refer to the scheduled maintenance guide for the appropriate intervals
for changing the air filter element.
When changing the air filter element, use only the Motorcraft air filter
element listed. Refer toMotorcraft Part Numbers.
Note:Do not start your engine with the air cleaner removed and do not
remove it while the engine is running.
Changing the air filter element
²4.6L Engine
1. Loosen the clamp that secures
the air filter element in place.
Maintenance and Specifications
251
Page 252 of 280
2. Carefully separate the two halves
of the air filter housing.
3. Remove the air filter element
from the open end of the air filter
housing.
4. Install a new air filter element.
5. Reassemble the two halves of the air filter housing, aligning the notch
and slot found on the top of each half. Secure the clamp, making sure
not to crimp the air filter edges between the two halves of the air filter
housing. This could cause filter damage and allow unmetered air to enter
the engine if not properly seated.
²5.4L Engine
1. Release two retainer clamps.
2. Pull air filter tray assembly out
toward front of vehicle and lift air
filter element up and out of housing.
The air filter box needs to be free of any debris before installing a new
air filter.
Maintenance and Specifications
252
Page 253 of 280

3. Install a new air filter element
into the tray assembly.
4. Return air filter tray to original
position by pressing firmly on the
handle until all rearward movement
stops and secure the two clamps.
INFORMATION ABOUT UNIFORM TIRE QUALITY GRADING
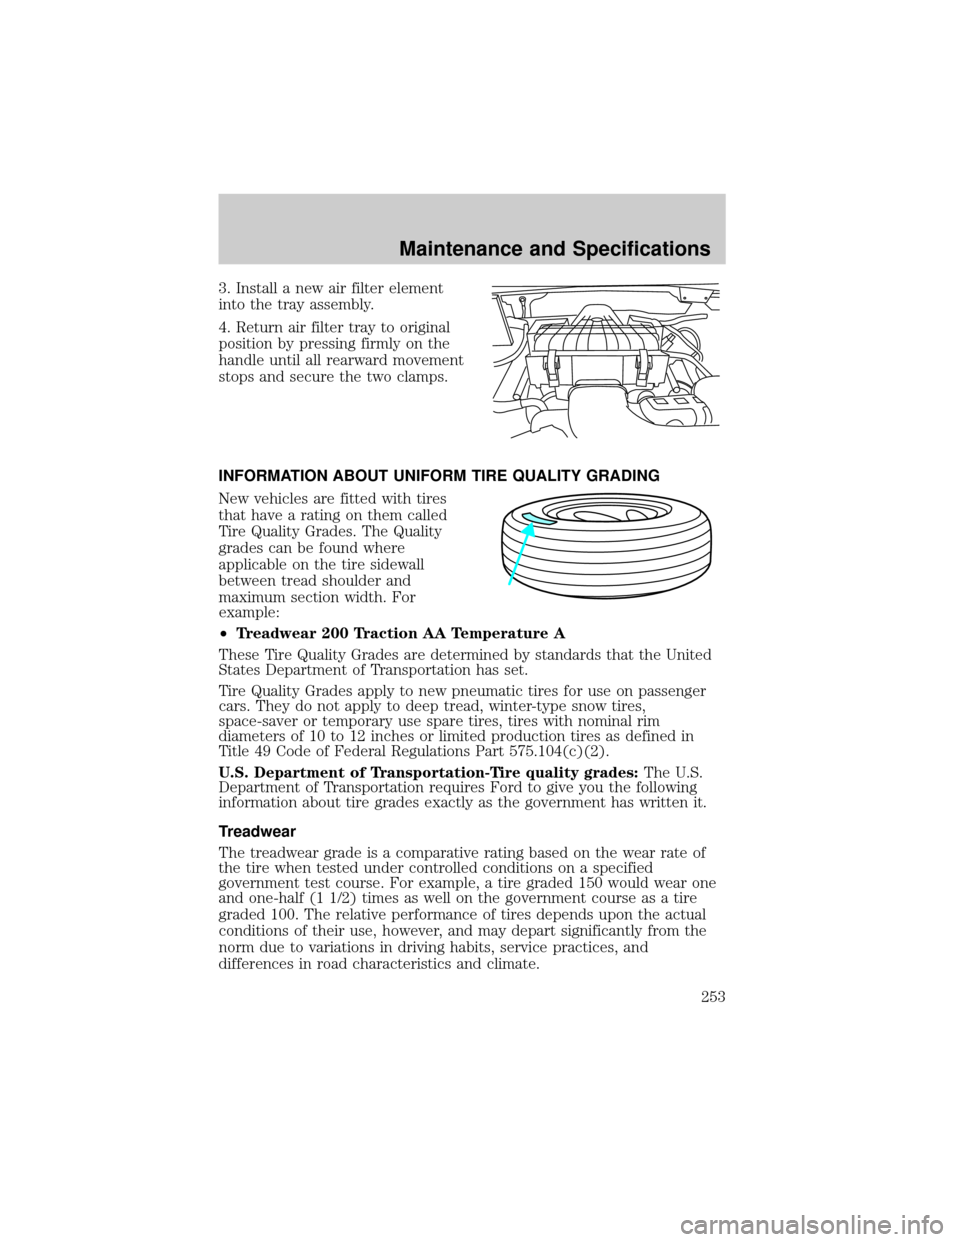
New vehicles are fitted with tires
that have a rating on them called
Tire Quality Grades. The Quality
grades can be found where
applicable on the tire sidewall
between tread shoulder and
maximum section width. For
example:
²Treadwear 200 Traction AA Temperature A
These Tire Quality Grades are determined by standards that the United
States Department of Transportation has set.
Tire Quality Grades apply to new pneumatic tires for use on passenger
cars. They do not apply to deep tread, winter-type snow tires,
space-saver or temporary use spare tires, tires with nominal rim
diameters of 10 to 12 inches or limited production tires as defined in
Title 49 Code of Federal Regulations Part 575.104(c)(2).
U.S. Department of Transportation-Tire quality grades:The U.S.
Department of Transportation requires Ford to give you the following
information about tire grades exactly as the government has written it.
Treadwear
The treadwear grade is a comparative rating based on the wear rate of
the tire when tested under controlled conditions on a specified
government test course. For example, a tire graded 150 would wear one
and one-half (1 1/2) times as well on the government course as a tire
graded 100. The relative performance of tires depends upon the actual
conditions of their use, however, and may depart significantly from the
norm due to variations in driving habits, service practices, and
differences in road characteristics and climate.
Maintenance and Specifications
253