2004 FORD F150 horn
[x] Cancel search: hornPage 85 of 280

Your vehicle is equipped with a remote entry system which allows you to:
²unlock the vehicle doors without
a key.
²lock all the vehicle doors without
a key.
²activate the personal alarm.
If there is any potential remote keyless entry problem with your vehicle,
ensureALL remote entry transmittersare taken to the dealership, to
aid in troubleshooting.
Unlocking the doors
1. Pressand release to unlock the driver's door.Note:The interior
lamps will illuminate.
2. Press
and release again within three seconds to unlock all the
doors.
Locking the doors
1. Pressand release to lock all the doors. The parklamps will flash.
2. Press
and release again within three seconds to confirm that all the
doors are closed and locked.Note:The doors will lock again, the horn
will chirp once, and the parklamps will flash once more.
If any of the doors are not properly closed the horn will make two quick
chirps and the headlamps will not flash.
Power door lock disable feature (if equipped)
The UNLOCK
feature on your power door locks will not work from
inside the vehicle when:
²the ignition has been turned to the OFF position, and
²20 seconds elapse after all vehicle doors are closed and locked using
the remote entry transmitter, the keyless entry pad, or the power door
lock control (while the accompanying door is open).
Locks and Security
85
Page 86 of 280

The UNLOCKfeature will work again after:
²a door has become ajar,
²the ignition is turned to the ON position, or
²using the UNLOCK
control on your remote entry transmitter or
unlocking via the keyless entry keypad.
Deactivating/activating power door lock disable feature
You must complete Steps 1±5 within 30 seconds, or the procedure will
have to be repeated. If the procedure needs to be repeated, you must
wait a minimum of 30 seconds to begin again.
1. Turn the ignition to the ON position, then press the UNLOCK button
three times.
2. Turn the ignition to the OFF position, then press the UNLOCK button
three times.
3. Turn the ignition to the ON position, and within five seconds, press
the LOCK button two times. Two horn chirps should be heard, indicating
that the system has been disabled. Conversely, two horn chirps followed
by a honk will indicate that the system is enabled.
4. Pressing the power door LOCK button two times again will turn the
feature ON if it was previously OFF, or OFF if it was previously ON.
Every two consecutive presses of the LOCK button after successfully
entering the configuration mode will change the enable/disable condition
of the feature.
5. Turn the ignition to the OFF position to exit programming.
Sounding a panic alarm
Press
to activate the alarm. Press again or turn the ignition to ACC
or ON to deactivate.
Note:The panic alarm will only operate when the ignition is in the OFF
position.
Memory feature (if equipped)
The remote entry system can also control the memory feature.
Press the
control once to unlock the driver's door. Pressing the
control will automatically move the seat and adjustable pedals to the
desired memory position (the memory position corresponds to the
transmitter being used).
Locks and Security
86
Page 90 of 280

Perimeter lighting feature
The perimeter lighting feature illuminates the exterior of the vehicle in
order to provide better visibility to the user while he or she approaches
and enters the vehicle.
The perimeter lighting feature activates when:
²the ignition is in the OFF position,
²the autolamp sensor determines that it is dark, and
²the user activates an unlock feature, using either the remote keyless
transmitter or the keypad.
The perimeter lighting feature will illuminate the headlamps and parking
lamps for 25 seconds, or until:
²the ignition is turned to any position other than the OFF position, or
²the user activates a lock feature, using either the remote keyless
transmitter or the keypad.
Enabling/disabling the perimeter lighting feature
Your vehicle comes with the perimeter lighting feature enabled. To
disable or re-enable this feature, perform the following steps within 30
seconds:
1. Turn the ignition to the ON position, then press the
control three
times.
2. Turn the ignition to the OFF position, then press the
control three
times.
3. Turn the ignition to the ON position, and within five seconds, press
the
control two times. A short horn chirp followed by a long horn
activation confirms that the perimeter lighting feature has been enabled.
A short horn chirp by itself confirms that the feature has been disabled.
4. Pressing the power doorcontrol two times again will turn the feature
ON if it was previously OFF, or OFF if it was previously ON. Every two
consecutive presses of the
control after successfully entering the
configuration mode will change the enable/disable condition of the feature.
5. Turn the ignition to the OFF position to exit programming.
Autolock (if equipped)
The autolock feature will lock all the doors when:
²all the doors are closed,
²the ignition is in the ON position,
Locks and Security
90
Page 91 of 280

²you shift into any gear putting the vehicle in motion, and
²the brake pedal is released.
The autolock feature repeats when:
²any door is opened then closed while the ignition is in the ON
position, and
²you put the vehicle in motion by releasing the brake pedal.
Deactivating/activating autolock
Your vehicle comes with the autolock feature activated. There are three
methods to enable/disable this feature: One is through your dealer, the
second with a power door unlock/lock sequence and the third with the
keypad.
Before following the activation or deactivation procedures, make sure
that the anti-theft system is not armed, ignition is off, and all vehicle
doors are closed.
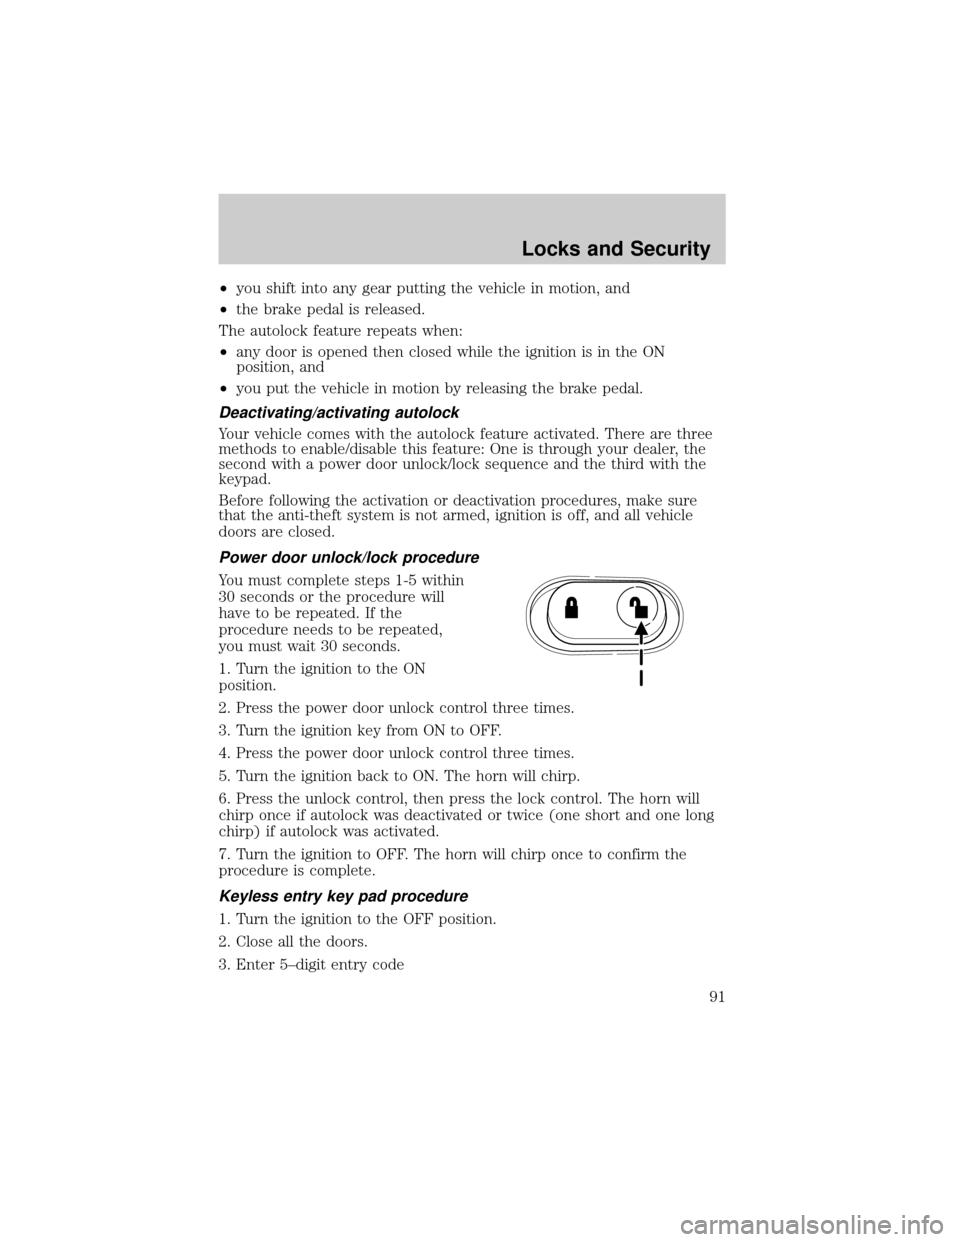
Power door unlock/lock procedure
You must complete steps 1-5 within
30 seconds or the procedure will
have to be repeated. If the
procedure needs to be repeated,
you must wait 30 seconds.
1. Turn the ignition to the ON
position.
2. Press the power door unlock control three times.
3. Turn the ignition key from ON to OFF.
4. Press the power door unlock control three times.
5. Turn the ignition back to ON. The horn will chirp.
6. Press the unlock control, then press the lock control. The horn will
chirp once if autolock was deactivated or twice (one short and one long
chirp) if autolock was activated.
7. Turn the ignition to OFF. The horn will chirp once to confirm the
procedure is complete.
Keyless entry key pad procedure
1. Turn the ignition to the OFF position.
2. Close all the doors.
3. Enter 5±digit entry code
Locks and Security
91
Page 92 of 280

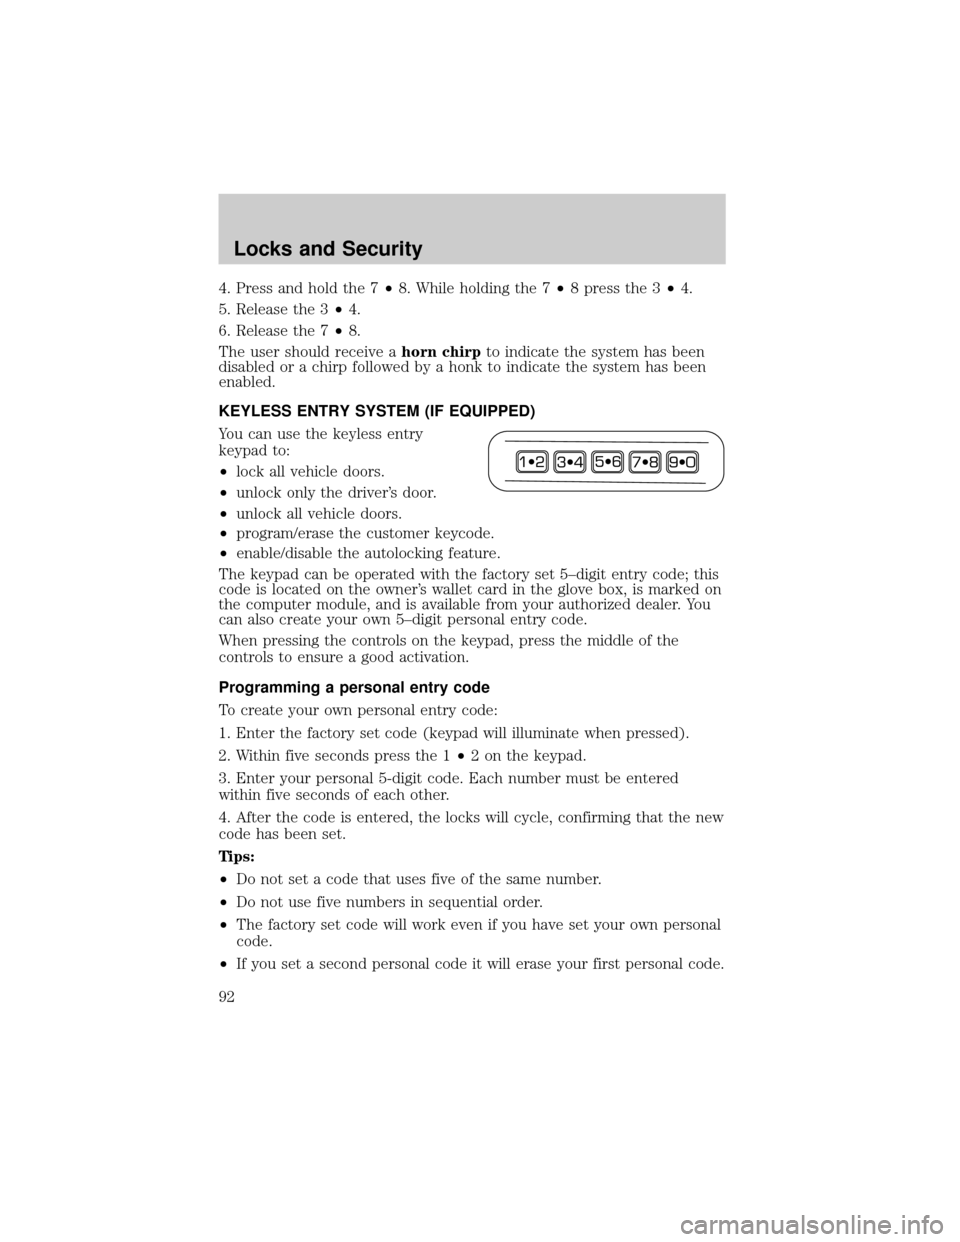
4. Press and hold the 7²8. While holding the 7²8 press the 3²4.
5. Release the 3²4.
6. Release the 7²8.
The user should receive ahorn chirpto indicate the system has been
disabled or a chirp followed by a honk to indicate the system has been
enabled.
KEYLESS ENTRY SYSTEM (IF EQUIPPED)
You can use the keyless entry
keypad to:
²lock all vehicle doors.
²unlock only the driver's door.
²unlock all vehicle doors.
²program/erase the customer keycode.
²enable/disable the autolocking feature.
The keypad can be operated with the factory set 5±digit entry code; this
code is located on the owner's wallet card in the glove box, is marked on
the computer module, and is available from your authorized dealer. You
can also create your own 5±digit personal entry code.
When pressing the controls on the keypad, press the middle of the
controls to ensure a good activation.
Programming a personal entry code
To create your own personal entry code:
1. Enter the factory set code (keypad will illuminate when pressed).
2. Within five seconds press the 1²2 on the keypad.
3. Enter your personal 5-digit code. Each number must be entered
within five seconds of each other.
4. After the code is entered, the locks will cycle, confirming that the new
code has been set.
Tips:
²Do not set a code that uses five of the same number.
²Do not use five numbers in sequential order.
²The factory set code will work even if you have set your own personal
code.
²If you set a second personal code it will erase your first personal code.
Locks and Security
92
Page 191 of 280

Fuse/Relay
LocationFuse Amp
RatingPassenger Compartment Fuse
Panel Description
10 20A* Trailer tow back-up lamps relay
(PCB1), Trailer tow parklamp
relay (R201)
11 10A* A/C clutch, 4x4 solenoid
12 Ð Not used
13 10A* Climate control module power
14 10A* Back-up lamp and Daytime
Running Lamps (DRL) relay coil,
A/C pressure switch, Brake-shift
interlock solenoid
15 5A* Overdrive cancel, Cluster,
Brake-Shift Interlock (BSI)
16 10A* ABS module (Run/Start power)
17 15A* Fog lamp relay (R202)
18 10A* Run/Start feed - Flasher relay,
Electrochromatic mirror, Heated
seats, BSM, Compass, RSS
(Reverse Sensing System)
19 10A* Restraints (Air bag module)
20 15A* PCM 4x4 power
21 15A* Cluster keep alive power
22 10A* Delayed accessory power for
audio, power door lock switch and
moonroof switch illumination
23 10A* RH low beam headlamp
24 15A* Battery saver power for demand
lamps
25 10A* LH low beam headlamp
26 20A* Horn relay (PCB3), Horn power
Roadside Emergencies
191