Page 174 of 202

173
CONNECT NAV
NAVIGATOR
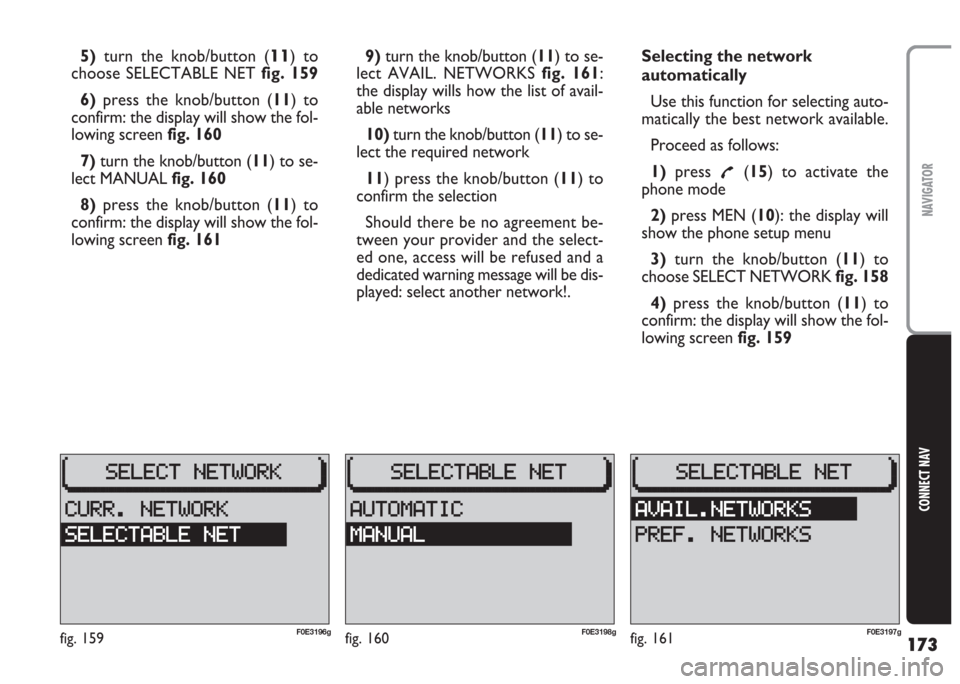
5)turn the knob/button (11) to
choose SELECTABLE NET fig. 159
6) press the knob/button (11) to
confirm: the display will show the fol-
lowing screen fig. 160
7)turn the knob/button (11) to se-
lect MANUAL fig. 160
8)press the knob/button (11) to
confirm: the display will show the fol-
lowing screen fig. 1619)turn the knob/button (11) to se-
lect AVAIL. NETWORKS fig. 161:
the display wills how the list of avail-
able networks
10)turn the knob/button (11) to se-
lect the required network
11) press the knob/button (11) to
confirm the selection
Should there be no agreement be-
tween your provider and the select-
ed one, access will be refused and a
dedicated warning message will be dis-
played: select another network!.Selecting the network
automatically
Use this function for selecting auto-
matically the best network available.
Proceed as follows:
1)press
£(15) to activate the
phone mode
2)press MEN (10): the display will
show the phone setup menu
3)turn the knob/button (11) to
choose SELECT NETWORK fig. 158
4)press the knob/button (11) to
confirm: the display will show the fol-
lowing screen fig. 159
fig. 159F0E3196gfig. 160F0E3198gfig. 161F0E3197g
Page 176 of 202

175
CONNECT NAV
NAVIGATOR
10)press the knob/button (11) to
confirm: the display will show the list
of the available networks
11) turn the knob/button (11) to se-
lect the required network
12)press the knob/button (11) to
confirm the selection
Should the selected network be not
available (e.g.: overload or poor signal),
the display will show a dedicated
warning message.
In this case another network shall be
selected.Displaying the selected
network
Use this function to display the se-
lected network.
Proceed as follows:
1)press
£(15) to activate the
phone mode
2) press MEN (10): the display will
show the phone setup menu
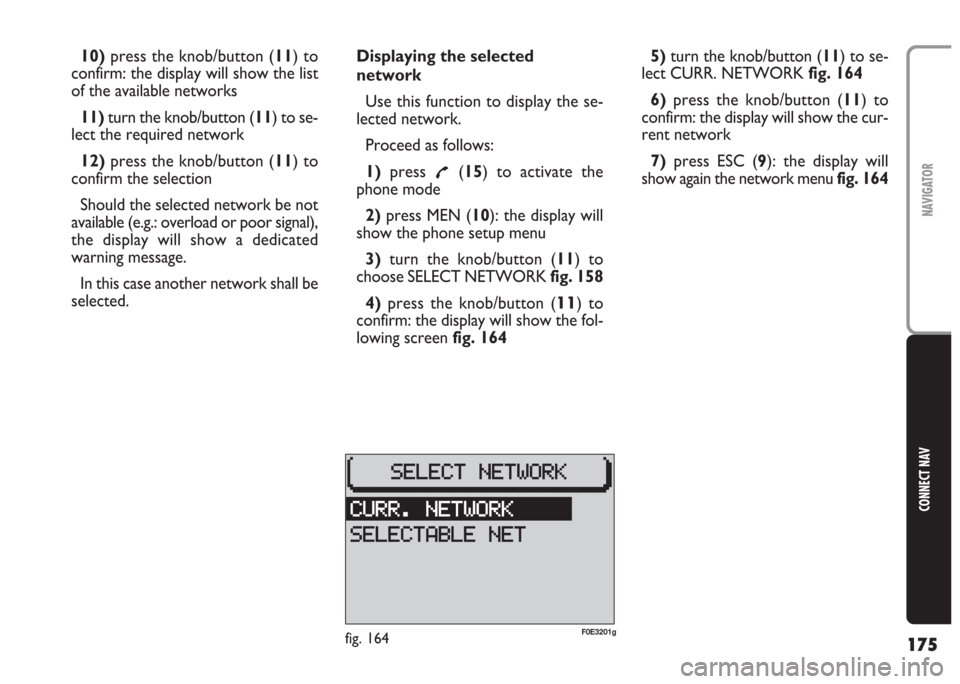
3)turn the knob/button (11) to
choose SELECT NETWORK fig. 158
4) press the knob/button (
11) to
confirm: the display will show the fol-
lowing screen fig. 1645)turn the knob/button (11) to se-
lect CURR. NETWORK fig. 164
6) press the knob/button (11) to
confirm: the display will show the cur-
rent network
7)press ESC (9): the display will
show again the network menu fig. 164
fig. 164F0E3201g
Page 186 of 202

185
CONNECT NAV
NAVIGATOR
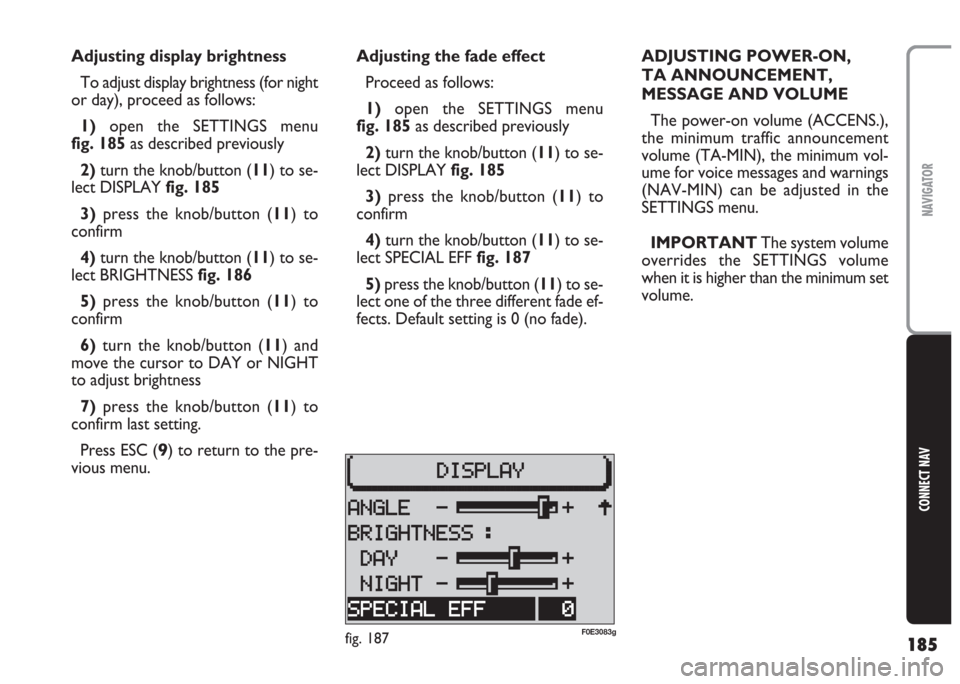
Adjusting the fade effect
Proceed as follows:
1) open the SETTINGS menu
fig. 185as described previously
2)turn the knob/button (11) to se-
lect DISPLAY fig. 185
3)press the knob/button (11) to
confirm
4) turn the knob/button (11) to se-
lect SPECIAL EFF fig. 187
5) press the knob/button (11) to se-
lect one of the three different fade ef-
fects. Default setting is 0 (no fade). Adjusting display brightness
To adjust display brightness (for night
or day), proceed as follows:
1)open the SETTINGS menu
fig. 185as described previously
2)turn the knob/button (11) to se-
lect DISPLAY fig. 185
3)press the knob/button (11) to
confirm
4) turn the knob/button (11) to se-
lect BRIGHTNESS fig. 186
5)press the knob/button (11) to
confirm
6)turn the knob/button (11) and
move the cursor to DAY or NIGHT
to adjust brightness
7)press the knob/button (11) to
confirm last setting.
Press ESC (
9) to return to the pre-
vious menu.ADJUSTING POWER-ON,
TA ANNOUNCEMENT,
MESSAGE AND VOLUME
The power-on volume (ACCENS.),
the minimum traffic announcement
volume (TA-MIN), the minimum vol-
ume for voice messages and warnings
(NAV-MIN) can be adjusted in the
SETTINGS menu.
IMPORTANT The system volume
overrides the SETTINGS volume
when it is higher than the minimum set
volume.
fig. 187F0E3083g
Page 187 of 202

186
CONNECT NAV
NAVIGATOR
IMPORTANT The minimum
volume is a form of limitation. If the
volume was lower than the minimum
set volume when the system was
switched off this will override the
SETTINGS menu.Proceed as follows to adjust the vol-
ume:
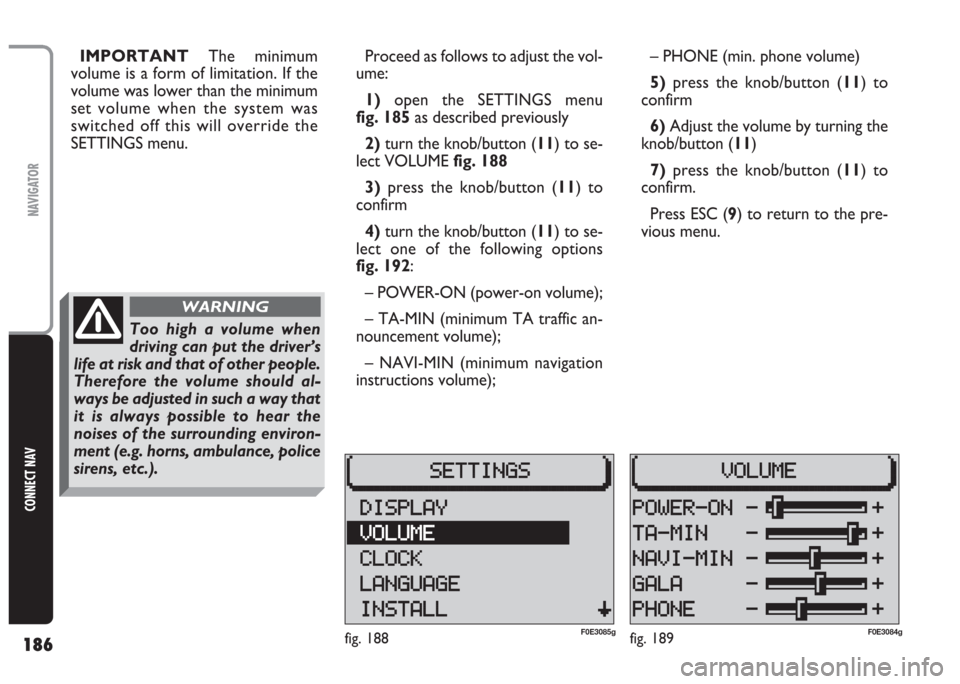
1) open the SETTINGS menu
fig. 185as described previously
2)turn the knob/button (11) to se-
lect VOLUME fig. 188
3)press the knob/button (11) to
confirm
4) turn the knob/button (11) to se-
lect one of the following options
fig. 192:
– POWER-ON (power-on volume);
– TA-MIN (minimum TA traffic an-
nouncement volume);
– NAVI-MIN (minimum navigation
instructions volume);– PHONE (min. phone volume)
5)press the knob/button (11) to
confirm
6) Adjust the volume by turning the
knob/button (11)
7) press the knob/button (11) to
confirm.
Press ESC (9) to return to the pre-
vious menu.
fig. 188F0E3085gfig. 189F0E3084g
Too high a volume when
driving can put the driver’s
life at risk and that of other people.
Therefore the volume should al-
ways be adjusted in such a way that
it is always possible to hear the
noises of the surrounding environ-
ment (e.g. horns, ambulance, police
sirens, etc.).
WARNING
Page 199 of 202
198
CONNECT NAV
NAVIGATOR
AUDIO
– Separate bass/treble settings.
– Right/left and front/rear channel
balance.
– Automatic LOUDNESS function.SATELLITE NAVIGATION
– Voice messages for the route to be
followed.
– Driving advice, distance and esti-
mated time required to reach the des-
tination on the display.
– Possibility of entering special or dif-
ferent destinations.
– Possibility of storing destinations.
TARGA INFOMOBILITY
SERVICES
– Access to Targa infomobility
services:
•“Infomobility” services (Connect,
Follow me function, (Message list)
•“Medical advice” service
•“Road assistance” serviceTELEPHONE
– Handfree set (using the speakers
fitted on the car)
– Phone book
– Sending/receiving short text mes-
sages (SMS)
– Enabling SIM card reading
Multimedia CDs contain
sound and data tracks.
Playing these CDs can cause noise
loud enough to jeopardise road
safety and damage final stages and
speakers.
WARNING
Page:
< prev 1-8 9-16 17-24