Page 126 of 202
125
CONNECT NAV
NAVIGATOR
4)enter the town and confirm with
the knob/button (11). The list of town
centres and districts will appear on the
display
5)position the cursor on the re-
quired town centre by turning the
knob/button (11)
6)confirm the selection by pressing
the knob/button (11). The selected
town centre will be highlighted on the
display
7) confirm the destination by press-
ing the knob/button (11).IMPORTANT Only the options
for which data is available on the nav-
igation CD are offered. A lock symbol
Swill appear next to the unavailable
options.
Press ESC (9) to return to the pre-
vious menu.
ENTERING SPECIAL
DESTINATIONS
These are destinations contained in
directories in alphabetical order and
include motorways, railway stations,
shopping centres, service stations,
parking areas, etc.
Special destinations can be sought in
four different ways:
– IN DEST. AREA: displaying the spe-
cial destinations related to the previ-
ous selection;– SUPRAREG. DESTS. supraregion-
al destinations): displaying special des-
tinations in other locations with re-
spect to the selected destination. The
directories only refer to the country
on the CD;
– DEST. SURROUND (destination
surroundings): displaying special desti-
nations (example: sports grounds, etc.)
in the area surrounding the previous-
ly selected destination;
– POS. SURROUND. (position sur-
roundings): displaying special destina-
tions near the current position of the
car.
IMPORTANT You will need to
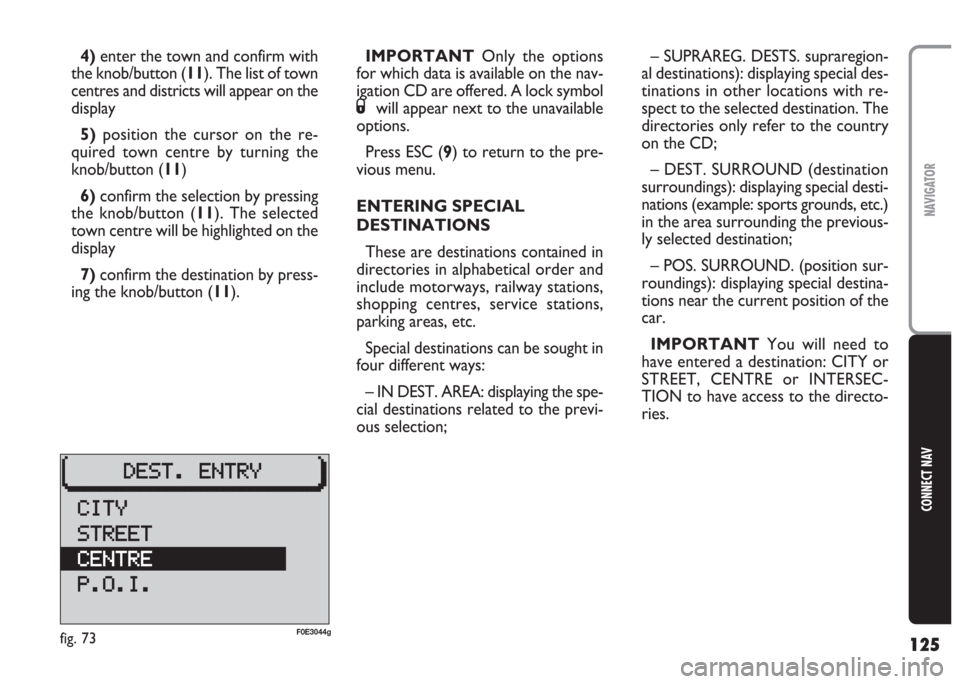
have entered a destination: CITY or
STREET, CENTRE or INTERSEC-
TION to have access to the directo-
ries.
fig. 73F0E3044g
Page 127 of 202
126
CONNECT NAV
NAVIGATOR
Entering the destination
“IN DEST. AREA”
Proceed as follows:
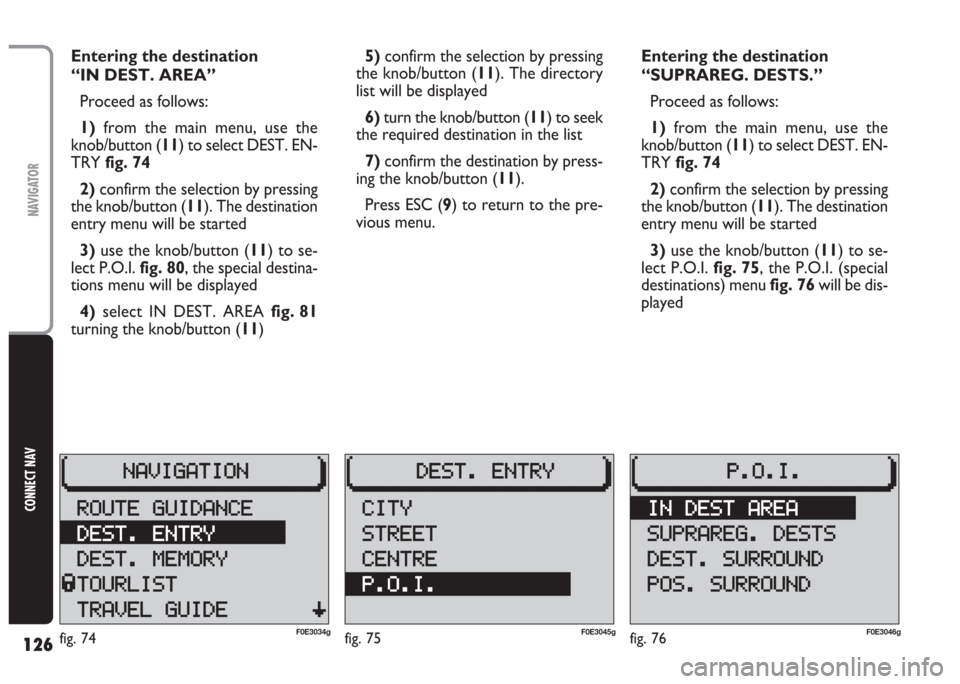
1)from the main menu, use the
knob/button (11) to select DEST. EN-
TRY fig. 74
2)confirm the selection by pressing
the knob/button (11). The destination
entry menu will be started
3) use the knob/button (11) to se-
lect P.O.I. fig. 80, the special destina-
tions menu will be displayed
4)select IN DEST. AREA fig. 81
turning the knob/button (11)5)confirm the selection by pressing
the knob/button (11). The directory
list will be displayed
6)turn the knob/button (11) to seek
the required destination in the list
7)confirm the destination by press-
ing the knob/button (11).
Press ESC (9) to return to the pre-
vious menu.Entering the destination
“SUPRAREG. DESTS.”
Proceed as follows:
1)from the main menu, use the
knob/button (11) to select DEST. EN-
TRY fig. 74
2)confirm the selection by pressing
the knob/button (11). The destination
entry menu will be started
3) use the knob/button (11) to se-
lect P.O.I. fig. 75, the P.O.I. (special
destinations) menu fig. 76will be dis-
played
fig. 76F0E3046gfig. 74F0E3034gfig. 75F0E3045g
Page 128 of 202
127
CONNECT NAV
NAVIGATOR
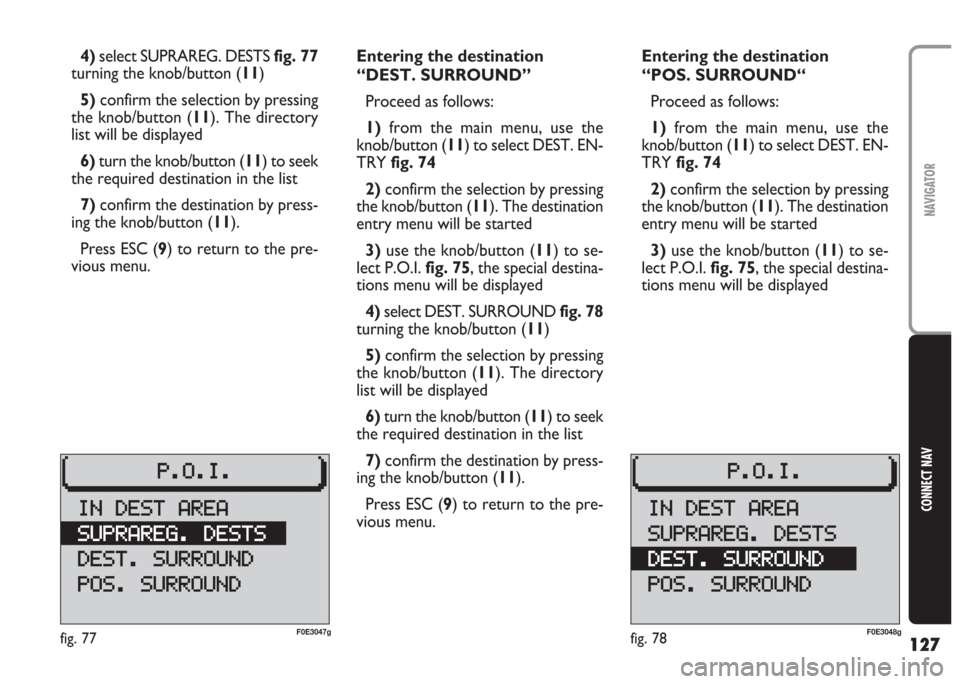
4)select SUPRAREG. DESTS fig. 77
turning the knob/button (11)
5) confirm the selection by pressing
the knob/button (11). The directory
list will be displayed
6)turn the knob/button (11) to seek
the required destination in the list
7) confirm the destination by press-
ing the knob/button (11).
Press ESC (9) to return to the pre-
vious menu.Entering the destination
“DEST. SURROUND”
Proceed as follows:
1)from the main menu, use the
knob/button (11) to select DEST. EN-
TRY fig. 74
2)confirm the selection by pressing
the knob/button (11). The destination
entry menu will be started
3)use the knob/button (11) to se-
lect P.O.I. fig. 75, the special destina-
tions menu will be displayed
4)select DEST. SURROUND fig. 78
turning the knob/button (11)
5)confirm the selection by pressing
the knob/button (11). The directory
list will be displayed
6)turn the knob/button (11) to seek
the required destination in the list
7)confirm the destination by press-
ing the knob/button (11).
Press ESC (9) to return to the pre-
vious menu.Entering the destination
“POS. SURROUND“
Proceed as follows:
1)from the main menu, use the
knob/button (11) to select DEST. EN-
TRY fig. 74
2)confirm the selection by pressing
the knob/button (11). The destination
entry menu will be started
3)use the knob/button (11) to se-
lect P.O.I. fig. 75, the special destina-
tions menu will be displayed
fig. 78F0E3048gfig. 77F0E3047g
Page 129 of 202
128
CONNECT NAV
NAVIGATOR
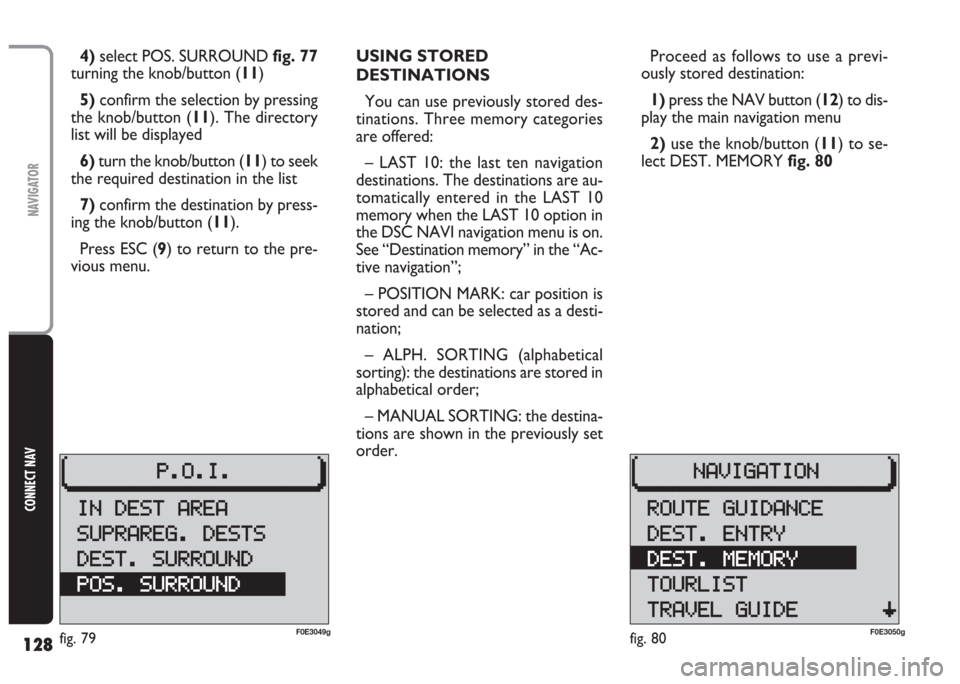
4) select POS. SURROUND fig. 77
turning the knob/button (11)
5) confirm the selection by pressing
the knob/button (11). The directory
list will be displayed
6)turn the knob/button (11) to seek
the required destination in the list
7)confirm the destination by press-
ing the knob/button (11).
Press ESC (9) to return to the pre-
vious menu.USING STORED
DESTINATIONS
You can use previously stored des-
tinations. Three memory categories
are offered:
– LAST 10: the last ten navigation
destinations. The destinations are au-
tomatically entered in the LAST 10
memory when the LAST 10 option in
the DSC NAVI navigation menu is on.
See “Destination memory” in the “Ac-
tive navigation”;
– POSITION MARK: car position is
stored and can be selected as a desti-
nation;
– ALPH. SORTING (alphabetical
sorting): the destinations are stored in
alphabetical order;
– MANUAL SORTING: the destina-
tions are shown in the previously set
order.Proceed as follows to use a previ-
ously stored destination:
1) press the NAV button (12) to dis-
play the main navigation menu
2)use the knob/button (11) to se-
lect DEST. MEMORY fig. 80
fig. 80F0E3050gfig. 79F0E3049g
Page 130 of 202
129
CONNECT NAV
NAVIGATOR
3) press the knob/button (11) to
confirm. The destination memory
menu will be displayed fig. 81
4)position the cursor on the re-
quired destination by turning the
knob/button (11)
5)confirm the destination by press-
ing the knob/button (11).
Press ESC (9) to return to the pre-
vious menu.Storing the current
position
Proceed as follows to store the cur-
rent position:
1)from the main menu, use the
knob/ button (11) to select DEST.
MEMORY fig. 80
2)press the knob/button (11) to
confirm. The menu for entering the
destination will be displayed3)use the knob/button (11) to se-
lect POSITION MARKfig. 82
4)confirm the destination with the
knob/button (11).
IMPORTANT This procedure can
only be carried out with a navigation
CD inserted in the drive.
Press ESC (9) to return to the pre-
vious menu.
fig. 81F0E3051gfig. 82F0E3052g
Page 131 of 202
130
CONNECT NAV
NAVIGATOR
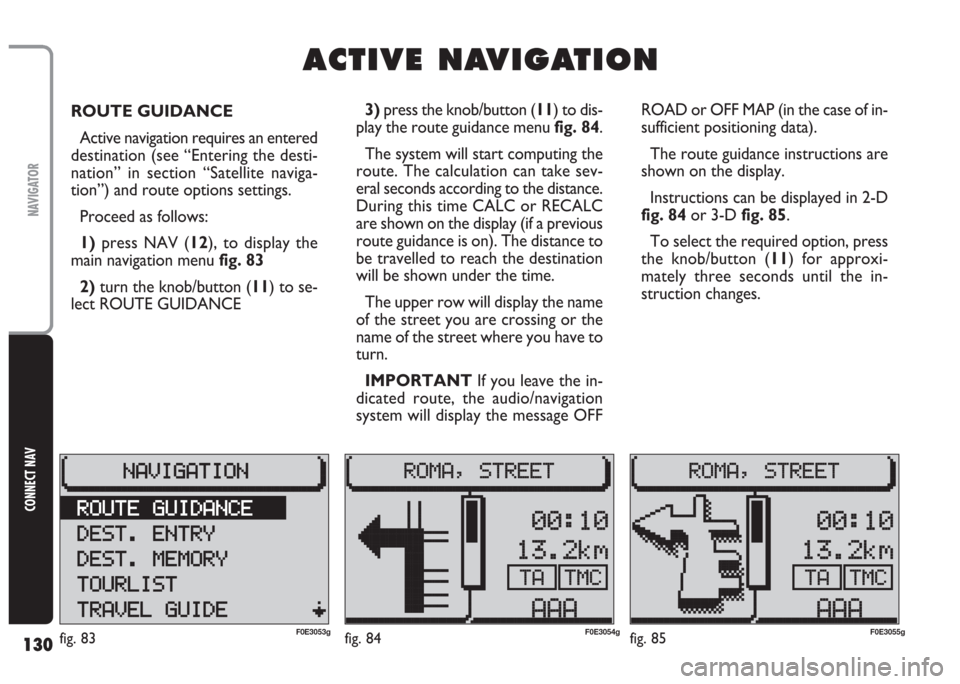
ROUTE GUIDANCE
Active navigation requires an entered
destination (see “Entering the desti-
nation” in section “Satellite naviga-
tion”) and route options settings.
Proceed as follows:
1) press NAV (12), to display the
main navigation menu fig. 83
2)turn the knob/button (11) to se-
lect ROUTE GUIDANCE ROAD or OFF MAP (in the case of in-
sufficient positioning data).
The route guidance instructions are
shown on the display.
Instructions can be displayed in 2-D
fig. 84or 3-D fig. 85.
To select the required option, press
the knob/button (11) for approxi-
mately three seconds until the in-
struction changes.
A A
C C
T T
I I
V V
E E
N N
A A
V V
I I
G G
A A
T T
I I
O O
N N
3) press the knob/button (11) to dis-
play the route guidance menu fig. 84.
The system will start computing the
route. The calculation can take sev-
eral seconds according to the distance.
During this time CALC or RECALC
are shown on the display (if a previous
route guidance is on). The distance to
be travelled to reach the destination
will be shown under the time.
The upper row will display the name
of the street you are crossing or the
name of the street where you have to
turn.
IMPORTANT If you leave the in-
dicated route, the audio/navigation
system will display the message OFF
fig. 83F0E3053gfig. 84F0E3054gfig. 85F0E3055g
Page 132 of 202
131
CONNECT NAV
NAVIGATOR
“PHONE” will appear on the display
when the telephone Mute function is
on.
During NO MAP navigation it will be
possible to play an audio CD using the
internal player. In this case the display
will show the number of the track be-
ing played and the playback time. The distance before the turning point
and the time required to reach the
destination or the estimated arrival
time are shown on the display (see
“Switching route time information on
and off” in this section).
Furthermore, the traffic announce-
ment status (TA function) and the
TMC status (Traffic Message Channel)
are shown on the display.
The active audio source is shown on
the display along with the name or the
frequency of the station tuned to (see
paragraph “RDS function” in section
“Radio”).
When the CD-Changer (where fit-
ted) is on, the number of the current
CD, the track name or number and
the track playing time are shown on
the display.STOPPING NAVIGATION
Proceed as follows to interrupt nav-
igation:
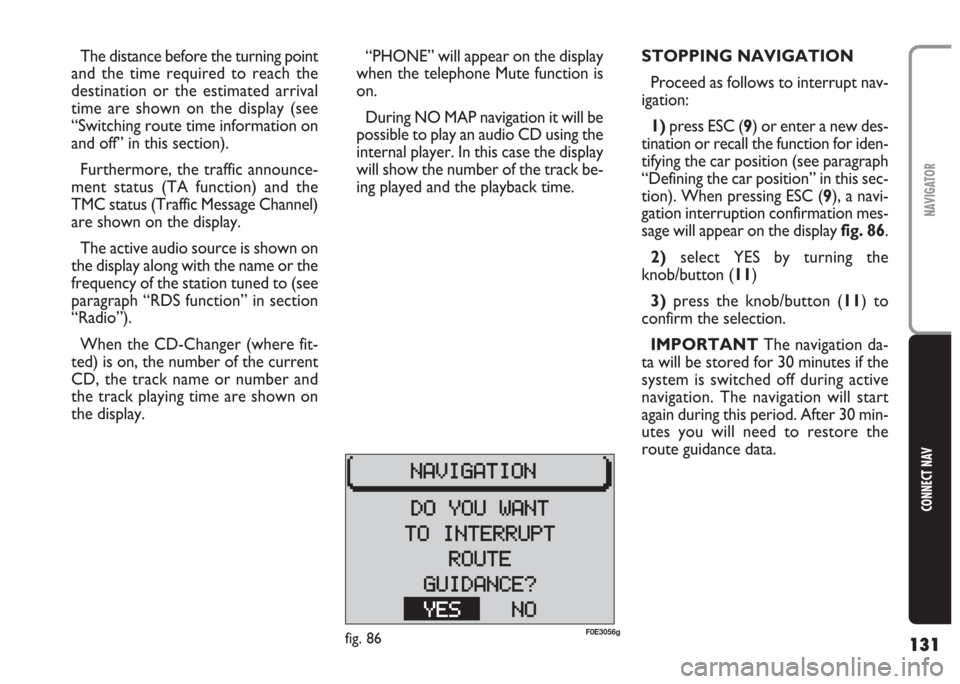
1)press ESC (9) or enter a new des-
tination or recall the function for iden-
tifying the car position (see paragraph
“Defining the car position” in this sec-
tion). When pressing ESC (9), a navi-
gation interruption confirmation mes-
sage will appear on the displayfig. 86.
2)select YES by turning the
knob/button (11)
3)press the knob/button (11) to
confirm the selection.
IMPORTANT The navigation da-
ta will be stored for 30 minutes if the
system is switched off during active
navigation. The navigation will start
again during this period. After 30 min-
utes you will need to restore the
route guidance data.
fig. 86F0E3056g
Page 133 of 202
132
CONNECT NAV
NAVIGATOR
CHANGING THE
AUDIO SOURCE
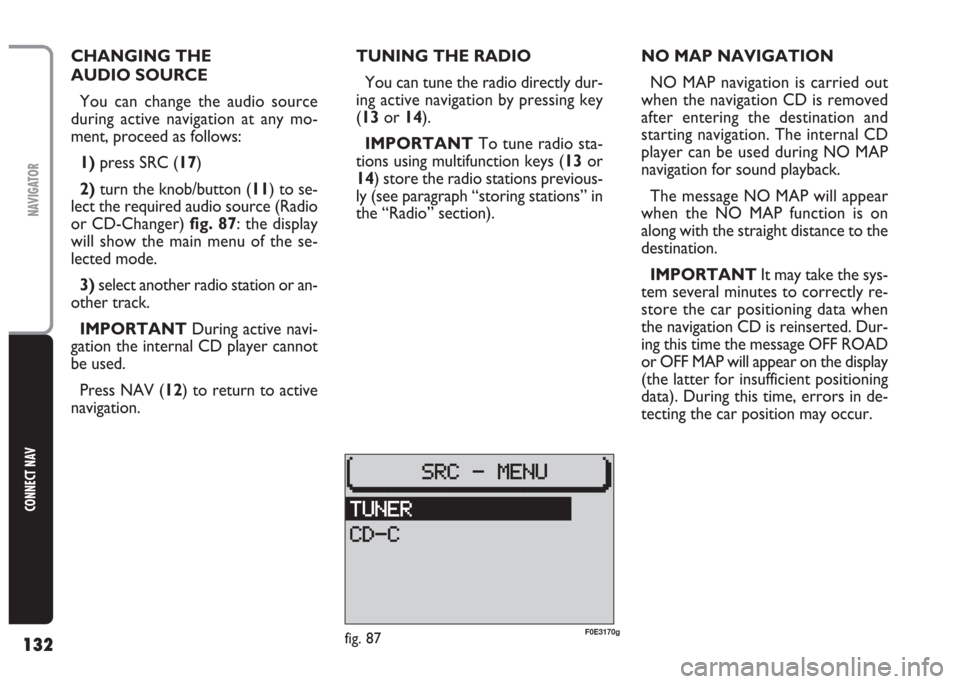
You can change the audio source
during active navigation at any mo-
ment, proceed as follows:
1)press SRC (17)
2)turn the knob/button (11) to se-
lect the required audio source (Radio
or CD-Changer) fig. 87: the display
will show the main menu of the se-
lected mode.
3)select another radio station or an-
other track.
IMPORTANT During active navi-
gation the internal CD player cannot
be used.
Press NAV (12) to return to active
navigation.TUNING THE RADIO
You can tune the radio directly dur-
ing active navigation by pressing key
(13or 14).
IMPORTANT To tune radio sta-
tions using multifunction keys (13or
14) store the radio stations previous-
ly (see paragraph “storing stations” in
the “Radio” section).NO MAP NAVIGATION
NO MAP navigation is carried out
when the navigation CD is removed
after entering the destination and
starting navigation. The internal CD
player can be used during NO MAP
navigation for sound playback.
The message NO MAP will appear
when the NO MAP function is on
along with the straight distance to the
destination.
IMPORTANT It may take the sys-
tem several minutes to correctly re-
store the car positioning data when
the navigation CD is reinserted. Dur-
ing this time the message OFF ROAD
or OFF MAP will appear on the display
(the latter for insufficient positioning
data). During this time, errors in de-
tecting the car position may occur.
fig. 87F0E3170g