Page 70 of 426

Safety Checks You Should Make Inside The
Vehicle
Seat Belts
Inspect the belt system periodically, checking for cuts,
frays and loose parts. Damaged parts must be replaced
immediately. Do not disassemble or modify the system.
Seat belt assemblies must be replaced after an accident if
they have been damaged (bent retractor, torn webbing, etc.)
or if the front airbags have deployed. If there is any question
regarding belt or retractor condition, replace the belt.
Airbag Light
The light should come on and remain on for 6 to 8
seconds as a bulb check when the ignition switch is first
turned ON. If the light is not lit during starting, see you
authorized dealer. If the light stays on, flickers or comes
on while driving, have the system checked by an autho-
rized dealer. If there is a problem with the airbag light the
seatbelt light will flash.
Safety Checks You Should Make Outside The
Vehicle
Tires
Examine tires for tread wear or uneven wear patterns.
Check for stones, nails, glass or other objects lodged in
the tread.
Inspect for tread cuts or sidewall cracks. Check wheel
nuts for tightness and tires for proper pressure.
Lights
Check the operation of all exterior lights. Check turn signal
and high beam indicator lights on the instrument panel.
Door Latches
Check for positive closing, latching and locking.
Fluid Leaks
Check area under vehicle after overnight parking for fuel,
water, oil, or other fluid leaks. Also, if fuel fumes are
detected the cause should be located and corrected.
70 THINGS TO KNOW BEFORE STARTING YOUR VEHICLE
Page 71 of 426
UNDERSTANDING THE FEATURES OF YOUR VEHICLE
CONTENTS
mMirrors...............................75
NInside Mirror.........................75
NAutomatic Dimming MirrorÐ If Equipped....76
NOutside Mirrors.......................76
NExterior Mirrors Folding Feature...........77
NElectronic Power Mirrors Ð If Equipped......77
NElectric Rear Window Defroster And Heated
Sideview Mirrors Ð If Equipped...........78
NTrailer Towing Mirrors Ð If Equipped.......79mHands±Free Communication (UConnectŸ) Ð If
Equipped.............................79
NOperation............................81
NPhone Call Features....................85
NAdvanced Phone Connectivity.............87
NUConnectŸ System Features..............89
mSeats.................................91
N40-20-40 Front Seat.....................92
NReclining Seats........................93
3
Page 80 of 426

ªCallº or ªDialº). Your cellular phone's audio is trans-
mitted through your vehicle's stereo system; the system
will automatically mute your radio before receiving or
sending a call.
UConnectŸ allows you to transfer calls between the
system and your cellular phone as you enter or exit your
vehicle, and enables you to mute the system's micro-
phone for private conversations.
The UConnectŸ; phone book enables you to store up to
32 names and four numbers per name. This system is
driven through your BluetoothŸ Hands-Free Profile
cellular phone. UConnectŸ features BluetoothŸ technol-
ogy - the global standard that enables different electronic
devices to connect to each other without wires or a
docking station, so UConnectŸ works no matter where
you stow your cellular phone (be it your purse, pocket, or
briefcase). UConnectŸ allows up to seven cellularphones to be linked to the system, and it is available in
English, French, or Spanish formats (as equipped).
The rearview mirror contains the microphone for the
system and the control buttons that will enable you to
access the system. The diagram below shows the mirror
with the appropriate buttons. Individual button behavior
is discussed in the ªOperationº Section.
80 UNDERSTANDING THE FEATURES OF YOUR VEHICLE
Page 81 of 426

The UConnectŸ system can be used with any Hands
Free Profile certified BluetoothŸ cellular phone. If your
cellular phone has a different profile (i.e. headset profile),
you will not be able to use any UConnectŸ features.
The UConnectŸ system is fully integrated into your
vehicle, including your vehicle's stereo system. All voice
prompts as well as the other party's voice in a conversa-
tion will be played over your vehicle's stereo system. The
volume of the UConnectŸ system can be controlled
through your normal stereo controls.
The radio display will be used for visual prompts from
the UConnectŸ system such as caller ID.
Operation
Voice commands can be used in the operation of the
UConnectŸ system and to navigate through the UCon-
nectŸ menu structure. Voice commands should be given
after each UConnectŸ system prompt. You will beprompted for a specific command and then guided
through the available options. There are two ways to give
commands to the UConnectŸ system:
²You can say9Dial9at the9Ready9prompt. When
prompted for the phone number you wish to dial, say
the phone number (9123 456 78909).
Pairing a Cellular Phone to the UConnectŸ System
To begin using your UConnectŸ system, you must pair
your compatible BluetoothŸ enabled cellular phone. To
complete the registration process, you will need to refer-
ence your cellular phone owner's manual.
²Press the 'Phone' button to begin.
²After the9Ready9prompt, say9Setup9.
²When prompted, say ª Phone Pairingº.
UNDERSTANDING THE FEATURES OF YOUR VEHICLE 81
3
Page 103 of 426

CARGO LIGHT
The cargo lights are turned on by rotating the dimmer
control to the optional fully upward position. The cargo
lights will also turn on for 30 seconds when a key fob
Unlock is pressed, as part of the illuminated entry
feature.
MULTIFUNCTION CONTROL LEVER
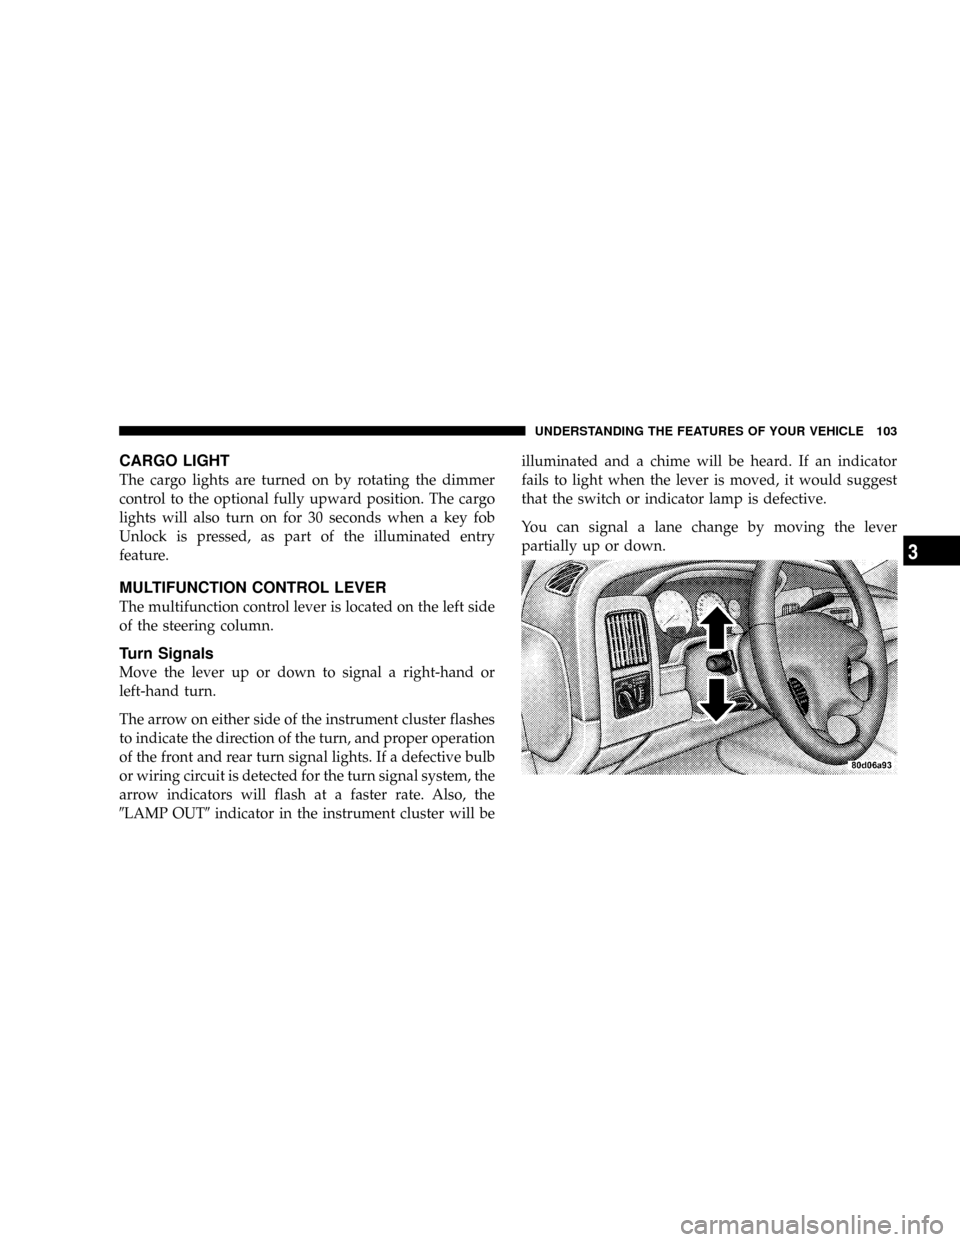
The multifunction control lever is located on the left side
of the steering column.
Turn Signals
Move the lever up or down to signal a right-hand or
left-hand turn.
The arrow on either side of the instrument cluster flashes
to indicate the direction of the turn, and proper operation
of the front and rear turn signal lights. If a defective bulb
or wiring circuit is detected for the turn signal system, the
arrow indicators will flash at a faster rate. Also, the
9LAMP OUT9indicator in the instrument cluster will beilluminated and a chime will be heard. If an indicator
fails to light when the lever is moved, it would suggest
that the switch or indicator lamp is defective.
You can signal a lane change by moving the lever
partially up or down.
UNDERSTANDING THE FEATURES OF YOUR VEHICLE 103
3
Page 115 of 426

Global Reset
If the RESET button is pressed twice within 4 seconds
while in any of the 3 resettable displays, the Global Reset
will reset all 3 displays.
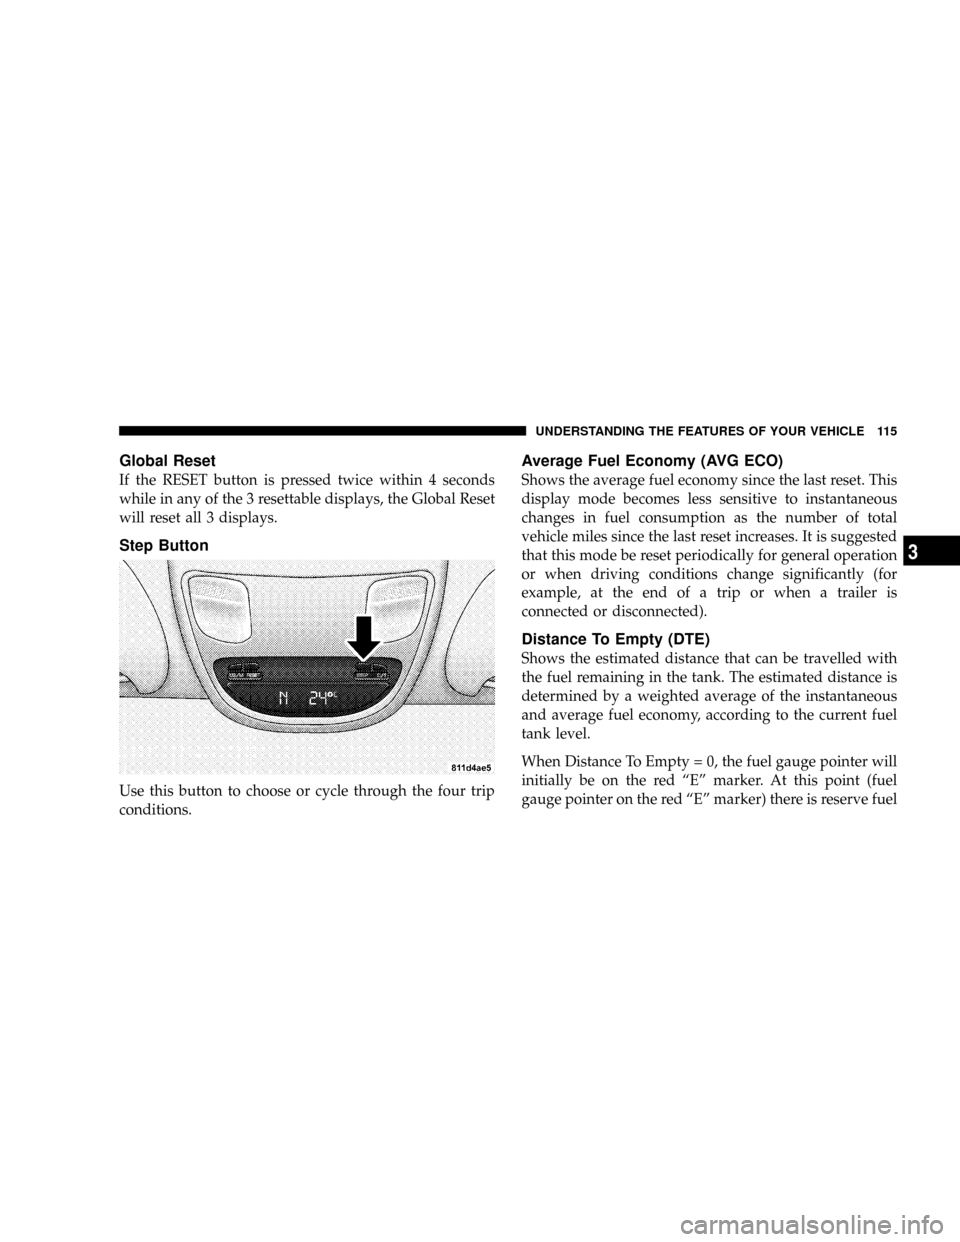
Step Button
Use this button to choose or cycle through the four trip
conditions.
Average Fuel Economy (AVG ECO)
Shows the average fuel economy since the last reset. This
display mode becomes less sensitive to instantaneous
changes in fuel consumption as the number of total
vehicle miles since the last reset increases. It is suggested
that this mode be reset periodically for general operation
or when driving conditions change significantly (for
example, at the end of a trip or when a trailer is
connected or disconnected).
Distance To Empty (DTE)
Shows the estimated distance that can be travelled with
the fuel remaining in the tank. The estimated distance is
determined by a weighted average of the instantaneous
and average fuel economy, according to the current fuel
tank level.
When Distance To Empty = 0, the fuel gauge pointer will
initially be on the red ªEº marker. At this point (fuel
gauge pointer on the red ªEº marker) there is reserve fuel
UNDERSTANDING THE FEATURES OF YOUR VEHICLE 115
3
Page 119 of 426
To set the variance: Turn the ignition ON and set the
display to ªCompass/Temperature.º Press the RESET
button approximately five seconds. The last variance
zone number will be displayed. Press the STEP button to
select the new variance zone and press the RESET button
to resume normal operation.
Outside Temperature
Because the ambient temperature sensor is located un-
derhood, engine temperature can influence the displayed
temperature, therefore, temperature readings are slowly
updated when the vehicle speed is below 20 mph (30
km/h) or during stop and go driving.
UNDERSTANDING THE FEATURES OF YOUR VEHICLE 119
3
Page 125 of 426

Reprogramming a Single HomeLink Button
To program a device to HomeLink using a HomeLink
button previously trained, follow these steps:
1. Press and hold the desired HomeLink button.DO
NOTrelease the button.
2. The indicator light will begin to flash after 20 seconds.
Without releasing the HomeLink button, proceed with
9Programming9step 2
For questions or comments, contact HomeLink at:
www.homelink.com or 1-800-355-3515.
Security
If you sell your vehicle, be sure to erase the frequencies.
To erase all of the previously trained frequencies, hold
down both outside buttons until the green light begins to
flash.This device complies with part 15 of FCC rules and with
RSS-210 of Industry Canada. Operation is subject to the
following conditions:
²This device may not cause harmful interference.
²This device must accept any interference that may be
received including interference that may cause undes-
ired operation.
NOTE:Changes or modifications not expressly ap-
proved by the party responsible for compliance could
void the user's authority to operate the equipment.
HomeLinktis a trademark owned by Johnson Controls,
Inc.
UNDERSTANDING THE FEATURES OF YOUR VEHICLE 125
3