2004 DODGE DAKOTA radio controls
[x] Cancel search: radio controlsPage 93 of 300

INSTRUMENT PANEL AND CONTROLS
CONTENTS
mInstruments And Controls.................96
mFour Gauge Instrument Cluster.............97
mSix Gauge Instrument Cluster..............98
mInstrument Cluster Description.............99
mElectronic Digital Clock.................105
NClock Setting Procedure.................105
mSales Code RAZÐAM/ FM Stereo Radio With
Cassette Tape Player, CD Player And CD
Changer Controls Ð If Equipped
..........106
NOperating Instructions Ð Radio...........106
NPower Switch, Volume Control............106
NSeek Button (Radio Mode)...............106NTuning.............................106
NPTY (Program Type) Button..............106
NBalance............................108
NFade..............................108
NTone Control........................108
NAM/FM Selection.....................108
NScan Button.........................108
NTo Set The Radio Push-Button Memory......108
NTo Change From Clock To Radio Mode......109
NOperating Instructions Ð Tape Player.......109
NSeek Button.........................109
4
Page 94 of 300

NFast Forward (FF).....................109
NRewind (RW)........................109
NTape Eject...........................110
NScan Button.........................110
NChanging Tape Direction................110
NMetal Tape Selection...................110
NPinch Roller Release...................110
NNoise Reduction......................110
NOperating Instructions Ð CD Player........110
NInserting The Compact Disc..............111
NSeek Button.........................111
NEJT CD (Eject) Button..................111
NFF/Tune/RW........................112
NProgram Button 4 (Random Play)..........112
NMode..............................112
NTape CD Button......................112NTime Button.........................112
NScan Button.........................112
NCD Changer Control Capability Ð If
Equipped...........................113
mSales Code RBKÐAM/ FM Stereo Radio
With CD Player And CD Changer Controls
...114
NRadio Operation......................114
NCD Player Operation...................116
NCD Changer Control Capability Ð If
Equipped...........................117
NRadio Display Messages................119
mSales Code RBBÐAM/FM Stereo Radio With
Cassette Tape Player And CD Changer
Capability
...........................119
NOperating Instructions..................119
NPower Button........................120
NElectronic Volume Control...............120
94 INSTRUMENT PANEL AND CONTROLS
Page 95 of 300

NSeek..............................120
NTune ..............................120
NTo Set The Push-Button Memory..........120
NBalance............................121
NFade..............................121
NBass And Treble Tone Control............121
NAM/FM Selection.....................121
NMode Button........................121
NCassette Player Features................121
NCD Changer Control Capability Ð If
Equipped...........................122
NRadio Display Messages................124
mSales Code RBQÐAM/FM Stereo Radio
With 6 - Disc CD Changer
...............124
NRadio Operation......................124
NCD Player Operation...................126
mRemote Sound System Controls Ð If
Equipped
............................130
NRadio Operation......................130
NTape Player.........................131
NCD Player..........................131
mCassette Tape And Player Maintenance......131
mCompact Disc Maintenance...............132
mRadio Operation And Cellular Phones.......132
mClimate Controls......................133
NHeater Only.........................133
NAir Conditioning.....................134
NOperating Tips.......................137
NOperation Tips Chart...................139
mRear Window Defroster ± Quad-Cab Only....140
INSTRUMENT PANEL AND CONTROLS 95
4
Page 105 of 300

29. Engine Oil Pressure Indicator Light (Clusters
Without A Gauge)
This light indicates that the engine oil pressure
has become too low. For a bulb check, this light
will come on momentarily when the ignition is turned
On. If the light turns on while driving, stop the vehicle
and shut off the engine as soon as possible. Immediate
service should be obtained.
30. Voltage Light (Clusters Without A Gauge)
This light monitors the electrical system volt-
age. The light should turn on momentarily as
the engine is started. If the light stays on or turns on
while driving, it indicates a problem with the charging
system. Immediate service should be obtained.ELECTRONIC DIGITAL CLOCK
The clock and radio each use the display panel built into
the radio. A digital readout shows the time in hours and
minutes whenever the ignition switch is in the ªONº or
ªACCº position.
When the ignition switch is in the ªOFFº position, or
when the radio frequency is being displayed, time keep-
ing is accurately maintained.
Clock Setting Procedure
1. Turn the ignition switch to the ªONº or ªACCº
position. Using the point of a ballpoint pen or similar
object, press either the ªHº (Hour) or ªMº (Minute)
buttons on the radio. The display will show the time.
2. Press the ªHº button to set hours or the ªMº button to
set minutes. The time setting will increase each time you
press a button.
INSTRUMENT PANEL AND CONTROLS 105
4
Page 106 of 300

SALES CODE RAZÐAM/ FM STEREO RADIO
WITH CASSETTE TAPE PLAYER, CD PLAYER
AND CD CHANGER CONTROLS Ð IF EQUIPPED
Operating Instructions Ð Radio
NOTE:
Power to operate the radio is controlled by the
ignition switch. It must be in the ON or ACC position to
operate the radio.
Power Switch, Volume Control
Press the ON/VOL control to turn the radio on. Turn the
volume control clockwise to increase the volume. The
volume will be displayed and continuously updated
while the button is pressed.
Seek Button (Radio Mode)
Press and release the Seek button to search for the next
station in either the AM or FM mode. Press the top of the
button to seek up and the bottom to seek down. Holding
the button will by pass stations until you release the
button.
Tuning
Press the TUNE control up or down to increase or
decrease the frequency. If you press and hold the button,
the radio will continue to tune until you release the
button. The frequency will be displayed and continu-
ously updated while the button is pressed.
PTY (Program Type) Button
Pressing this button once will turn on the PTY mode for
5 seconds. If no action is taken during the 5 second time
out the PTY icon will turn off. Pressing the PTY button
within 5 seconds will allow the program format type to
be selected. Many radio stations do not currently broad-
cast PTY information.
106 INSTRUMENT PANEL AND CONTROLS
Page 107 of 300

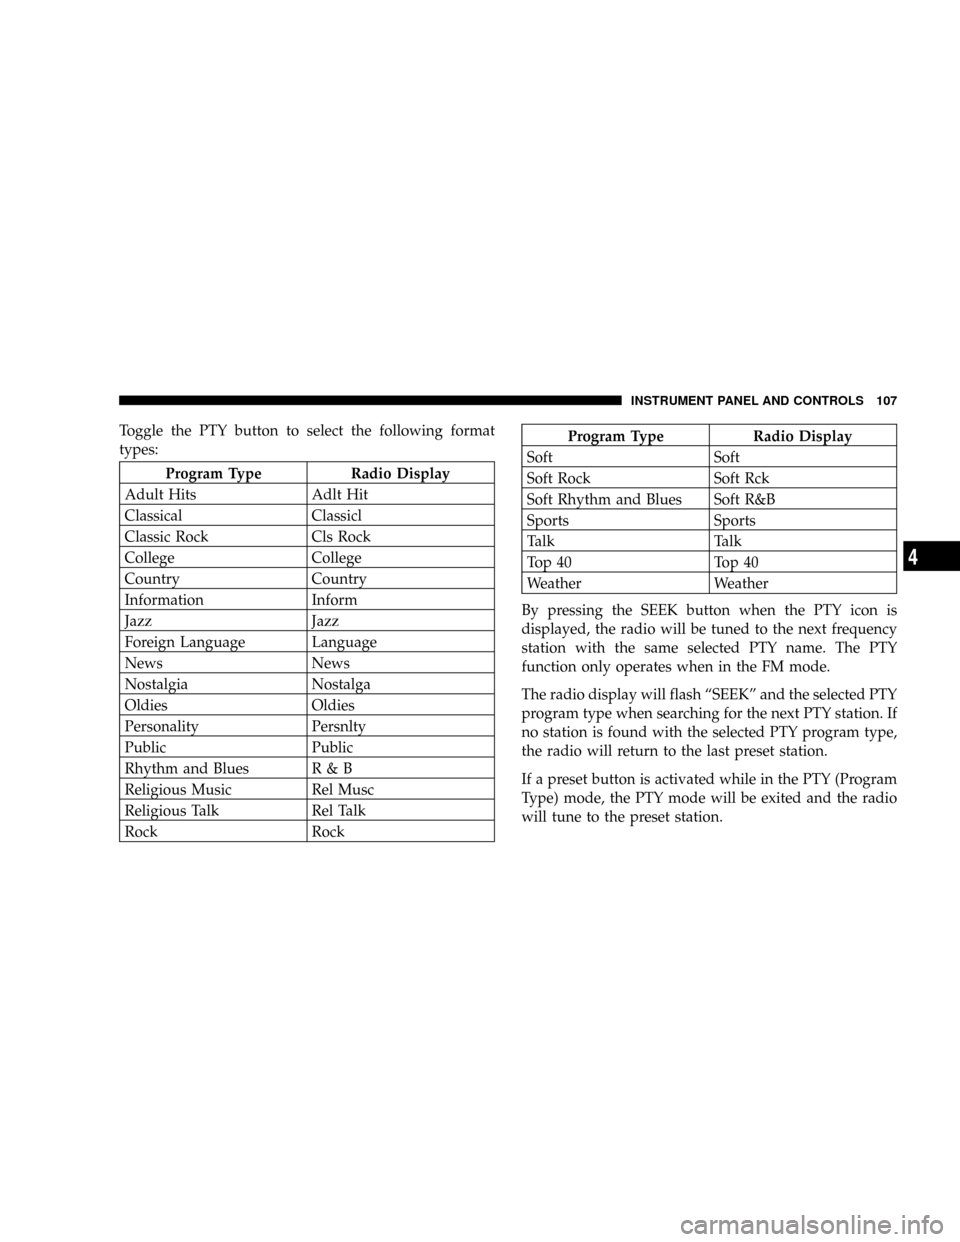
Toggle the PTY button to select the following format
types:
Program Type Radio Display
Adult Hits Adlt Hit
Classical Classicl
Classic Rock Cls Rock
College College
Country Country
Information Inform
Jazz Jazz
Foreign Language Language
News News
Nostalgia Nostalga
Oldies Oldies
Personality Persnlty
Public Public
Rhythm and Blues R & B
Religious Music Rel Musc
Religious Talk Rel Talk
Rock Rock
Program Type Radio Display
Soft Soft
Soft Rock Soft Rck
Soft Rhythm and Blues Soft R&B
Sports Sports
Talk Talk
Top 40 Top 40
Weather Weather
By pressing the SEEK button when the PTY icon is
displayed, the radio will be tuned to the next frequency
station with the same selected PTY name. The PTY
function only operates when in the FM mode.
The radio display will flash ªSEEKº and the selected PTY
program type when searching for the next PTY station. If
no station is found with the selected PTY program type,
the radio will return to the last preset station.
If a preset button is activated while in the PTY (Program
Type) mode, the PTY mode will be exited and the radio
will tune to the preset station.
INSTRUMENT PANEL AND CONTROLS 107
4
Page 108 of 300

Pressing PTY, then SCAN will scan the FM Band and stop
at all RDS stations. Each RDS station will be played for a
5 second scan once around the FM Band and stop at the
last station. The PTY icon will then turn off.
Balance
The Balance control adjusts the left-to-right speaker bal-
ance. Push in the button and it will pop out. Adjust the
balance and push the button back in. The balance will be
displayed and continuously updated while the button is
turned.
Fade
The Fade control provides for balance between the front
and rear speakers. Push in the button and it will pop out.
Adjust the balance and push the button back in. The fade
will be displayed and continuously updated while the
button is turned.
Tone Control
Slide the Bass and/or Treble controls up or down to
adjust the sound for the desired tone. The treble, and bass
will be displayed and continuously updated while the
slide is moved.
AM/FM Selection
Press the AM/FM button to change from AM to FM. The
operating mode will be displayed next to the station
frequency. The display will show ST when a stereo
station is received.
Scan Button
Pressing the SCAN button causes the tuner to search for
the next station, in either AM or FM, pausing for 5
seconds at each listenable station before continuing to the
next.
Pressing the AM/FM button continues the search in the
alternate frequency band.
To stop the search, press SCAN a second time.
To Set The Radio Push-button Memory
When you are receiving a station that you wish to
commit to push-button memory, press the SET button.
SET 1 will show in the display window. Select the
push-button you wish to lock onto this station and press
and release that button. If a station is not selected within
108 INSTRUMENT PANEL AND CONTROLS
Page 109 of 300

5 seconds after pressing the SET button, the station will
continue to play but will not be locked into push-button
memory.
You may add a second station to each push-button by
repeating the above procedure with this exception: Press
the SET button twice and SET 2 will show in the display
window. Each button can be set for SET 1 and SET 2 in
both AM and FM. This allows a total of 10 AM and 10 FM
stations to be locked into memory. You can recall the
stations stored in SET 2 memory by pressing the push-
button twice.
To Change From Clock To Radio Mode
Press the Time button to change the display between
radio frequency and time.
Operating Instructions Ð Tape Player
Insert the cassette with the exposed tape side toward the
right and the mechanical action of the player will gently
pull the cassette into the play position.
NOTE:When subjected to extremely cold temperatures,
the tape mechanism may require a few minutes to warm
up for proper operation. Sometimes poor playback maybe experienced due to a defective cassette tape. Clean and
demagnetize the tape heads at least twice a year.
Seek Button
Press the SEEK button up for the next selection on the
tape and down to return to the beginning of the current
selection.
Press the SEEK button up or down to move the track
number to skip forward or backward 1 to 6 selections.
Press the SEEK button once to move 1 selection, twice to
move 2 selections, etc.
Fast Forward (FF)
Press the FF button up momentarily to advance the tape
in the direction that it is playing. The tape will advance
until the button is pressed again or the end of the tape is
reached. At the end of the tape, the tape will play in the
opposite direction.
Rewind (RW)
Press the RW button momentarily to reverse the tape
direction. The tape will reverse until the button is pressed
again or until the end of the tape is reached. At the end of
the tape, the tape will play in the opposite direction.
INSTRUMENT PANEL AND CONTROLS 109
4