Page 503 of 584
To store the jack and jack tools do the following:
1. Put the jack tools and gloves in the tool bag and
place in the retaining bracket. Tighten down the
wing nut.
2. Assemble the wheel blocks and bottle jack together
with the wing nut and retaining hook.
3. Position the jack in the mounting bracket. Position
the holes in the base of the jack onto the pin in the
mounting bracket.
Store the tire under the rear of the vehicle in the spare tire
carrier. Use the art and text following to help you:
A. Spare Tire
(Valve Stem
Pointed Down)
B. Hoist Assembly
C. Hoist Cable
D. Tire Retainer
E. Hoist Shaft
F. Hoist End of
Extension ToolG. Hoist Shaft
Access Hole
H. Wheel Wrench
I. Jack Handle
Extensions
J. Hoist Lock (If
Equipped)
5-107
Page 504 of 584
1. Put the tire on the ground at the rear of the vehicle
with the valve stem pointed down, and to the rear.
2. Tilt the retainer (D)
downward and through
the wheel opening.
Make sure the retainer
is fully seated across
the underside of
the wheel.
3. Attach the wheel wrench (H) and
extensions (I) together.
5-108
Page 505 of 584
4. Insert the hoist end (F)
through the hole (G) in
the rear bumper and
into the hoist shaft.
5. Raise the tire part way upward. Make sure the
retainer is seated in the wheel opening.
6. Raise the tire fully against the underside of the
vehicle by turning the wheel wrench clockwise
until you hear two clicks or feel it skip twice.
You cannot overtighten the cable.A. Push and Pull
B. Turn Tire
7. Make sure the tire is stored securely. Push, pull,
and then try to turn the tire. If the tire moves, use
the wheel wrench to tighten the cable. Reinstall the
spare tire lock (if equipped).
5-109
Page 506 of 584

Secondary Latch System
Your vehicle has an underbody mounted tire hoist
assembly equipped with a secondary latch system. It’s
designed to stop the spare tire from suddenly falling
off your vehicle. For the secondary latch to work,
the spare must be installed with the valve stem pointing
down. See “Storing a Flat or Spare Tire, Jack and
Tools” earlier in this section.
{CAUTION:
Before beginning this procedure read all the
instructions. Failure to read and follow the
instructions could damage the hoist assembly
and you and others could get hurt. Read and
follow the instructions listed below.To release the spare tire from the secondary latch do
the following:
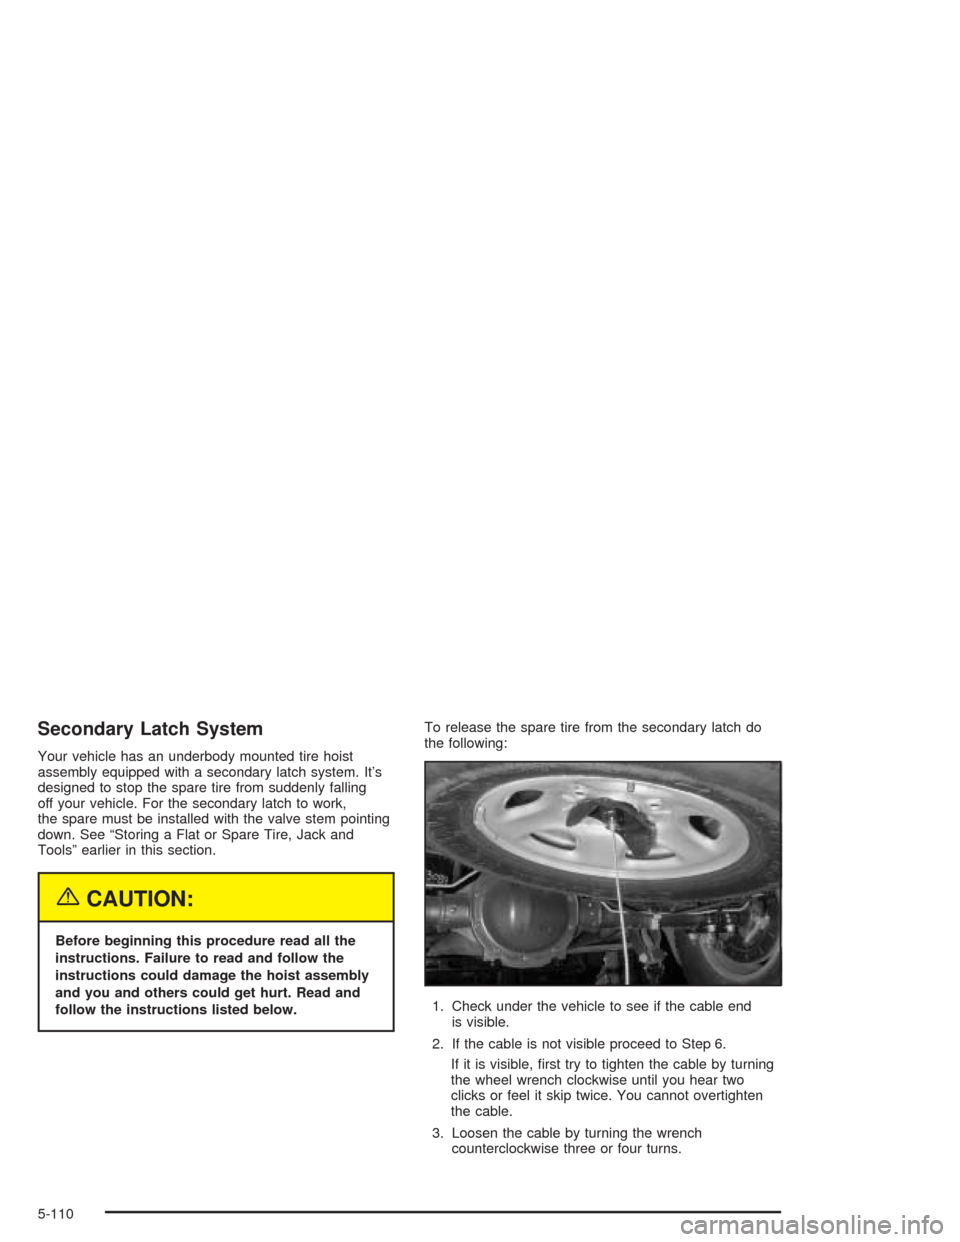
1. Check under the vehicle to see if the cable end
is visible.
2. If the cable is not visible proceed to Step 6.
If it is visible, �rst try to tighten the cable by turning
the wheel wrench clockwise until you hear two
clicks or feel it skip twice. You cannot overtighten
the cable.
3. Loosen the cable by turning the wrench
counterclockwise three or four turns.
5-110
Page 507 of 584
4. Repeat this procedure at least two times. If the
spare tire lowers to the ground, continue with
Step 5 of “Removing the Spare Tire and Tools”
earlier in this section.
5. Turn the wrench counterclockwise until
approximately six inches (15 cm) of cable
is exposed.
6. Stand the wheel blocks
on their shortest ends,
with the backs
facing each other.
7. Place the bottom edge of the jack on the wheel
blocks, separating them so that the jack is
balanced securely.
5-111
Page 508 of 584

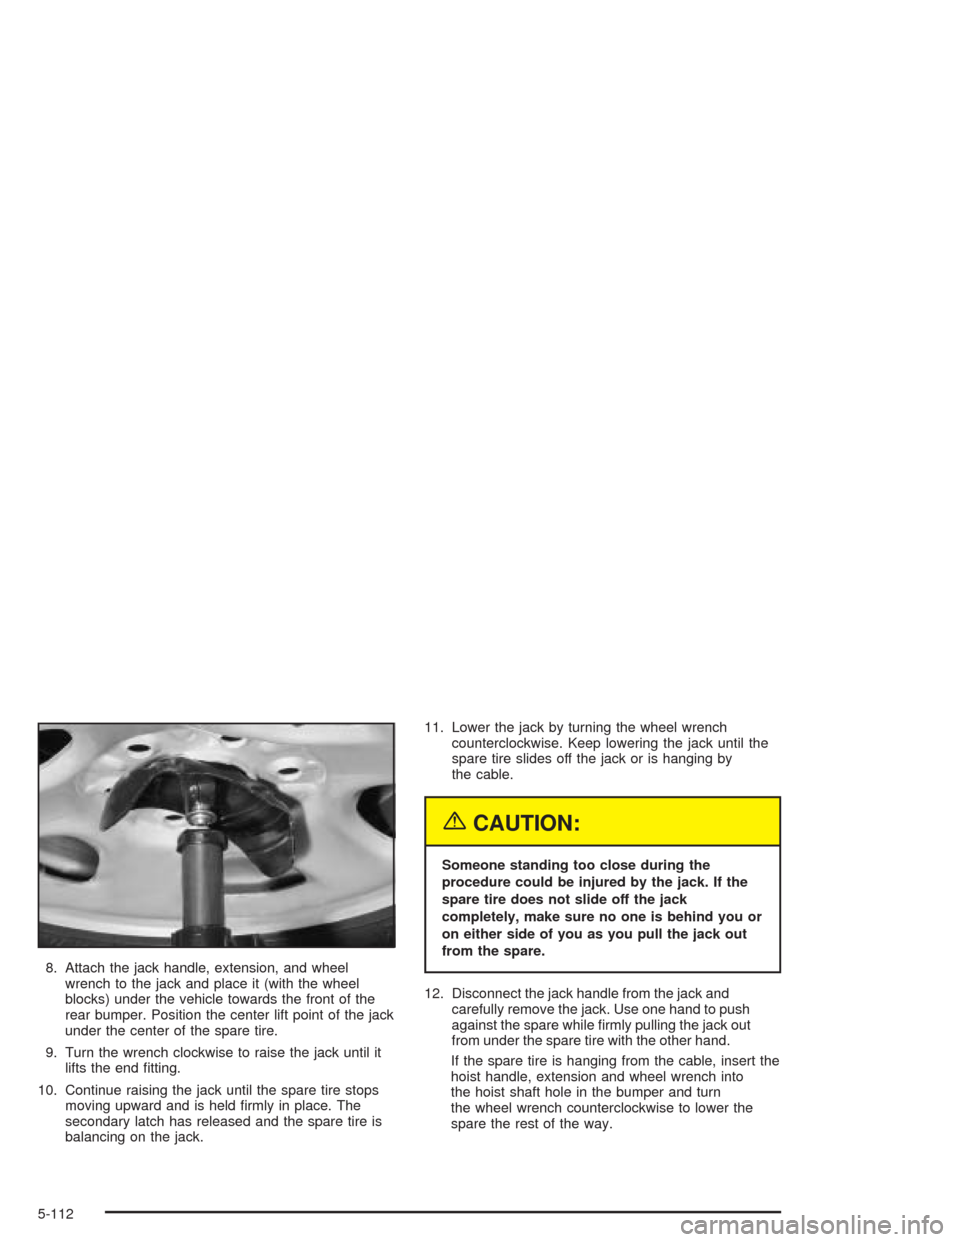
8. Attach the jack handle, extension, and wheel
wrench to the jack and place it (with the wheel
blocks) under the vehicle towards the front of the
rear bumper. Position the center lift point of the jack
under the center of the spare tire.
9. Turn the wrench clockwise to raise the jack until it
lifts the end �tting.
10. Continue raising the jack until the spare tire stops
moving upward and is held �rmly in place. The
secondary latch has released and the spare tire is
balancing on the jack.11. Lower the jack by turning the wheel wrench
counterclockwise. Keep lowering the jack until the
spare tire slides off the jack or is hanging by
the cable.
{CAUTION:
Someone standing too close during the
procedure could be injured by the jack. If the
spare tire does not slide off the jack
completely, make sure no one is behind you or
on either side of you as you pull the jack out
from the spare.
12. Disconnect the jack handle from the jack and
carefully remove the jack. Use one hand to push
against the spare while �rmly pulling the jack out
from under the spare tire with the other hand.
If the spare tire is hanging from the cable, insert the
hoist handle, extension and wheel wrench into
the hoist shaft hole in the bumper and turn
the wheel wrench counterclockwise to lower the
spare the rest of the way.
5-112
Page 509 of 584

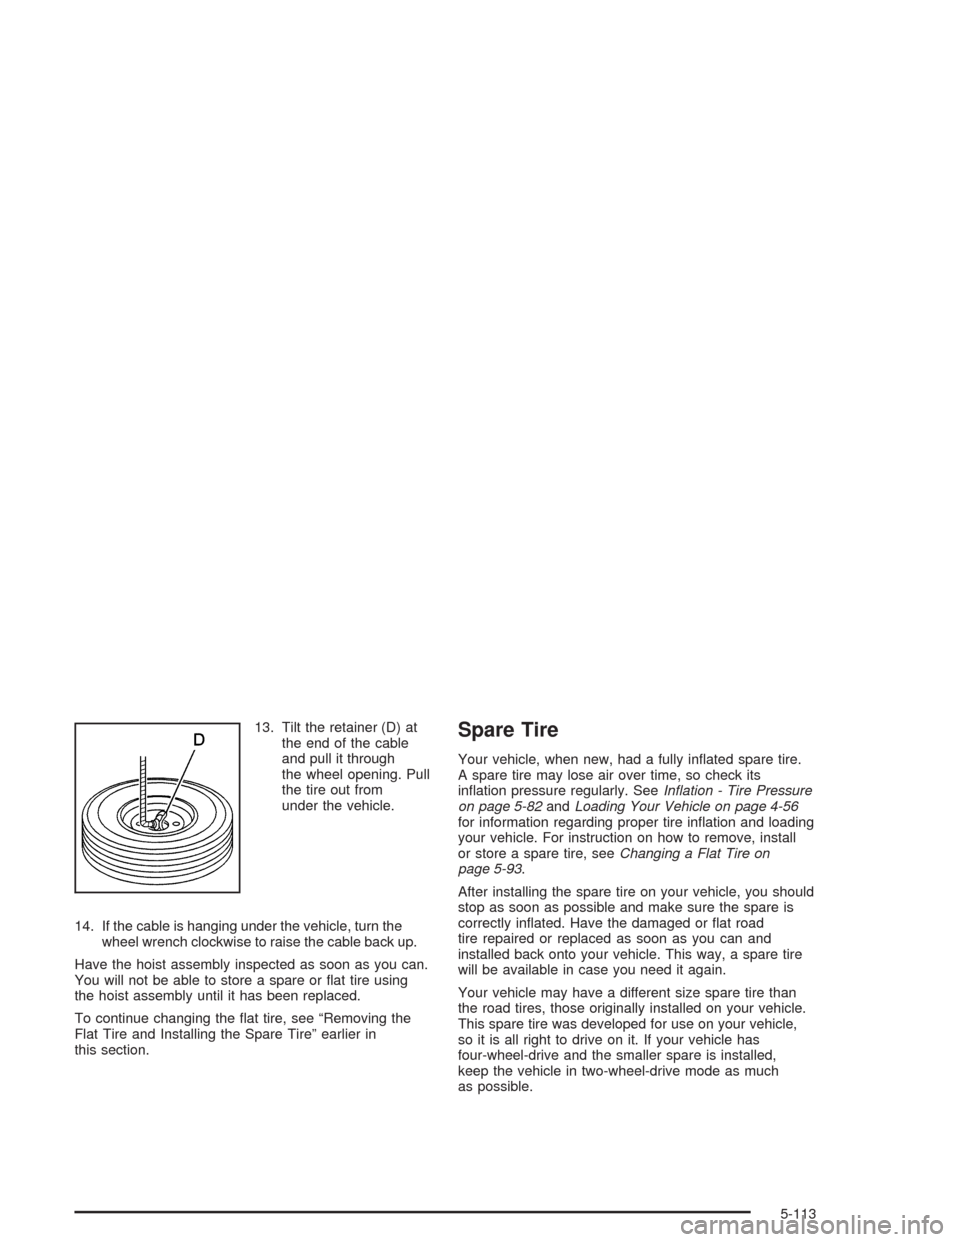
13. Tilt the retainer (D) at
the end of the cable
and pull it through
the wheel opening. Pull
the tire out from
under the vehicle.
14. If the cable is hanging under the vehicle, turn the
wheel wrench clockwise to raise the cable back up.
Have the hoist assembly inspected as soon as you can.
You will not be able to store a spare or �at tire using
the hoist assembly until it has been replaced.
To continue changing the �at tire, see “Removing the
Flat Tire and Installing the Spare Tire” earlier in
this section.Spare Tire
Your vehicle, when new, had a fully in�ated spare tire.
A spare tire may lose air over time, so check its
in�ation pressure regularly. SeeIn�ation - Tire Pressure
on page 5-82andLoading Your Vehicle on page 4-56
for information regarding proper tire in�ation and loading
your vehicle. For instruction on how to remove, install
or store a spare tire, seeChanging a Flat Tire on
page 5-93.
After installing the spare tire on your vehicle, you should
stop as soon as possible and make sure the spare is
correctly in�ated. Have the damaged or �at road
tire repaired or replaced as soon as you can and
installed back onto your vehicle. This way, a spare tire
will be available in case you need it again.
Your vehicle may have a different size spare tire than
the road tires, those originally installed on your vehicle.
This spare tire was developed for use on your vehicle,
so it is all right to drive on it. If your vehicle has
four-wheel-drive and the smaller spare is installed,
keep the vehicle in two-wheel-drive mode as much
as possible.
5-113
Page 515 of 584

Cleaning the Windshield and
Wiper Blades
If the windshield is not clear after using the windshield
washer, or if the wiper blade chatters when running,
wax, sap or other material may be on the blade
or windshield.
Clean the outside of the windshield with a full-strength
glass cleaning liquid. The windshield is clean if beads do
not form when you rinse it with water.
Grime from the windshield will stick to the wiper blades
and affect their performance. Clean the blade by
wiping vigorously with a cloth soaked in full-strength
windshield washer solvent. Then rinse the blade
with water.
Check the wiper blades and clean them as necessary;
replace blades that look worn.
Cleaning Aluminum or
Chrome-Plated Wheels
Your vehicle may be equipped with either aluminum or
chrome-plated wheels.
Keep your wheels clean using a soft clean cloth with
mild soap and water. Rinse with clean water. After
rinsing thoroughly, dry with a soft clean towel. A wax
may then be applied.The surface of these wheels is similar to the painted
surface of your vehicle. Don’t use strong soaps,
chemicals, abrasive polishes, abrasive cleaners,
cleaners with acid, or abrasive cleaning brushes on
them because you could damage the surface. Do not
use chrome polish on aluminum wheels.
Use chrome polish only on chrome-plated wheels, but
avoid any painted surface of the wheel, and buff off
immediately after application.
Don’t take your vehicle through an automatic car wash
that has silicone carbide tire cleaning brushes. These
brushes can also damage the surface of these wheels.
Cleaning Tires
To clean your tires, use a stiff brush with tire cleaner.
Notice:Using petroleum-based tire dressing
products on your vehicle may damage the paint
�nish and/or tires. When applying a tire dressing,
always wipe off any overspray from all painted
surfaces on your vehicle.
5-119