2004 CHEVROLET KODIAK traction control
[x] Cancel search: traction controlPage 120 of 366

Cruise Control
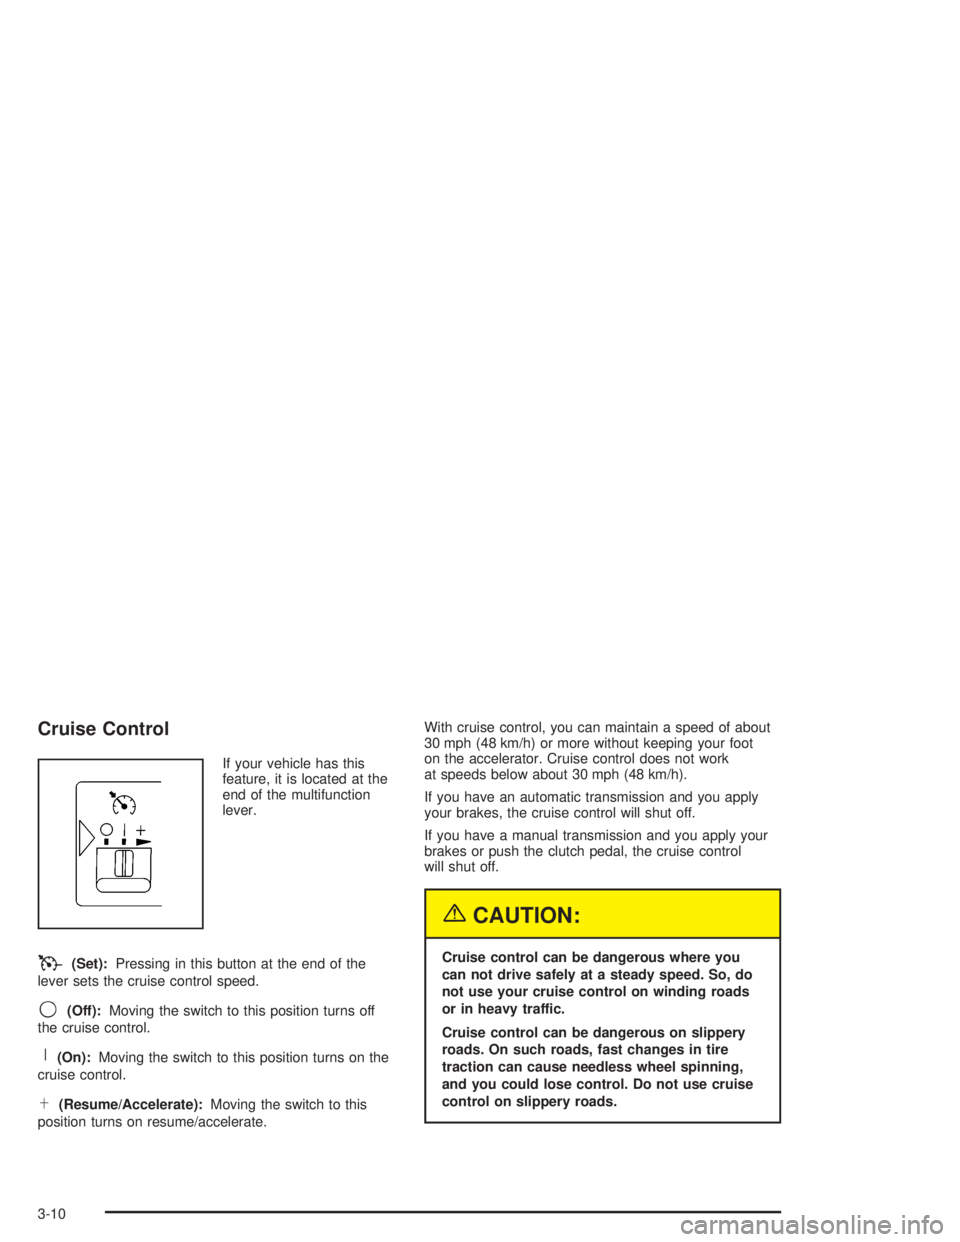
If your vehicle has this
feature, it is located at the
end of the multifunction
lever.
T(Set):Pressing in this button at the end of the
lever sets the cruise control speed.
9(Off):Moving the switch to this position turns off
the cruise control.
R(On):Moving the switch to this position turns on the
cruise control.
S(Resume/Accelerate):Moving the switch to this
position turns on resume/accelerate.With cruise control, you can maintain a speed of about
30 mph (48 km/h) or more without keeping your foot
on the accelerator. Cruise control does not work
at speeds below about 30 mph (48 km/h).
If you have an automatic transmission and you apply
your brakes, the cruise control will shut off.
If you have a manual transmission and you apply your
brakes or push the clutch pedal, the cruise control
will shut off.
{CAUTION:
Cruise control can be dangerous where you
can not drive safely at a steady speed. So, do
not use your cruise control on winding roads
or in heavy traffic.
Cruise control can be dangerous on slippery
roads. On such roads, fast changes in tire
traction can cause needless wheel spinning,
and you could lose control. Do not use cruise
control on slippery roads.
3-10
Page 127 of 366

This switchbank is located in the center of the instrument
panel.
e(Marker Lamp Defeat Switch):See “Marker Lamp
Defeat Switch” underExterior Lamps on page 3-13.
j(Manual High Idle Switch):See “Manual High Idle
System” underStarting Your Diesel Engine on
page 2-14.
i(Traction Control Switch):SeeTraction Control
System (TCS) on page 4-11.
f(Outside Heated Mirror Switch):SeeOutside
Heated Mirrors on page 2-41.
g(Power Take Off Switch):SeePower Take-Off
(PTO) on page 4-36.
h(Rear Air Suspension Dump Control
Switch):See “Rear Air Suspension Dump Control”
underTwo-Speed Rear Axle Electric Shift Control
on page 2-26.
k(Rear Axle Shift Control Switch):See “Air Shift
Control” (Automatic Transmission) underTwo-Speed
Rear Axle Electric Shift Control on page 2-26.
Exhaust Brake Switch:SeeDiesel Engine Exhaust
Brake on page 2-25.
l(Differential Lock Control Switch):SeeRear
Axle Differential Lock Control on page 4-10.
cd(Air Bag Off Switch):SeeAir Bag Off Switch
on page 1-55.
If your vehicle does not have some of the features
controlled by these switches, there will be a blank switch
marker in its place.
Accessory Power Outlets
With accessory power outlets, you can plug in auxiliary
electrical equipment such as a cellular telephone or
CB radio.
The accessory power outlets are located on the
passenger’s side of the instrument panel.
To use an outlet, pull the cover down. When not using
it, always cover the outlet with the protective cap.
These circuits are protected by a fuse and have
maximum current levels.
Notice:Leaving electrical equipment on for
extended periods will drain the battery. Always turn
off electrical equipment when not in use and do
not plug in equipment that exceeds the maximum
amperage rating.
3-17
Page 171 of 366

Your Driving, the Road, and Your Vehicle..........4-2
Defensive Driving...........................................4-2
Drunken Driving.............................................4-2
Control of a Vehicle........................................4-5
Braking.........................................................4-6
Trailer Brake Hand Control Valve......................4-9
Inter-Axle Differential Lock Control...................4-10
Rear Axle Differential Lock Control..................4-10
Traction Control System (TCS).......................4-11
Steering......................................................4-12
Off-Road Recovery.......................................4-14
Passing.......................................................4-14
Loss of Control.............................................4-16
Driving at Night............................................4-17Driving in Rain and on Wet Roads..................4-18
City Driving..................................................4-21
Freeway Driving...........................................4-22
Highway Hypnosis........................................4-23
Hill and Mountain Roads................................4-23
Winter Driving..............................................4-25
If You Are Stuck: In Sand, Mud,
Ice or Snow..............................................4-29
Towing..........................................................4-31
Towing Your Vehicle.....................................4-31
Loading Your Vehicle....................................4-33
Trailer Connections (C4/C5 Models Only).........4-35
Power Take-Off (PTO)...................................4-36
Section 4 Driving Your Vehicle
4-1
Page 180 of 366

Inter-Axle Differential Lock Control
If you vehicle has this
feature, the switch is
located in the center of the
instrument panel.
If you’re approaching a slippery surface where it looks
like one or even all of the wheels may start to slip,
you can press the bottom of this switch. It locks your
rear differentials so that power is transmitted equally to
both rear axles.
Let up on the accelerator before you turn on your
inter-axle differential lock. When you turn on this control,
the DIFF LOCK indicator on the center of the instrument
panel will light.
Notice:Turning on the inter-axle differential lock
while the rear wheels are spinning freely, as
they might on snow or ice, can damage the axle(s).
Turn on this control only while the wheels are
not spinning freely.
Rear Axle Differential Lock Control
If your vehicle has a
controlled traction or
locking differential axle, the
switch is located in the
center of the instrument
panel. You’ll see this
control on single rear axle
vehicles.
If you’re approaching a slippery surface where it looks
like one or even both wheels may start to slip, you
can press the bottom of this switch. It locks your rear
differential so that power is transmitted equally to
both rear wheels.
Let up on the accelerator before you turn on your rear
axle differential lock.
Notice:Turning on the inter-axle differential lock
while the rear wheels are spinning freely, as
they might on snow or ice, can damage the axle(s).
Turn on this control only while the wheels are
not spinning freely.
4-10
Page 181 of 366

Traction Control System (TCS)
Your vehicle may have a traction control system that
limits wheel spin. This is especially useful in slippery
road conditions. The system operates only if it senses
that one or both of the rear wheels are spinning or
beginning to lose traction. When this happens,
the system applies the brake(s) at the affected wheel(s).
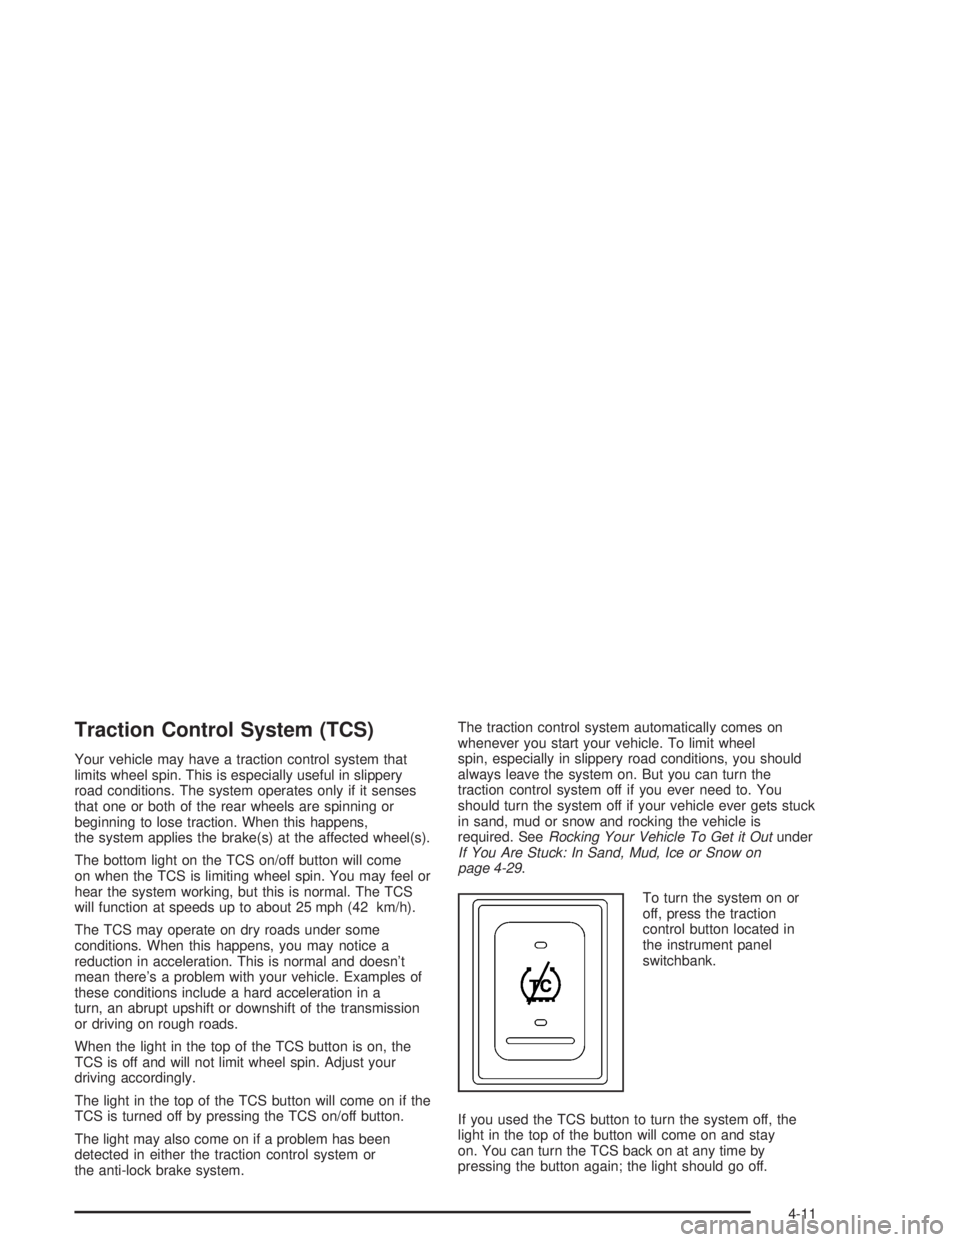
The bottom light on the TCS on/off button will come
on when the TCS is limiting wheel spin. You may feel or
hear the system working, but this is normal. The TCS
will function at speeds up to about 25 mph (42 km/h).
The TCS may operate on dry roads under some
conditions. When this happens, you may notice a
reduction in acceleration. This is normal and doesn’t
mean there’s a problem with your vehicle. Examples of
these conditions include a hard acceleration in a
turn, an abrupt upshift or downshift of the transmission
or driving on rough roads.
When the light in the top of the TCS button is on, the
TCS is off and will not limit wheel spin. Adjust your
driving accordingly.
The light in the top of the TCS button will come on if the
TCS is turned off by pressing the TCS on/off button.
The light may also come on if a problem has been
detected in either the traction control system or
the anti-lock brake system.The traction control system automatically comes on
whenever you start your vehicle. To limit wheel
spin, especially in slippery road conditions, you should
always leave the system on. But you can turn the
traction control system off if you ever need to. You
should turn the system off if your vehicle ever gets stuck
in sand, mud or snow and rocking the vehicle is
required. SeeRocking Your Vehicle To Get it Outunder
If You Are Stuck: In Sand, Mud, Ice or Snow on
page 4-29.
To turn the system on or
off, press the traction
control button located in
the instrument panel
switchbank.
If you used the TCS button to turn the system off, the
light in the top of the button will come on and stay
on. You can turn the TCS back on at any time by
pressing the button again; the light should go off.
4-11
Page 182 of 366

Steering
Power Steering
If you lose power steering assist because the engine
stops or the system is not functioning, you can steer but
it will take much more effort.
On vehicles with hydraulic brakes, the power steering
and main hydraulic brake system both use the
power steering pump. SeeBraking on page 4-6.
Steering Tips
Driving on Curves
It is important to take curves at a reasonable speed.
A lot of the “driver lost control” accidents mentioned on
the news happen on curves. Here is why:
Experienced driver or beginner, each of us is subject to
the same laws of physics when driving on curves.
The traction of the tires against the road surface makes
it possible for the vehicle to change its path when
you turn the front wheels. If there is no traction, inertia
will keep the vehicle going in the same direction. If
you have ever tried to steer a vehicle on wet ice, you
will understand this.The traction you can get in a curve depends on the
condition of your tires and the road surface, the angle at
which the curve is banked, and your speed. While
you are in a curve, speed is the one factor you
can control.
Suppose you are steering through a sharp curve.
Then you suddenly accelerate. Both control
systems — steering and acceleration — have to do their
work where the tires meet the road. Adding the
sudden acceleration can demand too much of those
places. You can lose control. SeeTraction Control
System (TCS) on page 4-11.
What should you do if this ever happens? Ease up on
the accelerator pedal, steer the vehicle the way you
want it to go, and slow down.
Speed limit signs near curves warn that you should
adjust your speed. Of course, the posted speeds
are based on good weather and road conditions. Under
less favorable conditions you will want to go slower.
If you need to reduce your speed as you approach
a curve, do it before you enter the curve, while your front
wheels are straight ahead.
Try to adjust your speed so you can “drive” through the
curve. Maintain a reasonable, steady speed. Wait to
accelerate until you are out of the curve, and then
accelerate gently into the straightaway.
4-12
Page 186 of 366

Loss of Control
Let us review what driving experts say about what
happens when the three control systems (brakes,
steering and acceleration) do not have enough friction
where the tires meet the road to do what the driver
has asked.
In any emergency, do not give up. Keep trying to steer
and constantly seek an escape route or area of less
danger.
Skidding
In a skid, a driver can lose control of the vehicle.
Defensive drivers avoid most skids by taking reasonable
care suited to existing conditions, and by not
“overdriving” those conditions. But skids are always
possible.
The three types of skids correspond to your vehicle’s
three control systems. In the braking skid, your wheels
are not rolling. In the steering or cornering skid, too much
speed or steering in a curve causes tires to slip and lose
cornering force. And in the acceleration skid, too much
throttle causes the driving wheels to spin.
A cornering skid is best handled by easing your foot off
the accelerator pedal.If you have the Traction Control System, remember: It
helps avoid only the acceleration skid. If you do not have
this system, or if the system is off, then an acceleration
skid is also best handled by easing your foot off the
accelerator pedal.
Of course, traction is reduced when water, snow, ice,
gravel or other material is on the road. For safety,
you will want to slow down and adjust your driving to
these conditions. It is important to slow down on slippery
surfaces because stopping distance will be longer and
vehicle control more limited.
While driving on a surface with reduced traction, try
your best to avoid sudden steering, acceleration
or braking (including engine braking by shifting to a
lower gear). Any sudden changes could cause the tires
to slide. You may not realize the surface is slippery
until your vehicle is skidding. Learn to recognize warning
clues — such as enough water, ice or packed snow
on the road to make a “mirrored surface” — and slow
down when you have any doubt.
If you have the anti-lock braking system, remember: It
helps avoid only the braking skid. If you do not have
anti-lock, then in a braking skid (where the wheels are
no longer rolling), release enough pressure on the
brakes to get the wheels rolling again. This restores
steering control. Push the brake pedal down steadily
when you have to stop suddenly. As long as the wheels
are rolling, you will have steering control.
4-16
Page 196 of 366

Driving on Snow or Ice
Most of the time, those places where your tires meet
the road probably have good traction.
However, if there is snow or ice between your tires and
the road, you can have a very slippery situation. You
will have a lot less traction or “grip” and will need to be
very careful.What is the worst time for this? “Wet ice.” Very cold
snow or ice can be slick and hard to drive on. But wet
ice can be even more trouble because it may offer
the least traction of all. You can get wet ice when it is
about freezing (32°F; 0°C) and freezing rain begins
to fall. Try to avoid driving on wet ice until salt and sand
crews can get there.
Whatever the condition — smooth ice, packed, blowing
or loose snow — drive with caution.
If you have traction control, keep the system on. It will
improve your ability to accelerate when driving on a
slippery road. But you can turn the traction system off if
you ever need to. You should turn the system off if
your vehicle ever gets stuck in sand, mud, ice or snow.
SeeIf You Are Stuck: In Sand, Mud, Ice or Snow on
page 4-29. Even though your vehicle has a traction
system, you will want to slow down and adjust your
driving to the road conditions. SeeTraction Control
System (TCS) on page 4-11.
If you do not have a traction system, accelerate gently.
Try not to break the fragile traction. If you accelerate
too fast, the drive wheels will spin and polish the surface
under the tires even more.
4-26